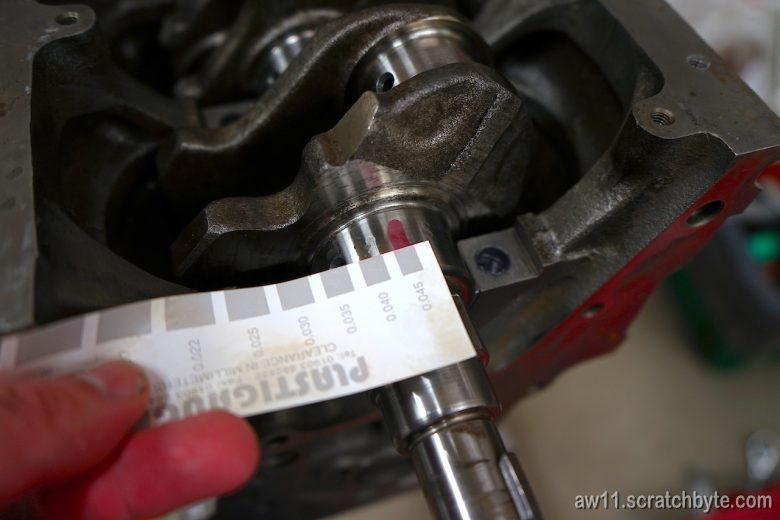
Checking the clearances with plastigauge (not plastigage). I had PL-X, which is for clearances between 0.018 – 0.045mm.
Below: ready to go. Everything still torqued down.
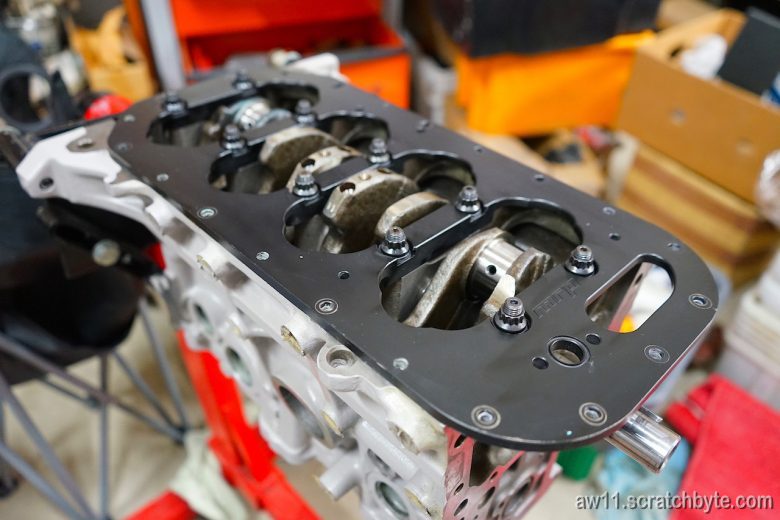
Below: nuts and girdle off, studs loosened
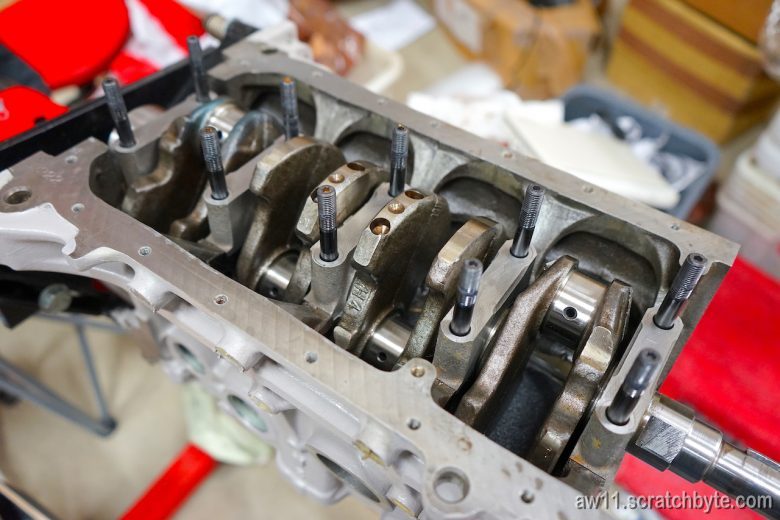
Main caps are off. Crank still looks shiny and smooth. Wiped excess oil off before inserting plastigauge.
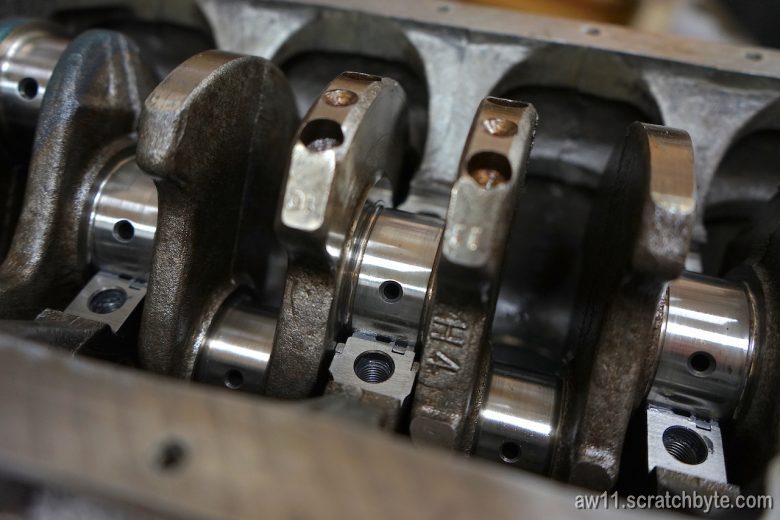
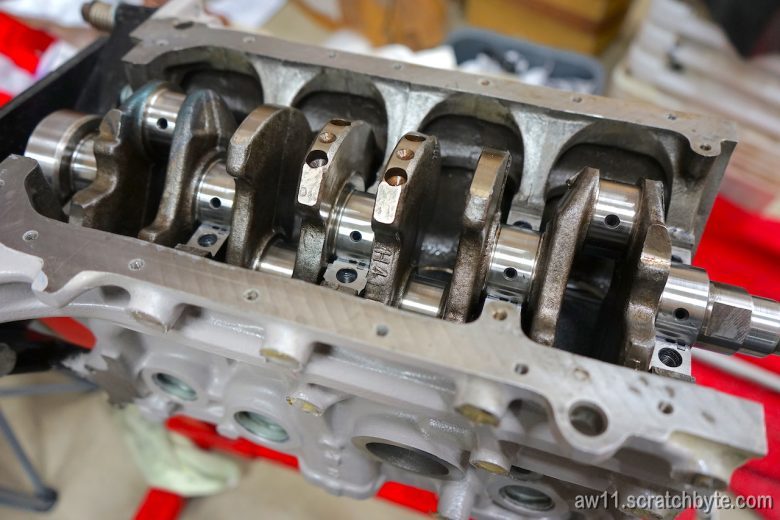
Applying plastigauge
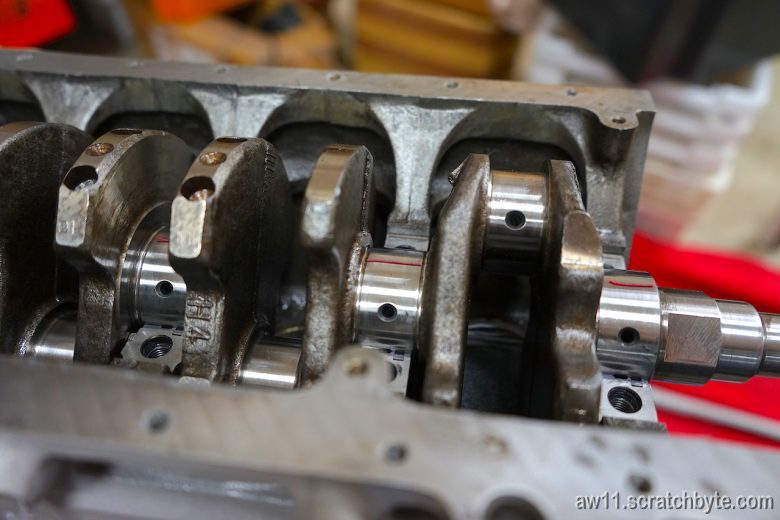
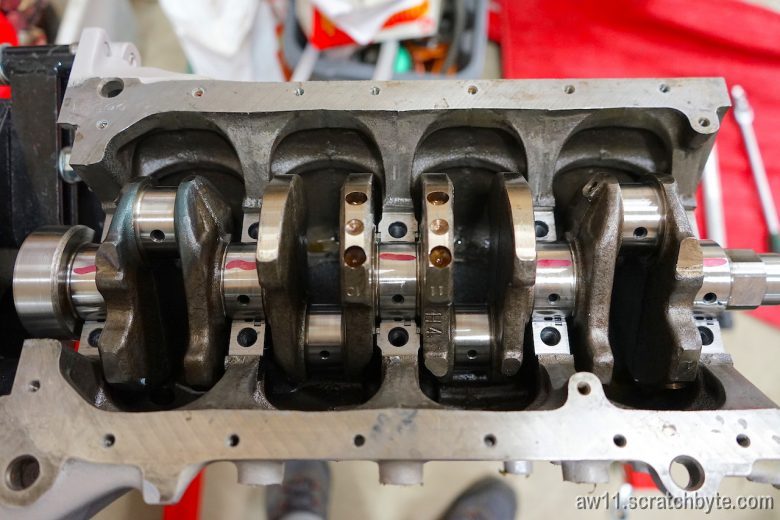
After main caps, studs, girdle, nuts and everything, quick two step tightening to 80Nm and then removing everything again. Plastigauge is showing very constant clearances.
Clearances are constant between every main cap + they are constant across the bearing surface, showing no deformations.
One of the narrowest strips showing 0.045mm clearance. Rest of the strips were around 0.040mm, which is within the allowed range.
Toyota manual states the standard clearance should be between 0.015 to 0.033mm, except if replacing the cylinder block, when the standard clearance is between 0.015 and 0.045mm. I guess the line boring is close to replacing the block.
Leftmost conrod neck (cylinder 4) is showing some colorization from the crank polishing.
Just wondering if bearings grow a little and close the clearance while engine is running…?
Few thoughts:
I havent visited the garage for a while and the temperature was low (around +10°C) when I measured everything. According to plastigauge, cold is not a problem when in storage, only high temps.
What is the shelf life of plastigauge? It didnt feel brittle or otherwise damaged so I thought it was good. How does this affect the measuring?
What is the measurement error here? With micrometres I get the following numbers:
- Honed crank bore inner diameter 52.03mm
- Bearings thickness 2.000mm – 2.005mm
- Crank diameter 47.995mm
Crank bore ID – 2x bearing thi = 48,02mm – Crank dia = 0.035mm
- Max: 52.03mm – 2x 2.000mm = 48.02mm – 47.990mm = 0.040mm
- Mid: 52.03mm – 2x 2.000mm = 48.02mm – 47.995mm = 0.035mm
- Min: 52.03mm – 2x 2.005mm = 48.02mm – 47.995mm = 0.025mm
Using micrometers I’m getting a little bit tighter clearances, so I have to cast some doubts towards plastigauge. Calculating clearances gives results between 0.025mm to 0.035mm while maximum being 0.040mm. Plastigauge varies between 0.040mm and 0.045mm.
Edit: I just realized that most of the measures taken with micrometers were done in temperatures between +20°C and +25°C. Measures with plastigauge were done in temperatures around +8°C to +11°C. This could be something called thermal expansion. I think everything is ok 🙂

Leave a Reply