Widrics Civic

Widric and Maladar working with the Civic. Timing was slightly off and Maladar is checking the cam gear markings.

CIMG0823

Without engine cover

CIMG0824

Widric tuned my tires slightly. There is a new groove on the outside of the tire. 😀

CIMG0826

Not completely hideous sight. Actually, the rims do look nice on Civic 🙂 Best thing is that I can try Widrics TE37’s on my AW11 😀

CIMG0834

Rear brake upgrade completed

How wrong I was! The discs were in mint condition, still in their plastic bags 😀

CIMG0795

…and I had two rebuilt rear calipers with pads already mounted 🙂

CIMG0798

The rear hub, with WedsSport steel braided hose.

CIMG0799

Everything together. I was waiting for Widric so we could bleed the brakes. He has had plenty of practise with Civic’s bigger master cylinder and ITR front calipers.

(Which still aren’t working as they should)

I actually got the brakes together without any injuries! How nice is that! 🙂

CIMG0810

I had to test Widric’s “rain set” because he needed my 16″ wheels to get the MOT inspection. Not bad, kinda shame now that I didn’t buy a similar set.

CIMG0816_001

Rear brake upgrade

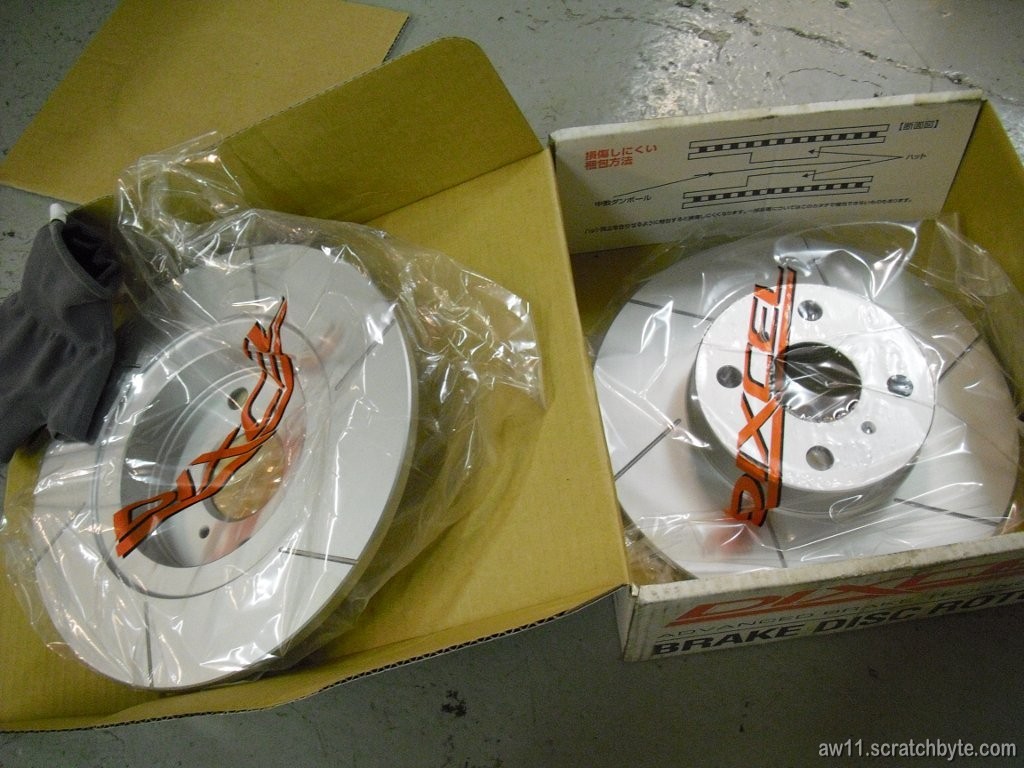
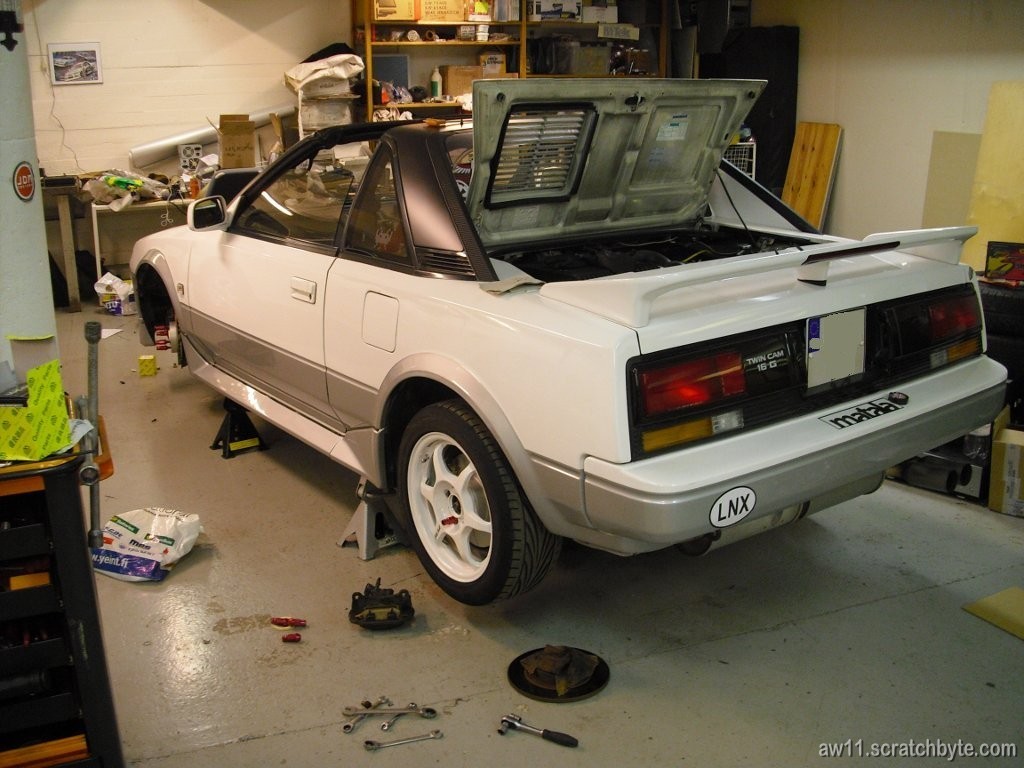
Finally finally finally I managed to start the rear brake upgrade! I haven’t checked the box lately, but it’s been so long since I got the brake stuff that I think the box contains just a round pile of rust.

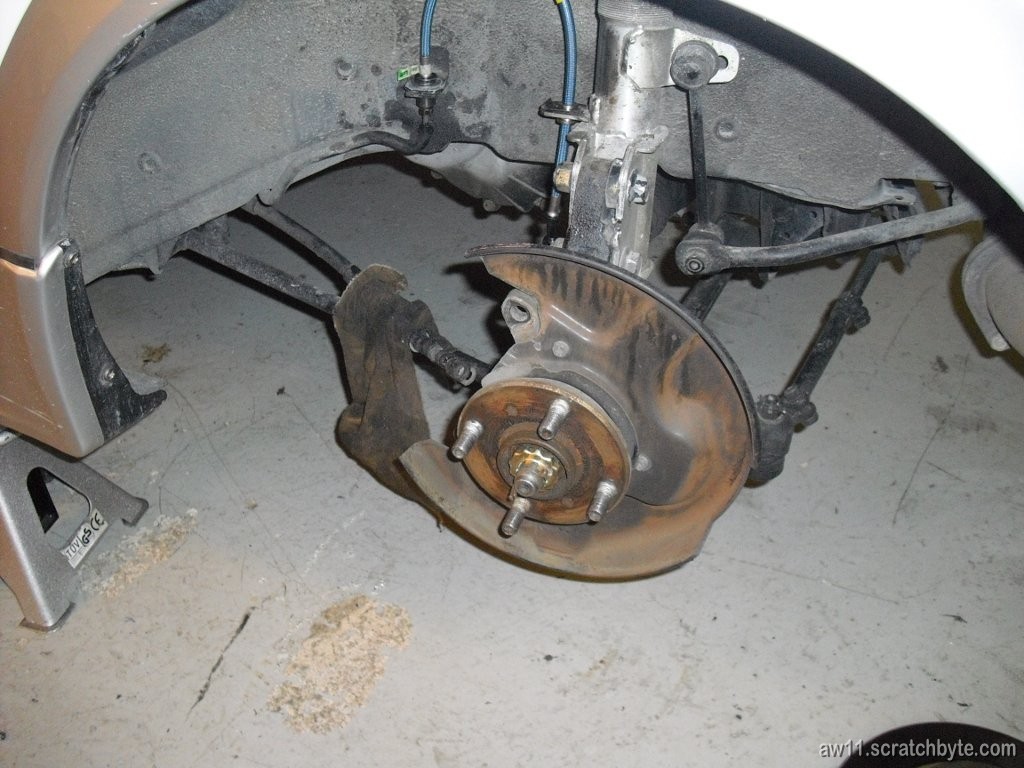
Got the passenger side brake caliper out of the car and traditionally splashed the cursed brake fluid everywhere. Why it is with the brake fluid every time, why not water or something easier to clean?

While taking off the caliper, I did something and my arm got pinched between caliper and the heat shield. I was stuck there for 20 seconds and couldnt get my arm off. Was kinda freaky to look how blood was dripping on the floor knowing that I’m stuck there. I even started to consider that I should just rip my arm off not caring of the damage. Luckily, I twisted the caliper somehow and freed myself. This is going to leave a scar 🙂

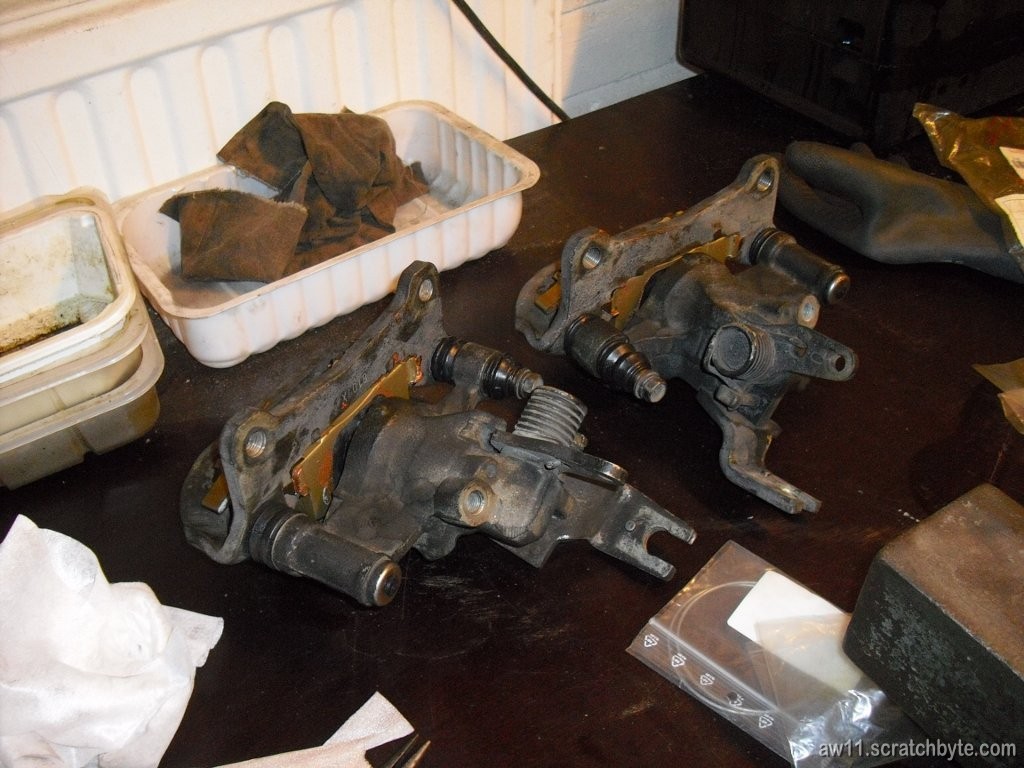
I already have two rear calipers from the spare engine cleaned on the workdesk. Today I got the first braided hose attached to the brake line. Also, I got two brand new pistons together with the e-brake stuff.

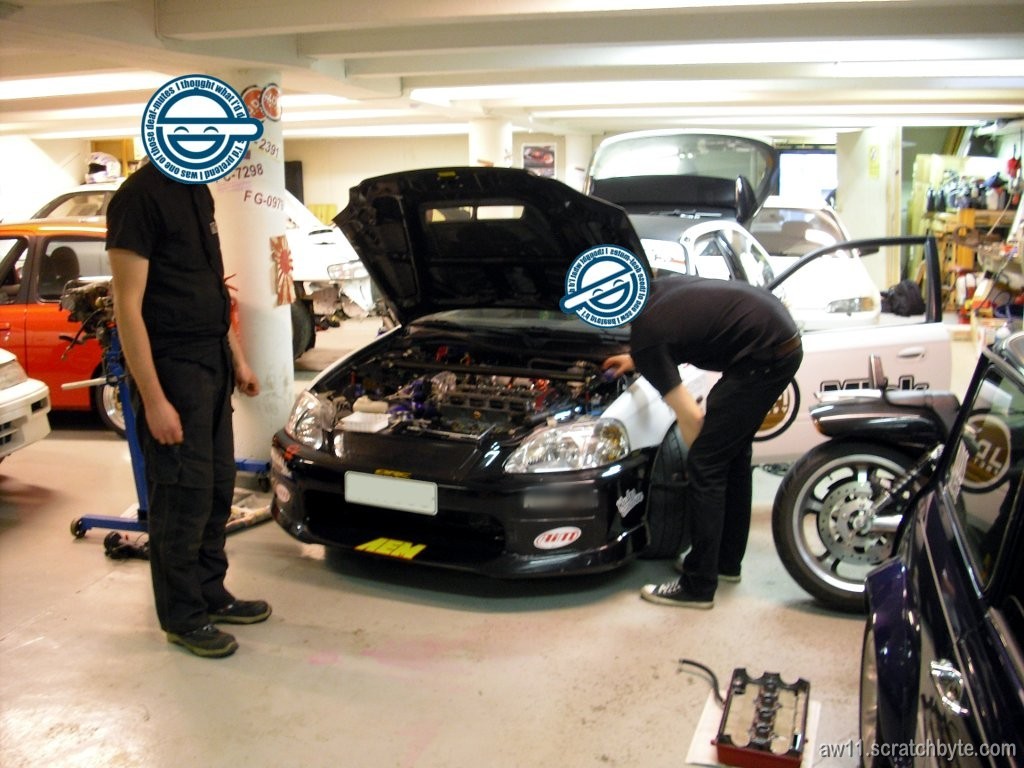
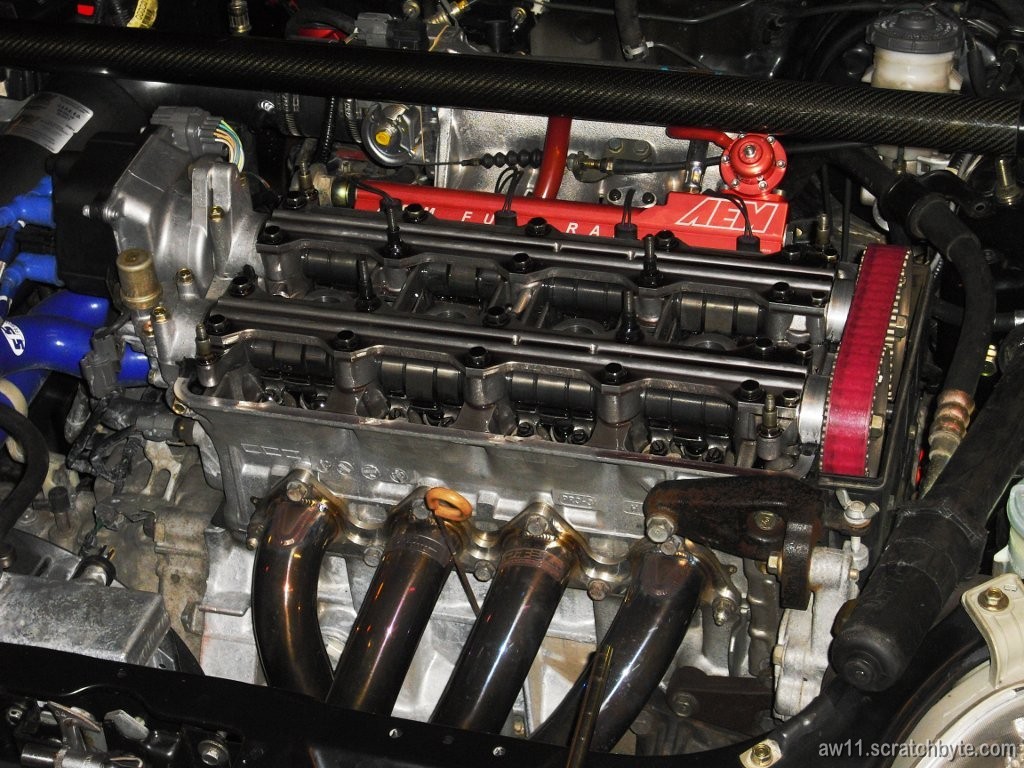
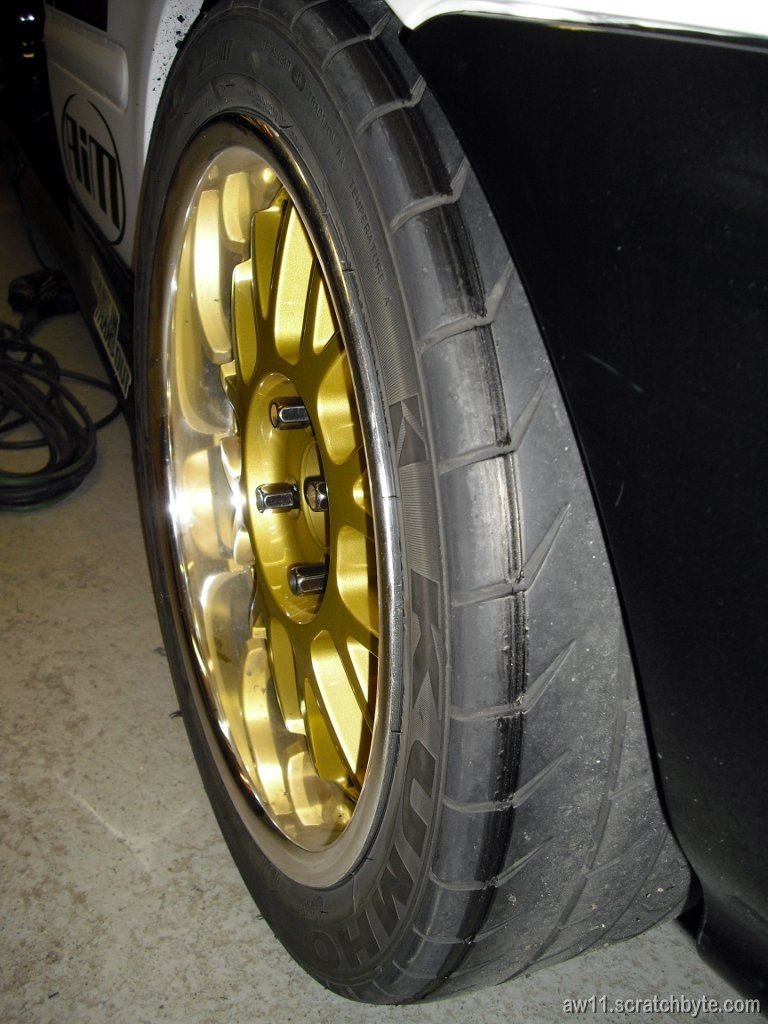
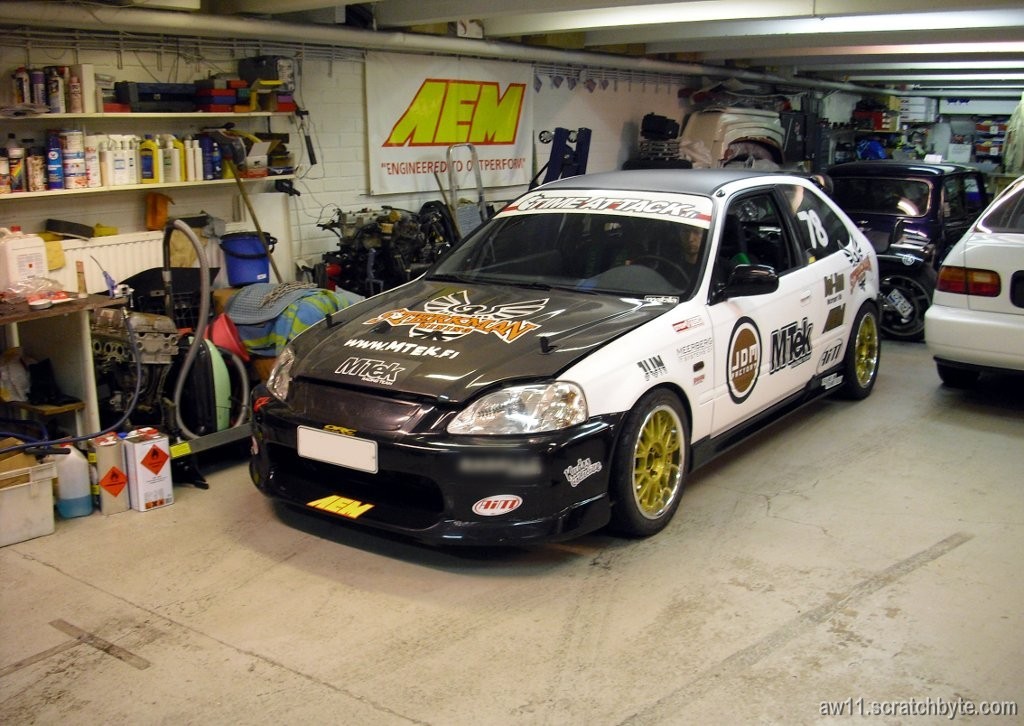
Couldn’t take any pictures, because I was up to my elbows in brake fluid.

4A-GZE ECU wiring – 2

Being sick has its advantages. You have all the time in the world to get around the internets to look for AW11 stuff 😀

Until the point where you are too dizzy and start to hallucinate things. Fever <3

I went to the garage and took couple of pictures of my wiring loom.

IMAG1235

…ans then I added the results into my diagram, which ishere.

4A-GZE ECU wiring

Collected my 4A-GZE ECU wiring info into one picture. Of course, YMMV and I can’t be held responsible. Reason for this is to help me with the AEM EMS installation (finally!)

The JDM A/T (which I used to have) is still without correct titles and colors. I have to go through my wiring and then update this pic.

I think I’d better to check the JDM M/T wiring loom too, but that’s gonna take some time. I have labeled the box where it is, but there is plenty of other stuff on it.

The ECU pins have wiring loom colors above them.

Click the image below to get a bigger one.

EDIT: I made a dedicated page for this thing, it’shere

ecu_wiring

Oil pressure sensor

I removed the oil pressure sensor from the gas tank pipe and reattached it to battery tray. I added some clear tubing and vinyl tape for protection and attached the sensor with heavy duty zip ties.

Red and white wires at the top of the picture are water temp wires, black, yellow and second white are for pressure sensor. Blue and white on the left are for oil temp.

I tried to get rid of the buzzing sound inside the car, but it’s still there. I think I need to get the car on the jacks again to look at the oil lines.

IMAG1225

The remote filter head is partly visible at the bottom.

Flag of japan

Maladar made a japanese military flag (naval) using his canvas press.

IMAG1198

then some added authenticity by burning the flag slightly…

IMAG1200

…and here is the flag wrong way around. It has gone to hell and back.

IMAG1207

Couple of people said that we were desecrating the flag, but we had no such intention. Just made something to hang on the wall and show the JDM connection.

Ryoko’s “Super stock” AW11 Spec

Found this while reading a manga calledOver Rev

Ryoko’s “Super stock” AW11 Spec

  • TRD Steel Reinforced bushings
    • F R Strut upper
    • F Lower arm
    • F Tension rod
    • R Lower link
    • R Trailing link
    • Engine mount
  • F Strut bump bushings (urethane)
  • F R Brake pads (Tokico)
  • Brake pressure valve (rear distribution increased)
  • Tires: Dunlop Formula W-10
    • Front: 185/60 R14 – 6JJ x 14 offset +35
    • Rear: 205/50 R15 – 6.5JJ x 15 offset +30
  • Alignment
    • Front camber left: 1degrees30′ right: 1degrees15′
    • Rear camber left: 2degrees25′ right: 2degrees20′
    • Side slip front: 0degrees rear: 1.2degrees in
    • Total toe front: 0degrees rear: 5.3degrees in

ABV valve and plumbing it to stay closed

I just tested the ABV mod (drove around for a while) where the original control hose is plugged and the ABV is connected directly to inlet vacuum nipple.

Well, something didnt work. I did get boost, but it was the usual 8.x psi or 0.6 bar. Fuck.

I was expecting at least somewhere around 0.7-0.85 bar, which should be in line with the bigger crank wheel. Well, time to look for other mods. Or fix the ABV – is it possible that it gets stuck?

There still was a difference: This was the first time ever I could hear the supercharger whine. I’ve always been baffled of those youtube videos where supercharger is very noisy, when mine is absolutely silent. This has lead me to wonder if those people have ever checked the oil level inside the SC. I have no idea what would happen if someone ran the SC without oil – probably not the best choice.

Dry gears making small metal shavings inside the SC gearbox which in the end go through the vent hose – originally meant for the oil drops – and ending inside the engine, somewhere. Not nice.

Mods and updates

Red WedsSport nuts installed:

IMAG1192

Tried to catch an artsy picture, but failed. Thanks again HTC! 😀

This one is failed too:

IMAG1196

…and the failblog continues. I tried to catch some in-flight pictures of the gauges (Currently water temp, oil temp and oil press – in red – on the dash) but the phone didn’t like the overall darkness.

I think I’m turning back to green gauges. For some reason it looks better.

IMAG1190

LTR – Water temp 85°C, oil temp 95°C

IMAG1191