Stock tacho with aftermarket ECU

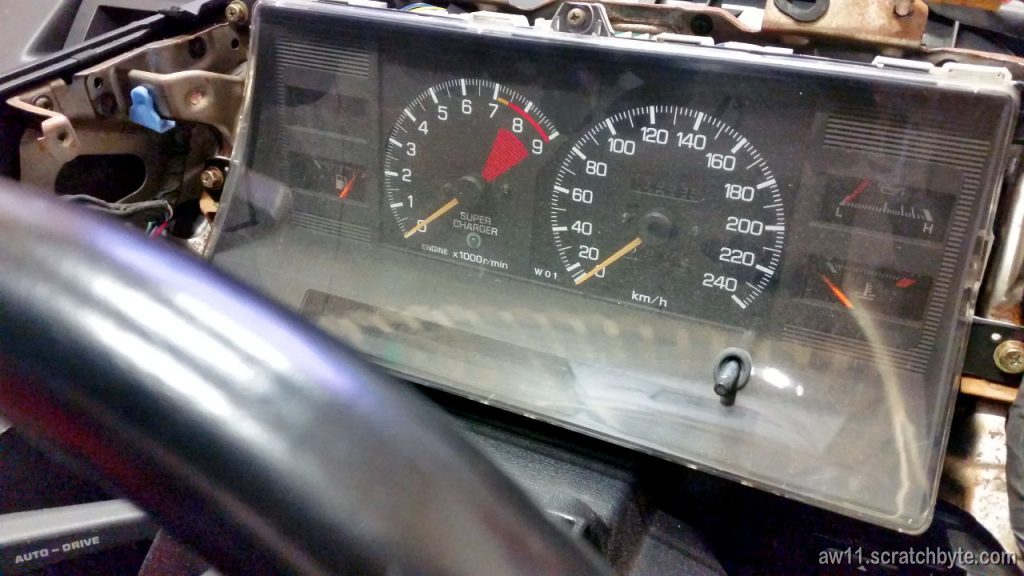
Normally the Toyota tacho doesn’t work with aftermarket ecu. The Toyota tacho needs a high voltage pulses from coil to work. I didn’t want to build a voltage booster from modified relay or anything like that, which meant I had to look into the tacho electronics.

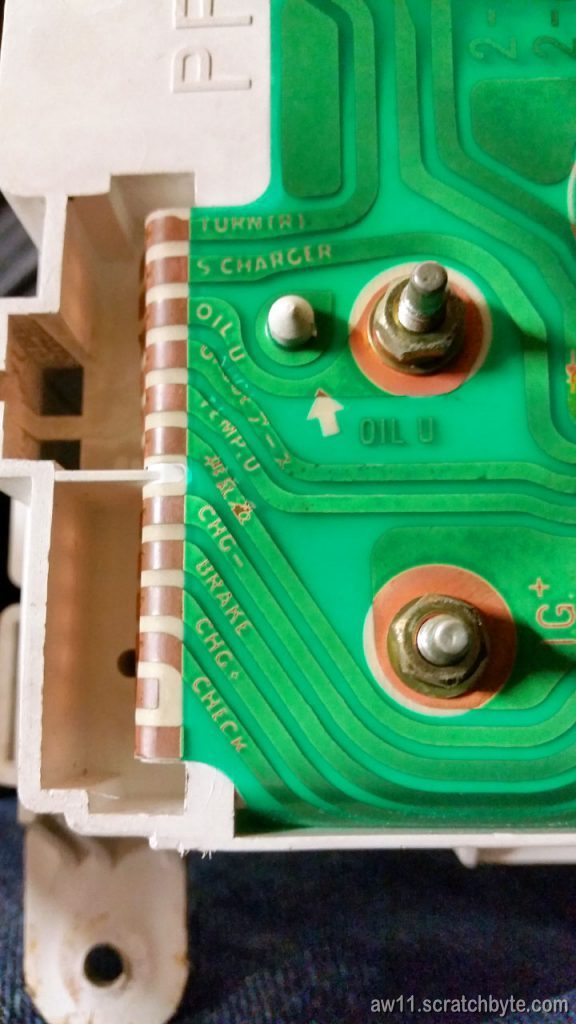
I googled a bit, read some forum posts about toyota tachos and then decided to try something. Guessing is sometimes good – I guessed the first resistor after the signal terminal has something to do with this thing.

I bypassed the first resistor completely and the tacho came into life. Simple and nice.

Note: following resistor values worked for me – check yours if you’re doing something similar

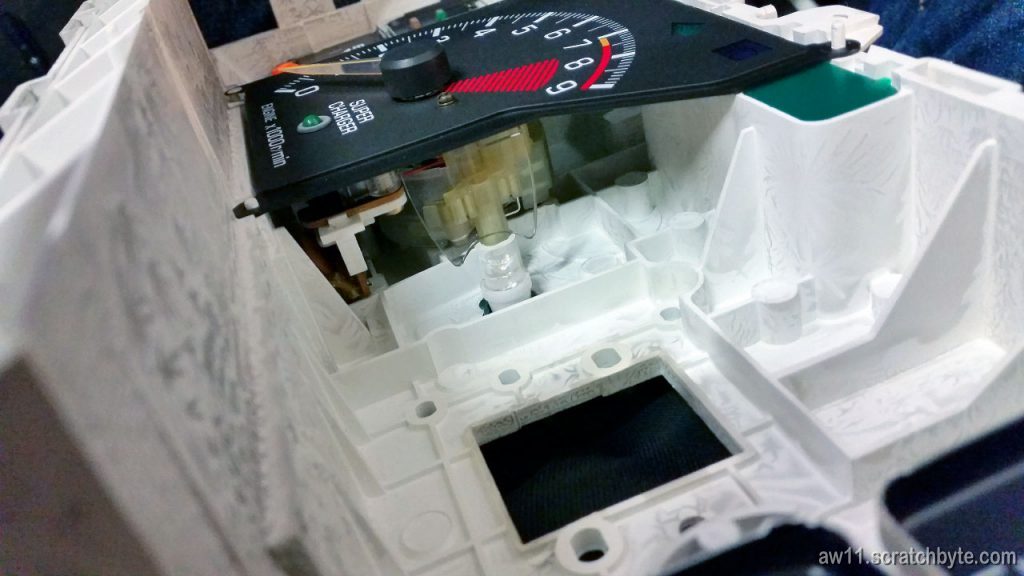
I didn’t want to tear my dash at this point so I tested with the 10k tacho

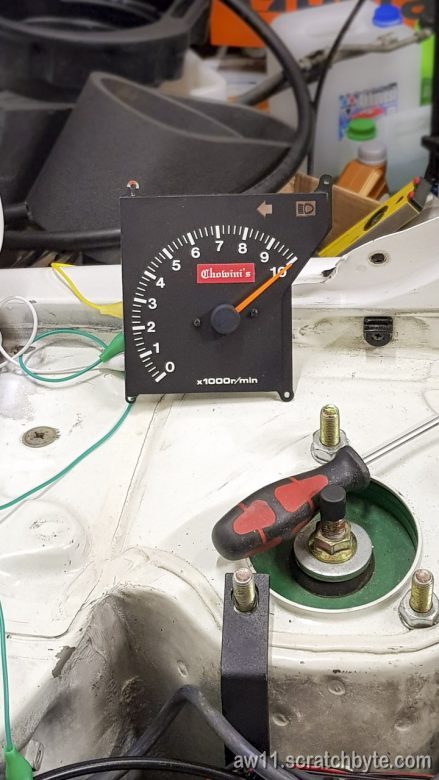
I measured the first resistor and it was in the 30kohm ballpark. I thought there should be some resistance in the signal path so I had to find out what the resistance needed to be so it would work with aftermarket ECU signal.

The easiest way was to solder a resistor parallel to the original to lower the total resistance.

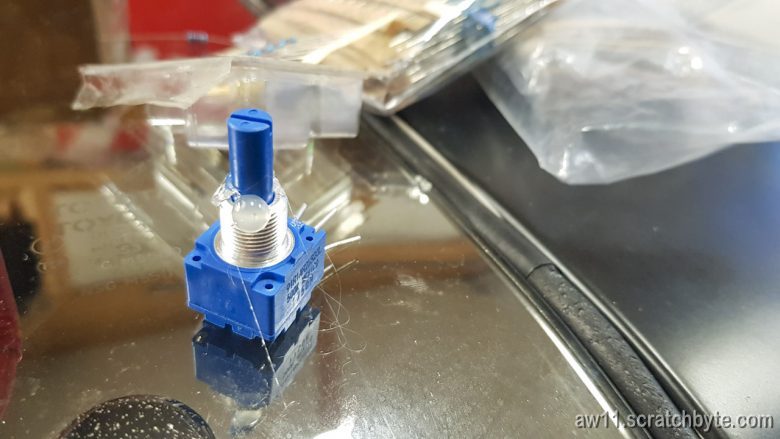
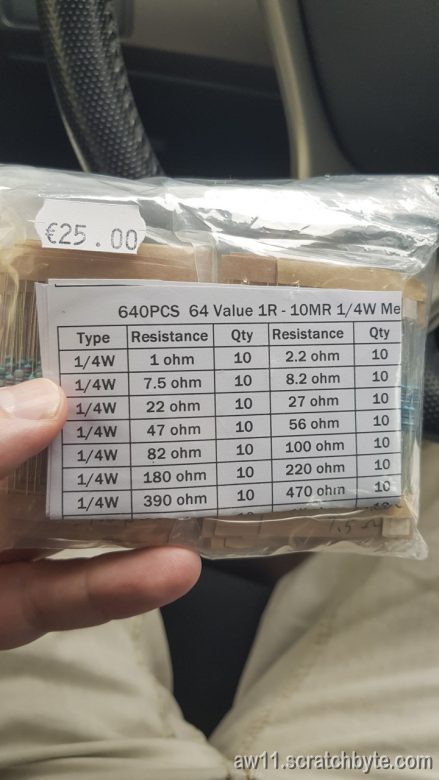
I bought a pack of random resistors and a linear potentiometer to find out what I need.

The resistance where the Toyota tacho started to work was 15kohm, which meant I needed a similar 30kohm resistor parallel to the original

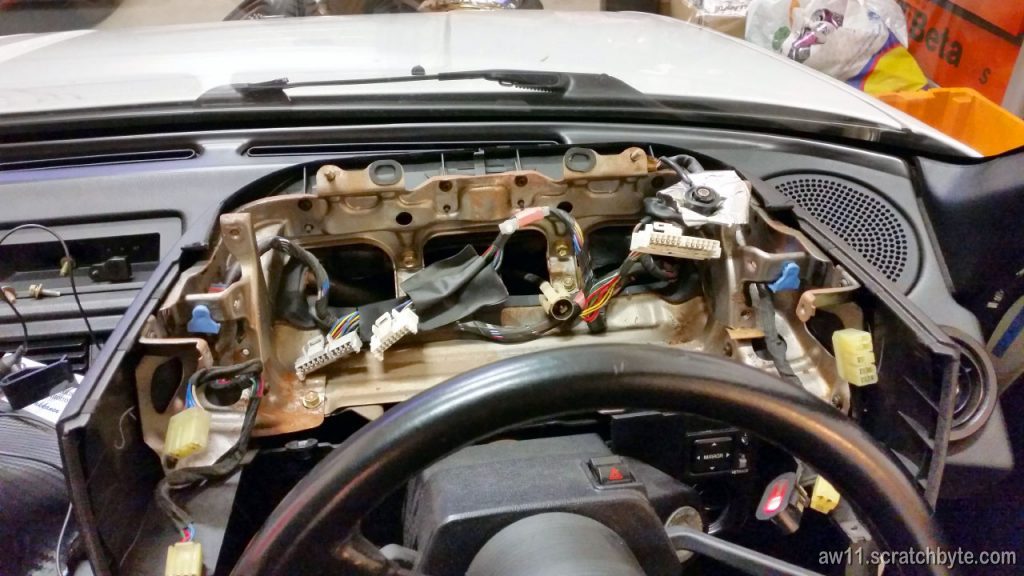
Tore out the stock tacho

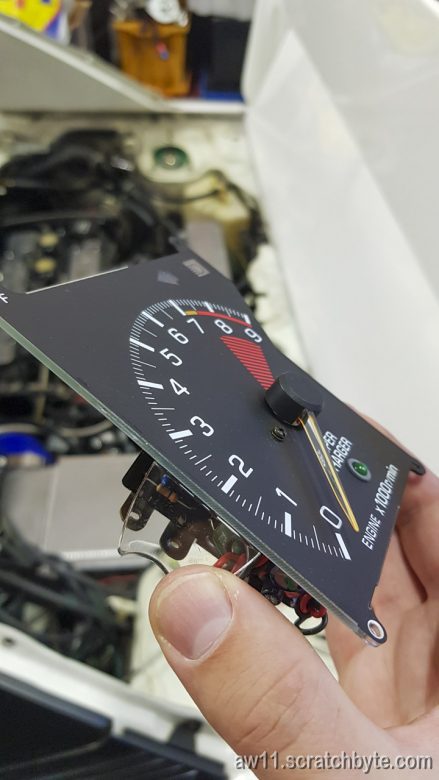
…and soldered a second resistor parallel using the stock resistor leads

It worked. Stock tacho works now.

Testing how wide I can go

Some tactical numbers: Rim is 15″ x 6.5″ with +43 offset. The tire is 195/50.

The metal stick I’m holding is about 10mm diameter. The stick is in the tightest gap.

I’d say I can go maybe 5mm towards the coilover body when selecting offset, rim and wheel and be on the safe side. I’m pretty certain that 8.5″ wide 16″ dia rim with 225/40 R16 tire will be just fine 🙂

(Well, a 9″ wide would probably fit too…)

The tide is turning!

Seems that I have reached the point where there is nothing to take apart anymore!

One of the pistons (the one that had a ultrasonic bath) taken apart and measured – maybe bit too HDR-ish photo 😀

The new oil pump, this one with 74mm gears. I found some info about how the new dry pump should be primed with grease or assembly lube, but I think that is for later.

Finally, I’ve at least primed the engine block! Got all of the paint stripped, the block cleaned and greaseless and then painted with 2-component epoxy primer (which is actually fine for only coat, but maybe light silver top coat…?)

Cleaned

Important bits taped off

Painted

Swapping the speedo

Totally forgot this thing. I had a euro style speedo sitting on my shelf for a long time and when I finally did the swap, I forgot to make an update.

Tearing the gauge cluster off the dash

I’ve been thinking that I should build my own backlight system for the gauges. At least there is plenty of space behind the gauge faces.

Think these wires were in specific order and I took a picture of the order, but what were they connected to…?

One of the connectors behind the SC cluster – again, why did I take this pic? 🙂

Total kilometers dont match

Little bit of power drill (its a misery to separate the wheels and setting the total kilometers manually)

Looks a bit better now – matching kilometers on both speedos

I had misplaced the speedo needle from the 240km/h one. Replaced it with the JDM one.

The gauge cluster clear cover is bit dusty. One thing I did was to block off the original ECT-S hole in the upper left corner. There should be a voltage gauge but I dont have one. Instead, now I have a ECT-S gauge and a economy gauge. Meh.

Moar photos

Valve covers are off – camshafts look fairly good. MRP turbo manifold testing.

IMG_20170122_172554

Testfitting the turbo manifold – reverse angle

IMG_20170122_172614

There was a reason behind this pic but I’ve forgotten it

IMG_20170122_180638

Half decent gaugepod, painted satin black and in proper place

IMG_20170129_183428

Trying to figure out if I have stock camshafts

IMG_20170208_211350

That 212 in the casting made me wonder – stock camshafts are 232° if I remember correctly, but then again, it could be 272 (TRD camshafts). Measuring the cam lobe finally told me that I was dealing with stock shafts. Woo-hoo.

IMG_20170208_211956

Some engine bits in ultrasonic cleaning solution

IMG_20170216_162110

One of the pistons looking good after washing it

IMG_20170216_170959

Engine block going into machine shop

IMG_20170223_125405

My turbo manifold and Beldins RS2871R GT2876R

IMG_20170305_222424

Number one main bearing

IMG_20170305_230558

Widric pondering if Beldins turbo would fit his Impreza

IMG_20170309_185750

Oil pump for the project

One genuine late model oil pump with seals! gaskets!

One of the weird things I’ve found: There are two different oil pumps.

Early models have 78mm diameter pump gear with a crescent shaped piece in the middle. Later models are using 74mm pump gears. Obiviously, AW11 has the early model, which is not compatible with the stronger Toda gearset.

I’m definetly going to run this new engine to the max, all the way to 12000 rpm so mod is much needed. 😀

IMG_20170320_121414

IMG_20170320_121507

Here is the original pump, with the crescent shaped piece between gears:

IMG-20170219-WA0007

(re)Building the spare engine

IMG_20170223_131726

Ok, long story short. I went and got my spare engine out from the shed where it had been for more than two years. Took it apart and inspected everything and there was nothing serious. Block is currently getting machined to 81.5mm oversize and just got the crank back – polished and inspected (photo taken when i took the crank to the shop).

Still missing lot of parts. I’ve ordered a genuine toyota 15100-19036 oil pump, the one that I had wasnt suitable for Toda gears. Bearings needed, conrods, pistons, whatnot and a turbine 🙂

P.S. the bolt pattern upgrade isnt done yet 🙂