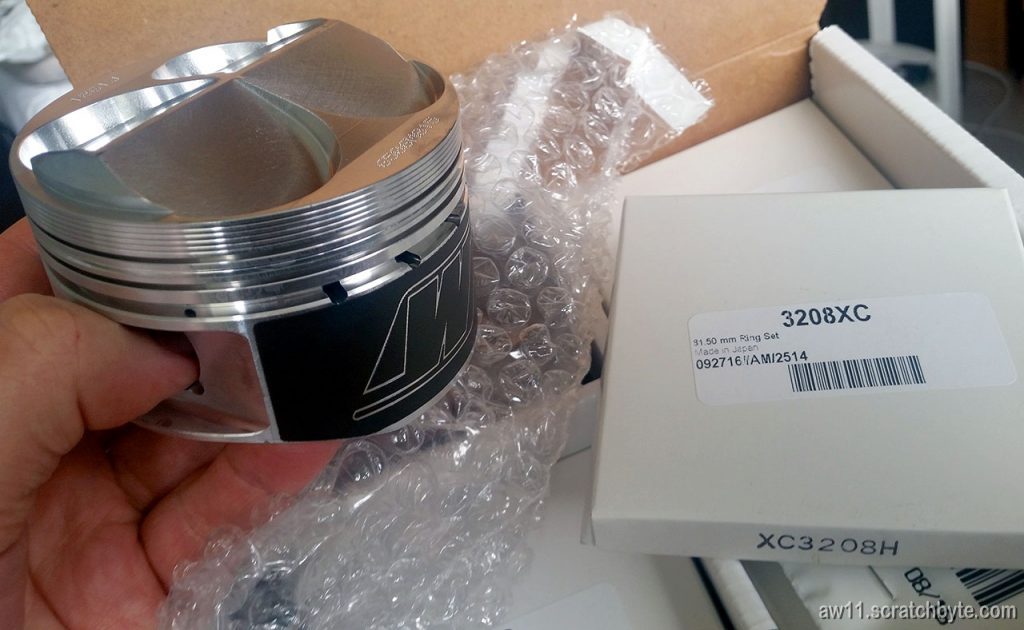
Pistons arrived! They’re Wiseco K506M815, 81.5mm (+0.5mm) oversize and with rings and other small bits.
Cat claimed the box when I presented all the stuff to her.
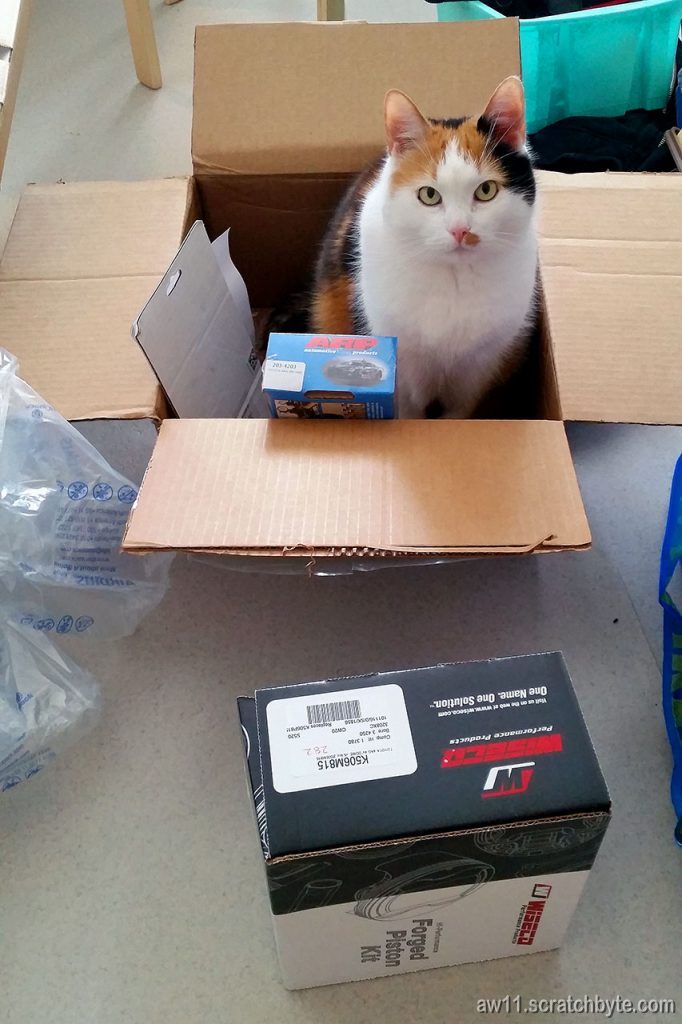
With the cat in the box there are ARP head studs and ARP flywheel bolts.

Toyota MR2 AW11
Pistons arrived! They’re Wiseco K506M815, 81.5mm (+0.5mm) oversize and with rings and other small bits.
Cat claimed the box when I presented all the stuff to her.
With the cat in the box there are ARP head studs and ARP flywheel bolts.
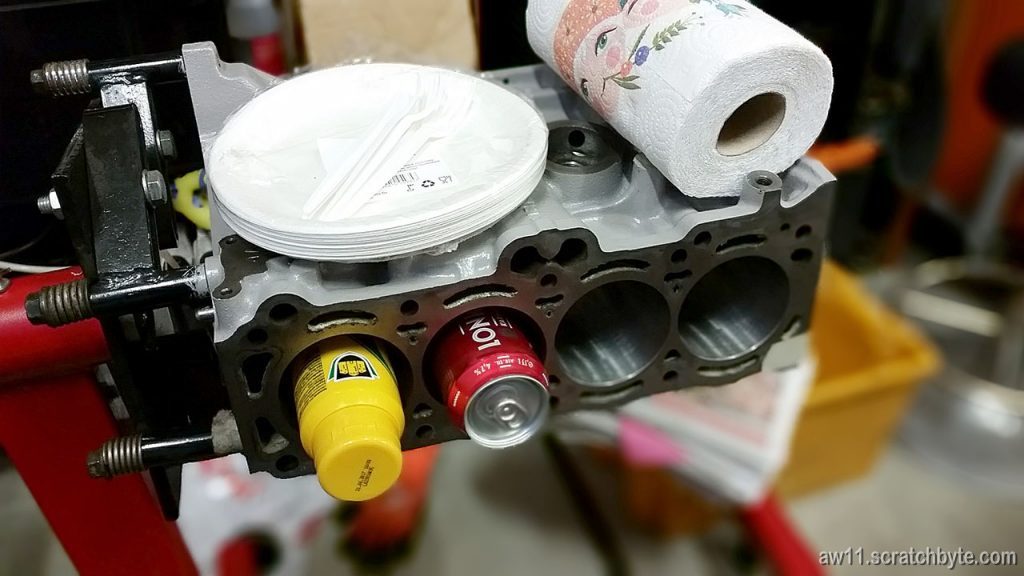
While pondering how we should approach Widric’s turbo installation, we sat down and grilled a bit. 4a block has found its place as shelving. If only the block could be chilled to +4°C, it could keep drinks cool 🙂
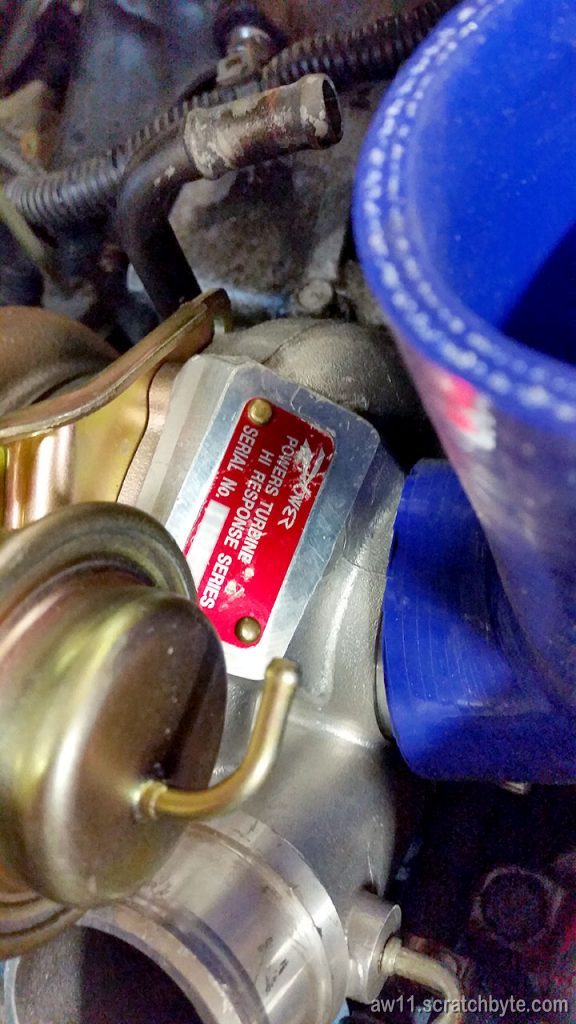
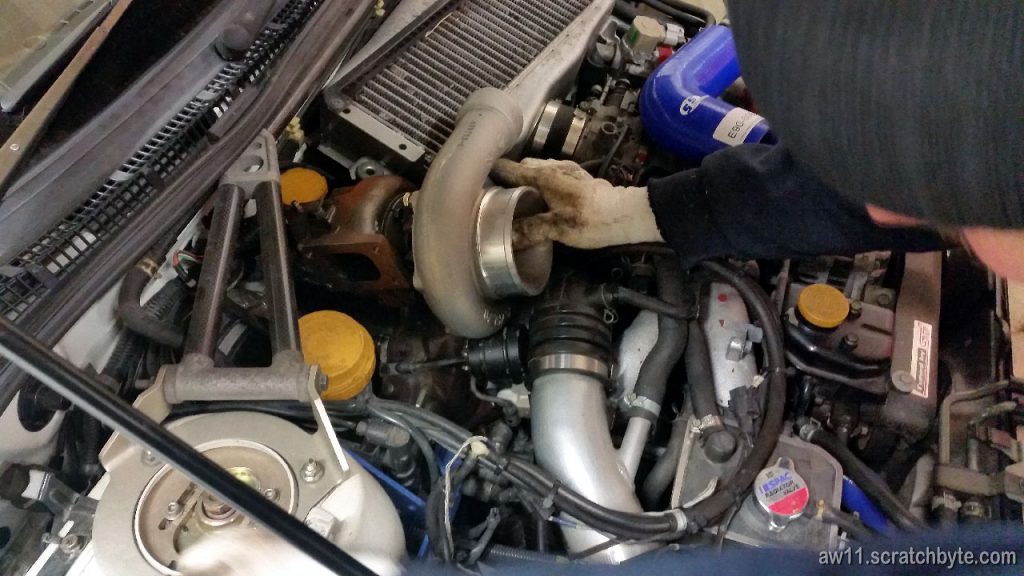
The new turbo is a Power Enterprise P1818, if I remember correctly. According to some unknown source, it should spool really quickly.
The turbo has different kind of inlets and outlets compared to stock one (stock one has this weird 90° bend in the turbine inlet, below the blue silicone hose replaces that)
Gott in himmel! Untenseewaffe!
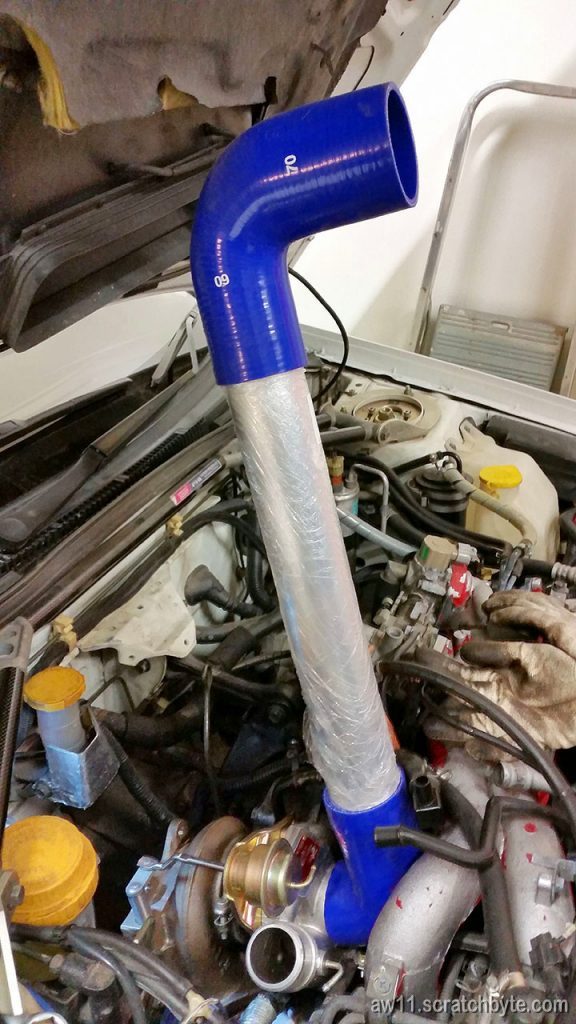
(This kinda reminds me of that Subarute episode on MCM – whole turbine poking through bonnet) 😀
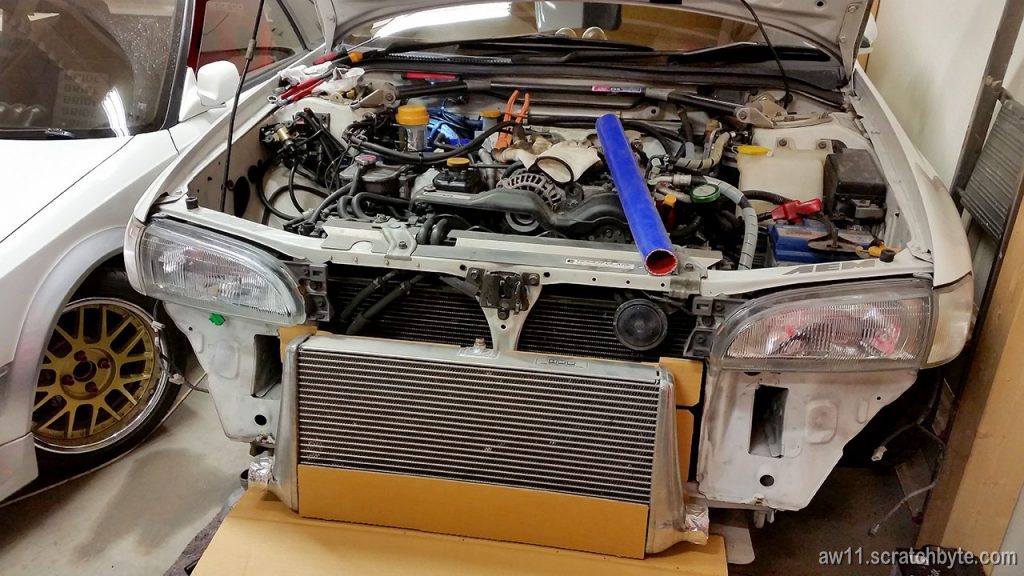
Widric has this rather cool HKS front mount kit, which will need slight modification. Hopefully the turbo works with the front mount.
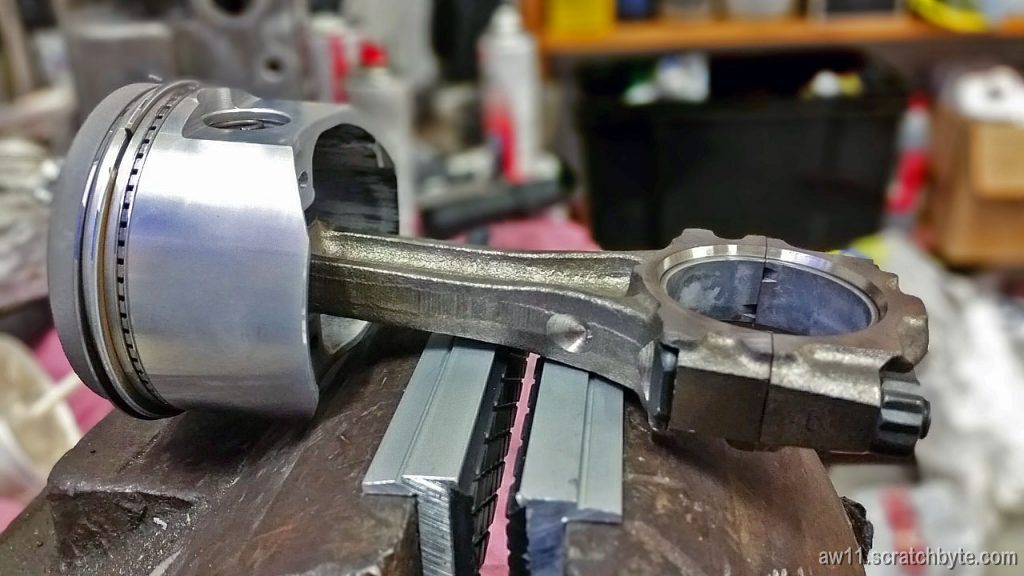
Seems that I have reached the point where there is nothing to take apart anymore!
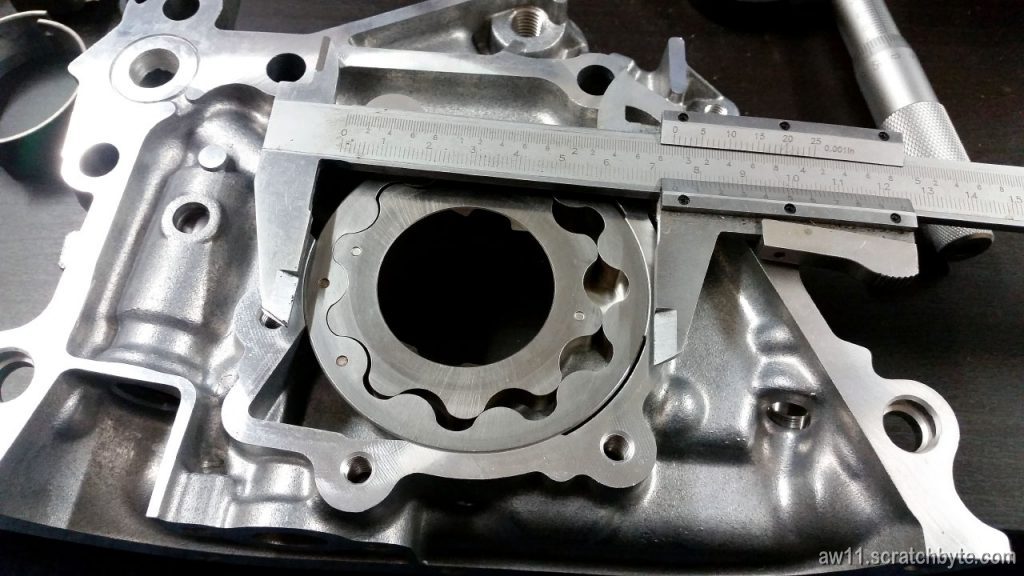
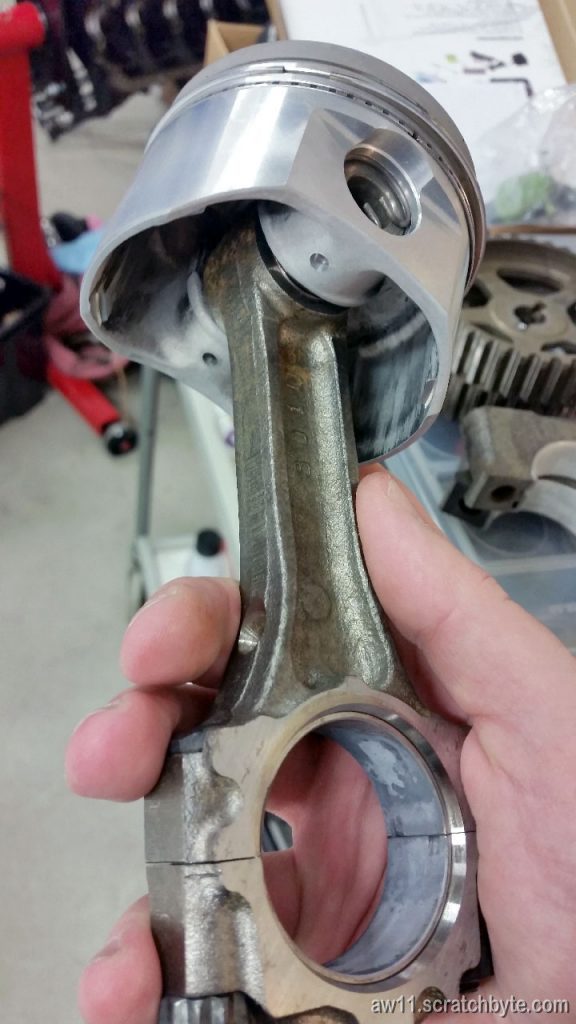
One of the pistons (the one that had a ultrasonic bath) taken apart and measured – maybe bit too HDR-ish photo 😀

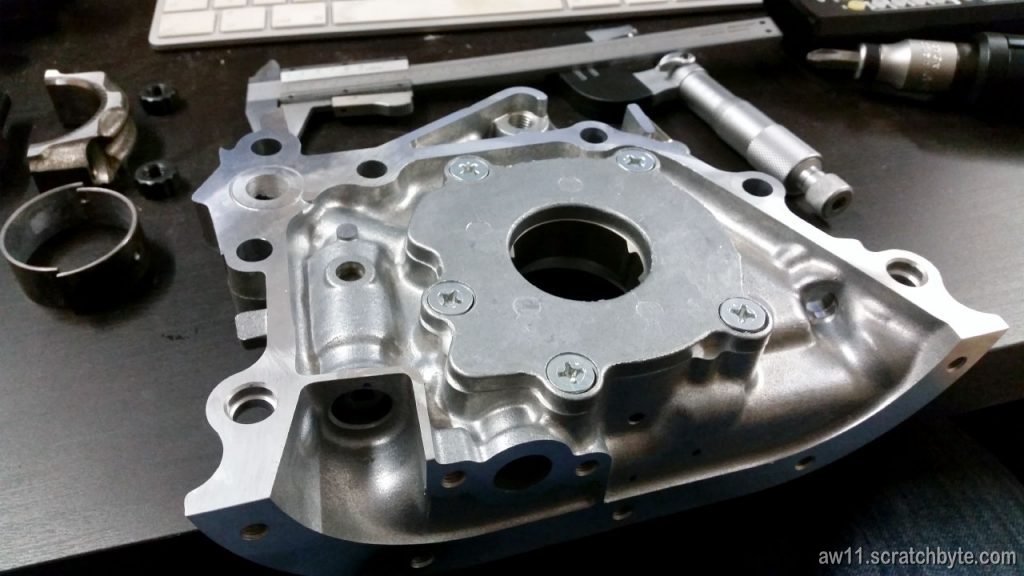
The new oil pump, this one with 74mm gears. I found some info about how the new dry pump should be primed with grease or assembly lube, but I think that is for later.
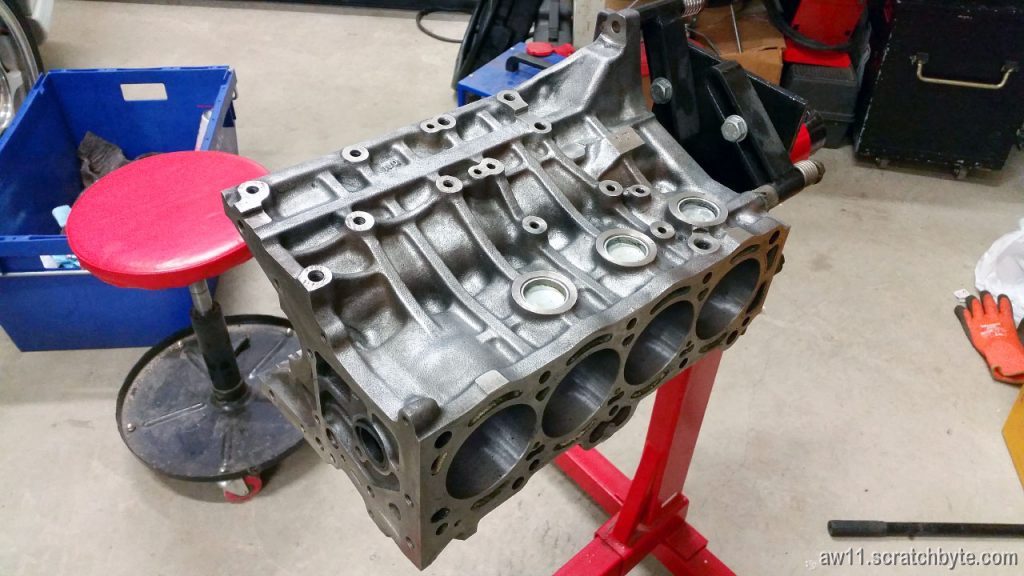
Finally, I’ve at least primed the engine block! Got all of the paint stripped, the block cleaned and greaseless and then painted with 2-component epoxy primer (which is actually fine for only coat, but maybe light silver top coat…?)
Cleaned
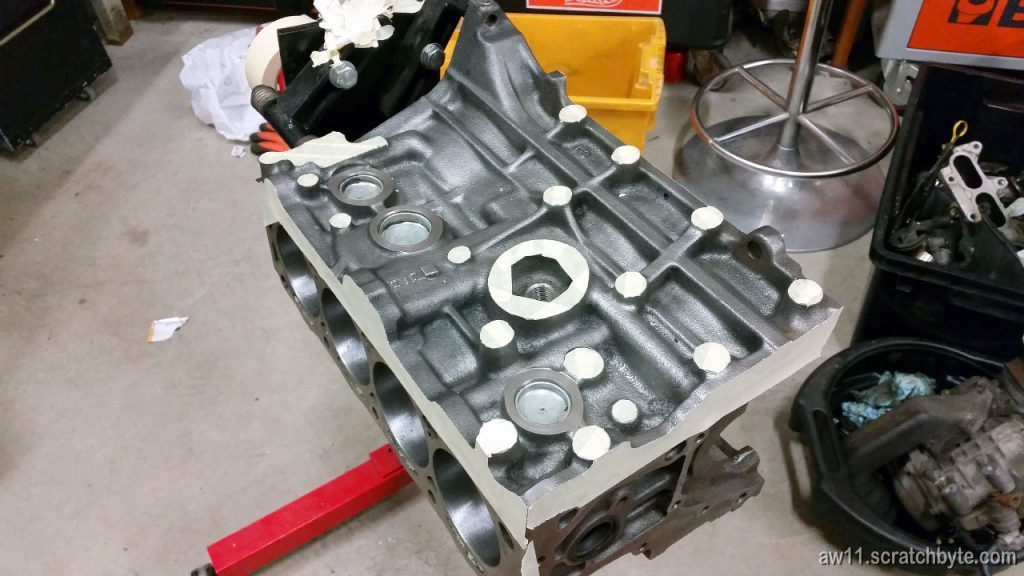
Important bits taped off
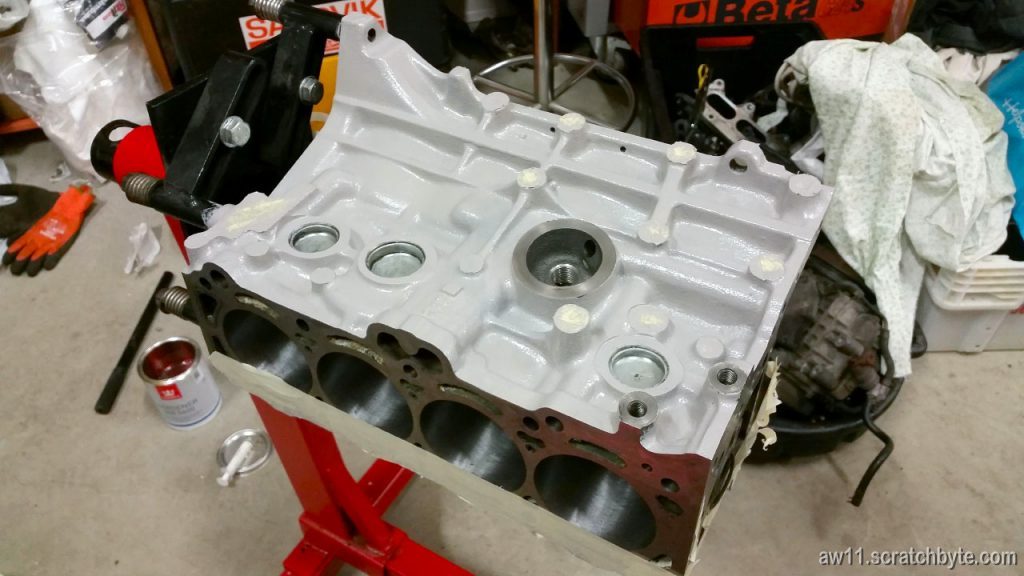
Painted
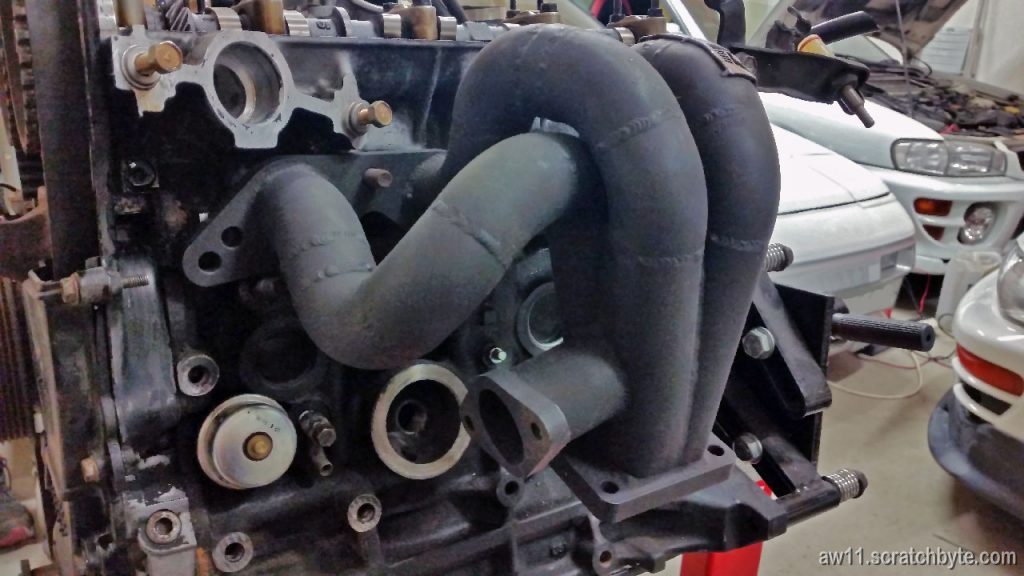
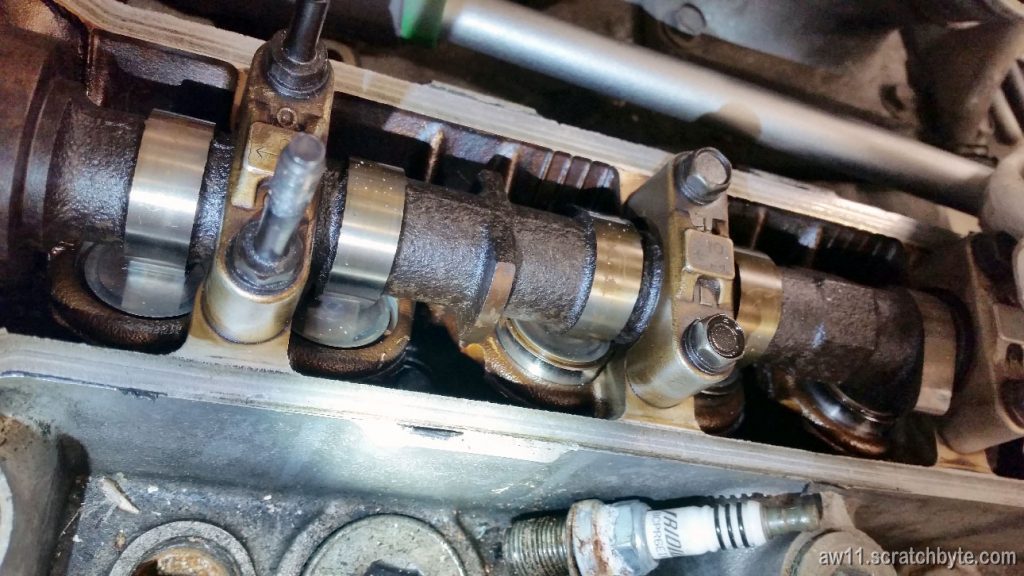
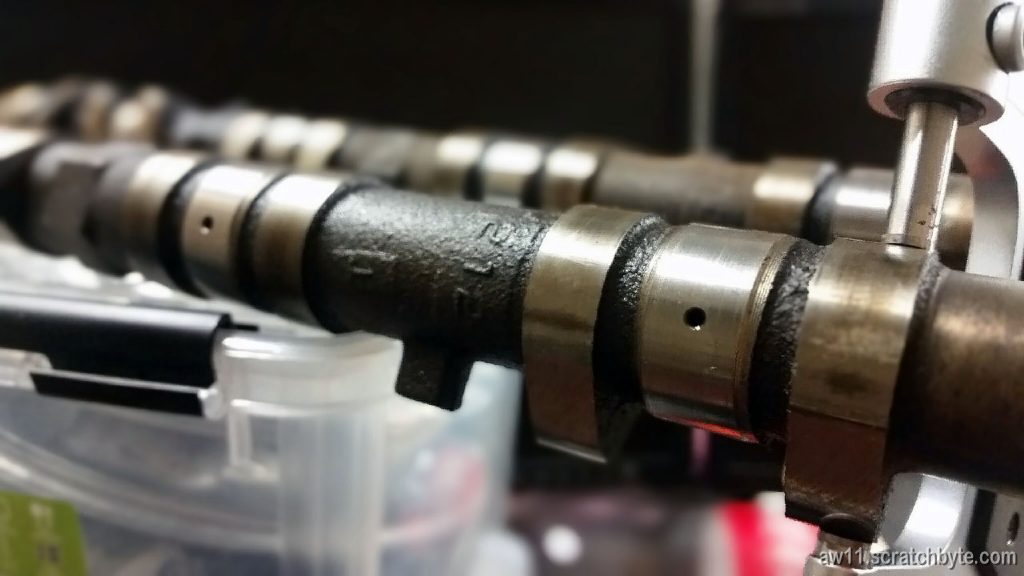
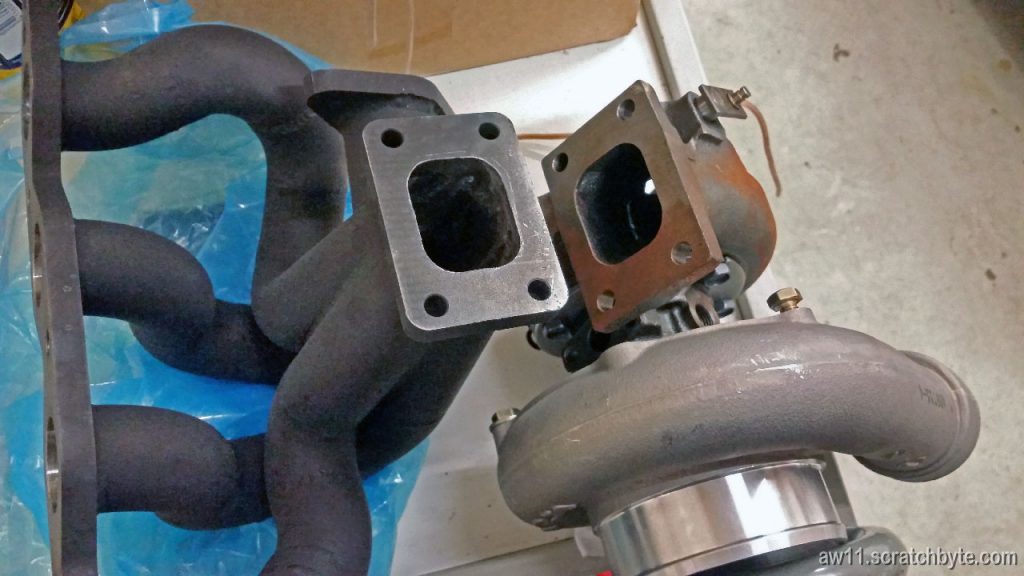
Valve covers are off – camshafts look fairly good. MRP turbo manifold testing.

Testfitting the turbo manifold – reverse angle
There was a reason behind this pic but I’ve forgotten it
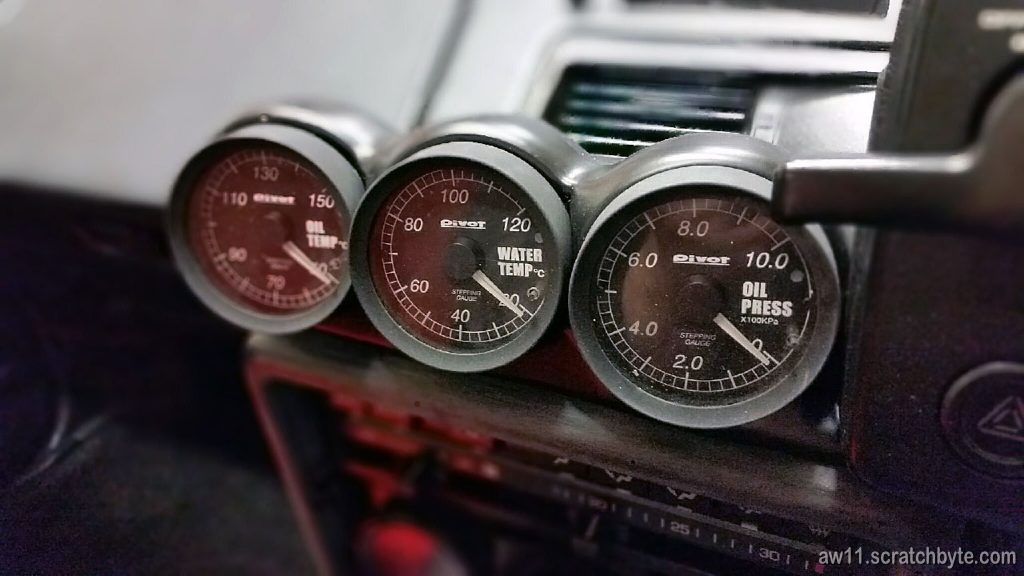
Half decent gaugepod, painted satin black and in proper place
Trying to figure out if I have stock camshafts
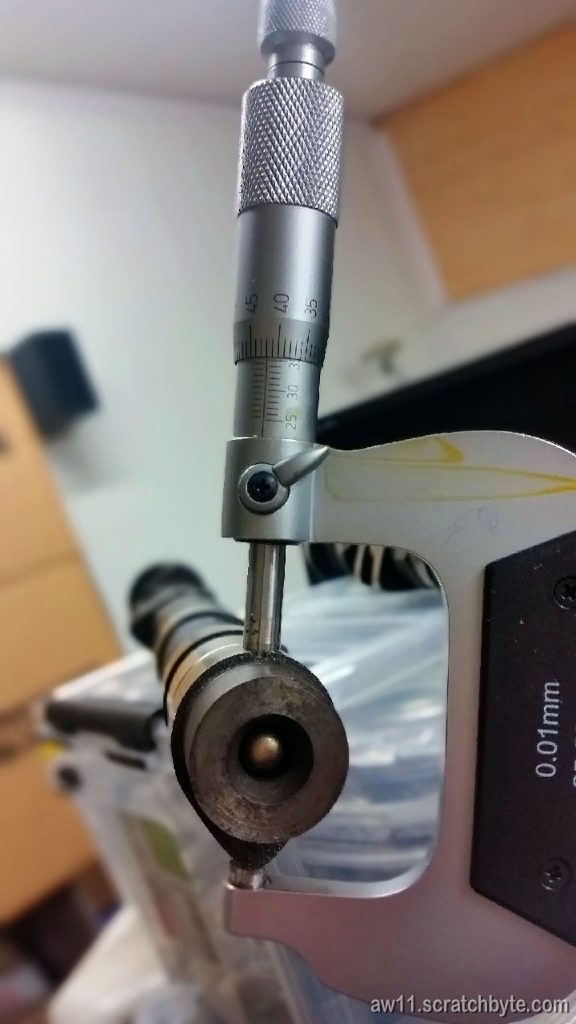
That 212 in the casting made me wonder – stock camshafts are 232° if I remember correctly, but then again, it could be 272 (TRD camshafts). Measuring the cam lobe finally told me that I was dealing with stock shafts. Woo-hoo.
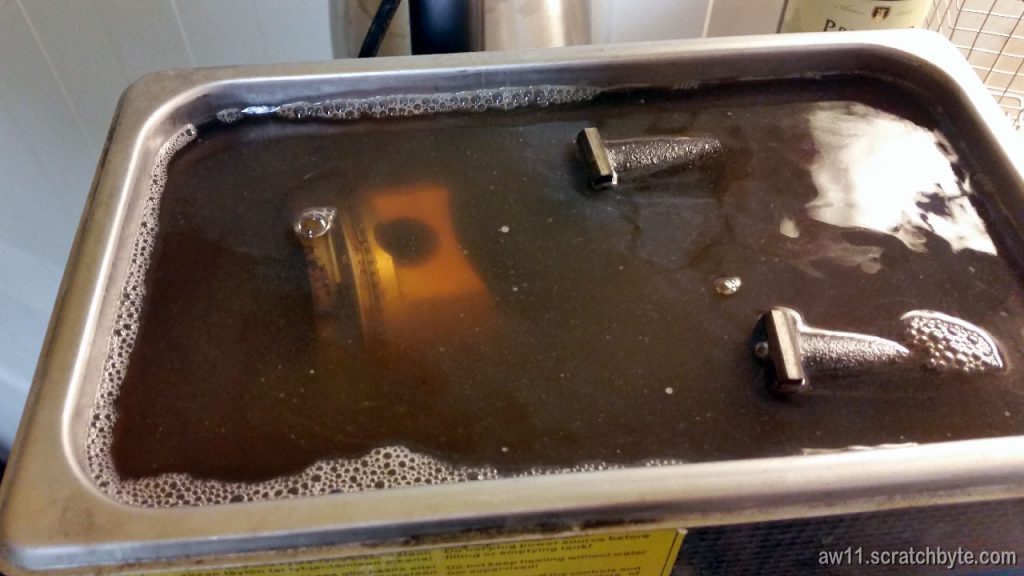
Some engine bits in ultrasonic cleaning solution
One of the pistons looking good after washing it
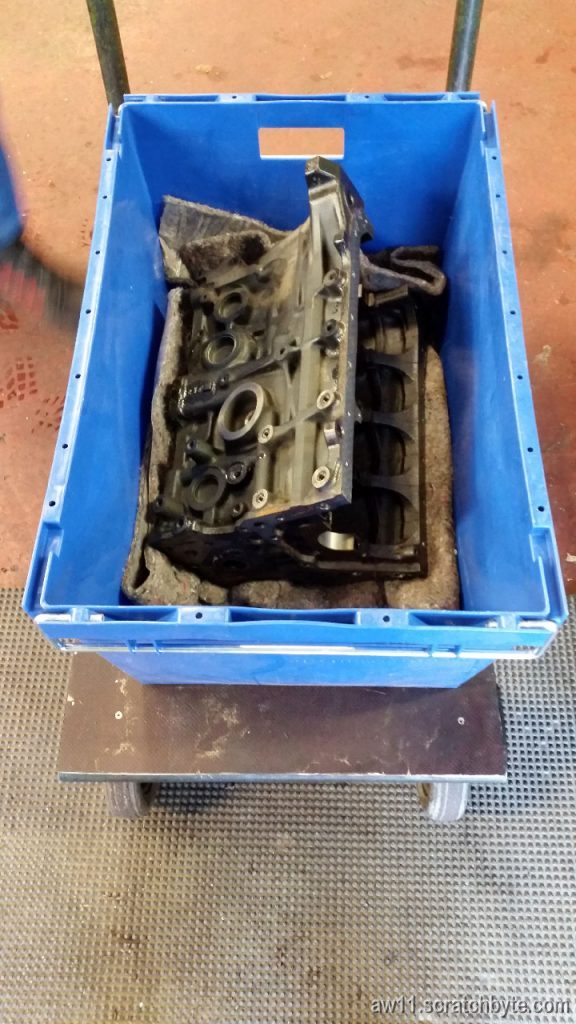
Engine block going into machine shop
My turbo manifold and Beldins RS2871R GT2876R
Number one main bearing
Widric pondering if Beldins turbo would fit his Impreza

Glorius 4AGZE!
Testfitting Manon Racing turbo manifold
Bottom
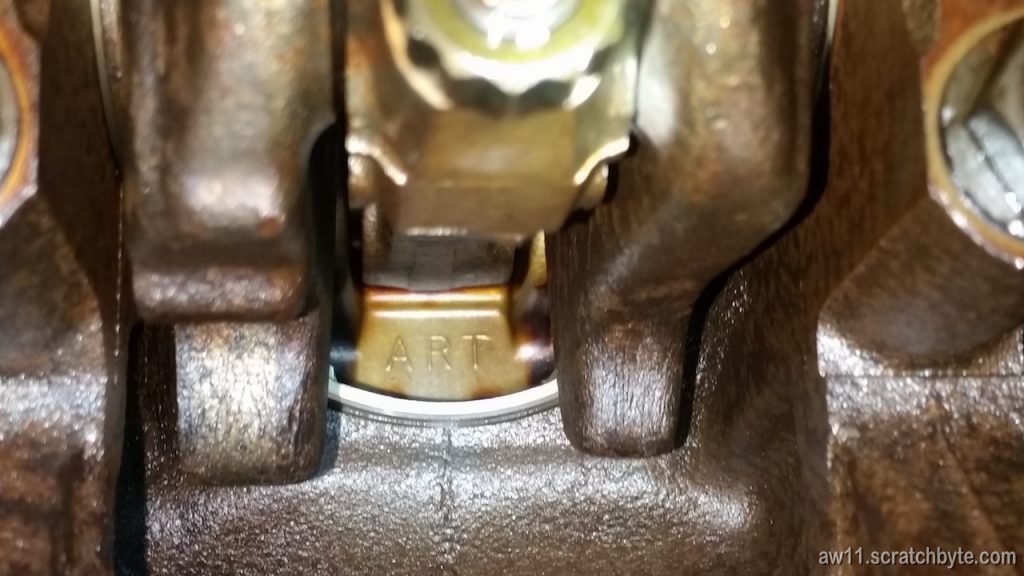
Toyota ART 8:1 pistons
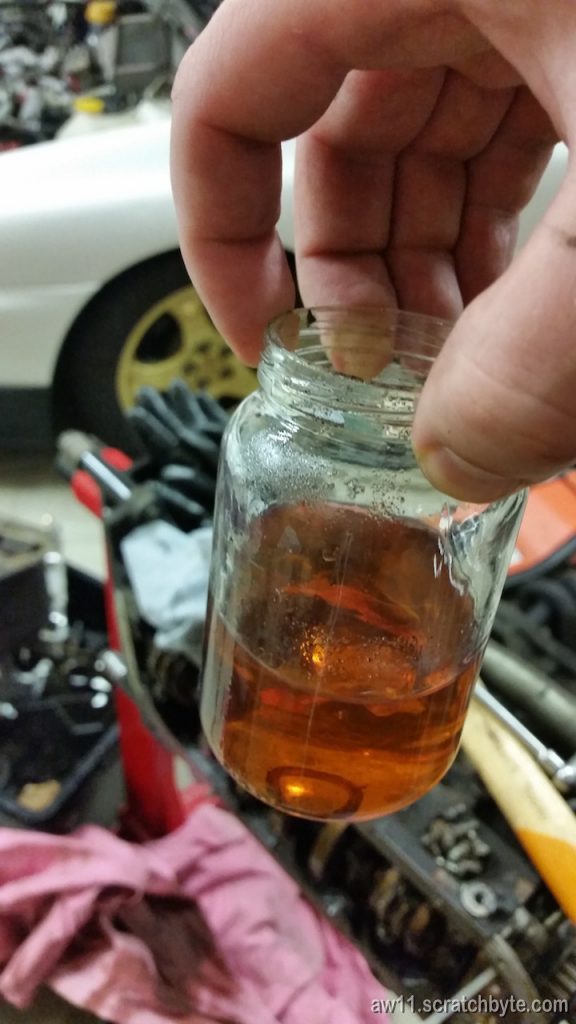
Genuine (and expensive) Toyota supercharger oil
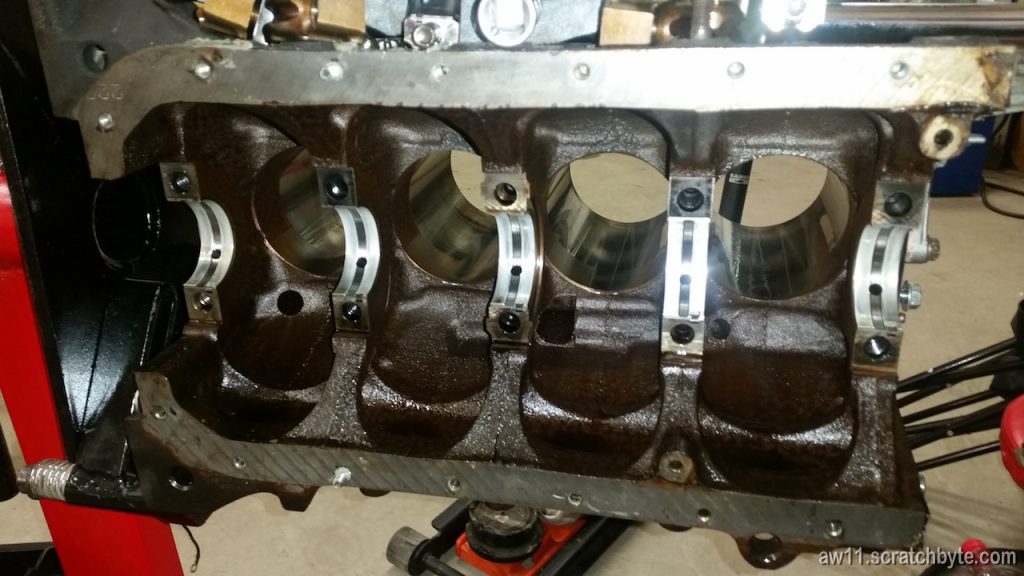
Almost bare block
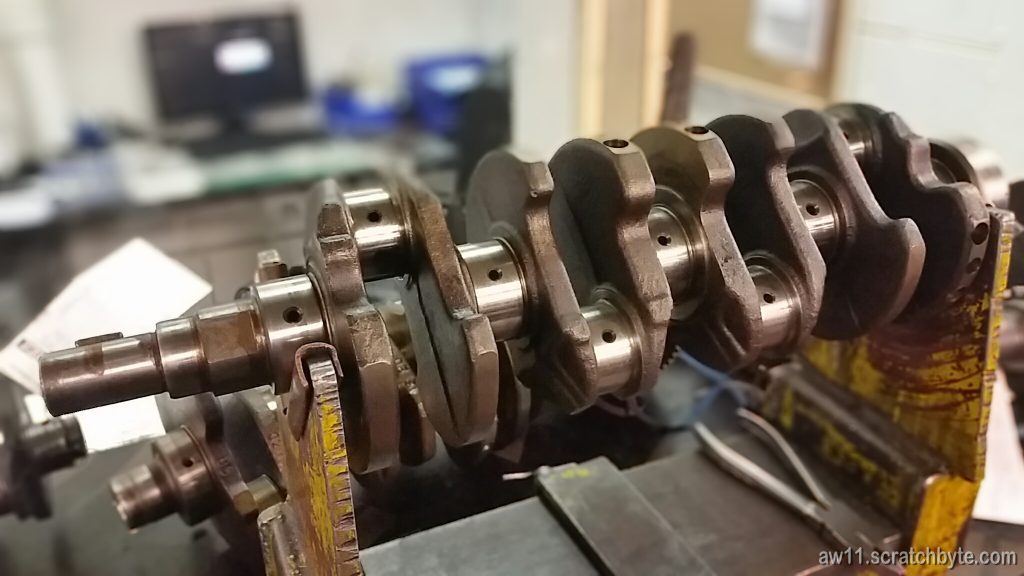
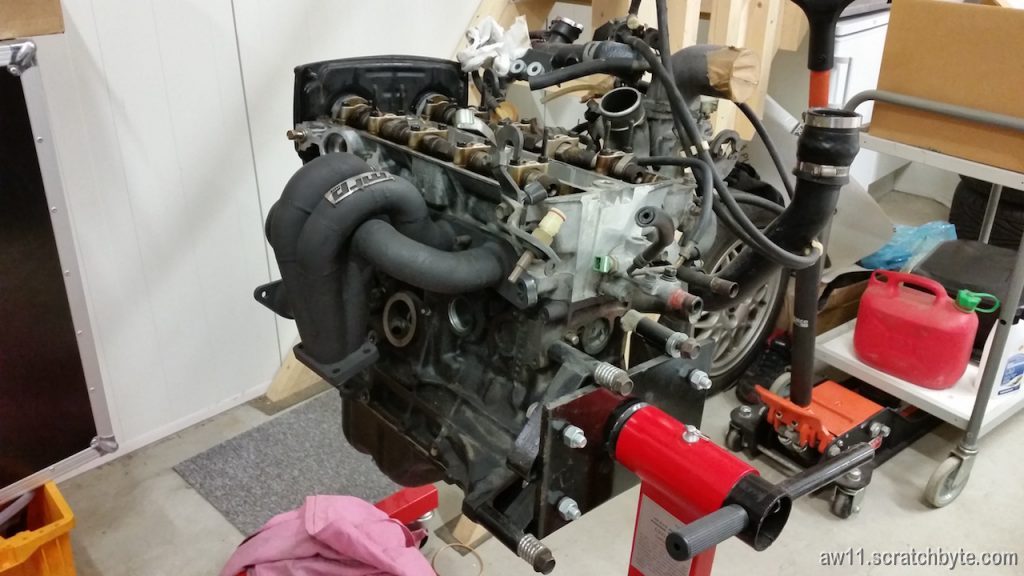
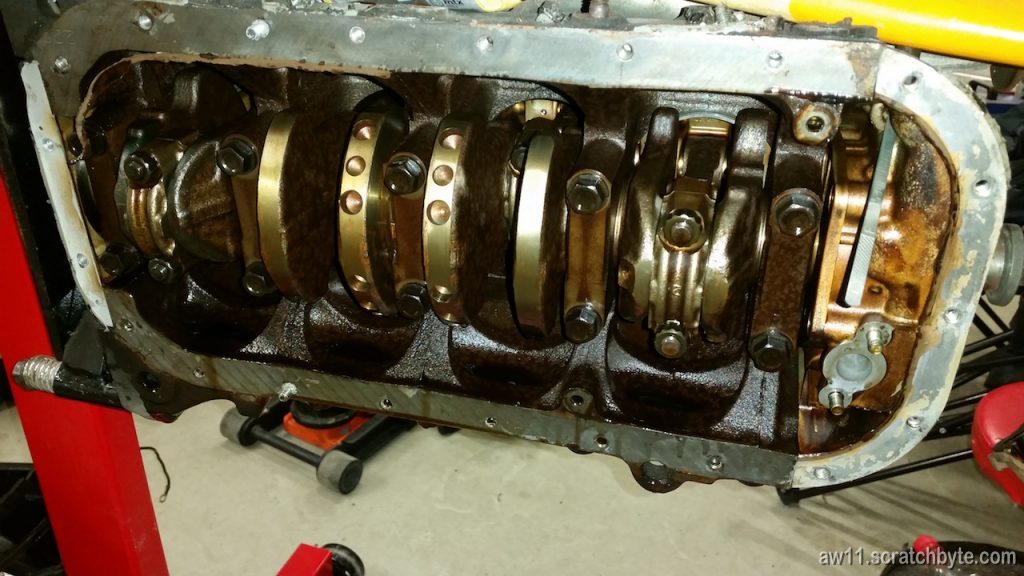
Ok, long story short. I went and got my spare engine out from the shed where it had been for more than two years. Took it apart and inspected everything and there was nothing serious. Block is currently getting machined to 81.5mm oversize and just got the crank back – polished and inspected (photo taken when i took the crank to the shop).
Still missing lot of parts. I’ve ordered a genuine toyota 15100-19036 oil pump, the one that I had wasnt suitable for Toda gears. Bearings needed, conrods, pistons, whatnot and a turbine 🙂
P.S. the bolt pattern upgrade isnt done yet 🙂
I built this oil filter relocation kit some time ago. For my first adventure with such things, it performed really well. There were some leaks, but relocation, pressure sensor and temperature sensor were a success.
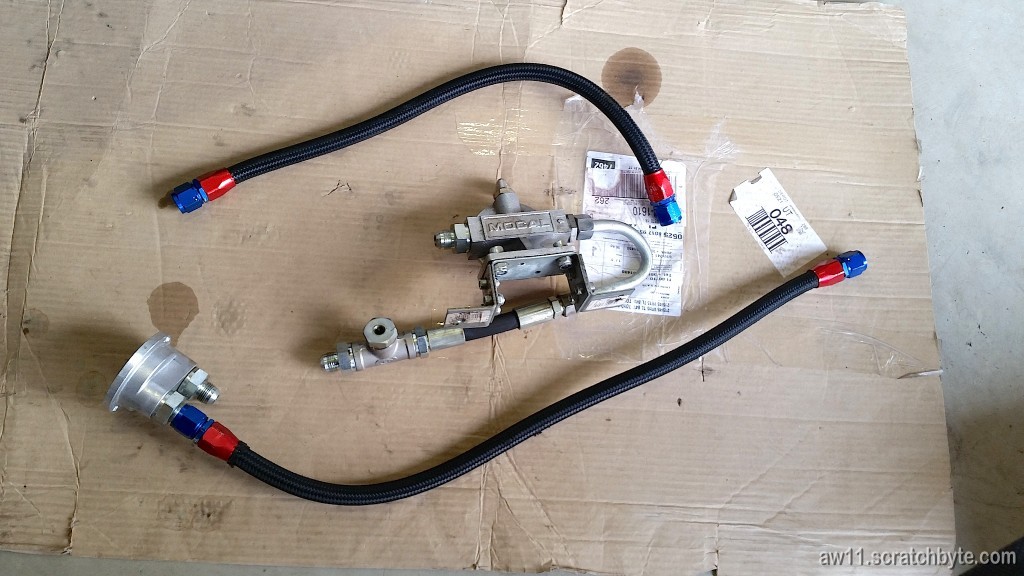
Only thing that annoyed me was the resonance. I attached the oil filter bit next to the fuel filler hose, which got the whole fuel system resonating.
For the replacement, I just got this generic chinese made sandwich plate and decided to get rid of the whole relocation stuff.

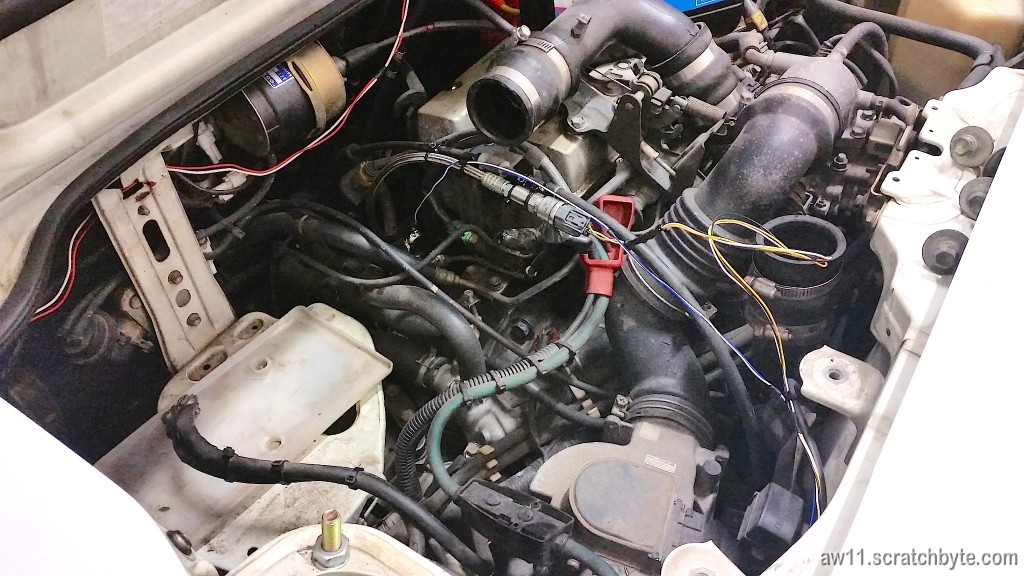
The braided hose for the pressure sensor was perfect and i was able to mount it on top of the engine. The sensor is on the heavy side and I felt it could break free (and crack the aluminium) if left attached just to the sandwich plate. I did some heat shielding with 3M aluminium heat shield tape.
Edit: I forgot to mention, the temp sensor wiring and pressure sensor hose went between the exhaust manifold and block, otherwise i wouldn’t made the heat shielding
I had to lenghten the wires for the electric parts, which I did properly. I found very nearly the same wire with same colors and did a top notch job. The wires were soldered with supports to eliminate possible cracking in shaky enviroment.
Just change the distributor cap to fix it. Easy?
No.
There was a drop of oil under the car every now and then, which was dripping from the AC compressor (definetly not from the compressor itself). Couldn’t find the source, but then reading an article about the 4A distributor and the distributor seals, I wondered if this was a good time to do a overhaul.
Cap was old and used and so was the rotating bit so nothing spectacular there. Just needed to buy new parts.
I took the whole distributor off the engine and inspected it on the floor.
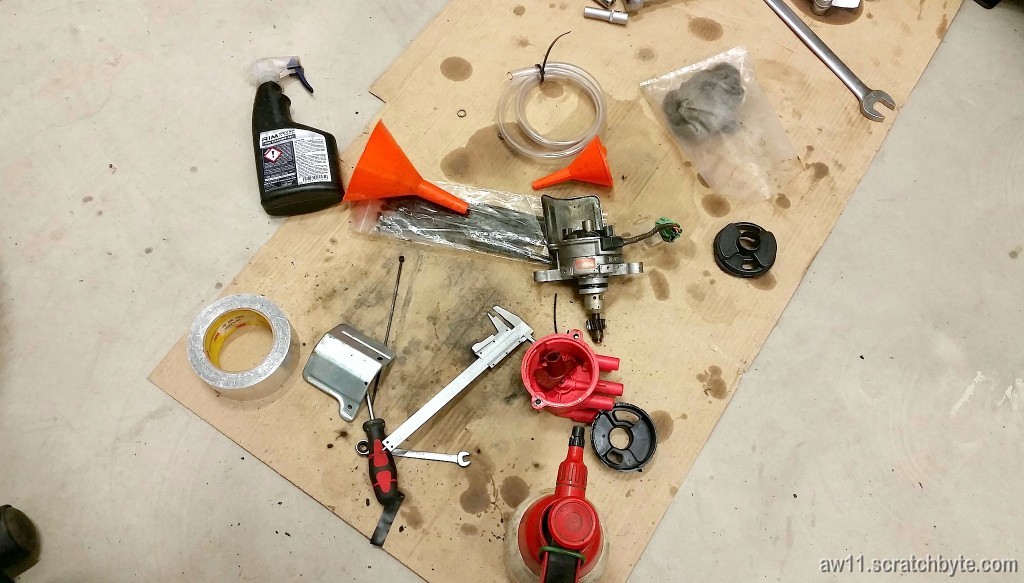
All the seals were either hardened or destroyed, so I needed to get some new stuff. I went to see the guys at the local shop for such things. I got some Viton seals for longevity.
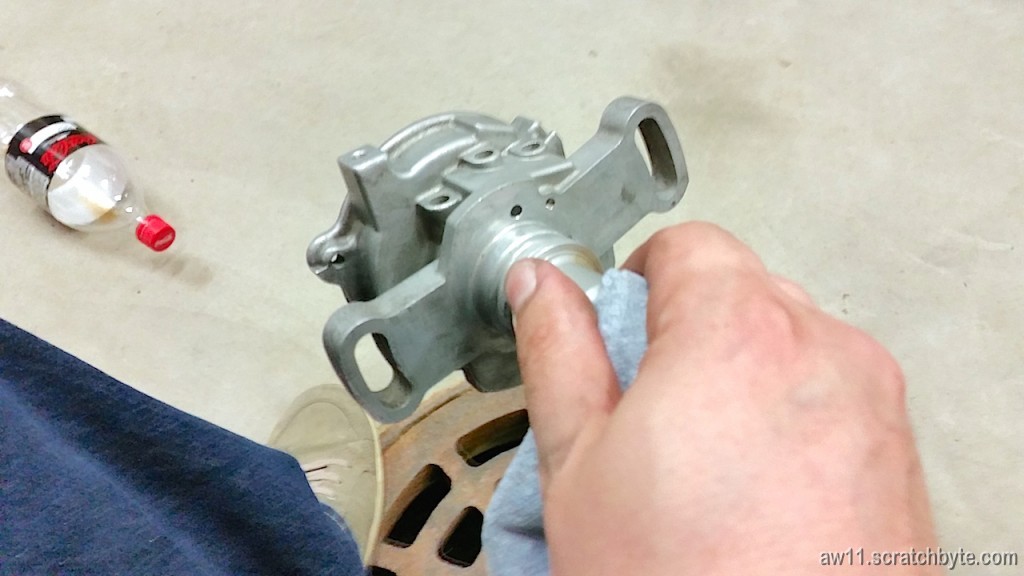
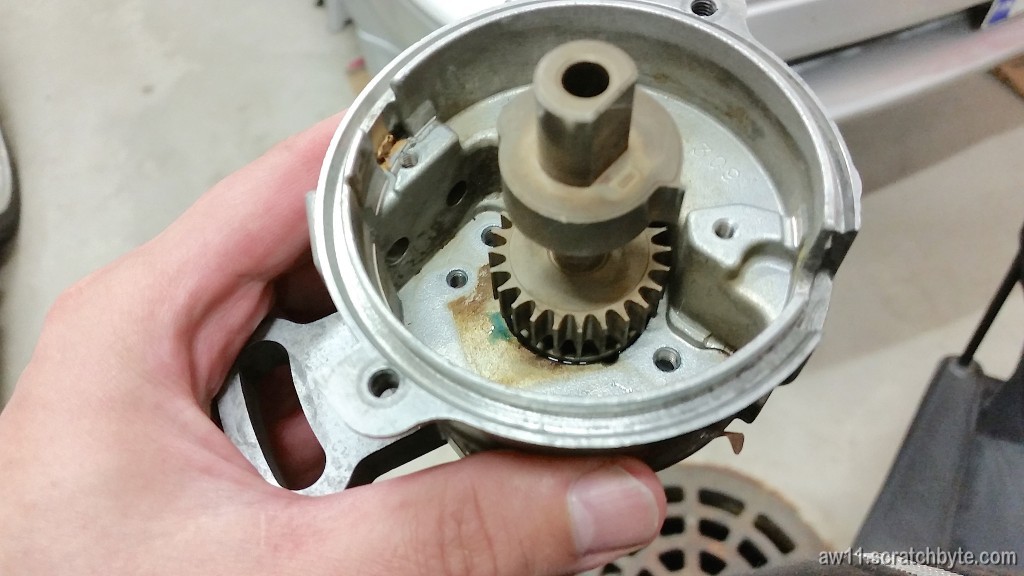
I cleaned the whole thing inside out as well as I could. There was some oil inside, but nothing serious. I read the installation instructions from the manual and started slowly to tighten the bolts. I had the first bolt tightened with fingers and used my 1/4″ ratchet to get the second one slightly more tight. There was almost no resistance when *tink*
And this happened:
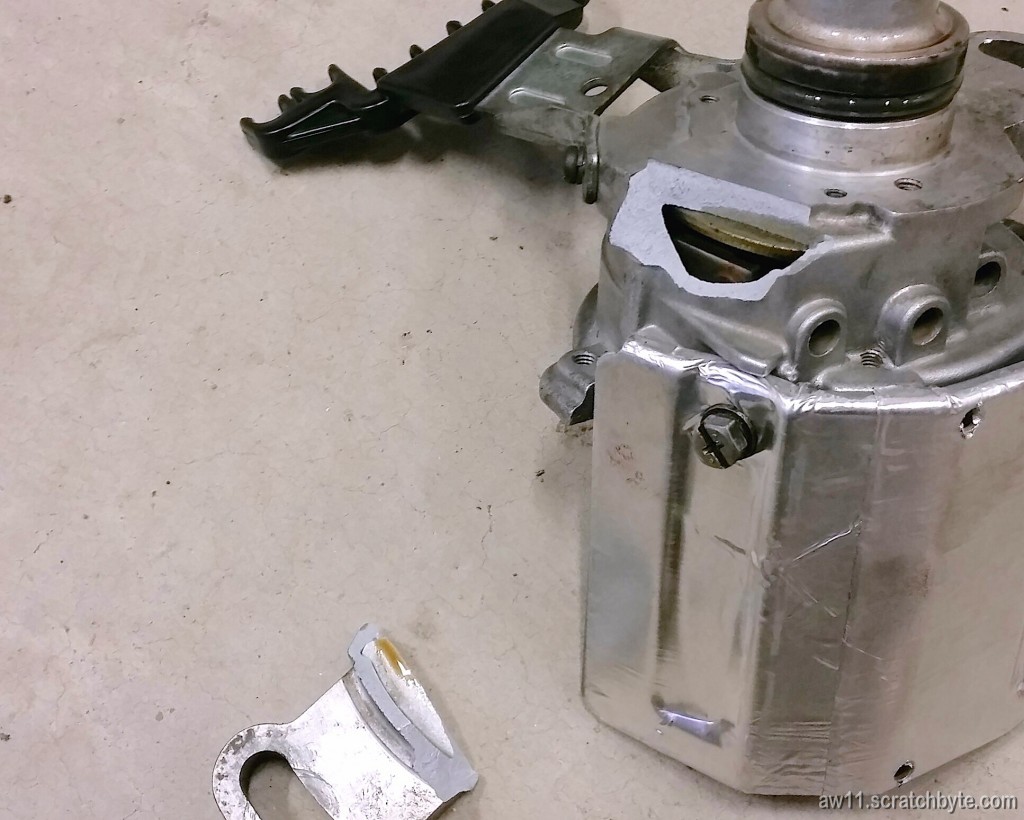
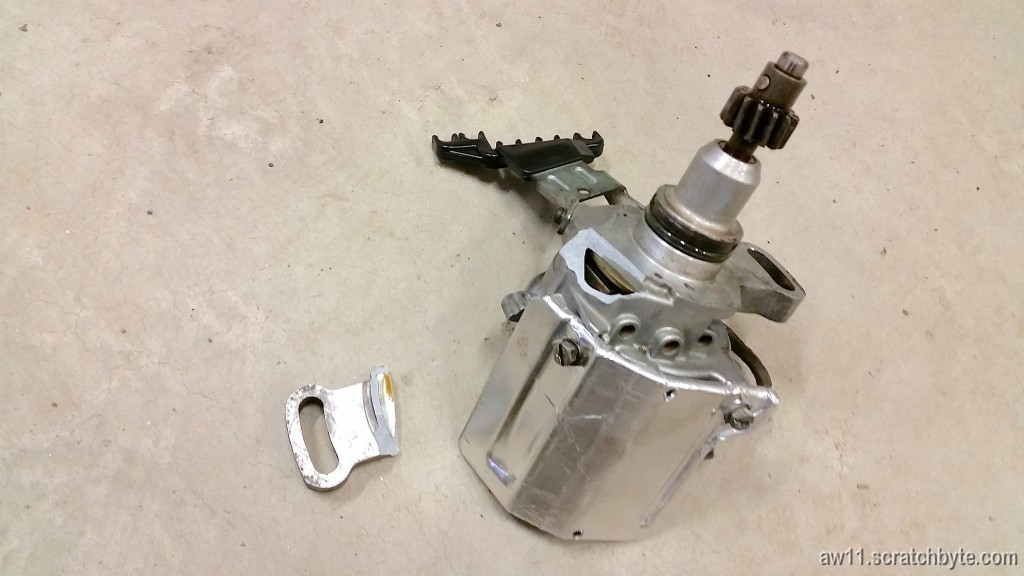
Luckily, I had a second distributor on my spare engine, which got the same treatment. New seals, cleaning inside and swapped the new cap.
The seals did the trick. No more oil dripping off the AC compressor.
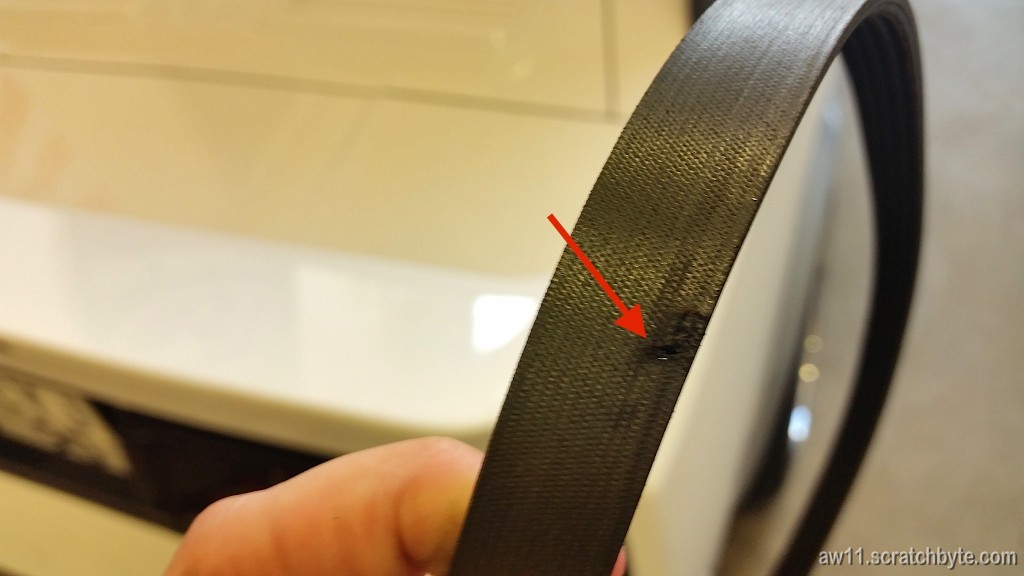
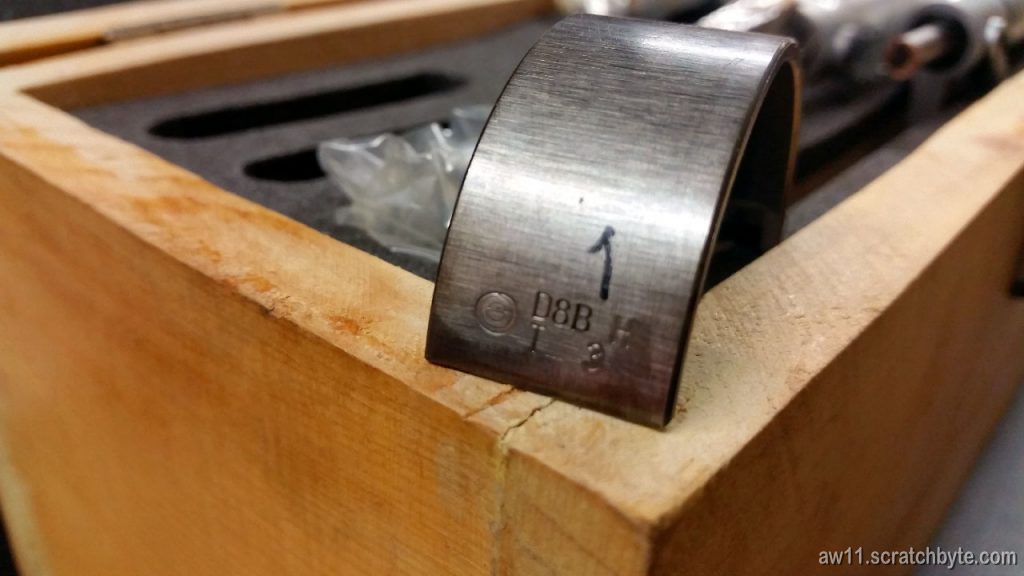
Is it bad if the belt has a hole?
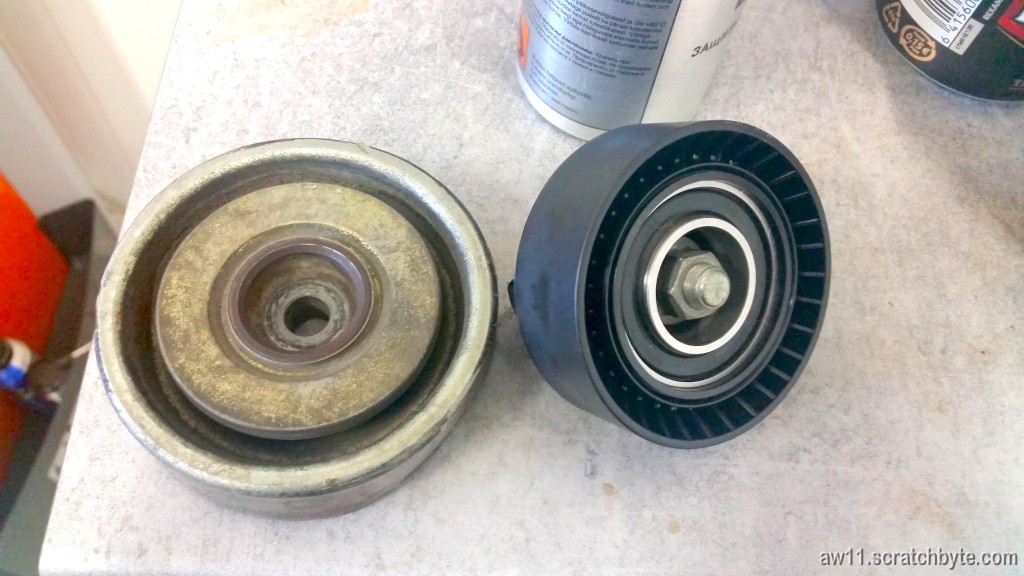
(On the left, original Toyota pulley. On the right, the one that fits BMW and now fits MR2 too)
I’m not the biggest fan of original toyota pulleys (they’re expensive and heavy) so I decided to check out if I could find an alternative. The toyota pulley is 90mm dia, around 20mm wide and has a 10mm hole.
I found a BMW tensioner pulley, which is 70mm dia, 25mm wide with 10mm hole. It is a Dayco 89046 and has a bmw part number 11 28 1 748 131. Fits at least E34 518/520/525.
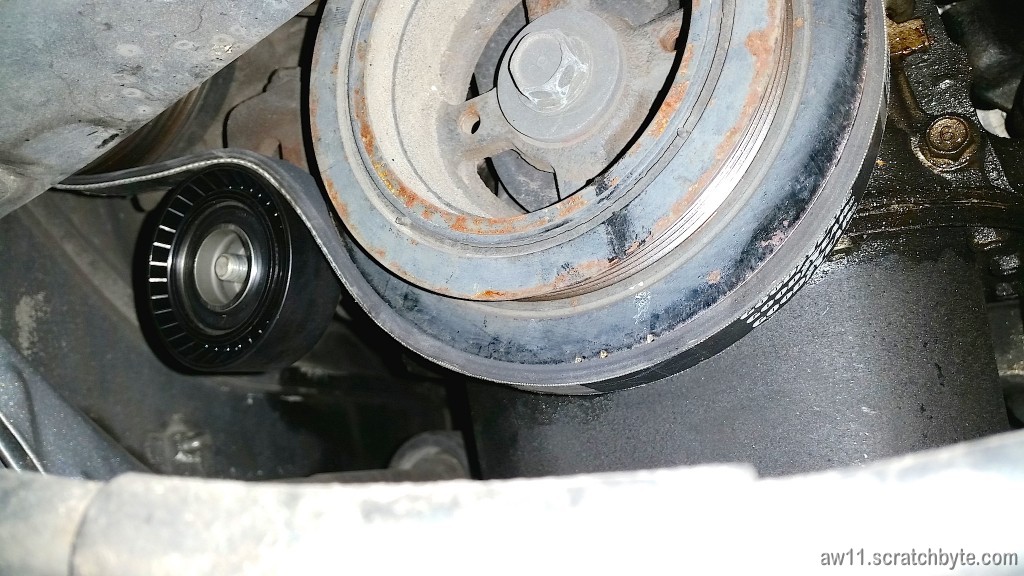
Seems to work pretty well. And now it fits AW11 too.
Mr. Manon from Manon Racing Products, NZ made me a turbo manifold 🙂
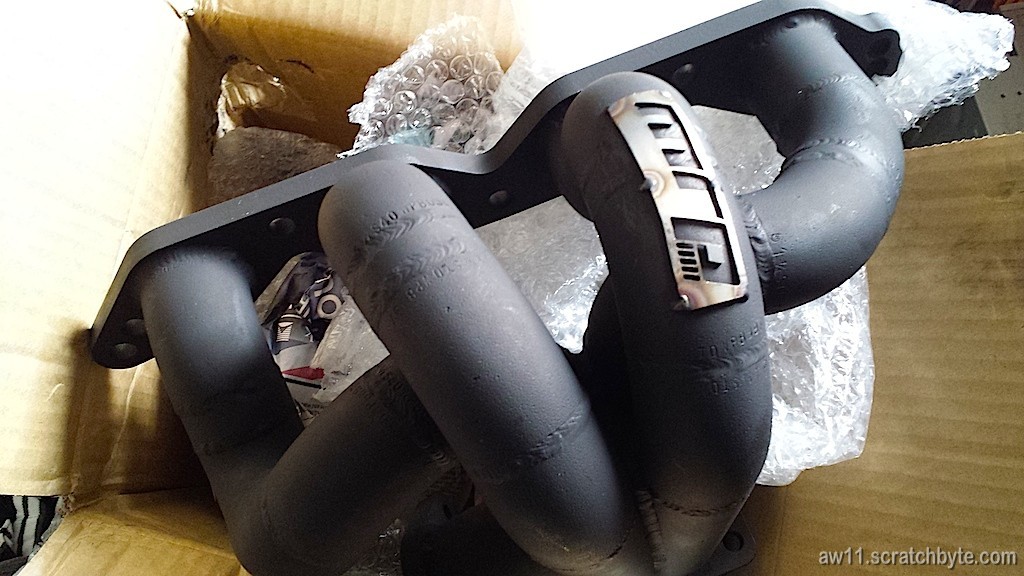
I havent yet bought the actual turbo, but I have a manifold at least! It is custom made to fit a BorgWarner EFR6255 or 6258 turbine into AW11.
Here are some measurements of the engine compartment I took for Mr. Manon to see if it would fit. The engine in the picture is a naturally aspirated one and the trunk side is not very accurate. Also, seems that at least my engine sits somewhat tilted towards forward for unknown reasons.
Measured distances should be accurate to 10mm.
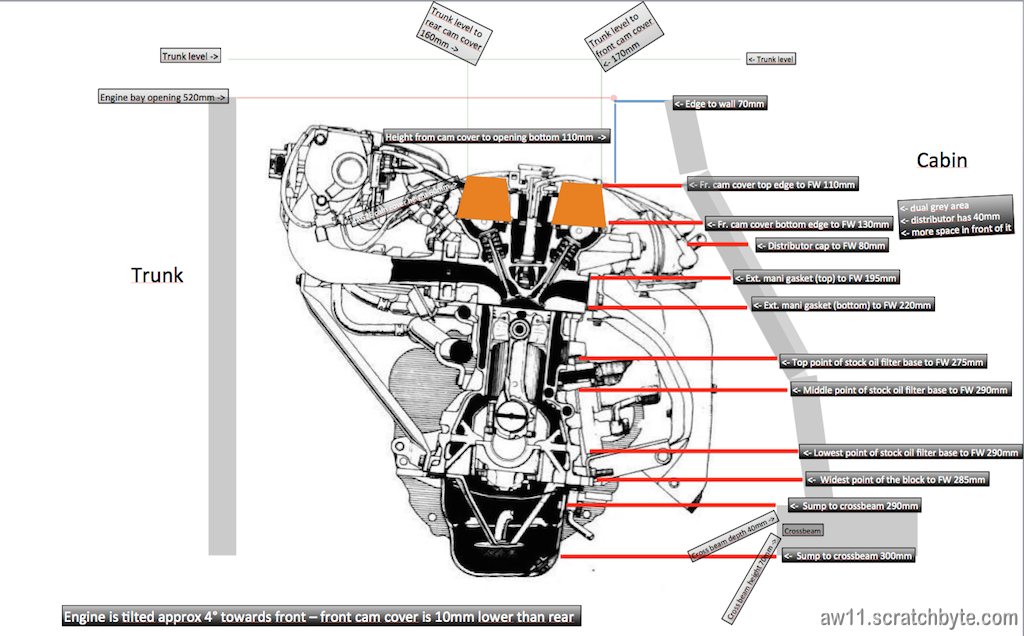
Click the picture for a bigger, clearer one.