Turbosmart fuel rail adapter

Got a Turbosmart TS-0402-1002 fuel rail adapter.

photo 3

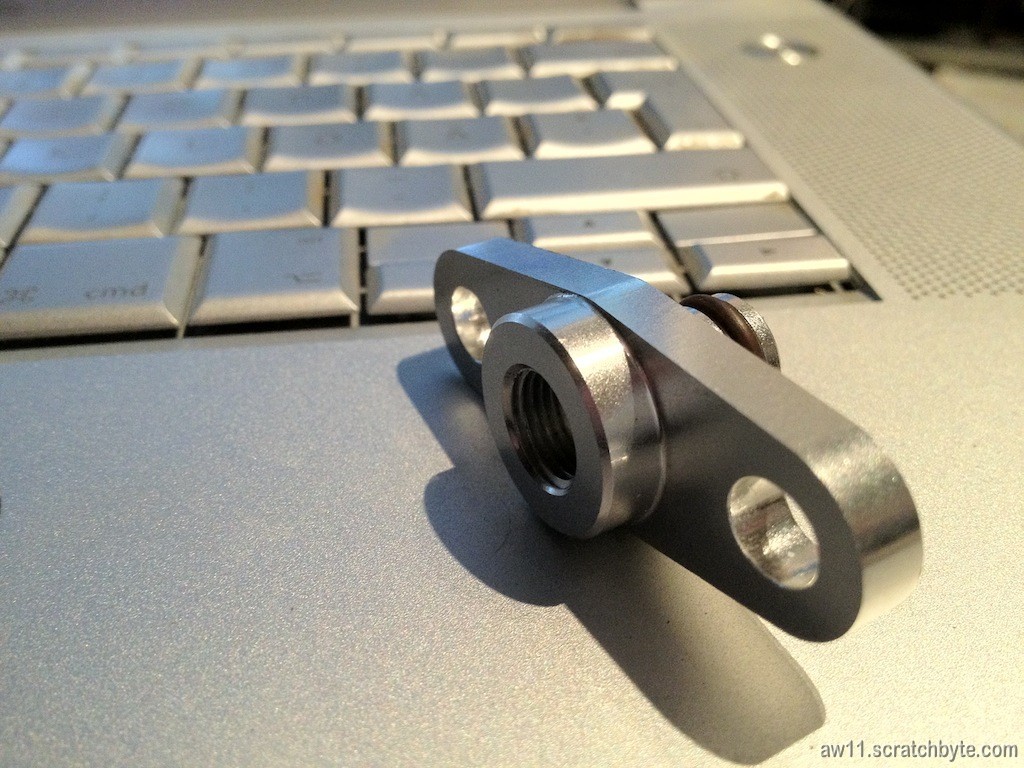
This piece should replace the original fuel pressure thingy so the fuel rail can be fitted with a adjustable one. I’ve got a generic AEM pressure regulator already, but I’ve been looking for this thing quite a while.

photo 4

photo 5

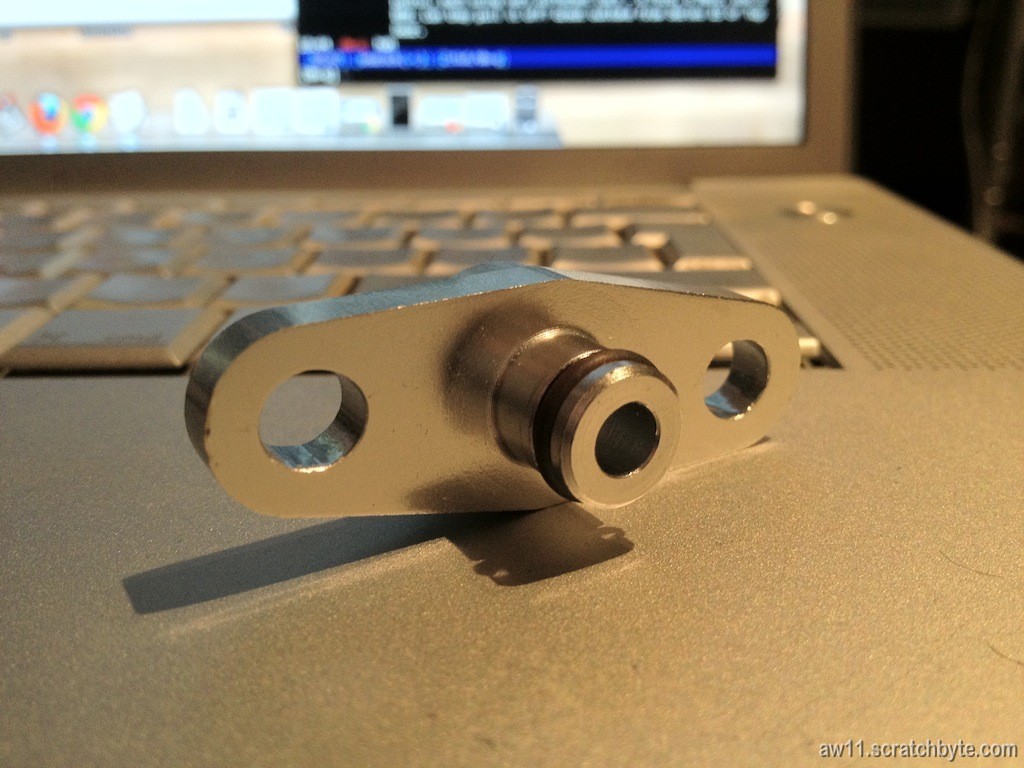
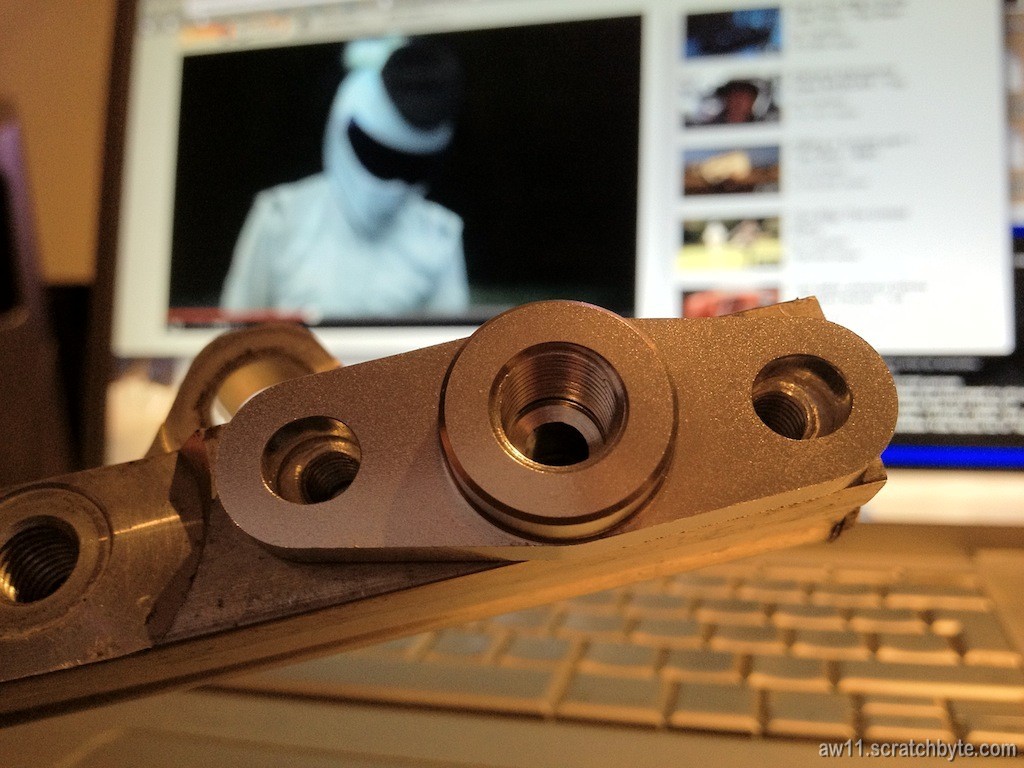
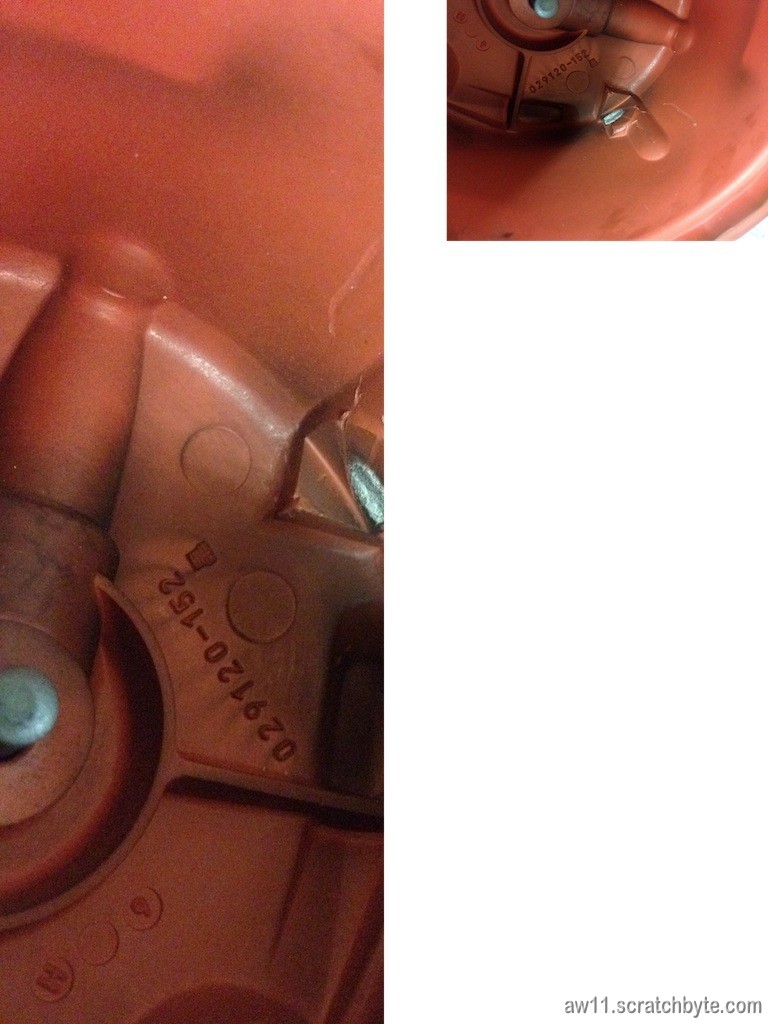
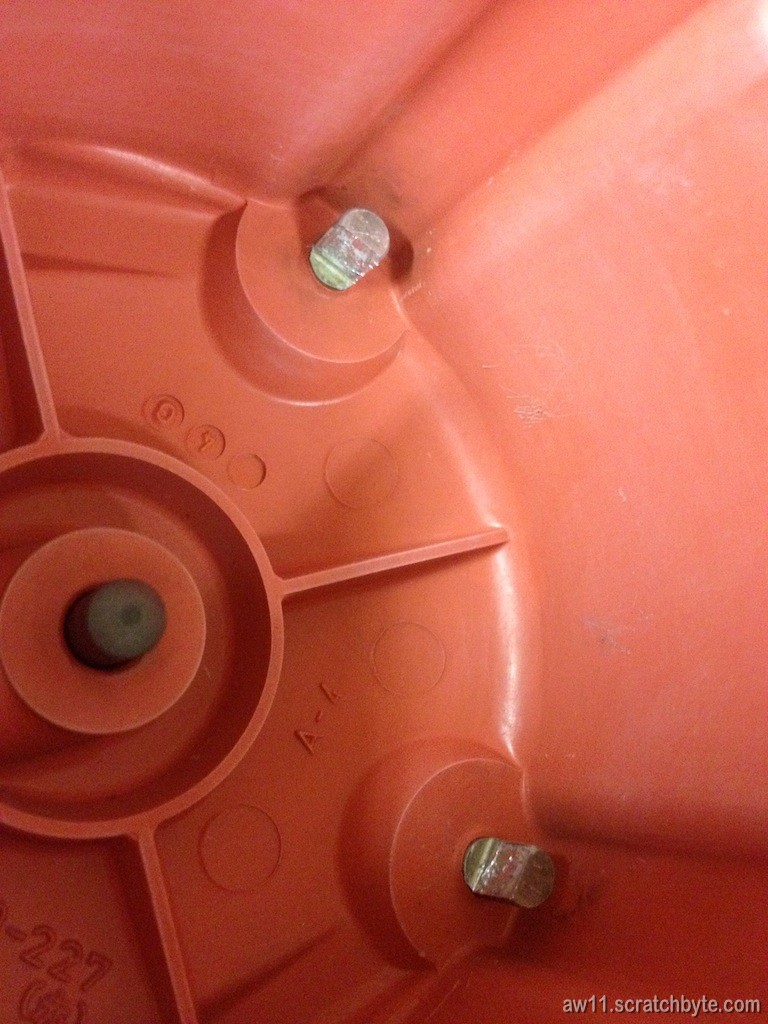
And it fits 🙂 I got my spare fuel rail from the garage and tested the fitment. The thread holes have some offset but I believe this is for subaru compability. Looks fine to me.

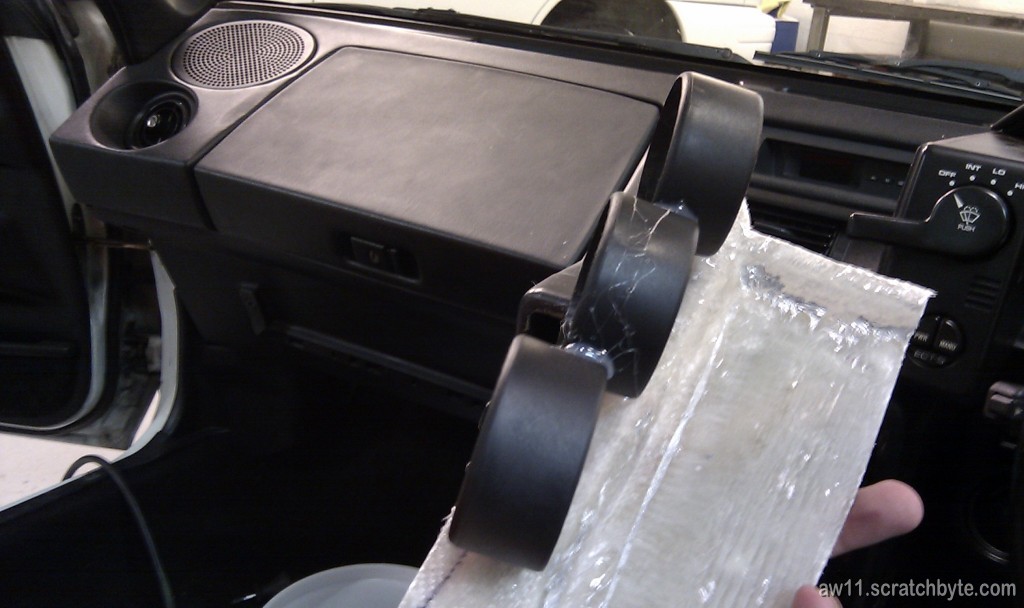
On a side note, seems that I forgot to remove battery when we came back from the track last time. Now I have a totally flat battery which doesnt want to work. I already sketched a plan to mount a lawnmower battery in the frunk, but that’ll have to wait.

Distributor cap and spark plug wires

The car has been running on the rich side for a while for no obivious reason. Beldin pointed out that I should check the plug wires and the dizzy cap, because who knows how long they have been in there?

I havent ever done anything to distributor so this was bit of undiscovered country for me. The dizzy cap I removed from the AW11 was dirty and the leads were quite corroded.

IMG_0226

I removed the spare engine dizzy cap and found out it was in better shape. I cleaned the leads and put it into AW11.

IMG_0230

Putting the dizzy cap back in the car was tricky. Cramped area and big useless hands.

Also, I took the plug wires out and measured the resistance. All wires were in 2kohm area, but the wire coming from the coil said something like 5kohm. No idea what the relevance is here.

IMG_0231

Before heading out for a test drive, I finally rememberd to turn the front shocks all the way down to softest setting. I’ve had them on 6/16 for 2 years at least.

Something in the engine compartment made kind of a wailing sound, but I fixed it by turning the music up.

I was probably hallucinating about the car, but it definetly was more perky. Air/fuel ratio didnt fluctuate that much anymore and the lowest that I saw it to jump (for 0.02 secs) was 12. Before doing anything it went all the way to 11 and stayed there for a long time.

Next time I have to check compression, the plugs and the dizzy rotor 🙂

Gearbox – oil and drive shaft oil seal

I started everything by draining the oil from the gearbox – and this time I undid the filler first, just to make sure that I dont end up with empty transmission and no way to fill it up.

IMG_0002

Oil was fairly clean, but it did have some black smudge here and there from the lsd.

IMG_0003

The shockproof oil had bit unusual color for a oil. MT-90 on the otherhand was just normal.

IMG_0011

…and the old engine side oil seal. I replaced it with a new one from Toyota.

IMG_0009

Gearbox oil

I came across a nice deal of gearbox oil and bought some – now I owe 80 euros to Beldin who gracefully loaned me the money. I should carry cash with me more often.

I bought 4 quarts of MT-90 and one quart of Shockproof for the AW11. I spoke with the guy  about the difficulty of chosing the oil for AW!!, which should at the same time please the gearbox and the LSD.

We checked from the internet that E51 gearbox should work just well with the GL-4 MT-90. He recommended that I should also add one bottle of shockproof to “”harden”” the mixture and added that if the LSD is not working with this mix, I should get some Redline friction additive.

I also need one oil seal for the drive shaft 🙂 and I need to fix the longer drive shafts CVJ cover.

IMAG1423

Broken silencer

I’ve had a strange squeaking sound coming from the rear of the car for a while now. Found out that it was a broken silencer hanger.

I havent had time to learn welding and I had a slightly tight schedule pressing on, but luckily I had the second similar silencer (the beaten one that came with the spare engine/gearbox) next to the car. Funny thing – I just cleaned the second silencer – didnt know that I would end up swapping it 😀

The change didnt take that much time and I next day I drove about 200km with MR2, without that annoying squeaky sound 🙂

IMAG1418

Doesnt show up very well but there is a hairline crack at the base of the hanger, going somewhat vertically next to weld.

Rim and tire weights

Got a brilliant idea to use a luggage scale to weigh rims and tires 🙂

My BBS RN010 15×7 +43 (bit more than 8,6kg – messed with the scale)

IMAG1408

Widric’s Toyo Proxes T1R 195/50R15 (6,64kg)

IMAG1414

IMAG1415

Widric’s TE37 with Toyo Proxes R888 (50% rubber left) – (12,50kg)

IMAG1416

I also made a static page of various rim and tire weights – its here

Edit 5.10.2017 it’s actually here now

Additional gauges – 3.14159265

IMAG1391

Well looks good doesn’t it? 😀

It’s a fake. The gauge pod on top of the dash is a major fuckup and the panel under the head unit is just hanging there.

But it looks nice 🙂

I’m going to redo the gauge pod. This one was a (failed) prototype which at least did give me some valuable experience. The fiberwork is a mess, I didnt have a good plan, I got bored and then I tried to save whatever I had and hide everything under 3M carbon fiber wrapping vinyl.

Additional gauges – 3

Something new!

I hotglued the “bezels” to my frp contraption and testfitted the gauges.

IMAG1383

IMAG1385

This is how it is supposed to look from the drivers side:

IMAG1386

The “bezels” have slightly different angles.

IMAG1388

Now I just need to wrap the thing with old t-shirts and glass fiber mat 😀