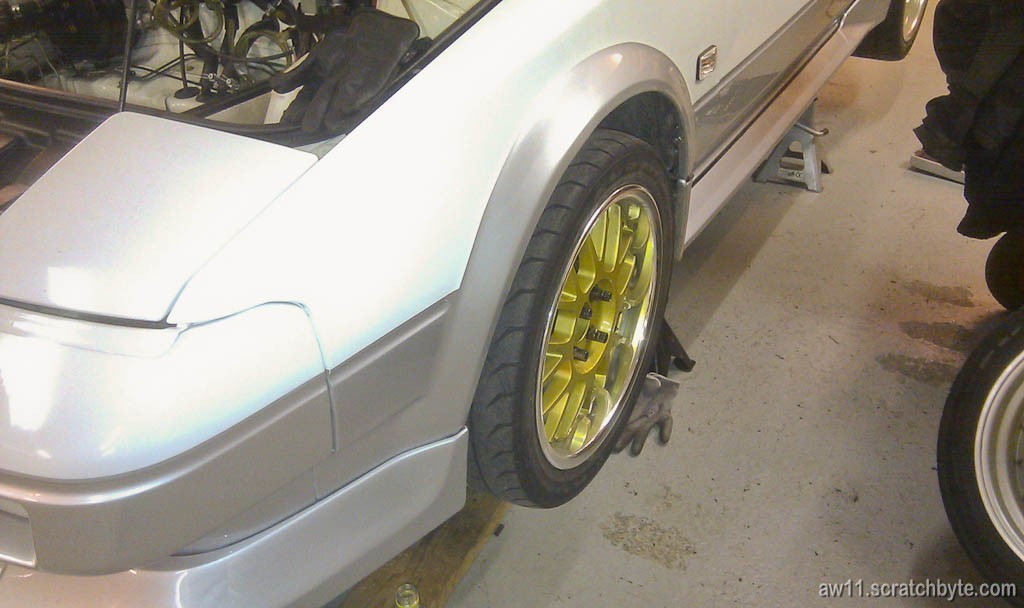
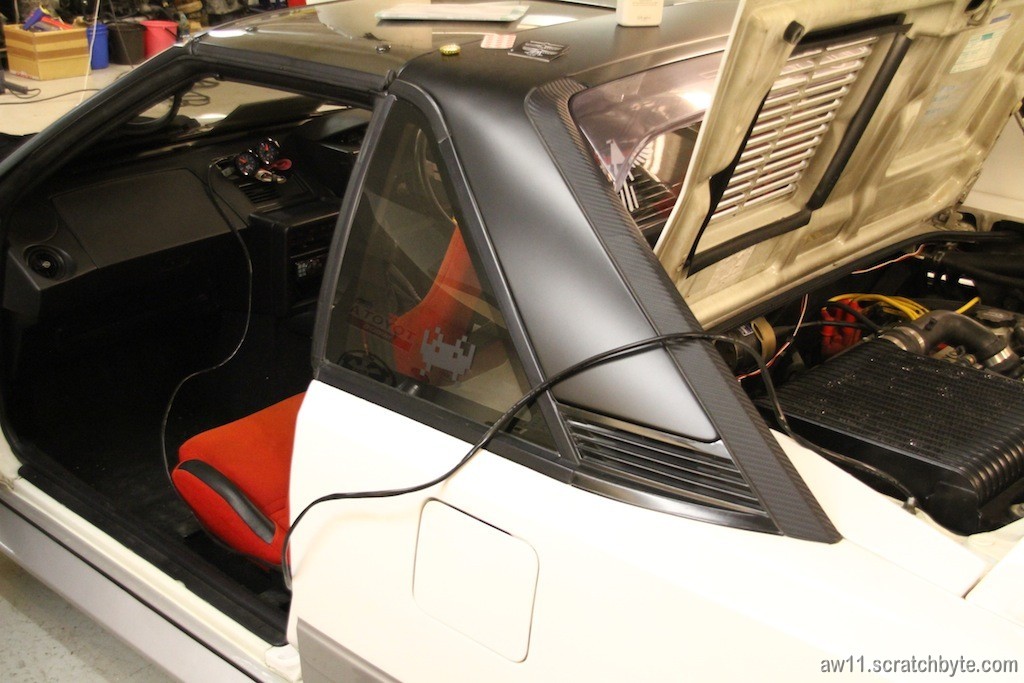
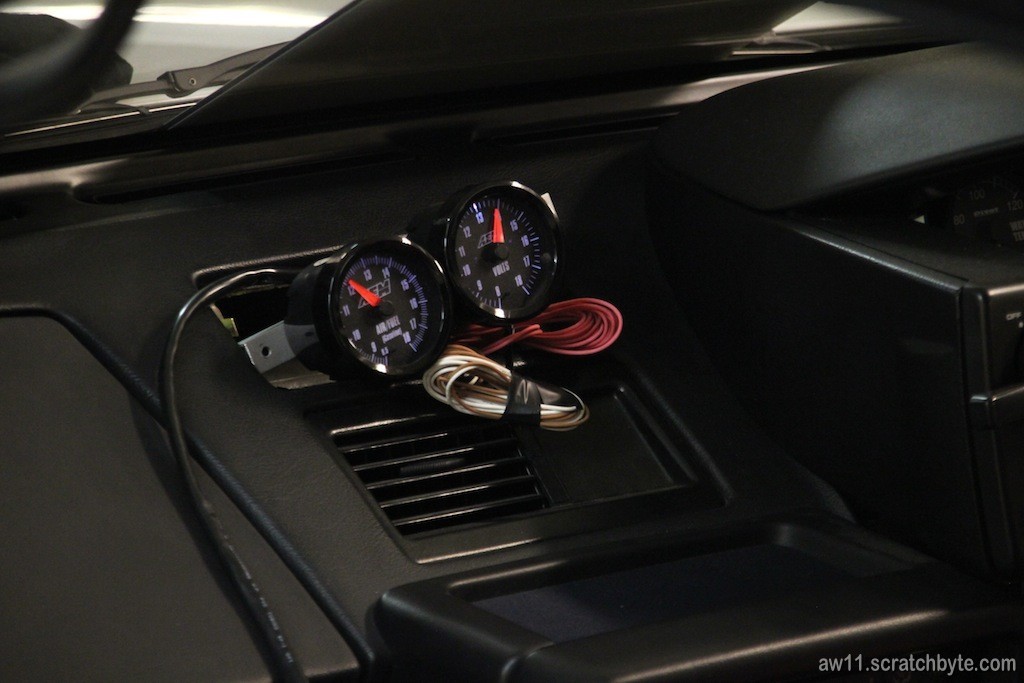
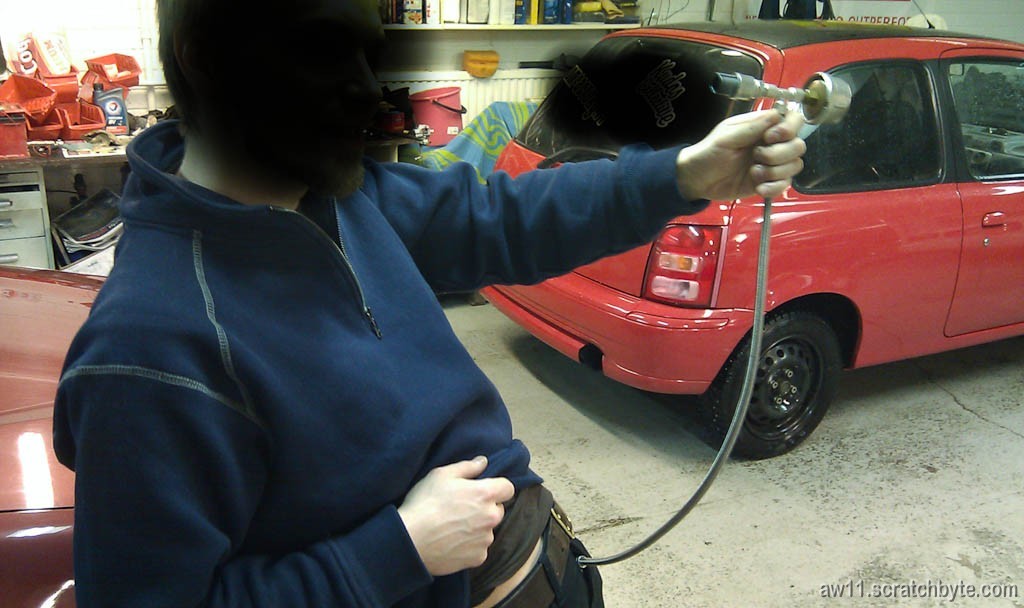
Widening the rear wheels is not going anywhere for a moment, so I started a second thing. This time I decided to install at least the oil pressure for that Pivot gauge I’ve had for so long.
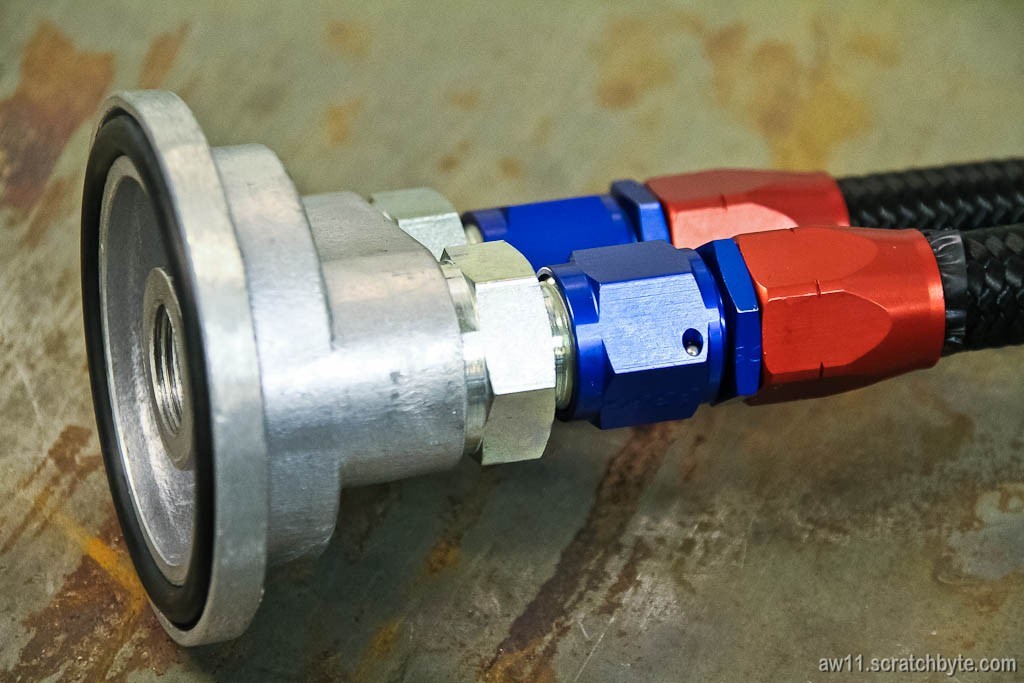
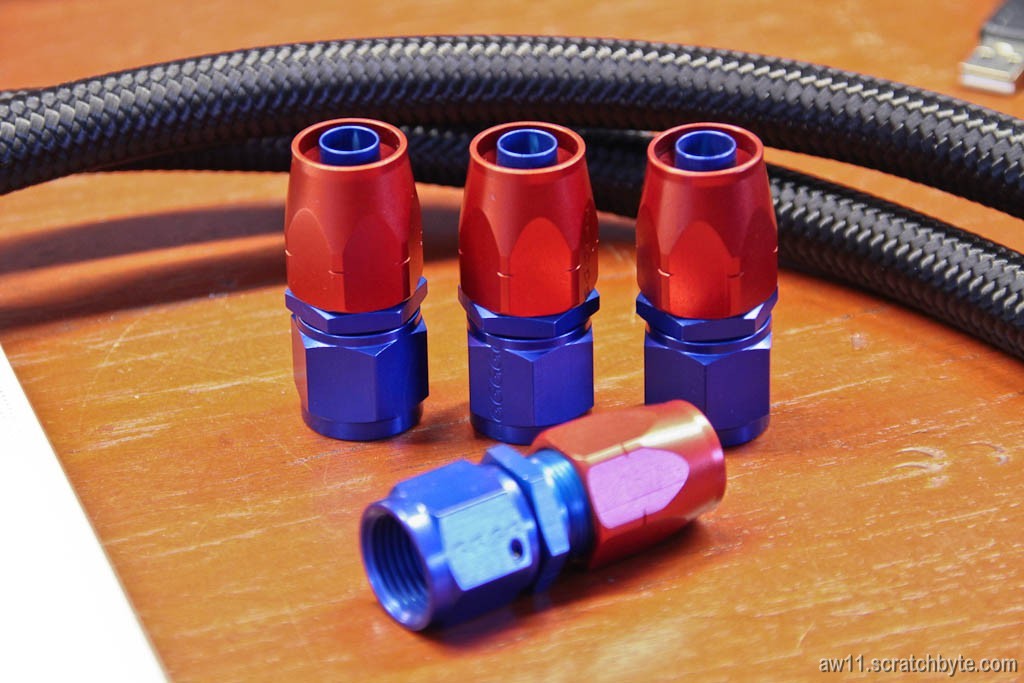
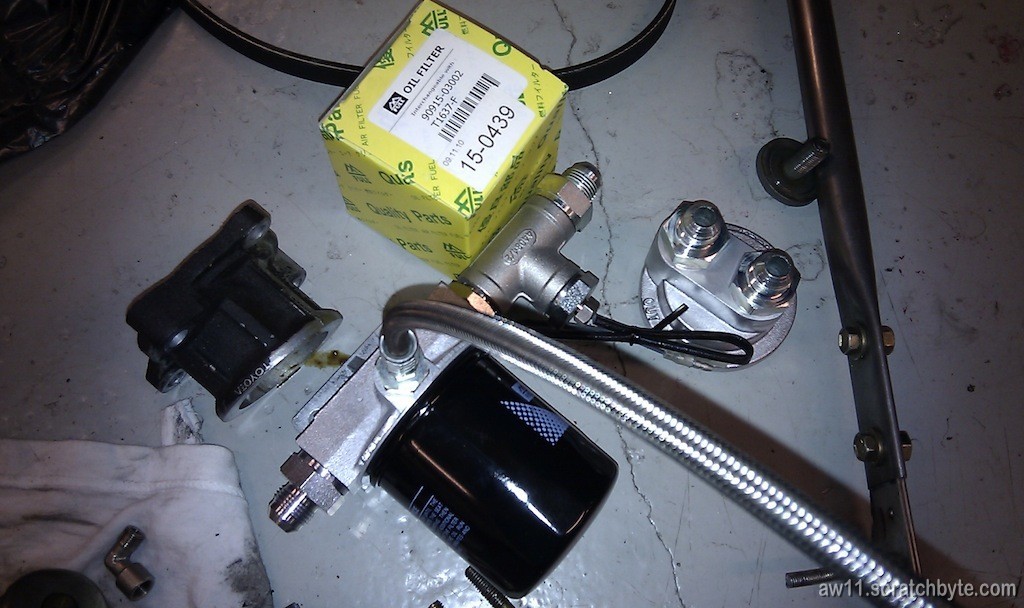
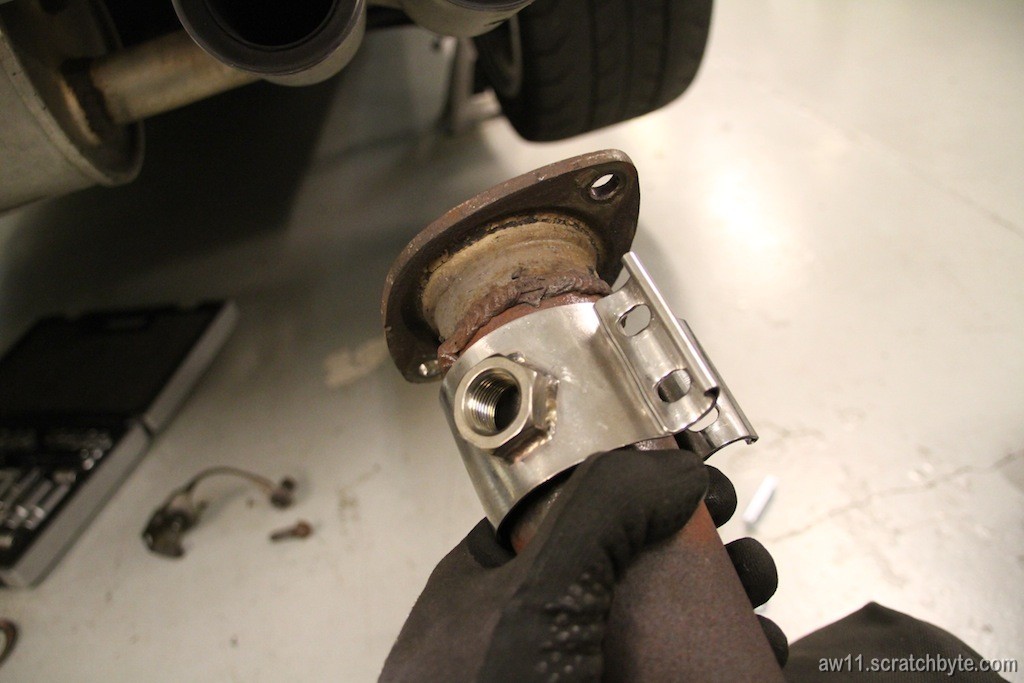
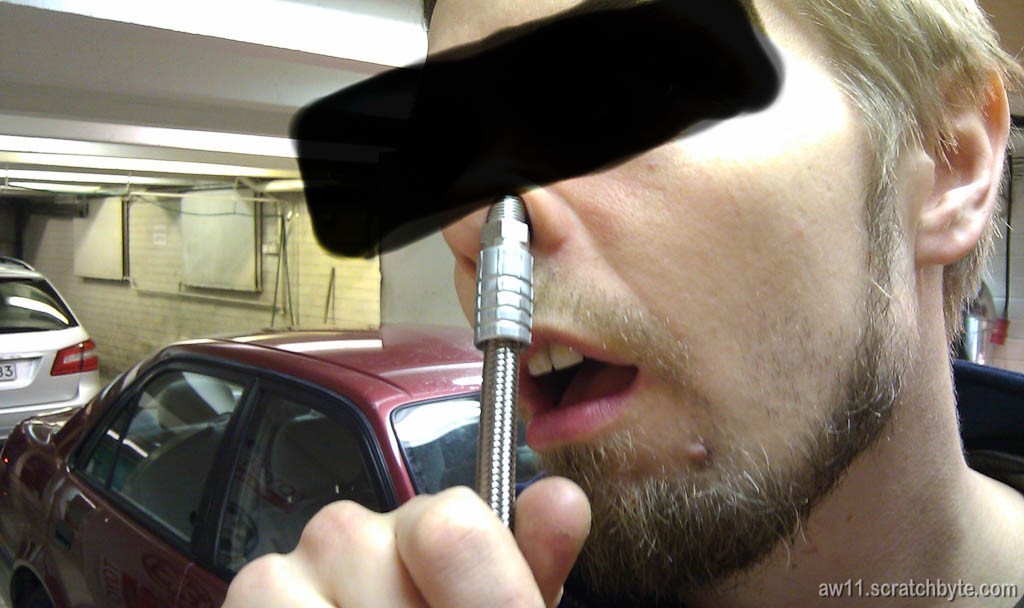
Visited again my local high pressure center and got a braided hose with 1/8″ bspt fittings + a t-piece (also 1/8″ bspt) to relocate the original oil pressure sender with the Pivot one. (Pic below, Pivot one on theleft right)
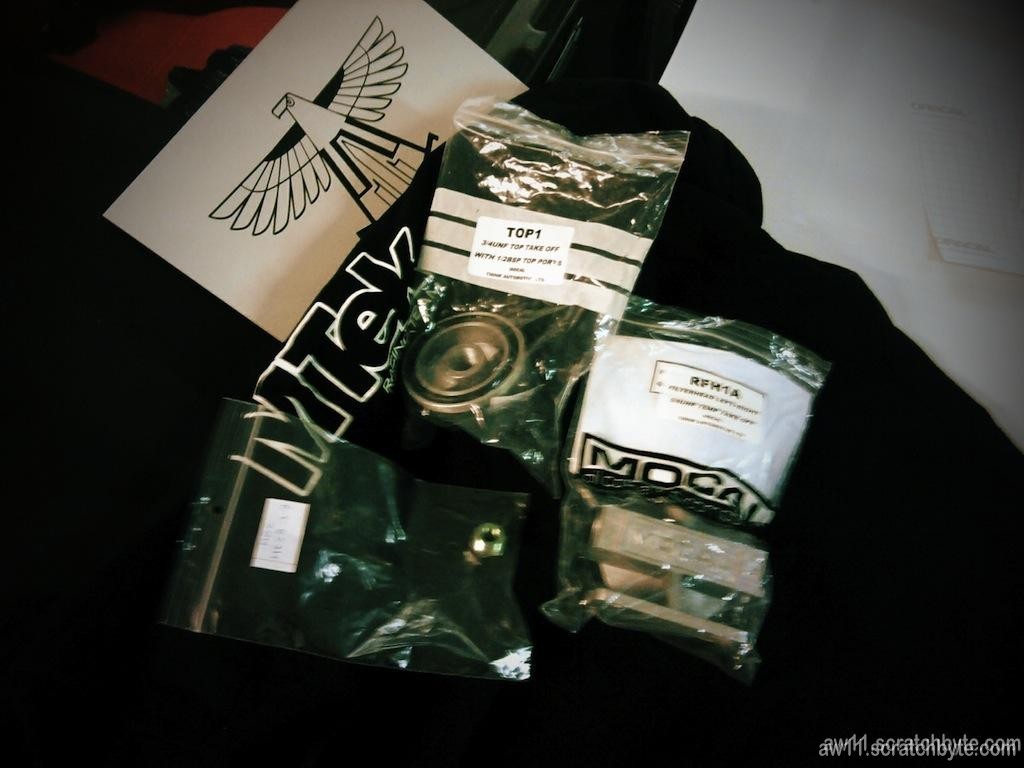
Maladar inspected my new parts for defects and quality:
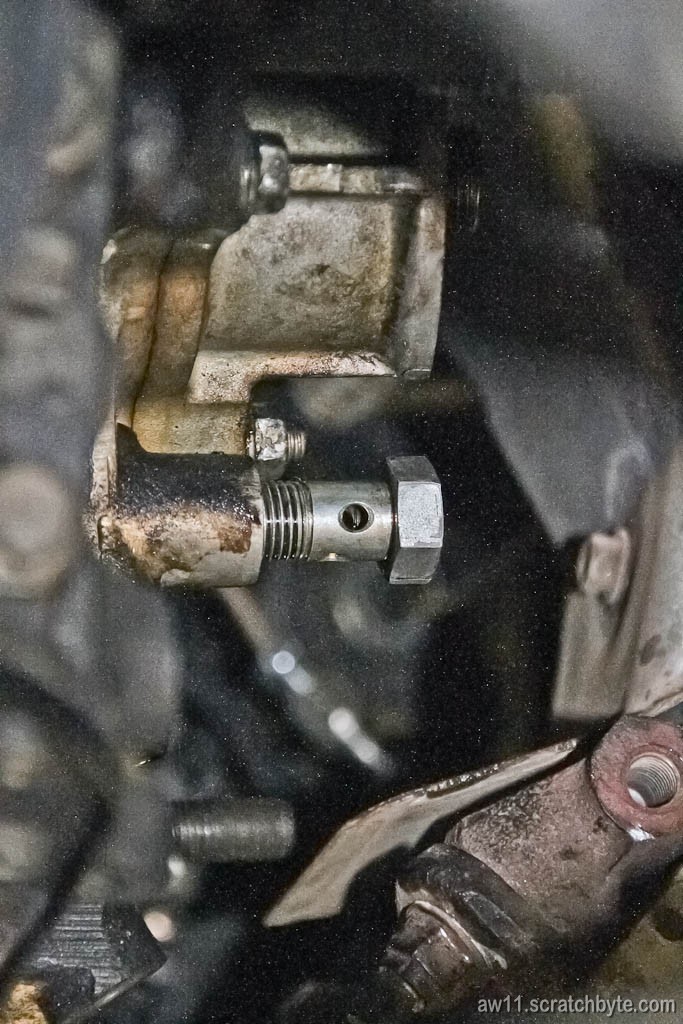
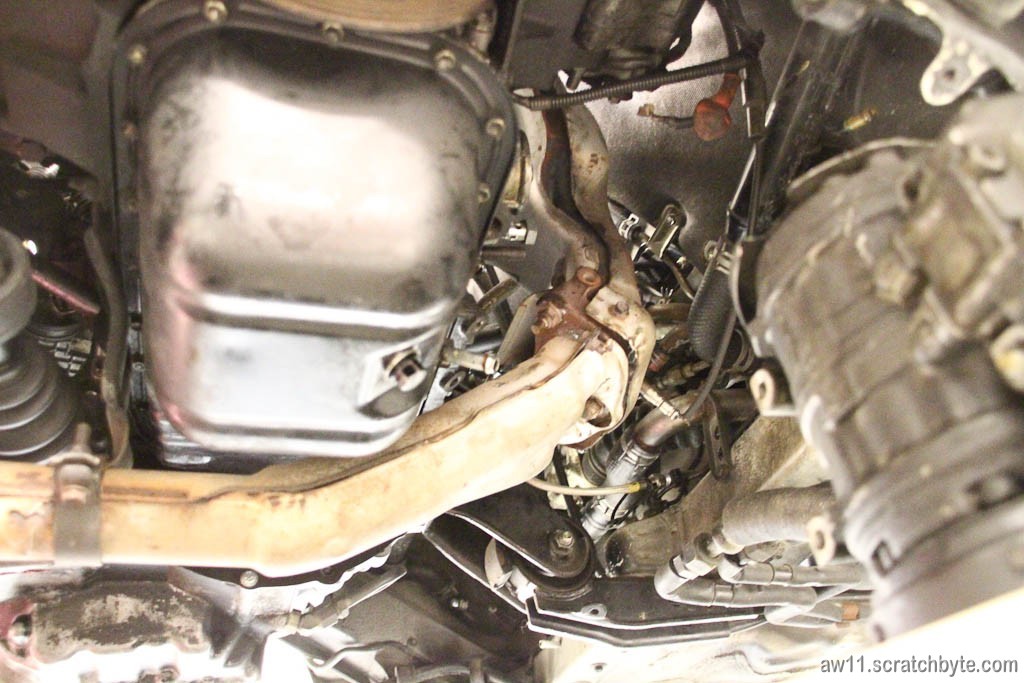
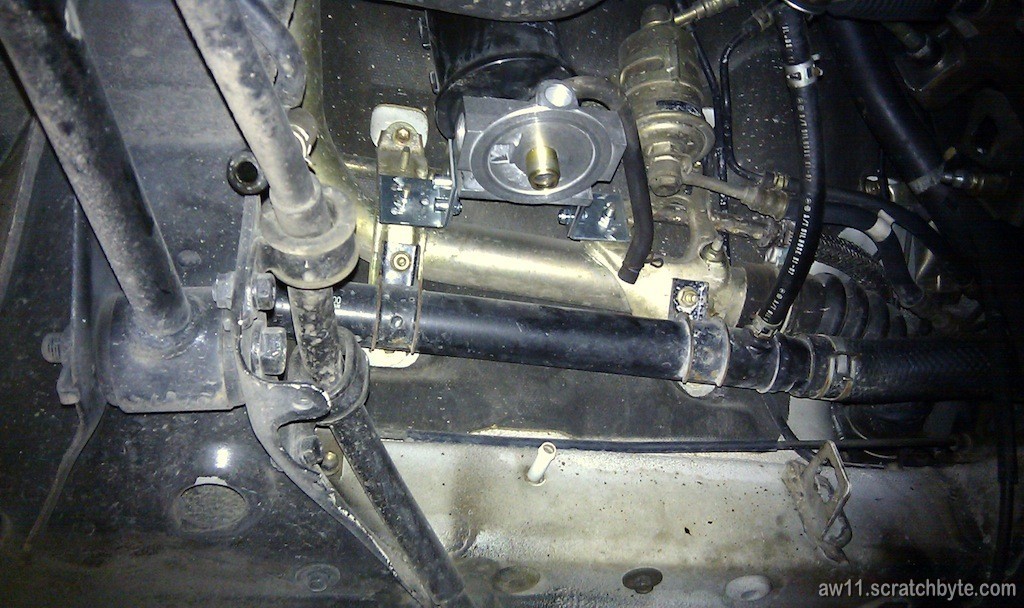
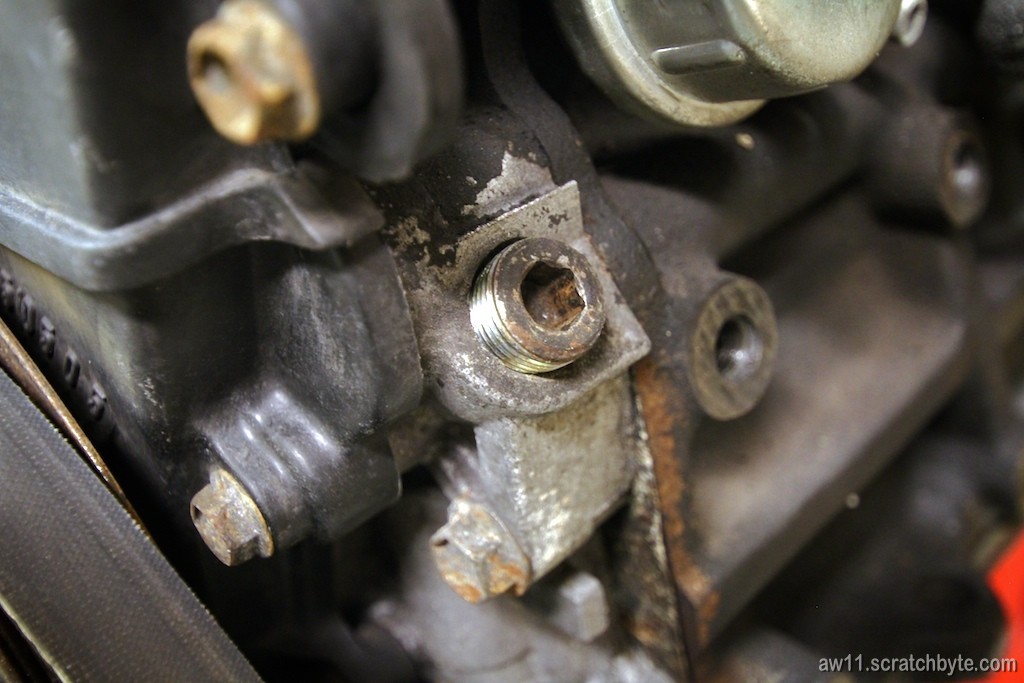
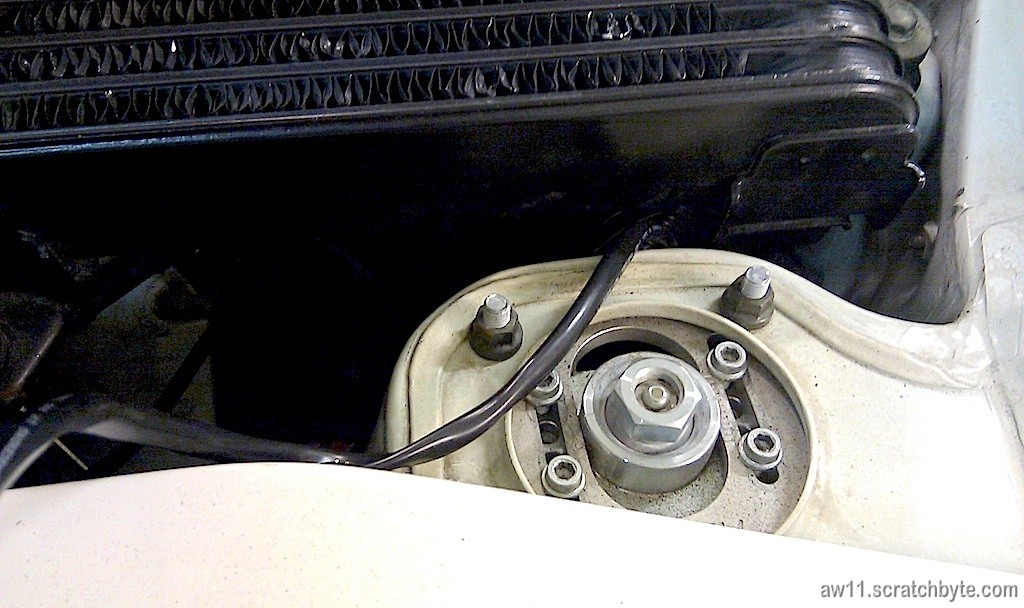
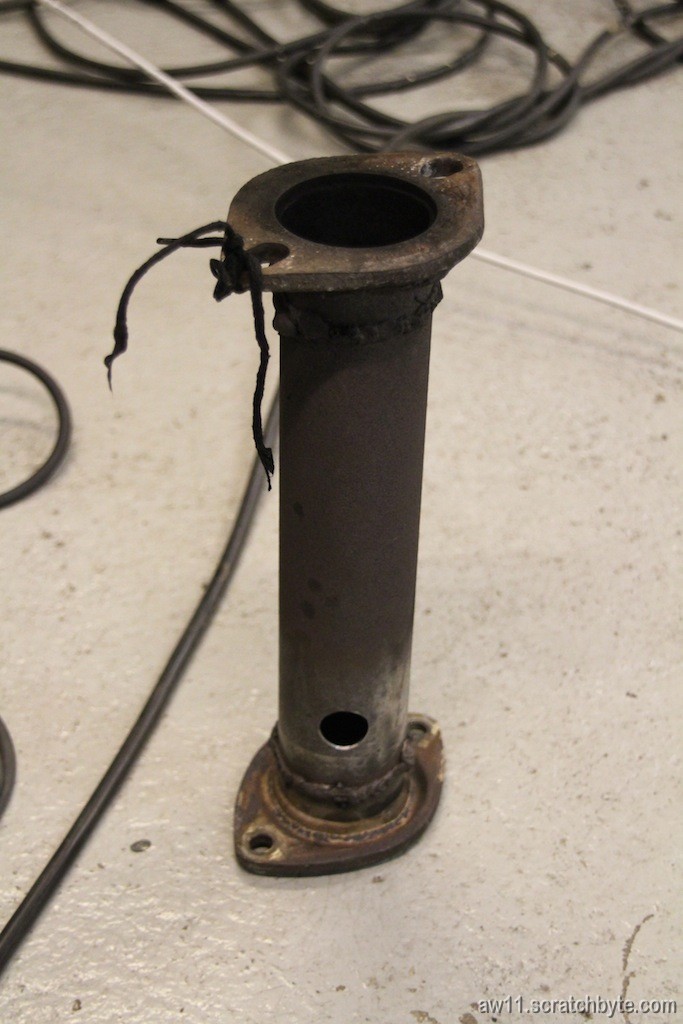
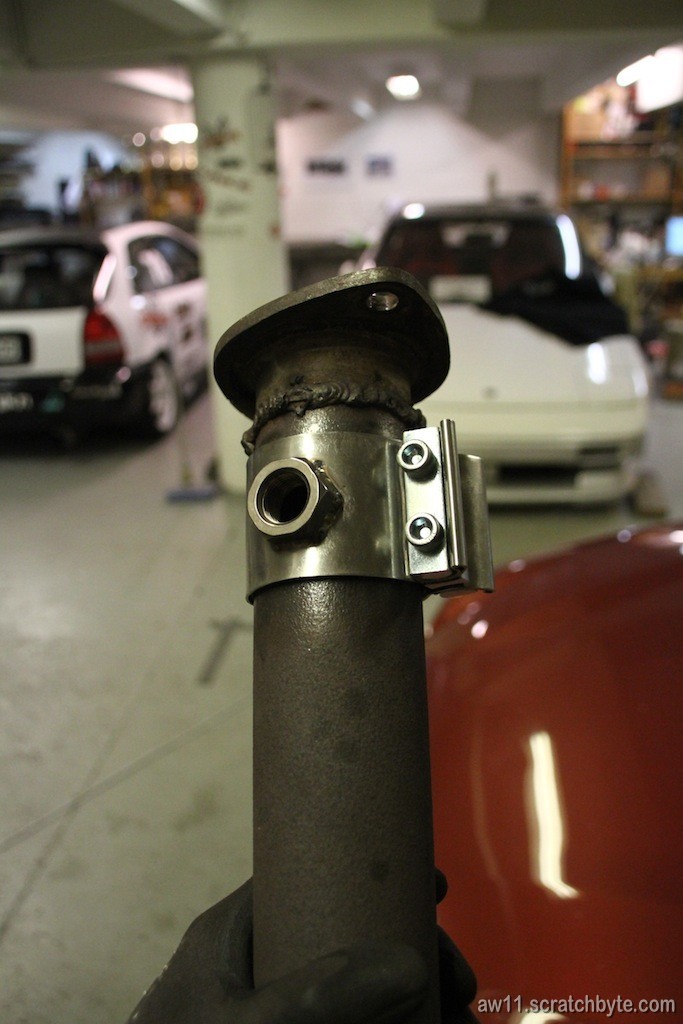
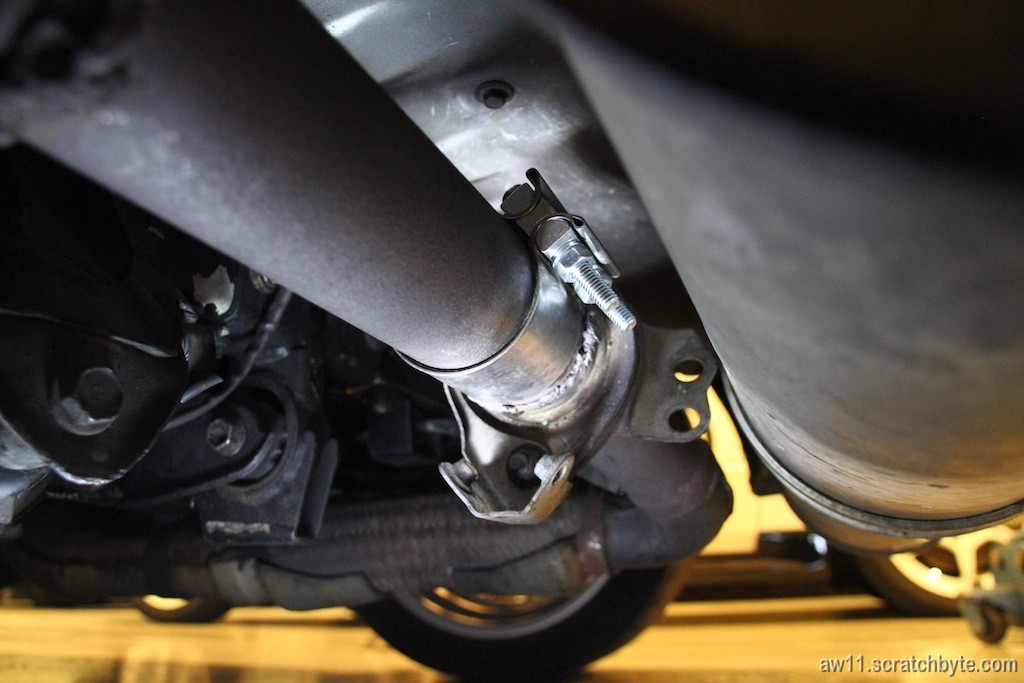
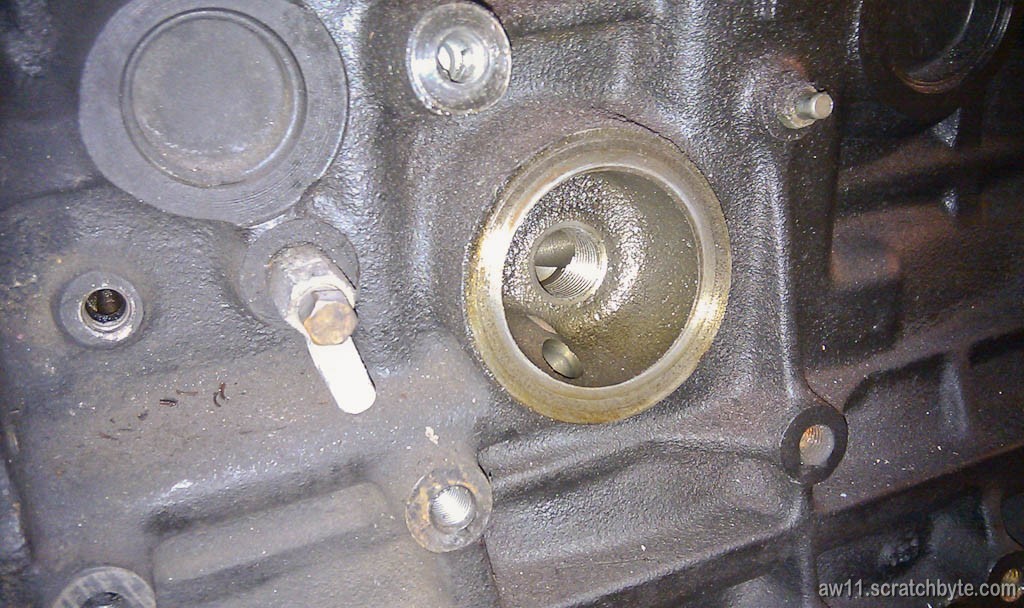
I suddenly realized that my planning for this improvement was idiots work. I had taken all the measures from my spare engine, which didn’t have alternator and AC compressor installed. I slightly freaked out when I crawled under the car and noticed where the pressure sender was. It was under the f-ing ALT bracket!
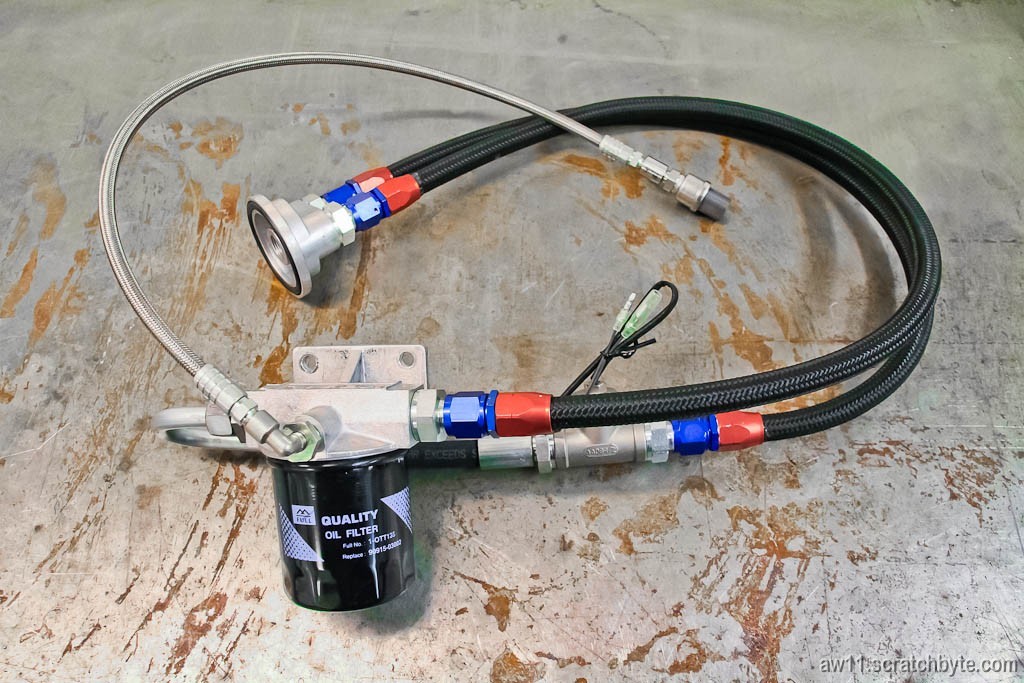
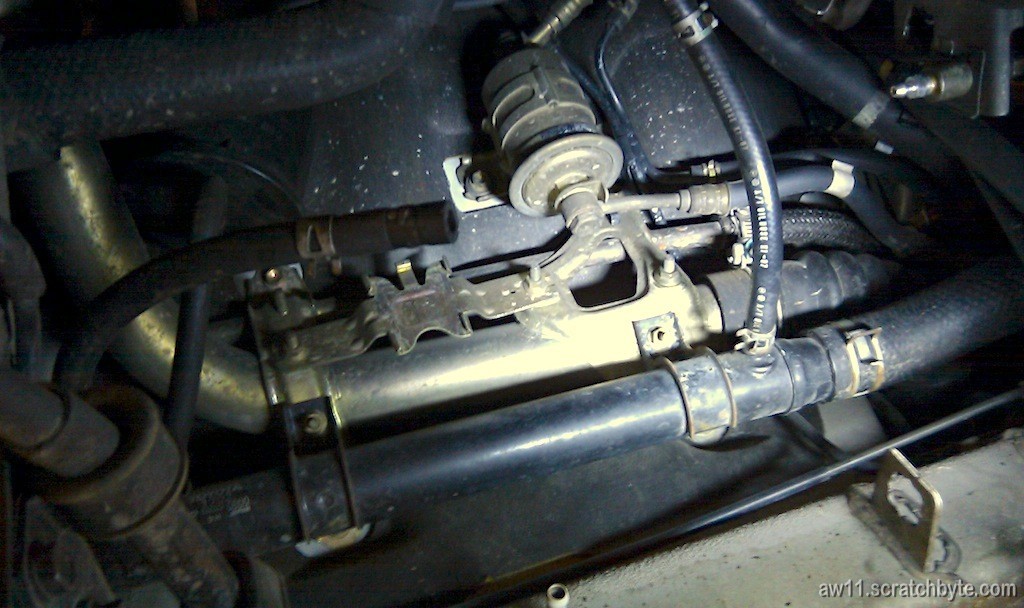
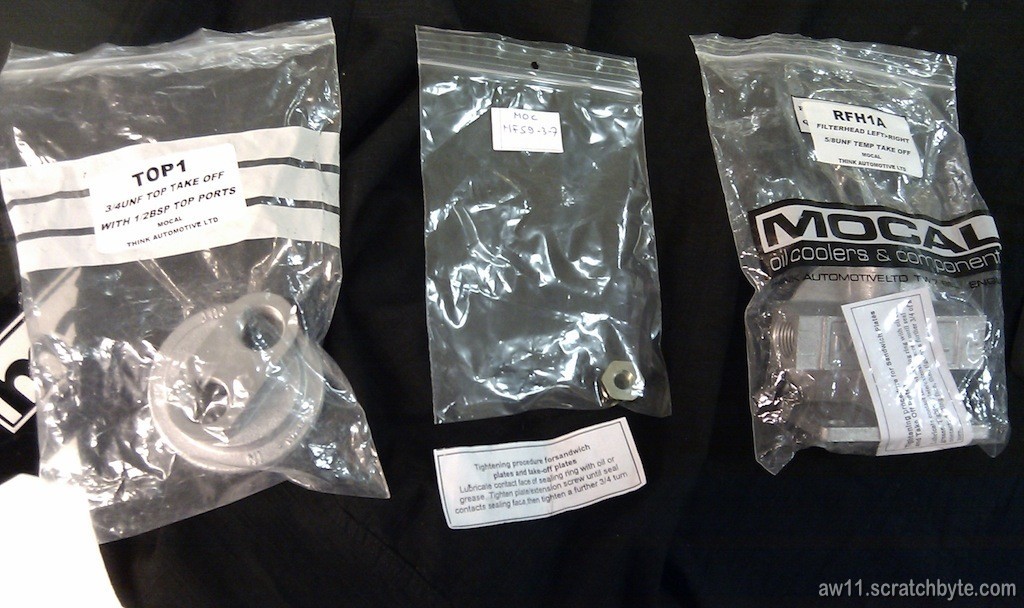
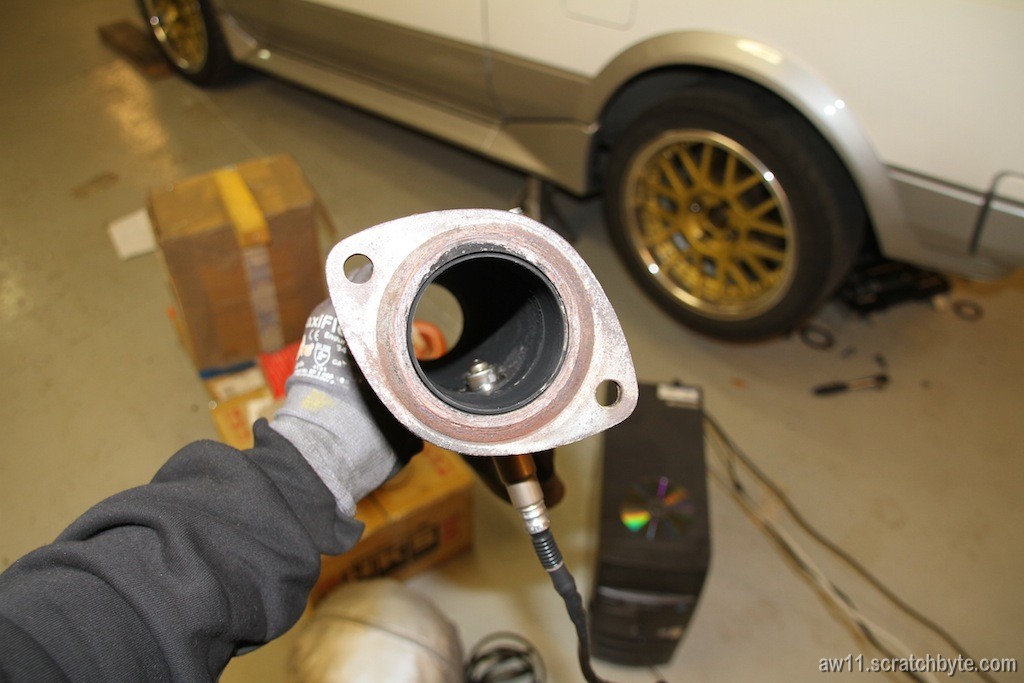
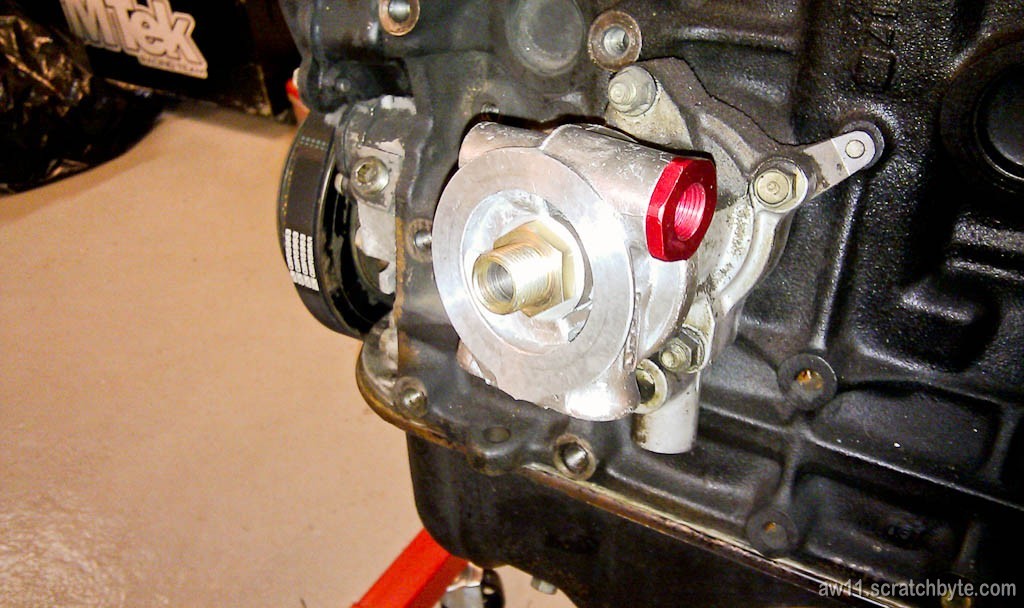
Then I bought a Mocal TGASP sandwich plate + Mocal MOC605 thread extension (3/4″ UNF, 16 TPI) to get the oil temp and a possibility relocate the oilfilter and/or get a real oil cooler in the future.
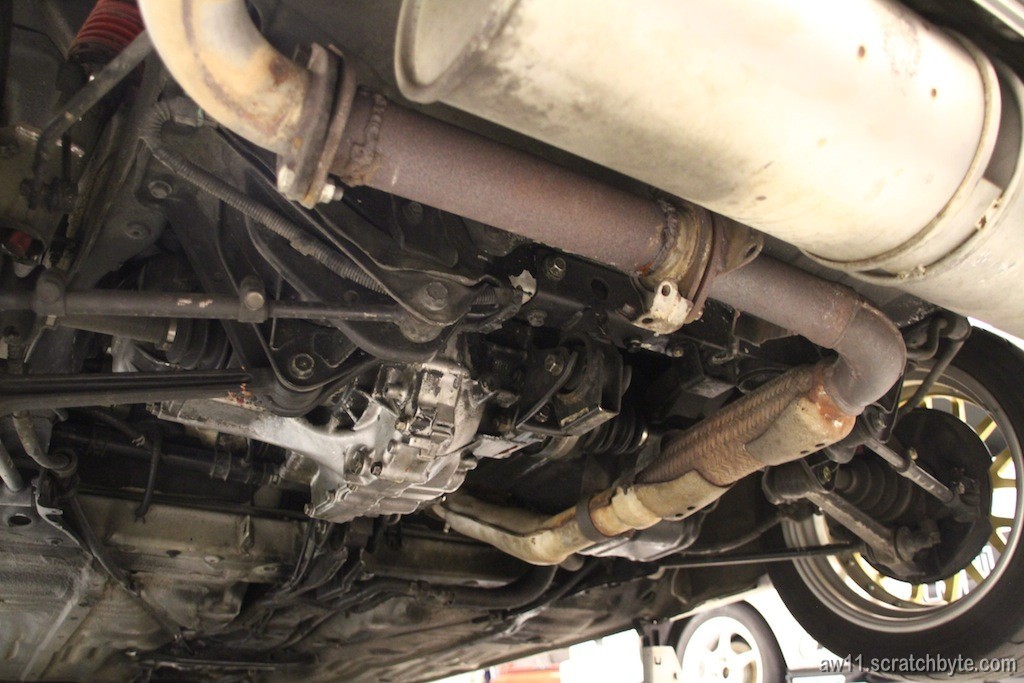
If the Internet is correct, the oilcooler installed in some AW’s is not a thermostatic, but a pressure relief type. It is rotating the oil all the time through that oil-to-water cooler in low pressure fashion.
I think I’m going to remove the oil cooler.
Maladar walked by when I was experimenting with the sandwich plate and said “Now that’s a REAL pile!” – thanks mate! 😀
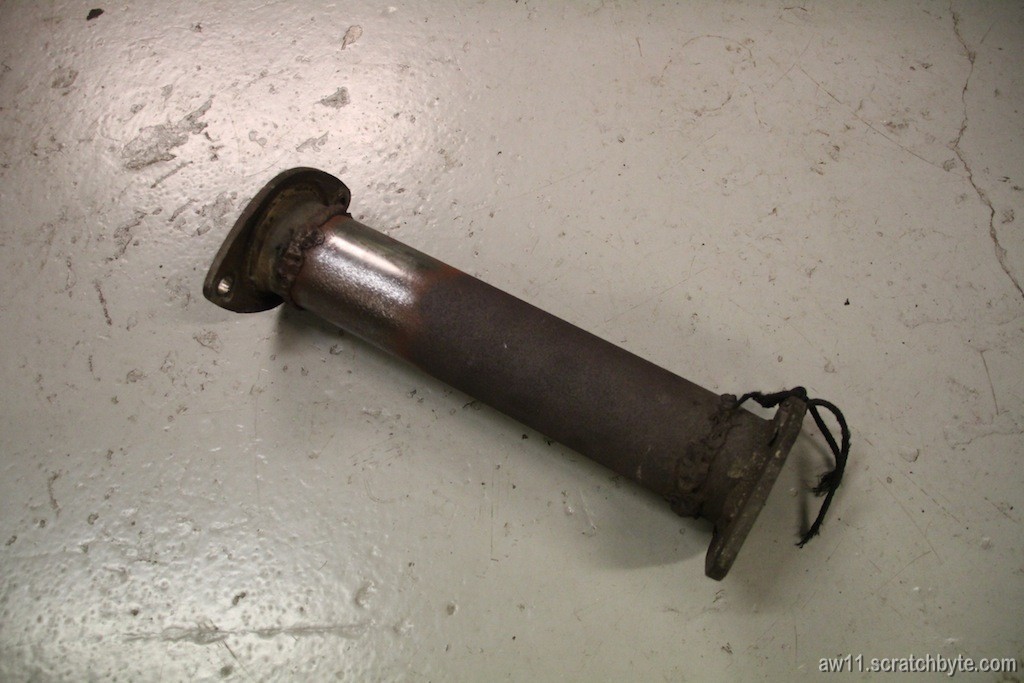
Everything removed:
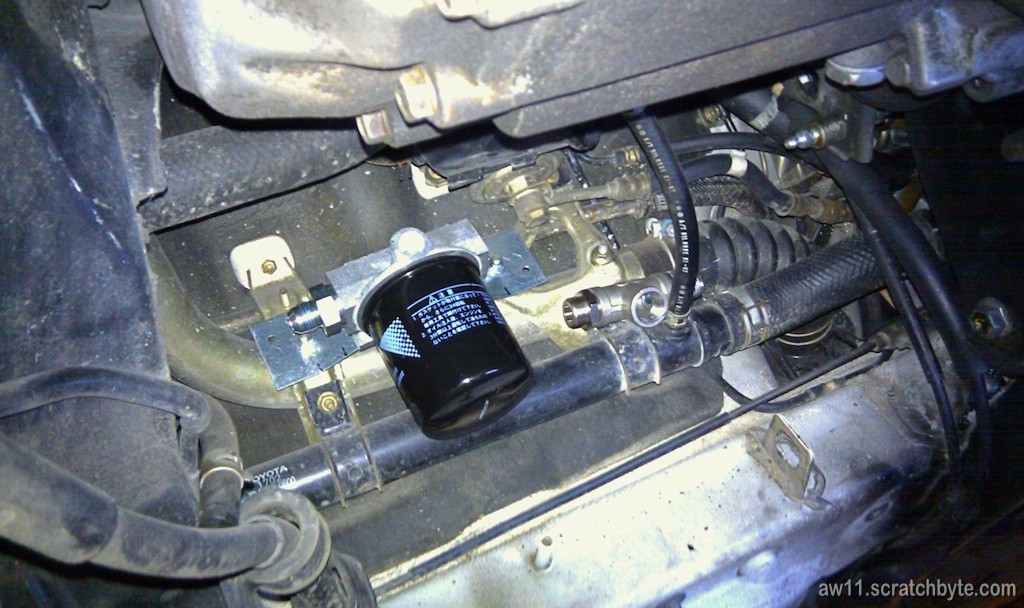
Just the original oil filter thingy:
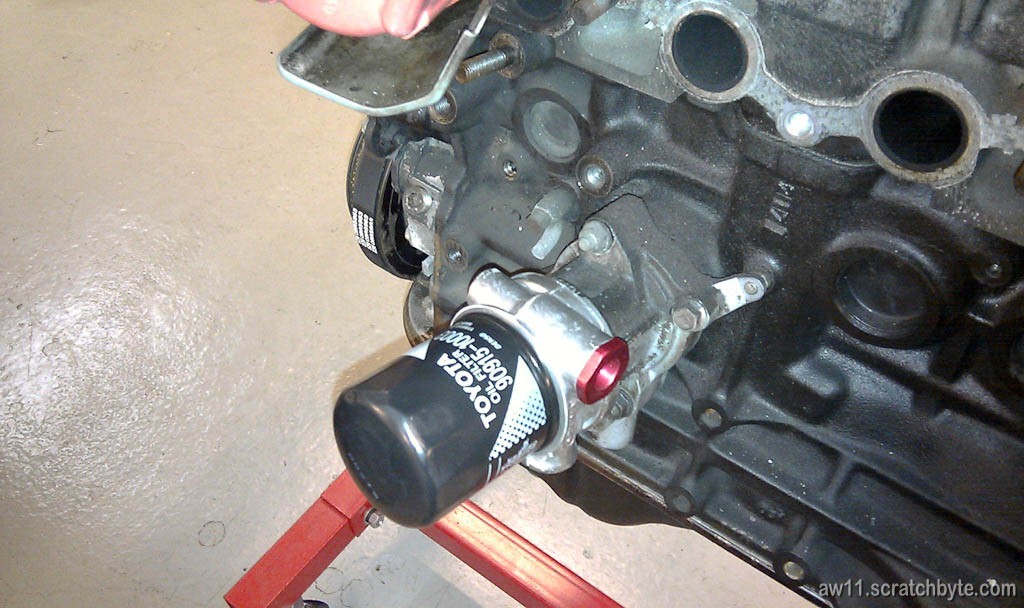
With Mocal (I need to install a loop to the sandwich plate to route the oil correctly)
…and with the filter
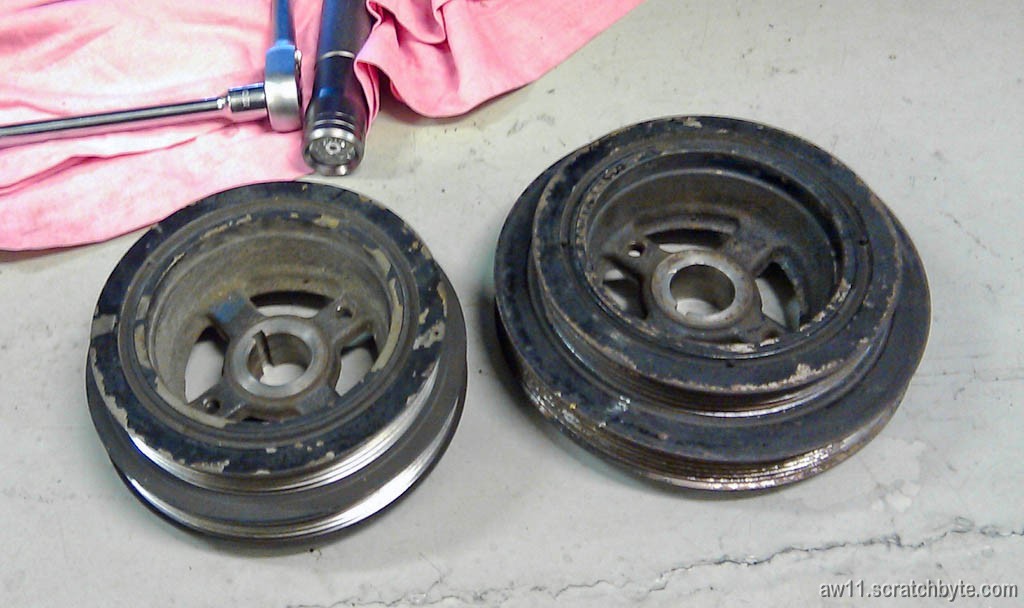
At the same time it is easy to swap the bigger crank pulley:
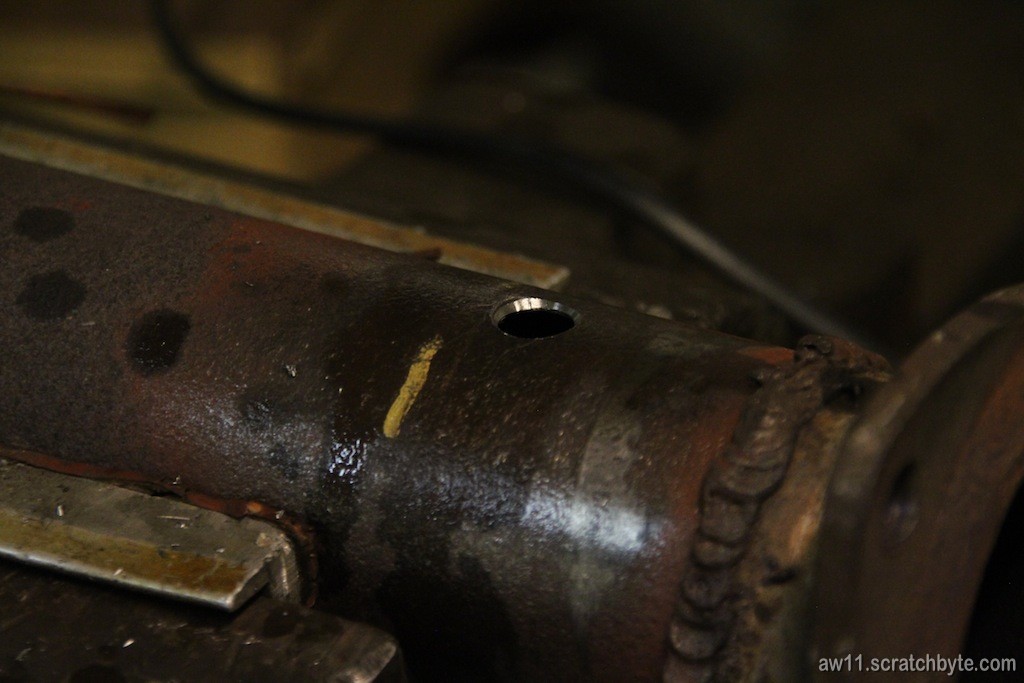
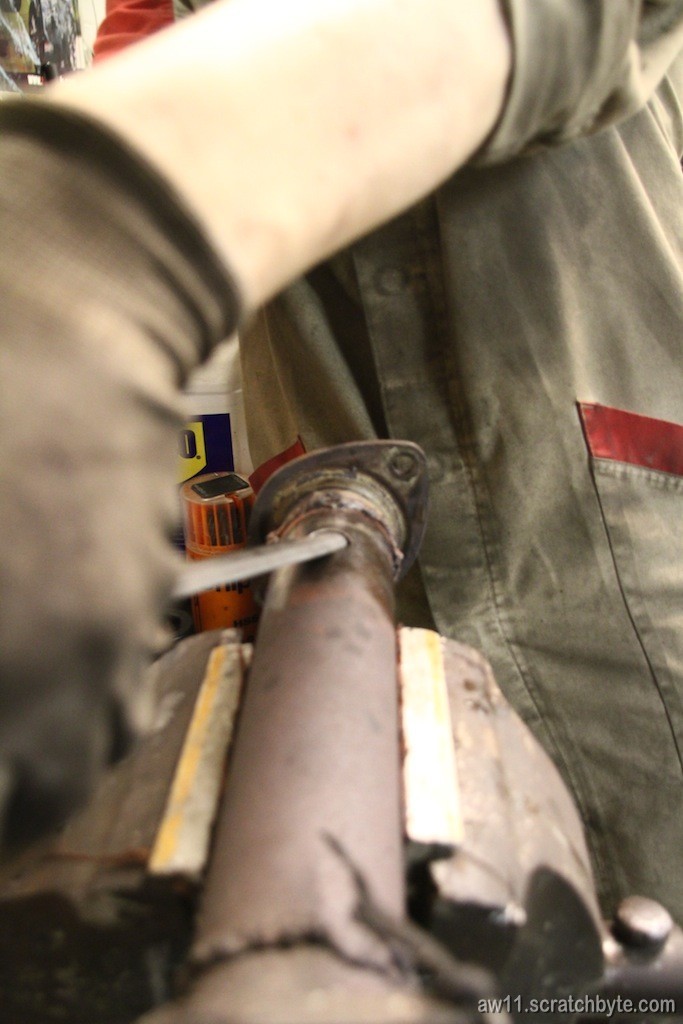
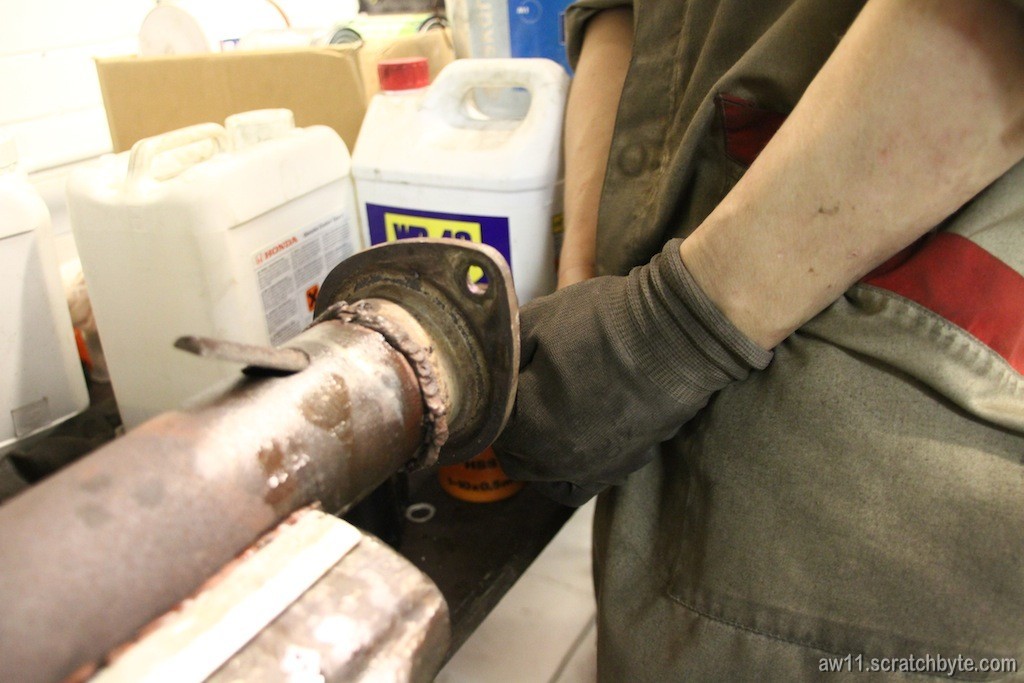
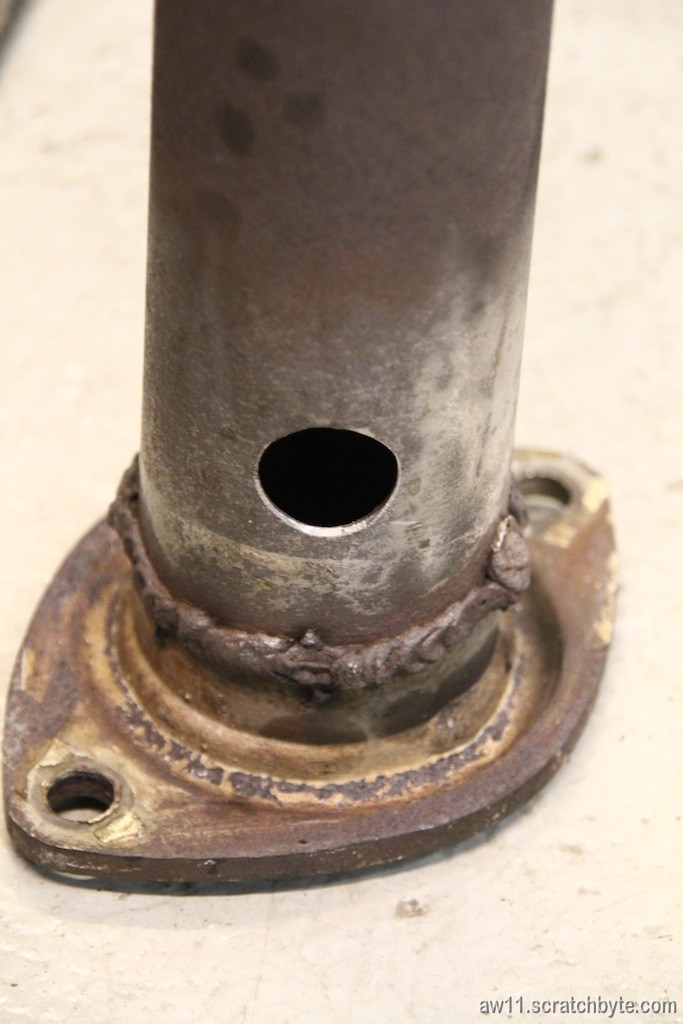
What’s that just under the crank stub?
It’s one of the timing belt cover bolts, lodged behing the crank pulley!

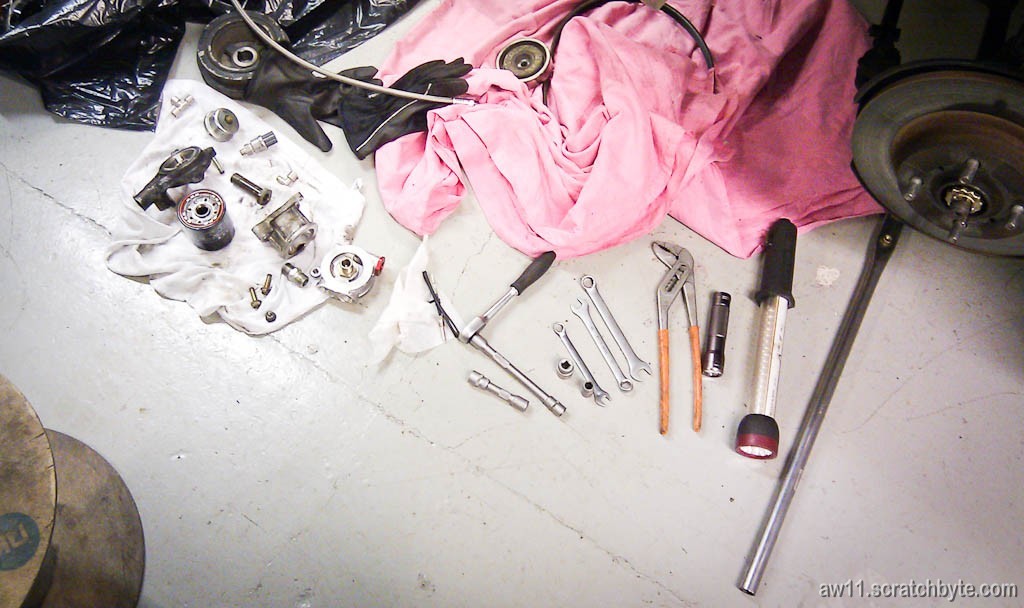
Some tools. On the right my trusty +4 Toyota SST, built and enchanted by Maladar the wizard 🙂