Gearbox is making weird noises – 2

This time the gearbox only took about 2.5 hours to remove. It actually helps a lot when you know what you’re doing πŸ™‚

I can’t remember why I have a picture of Maladar’s cat in my cellphone, but here is Baron:

08052011_1_

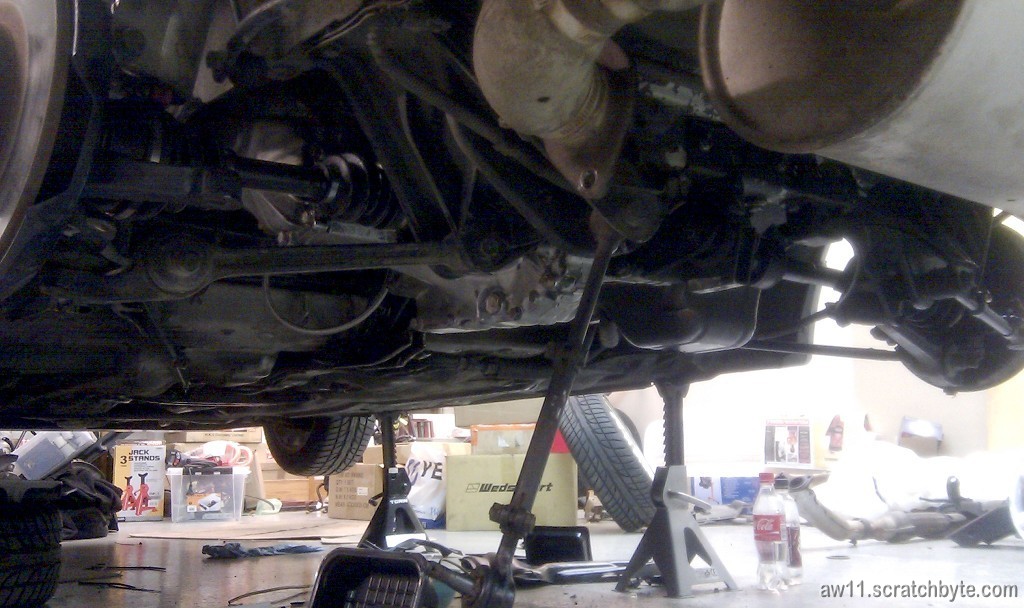
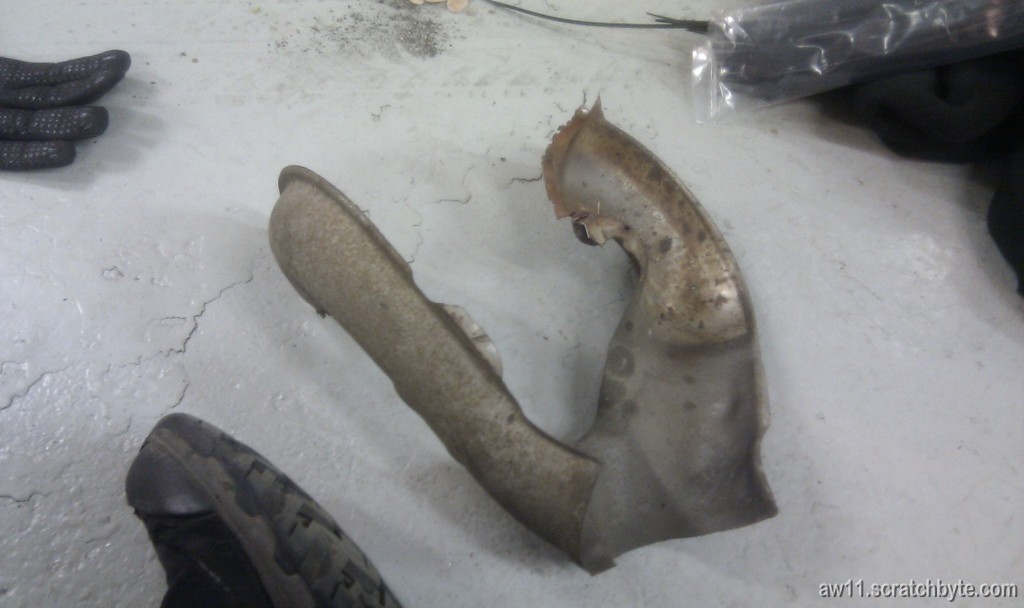
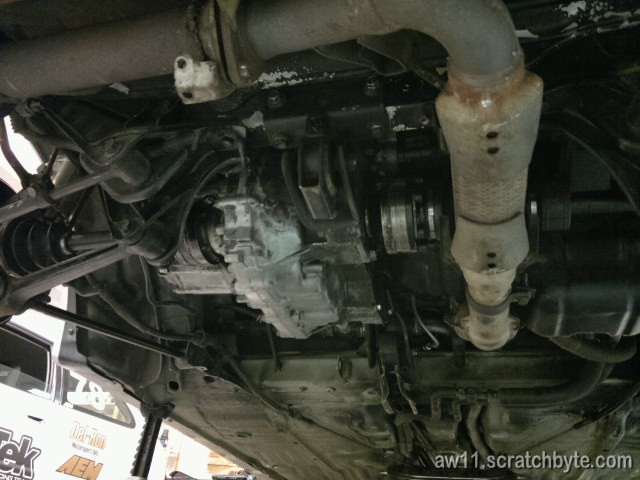
I was wondering if the loose exhaust heatshields would give out this horrible resonance/rattling noise. I took off all loose parts and tightened everything else. Should be ok πŸ™‚

IMAG0567

We got the gearbox out really quickly, which meant that we had time to wonder what could be behind this. We opened the 5th gear cover, just to check if the shafts were doing anything abnormal, but nope, everything was just fine.

IMAG0568

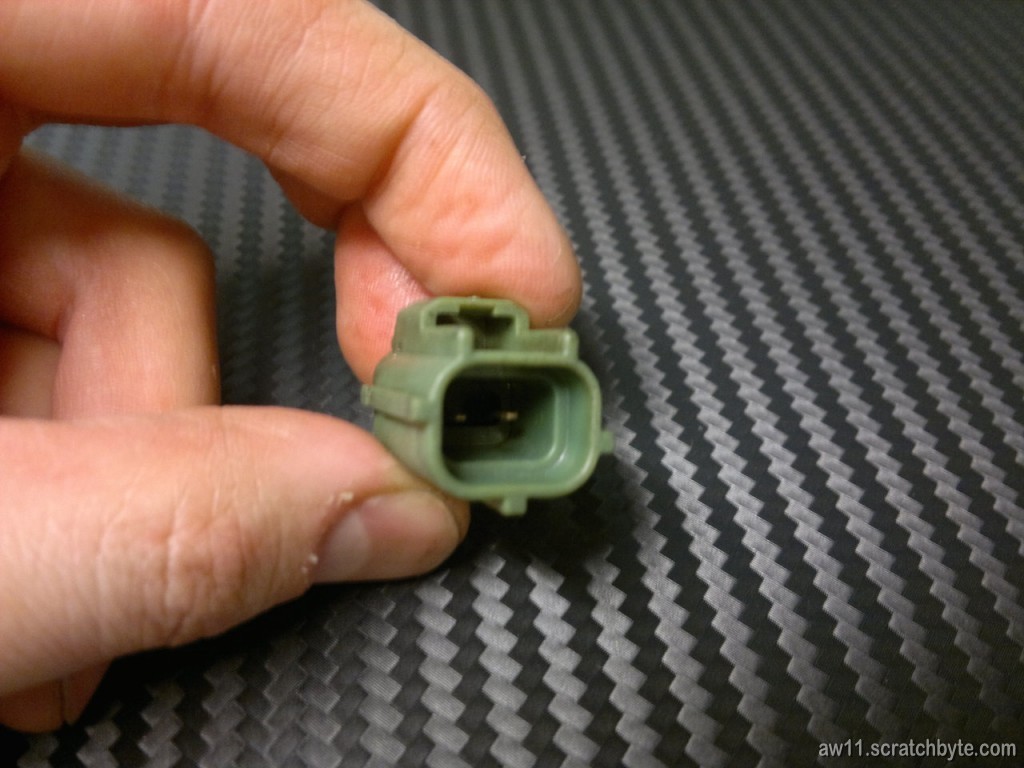
My friend had a housewarming party for the evening, so I had to leave. Maladar accidentally destroyed the water temp sensor for the ECU, but I said that I have a replacement on my spare engine. Maladar then checked the sensor, but it had a different terminal (if I’m correct, the terminal was changed somewhere near 88/7, and my current engine is 88/9 and the spare is 88/3 or 88/4.

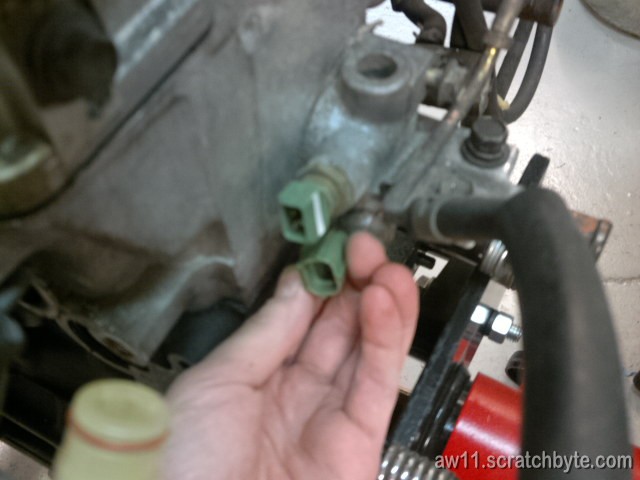
Maladar compares the terminals:

15052011_3_

Copied directly from Toyodiy:

89422 SENSOR, WATER TEMPERATURE (FOR E.F.I.)
89422‑20010 (08/1988 – 11/1989)
89422‑30020 (06/1984 – 07/1988)

So the original one on my car is 89422-20010 and the one Maladar has in his hand in the above picture is -30020

Maladar compares the destroyed one with the spare one. Above, the engine has -30020 water temp sensor and Maladar has the destroyed 89422-20010 in his hand. I was really tired when I wrote this and couldn’t notice the engine stand πŸ™‚

Maladar took a picture for me, so I could find a replacement:

15052011381

When I was leaving, Maladar told me that he has some time to tinker with my car. I said that I’m happy if I have the gearbox back in the car when I get back.

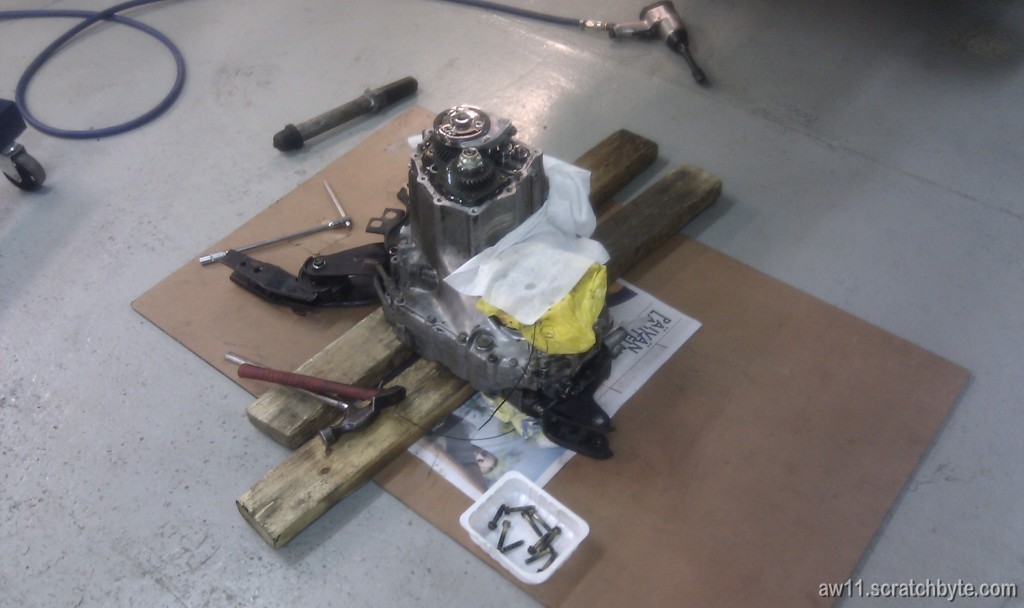
Maladar sent me a picture of his progress:

15052011_1_

Totally surprised me that he had put everything back together. He left some small bits for me, but thats ok πŸ™‚

Some pictures are of course courtesy of Maladar. Thank you! πŸ™‚

Some pictures

Maladar’s photo (I slightly photoshopped it) πŸ™‚ Maladar’s Nissan K11 inside our garage.

maladar_mr2_garage_rear_2

One of my pictures (damn those Sodium lamps, absolutely the worst light to take pictures ever)

mr2_apartment_2

Gauges and interior. Some photoshopping so no-one guesses where I was driving. πŸ™‚ Removed the clock and installed couple of AEM gauges in place. Rest of the gauges are Pivot Compo-X. Heater controls are missing some buttons because I changed the bulb inside to LED and couldn’t remember the correct order anymore. Slight violet hue in the gauges is just in the picture. My camera doesn’t have preset white balance for sodium lamps.

mr2_apartment_4

Gearbox swap is done

Gearbox swap is finally done. Some details are still missing but the car is driveable. Clutch feels nice and gearbox works perfectly (as long as you drive forward, reverse isn’t engaging every time) πŸ™‚

Short update for now, I’m really tired.

Thank you Widric and Maladar.

Also, Aphexic from NZ πŸ™‚

Thank you – well, Maladar took the picture below, I’m behind the wheel.

outside

The clutch – endgame

I finally found the spot where the clutch line was leaking. It was in the middle ofΒ  the braided line, which must have bent and cracked at some point. This revelation took away my motivation to do anything at all.

This morning the motivation came back. I think it was under the dishes or something… I started to wonder if I could do the clutch line using shorter copper-nickel pipes and some adapters.

I already had a short steel braided line for the original Toyota manufactured clutch line, but hadn’t use it because I decided to build a custom full length steel braided line.

Adapters I found from my local hardware store, readily available. This time I bought adapters for the 4,75mm CuNi tube, because the 6mm tube was sold out. This turned out to be a winning choice.

I bought five M12x1 to M12x1 adapters, a bunch of M12x1x5mm and some M10x1x5mm fittings just to be sure and 5m of tubing.

I had drawn a worst case scenario plan for the line, which split the clutch line into seven segments. I already had two of the segments made, so there was need to do at least five more. Some planning with the segment lengths and the adapters were in more accessible locations and therefore easier to tighten. Another small thing I had forgotten last time. πŸ™‚

Finally, I only needed three segments. The 4,75mm tube actually worked really well with my tube tools and I made all the tube ends in just minutes, compared to the 6mm tube which never worked well with my shitty tools.

One thing which managed to slow down the progress was a small bit of something in one of the adapters. I think I forgot to clean them properly before I installation and I had to tear down a part of the line and splash the brake fluid everywhere.

For the first time, the bleeding went really quickly. One reason of course was the smaller diameter tubing and another reason was the leaking (which didn’t occur this time) πŸ™‚ Maladar was really tired but helped me with the bleeding as much as he could. I tightened the bleeder and asked Maladar to press the pedal while I was under the car so I could watch the release cylinder. The cylinder moved about 2cm when Maladar pressed the pedal. According to Maladar the pedal felt like it should be.

At this point, Maladar felt that he should already be sleeping and left. I attached the battery and checked that everything was ok and started. I used e-brake to create some resistance and tested that the clutch was working perfectly. Then I celebrated with picking trashes and washing a part of the floor πŸ™‚

I’ll try to draw some schematics about the clutch line, both worst case scenario and how it turned out. I don’t think there is any use for the schematics in real world, but just for fun πŸ™‚

Cleaning the joints – pictures

Axles in progress (nearly completed)

IMAG0558

And finally, where they should be:

IMAG0559

There was one funny thing with the shafts/axles which I forgot to tell. For some reason I looked the 4A-GE axle lengths for the whole time which were bit different and I accidentally cleaned the short A/T axle as well :\>\> no biggie, but what Maladar said made me think: “it isn’t that easy to change your habits to more systematic, we should have been more systematic and use marker pen to mark the ones coming from M/T”. I think the usual “measure twice, cut once” applies here as well. We’ve been using the “measure with a micrometer, mark with chalk and cut with axe” -method…

Mr. Sensei visits our garage

Mr. Sensei visited our garage for some vinyl graphics. Maladar and Mr. Sensei put the graphics together for the whole evening (and some part of the night), but the result looked awesome.

I didn’t contribute much to the project, so I took some pictures and video clips

CVJ Grease and clutch

The clutch hasn’t been leaking, a small victory. Both Maladar and Mr. Sensei insisted that I should bleed it again, but I had to remind them about the 30% lesser clutch force compared to original. To be honest, I have no idea how the original clutch feels, so I just need to test the clutch by driving the car πŸ™‚

I got some CVJ grease, which should be just fine for me (pic below). Tricky part is to get the old stuff out of the joints and the new goop in… I already cleaned passenger side inboard joint and it took about two hours.

cvjgrease

Maybe now…

I’ve had a lot of success with the clutch. So much that I’ve been bleeding it every other day and it’s still not like it should be. I started to suspect that the bleeder plug isn’t totally sealed and called Toyota for new one.

New bleeder plug from Toyota (47547-12010) was 4,70 euros, a stellar price. I went through the local parts shop and found a compatible plug. The plug for Toyota is M10x1x34mm, so M10 x 1mm thread and 34mm length. Length can be bit longer, if 34mm isn’t available.

It took a while to find measures for the bleeder plug, but it was worth it. One plug from parts shop was 1,90 euros. I cleaned the threads and inserted the plug and it felt a lot better than the original. It felt like it was really sealing the clutch line.

Ok, anyhow, I really hate the whole hydraulic system. It’s so difficult to bleed that I could summon the devil with it. Every time I fill the reservoir I hear a disembodied voice reading a Opel repairmanual backwards. I really hope this would be the last time I bled the system.

After I closed the bleeder, the clutch felt solid (once again) and I pumped the clutch, jumped, kicked and touched it softly and after couple of minutes doing this, it still was good. Then I used a broom to push the pedal so I could watch the release cylinder move. Afterwards I left a piece of towel under the car so I can see if it is still leaking.

I also fixed the oil cooler line, it seemed to leak too, but it was easier to fix than the clutch. Just pushed it slightly to get it well over the pipe coming from cooler and tightened the clamp. At least I have a well-oiled e-brake line. πŸ™‚

Such a small part but gives so much trouble

bleederplug