Started to build the gauge pod for the center console. This is my second time ever messing with epoxy/resin and glass fiber mat. Wonder how this will turn out 🙂

Toyota MR2 AW11
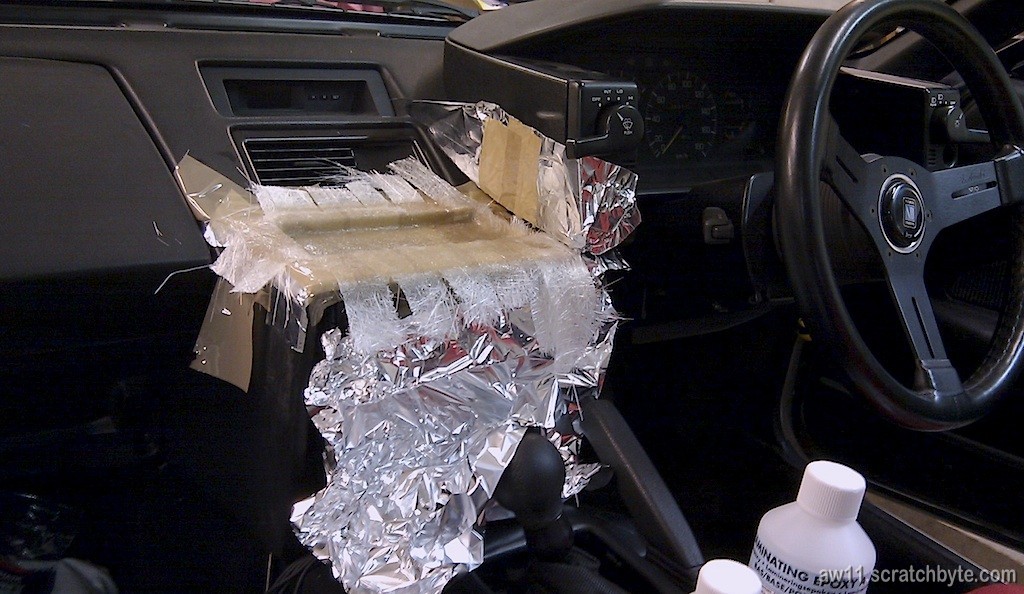
Started to build the gauge pod for the center console. This is my second time ever messing with epoxy/resin and glass fiber mat. Wonder how this will turn out 🙂

I already have the heater controls and the head unit swapped. I tried to make a crude mockup how the gauges would fit into center console. The empty place in the middle is for the EGT gauge.
Didn’t find the alignment paper. I think I need to ask J0nio to help me with the info, he’s the tire/alignment master 🙂
Drove around a bit and man the car is pulling into every direction! Now when I’m thinking it and just making notes how the car handles, it feels stronger than before. There is nothing wrong with the car (except a weird clanking noise from the passenger side) but somehow I seem to find all the bumps and stuff to make car feel extremely twitchy.
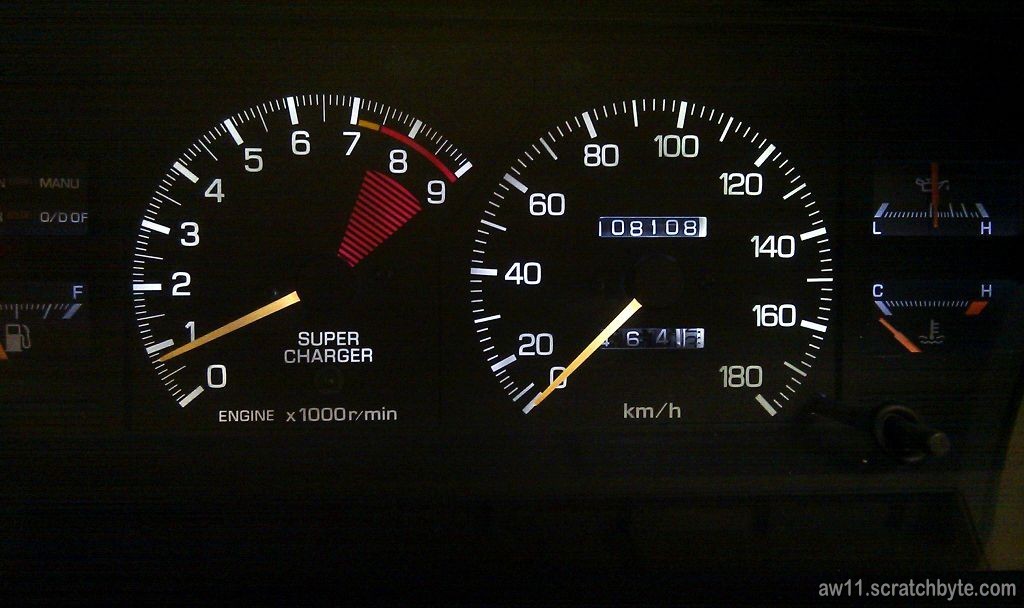
While at the garage, I noticed the total kilometres: 108108 😀
I didn’t plan to do anything special, so I started to look for the AT transmission drive shafts. I have one slightly bent CVJ cover in the car and that could add some unwanted vibrations. I checked that the transmission end CVJs are the same in both AT and MT, which meant I could just order the cover from Toyota and I would get the right one.
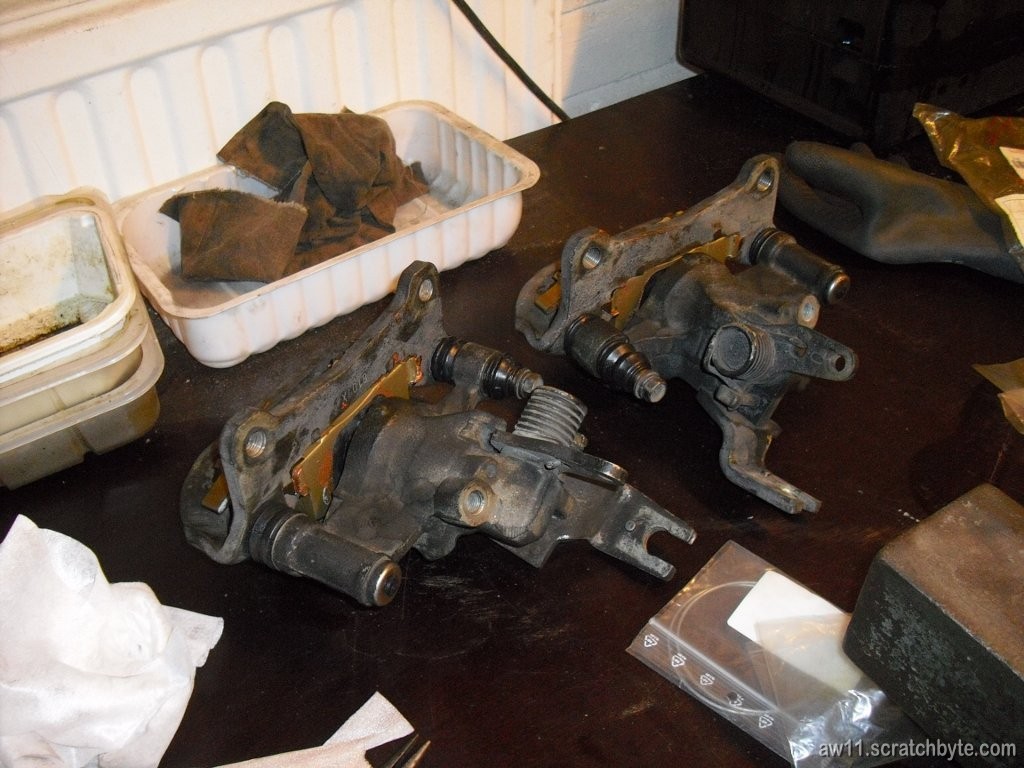
Then I found out something weird… in the box where I had the CVJs and driveshafts, I had the bent CVJ in a bag. I took it out and cleaned it and then I started to look the second CVJ if it would be in better shape. Now, I cant understand this: I remember having three bent CVJ covers and one thats ok. But the second one I had in the box was in perfect shape! I cleaned both and took a picture to compare them:
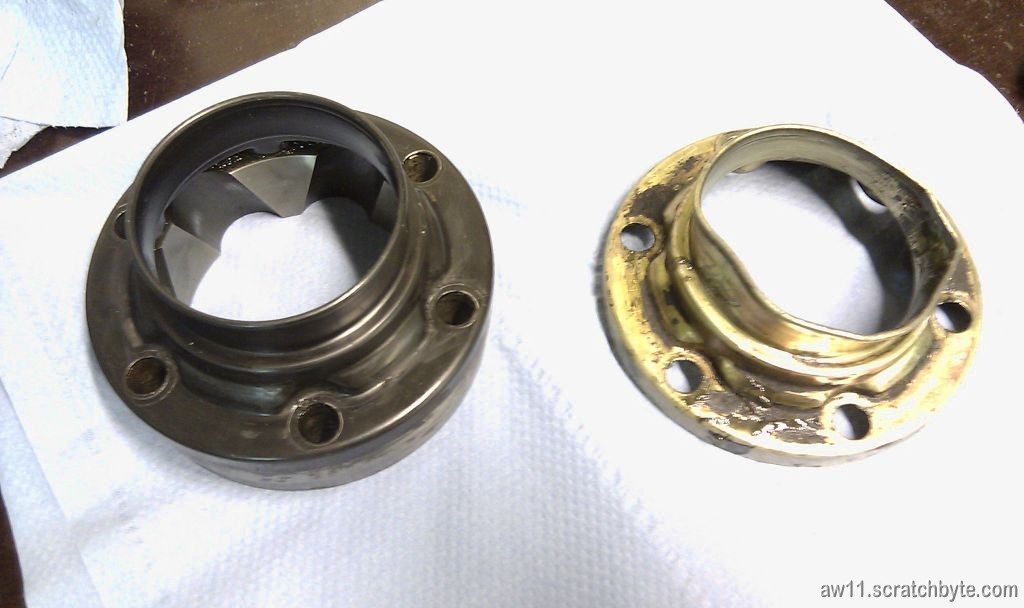
The one on the left is a AT CVJ and the one on the right is MT. Only difference is the color. Just add a CVJ seal 🙂
I’ve always wanted to swap the heater controls and radio and this time I just started doing it. Here I have already taken the heater controls off. SW20 has the heater controls and radio already swapped so why not do it in AW11 as well. Obiviously I fiddle with the radio a lot more than with the heater. 🙂
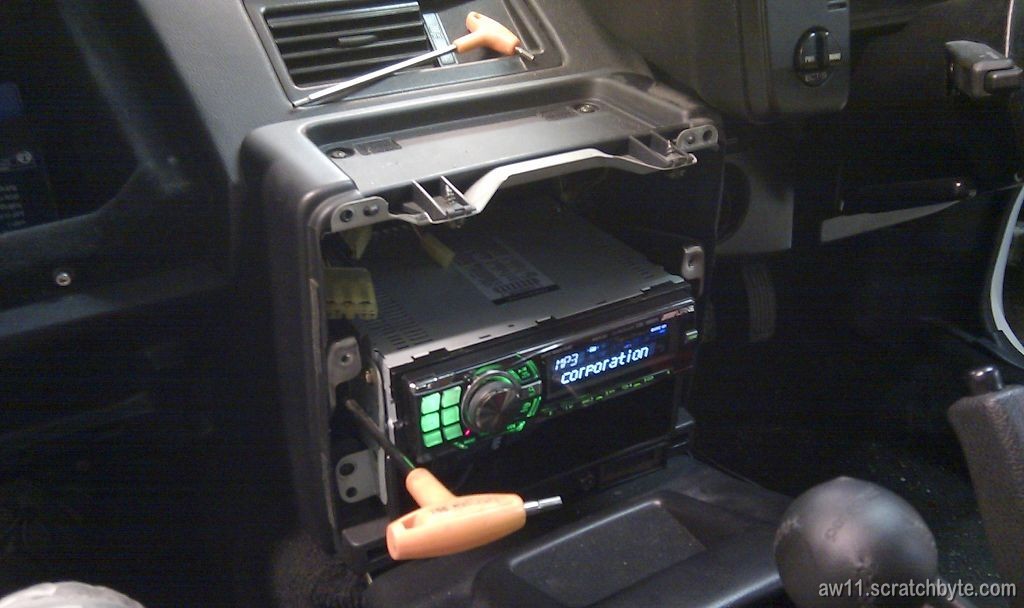
…and here swapped, but not attached yet:
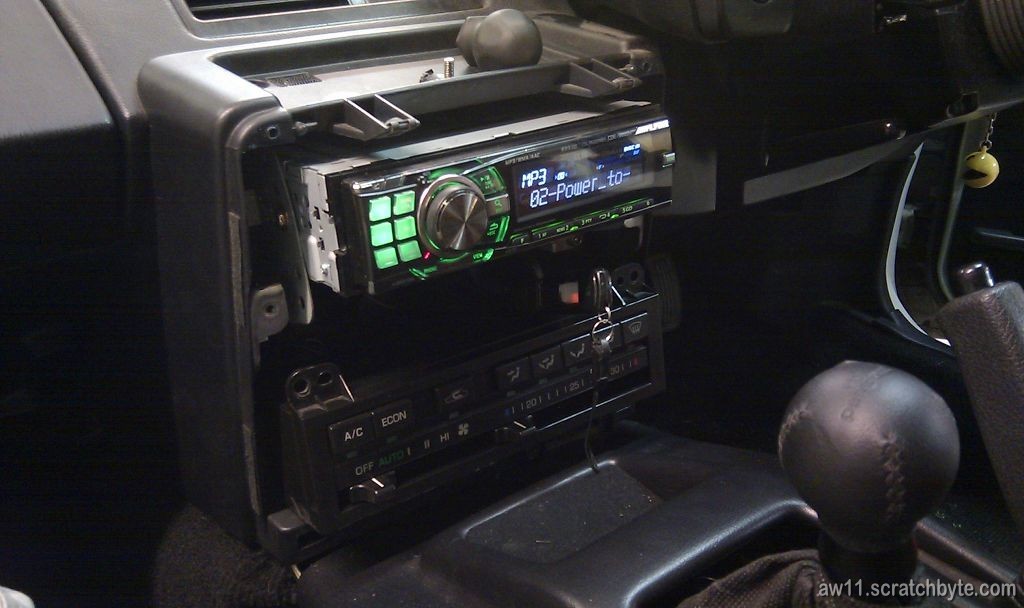
I need to build a new bezel around the center console, the one I had was in bad condition. With some cutting it might have worked. The extra gauges I have will be built into center console and I think I’m going to mold them into the bezel.
I complaint some time ago that the car felt heavy. Well, I got it fixed with Widric’s wheels 😀 I dont know what the real reason was, maybe unsprung weight? Or the steering angle inclination/kingpin inclination/scrub radius? Wheel offset? Something else?
Whatever it was, I decided to look more into suspension and steering and I found out something more or less shocking: AW11 suspension is really easy to fuck up. Some ancient web page had some info how to set up a AW11 with TRD parts, but it wasnt complete by any means. Did they even have camber plates back then? \;)
My point is that someone at the car’s design phase has been thinking for quite long time how to set up the suspension to get it both enjoyable and comfortable. Maybe some track time and nice evenings testing the car while doing heavy thinking. Finally, a good compromise setup is found where 99% of the time the suspension does a great job. Then some miserable bastard comes over and buys a coilover kit with red springs and huge wheels with low offsets and all that hard work is flushed away.
Maybe the car doesn’t need to be so low? The wheels can do with bigger offsets and the suspension is actually nicer when it is soft (and feeling the body movement is crucial to the driver). Car that is easy to drive is also a quick car.
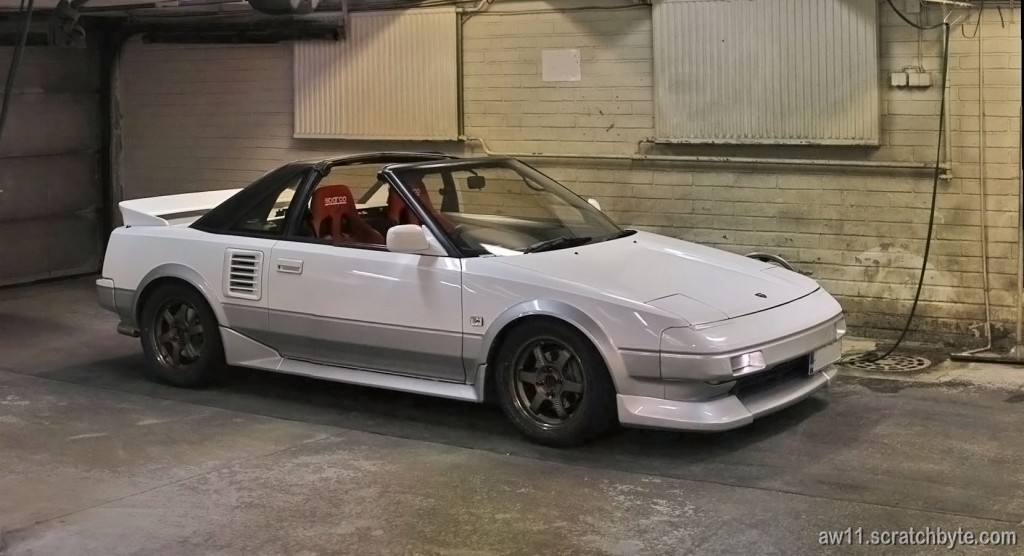
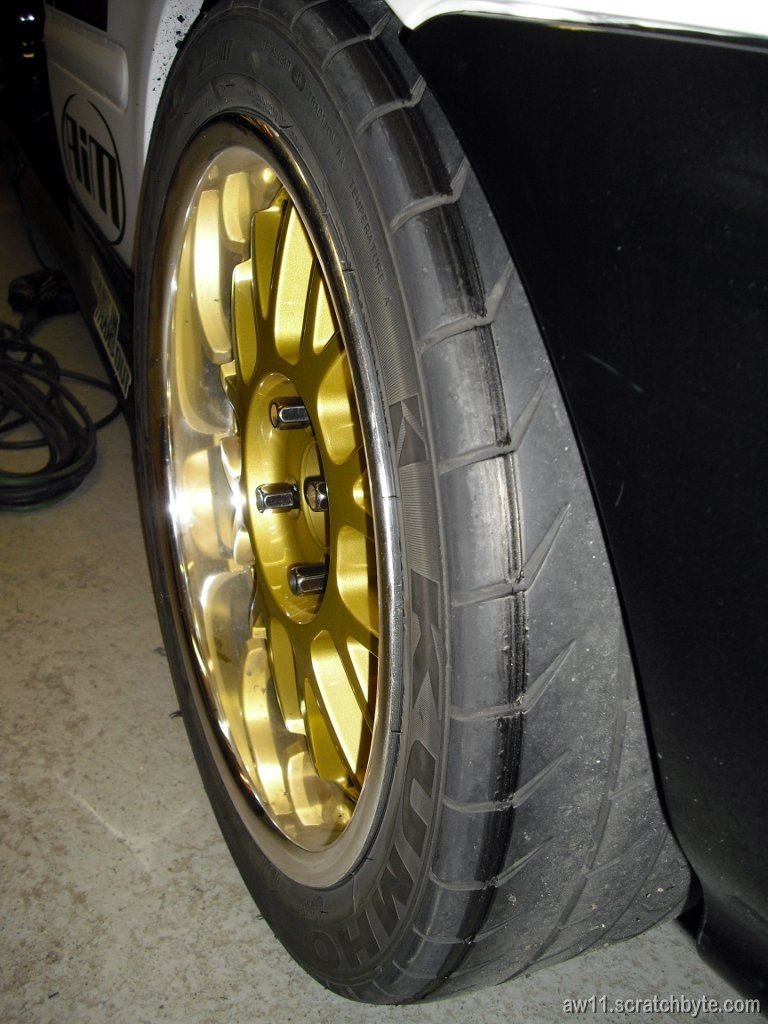
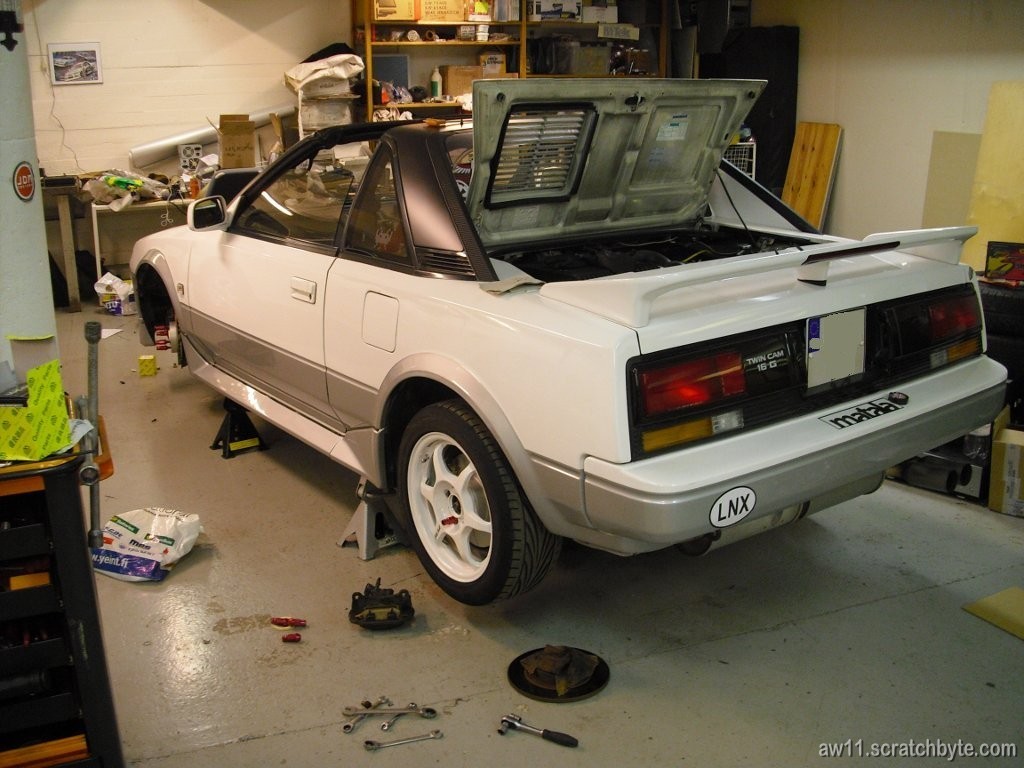
Had to upload a pic of the car with TE37’s again… Widric just got a set of Toyo R1R’s and I had to give the wheels back. 🙁
MR2 AW11 with TE37 15×6.5 & R888 205/50 R15 + 5mm spacer.
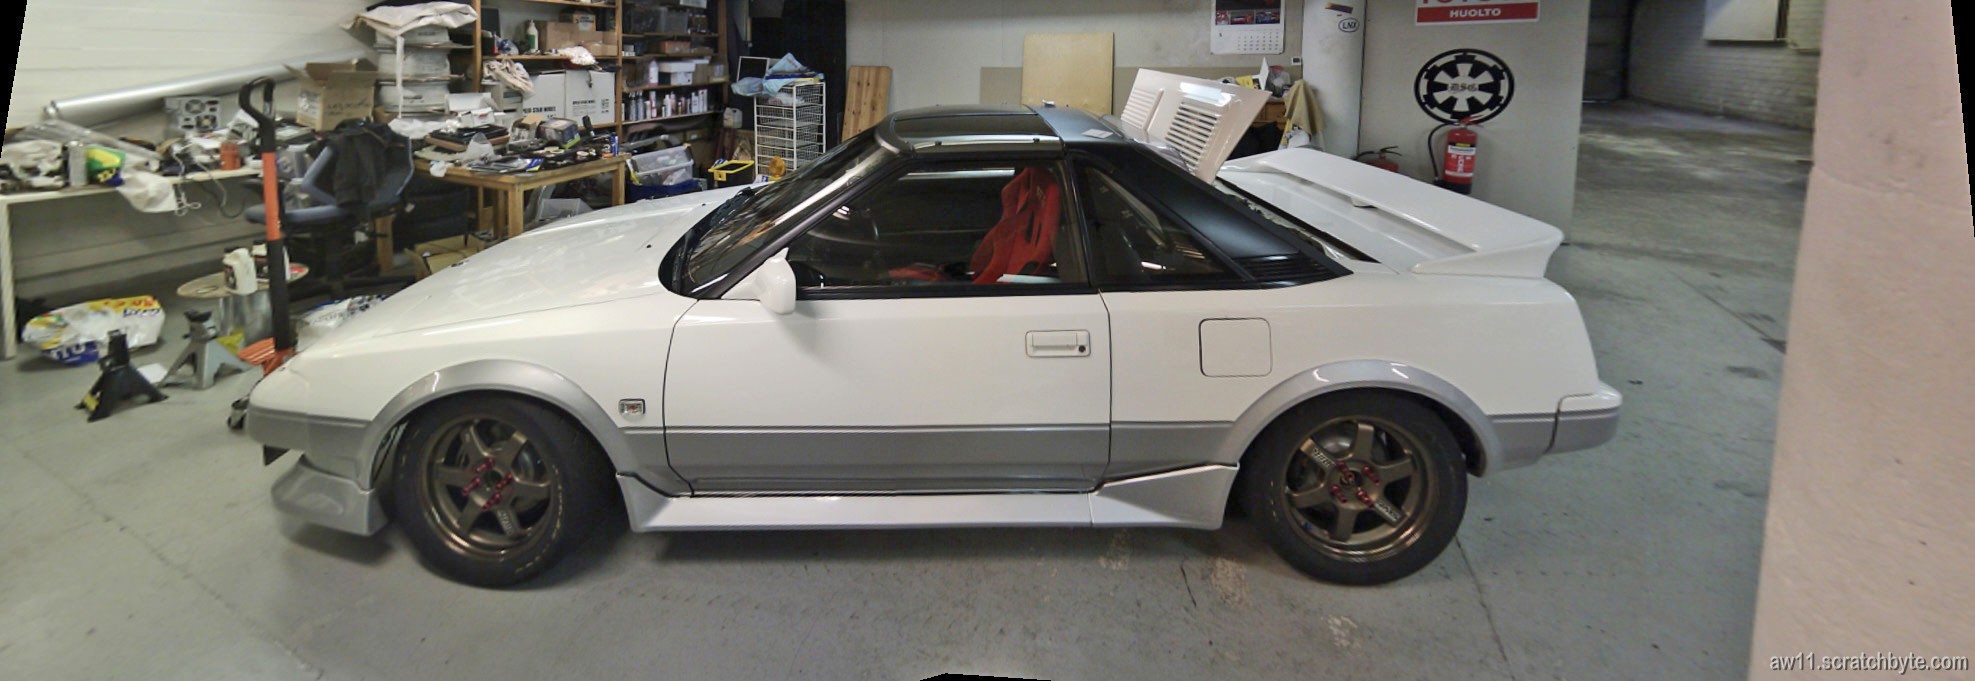
Damn Widric cant remember what the offset was, I’ll upgrade it to the post as soon as possible. And sorry about the weird perspective in the picture, I took the photos for this panorama with my cell phone.
How did it feel? Well, it felt so good that damn the Yen! Why cant the rate be as it was back in 2007 so I could order a set of these?
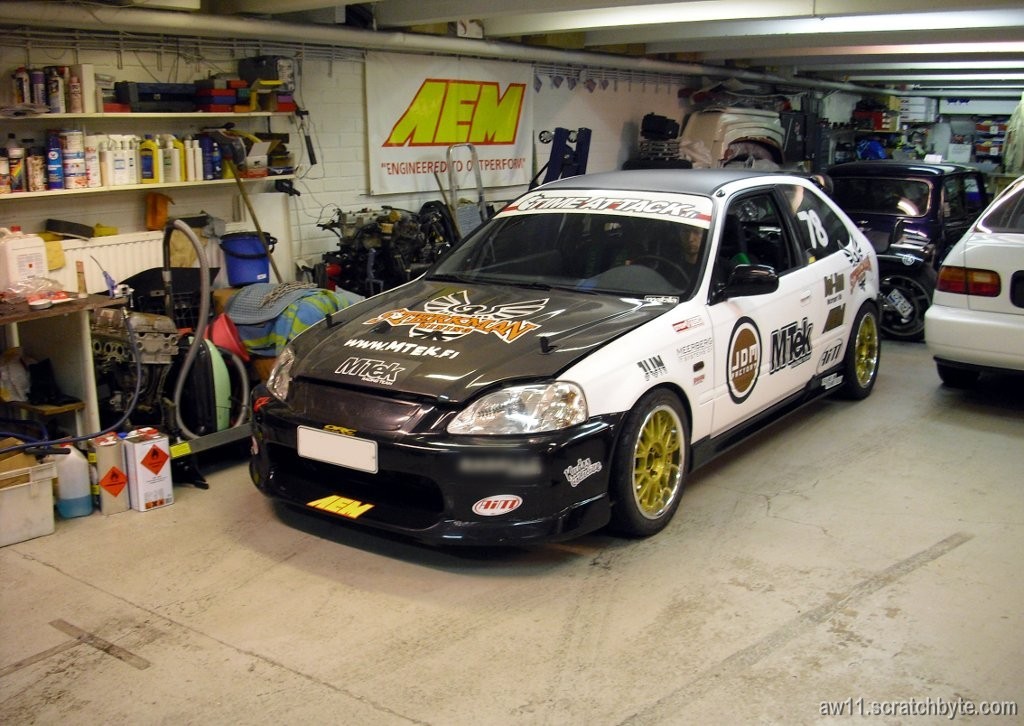
Widric and Maladar working with the Civic. Timing was slightly off and Maladar is checking the cam gear markings.
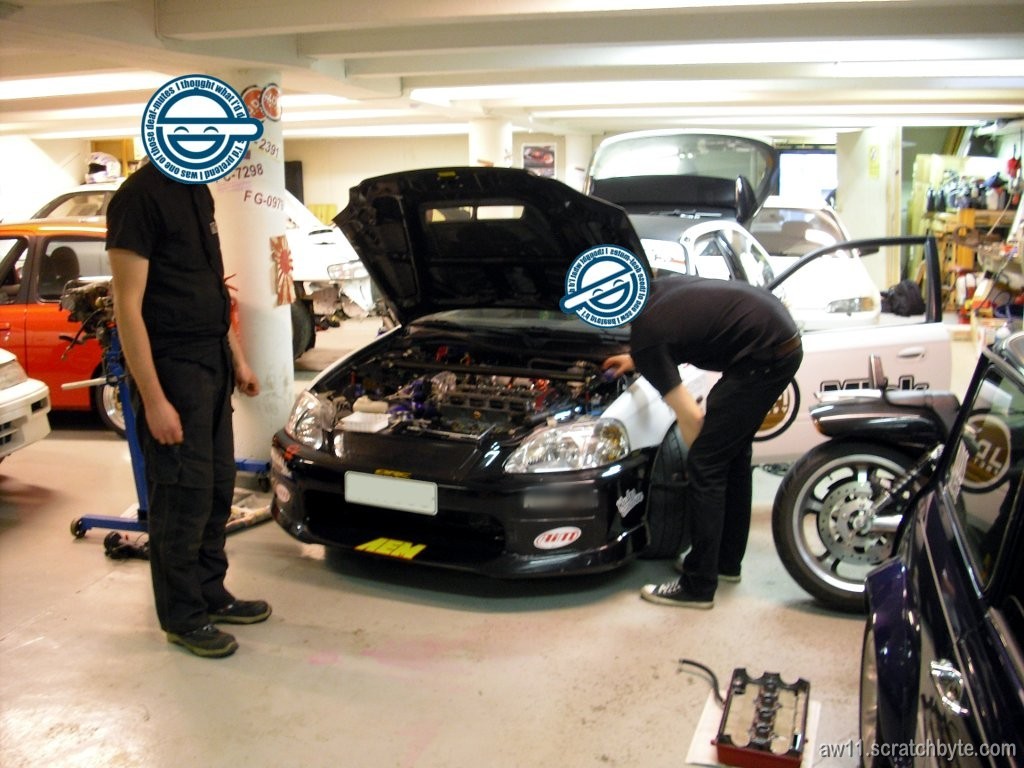
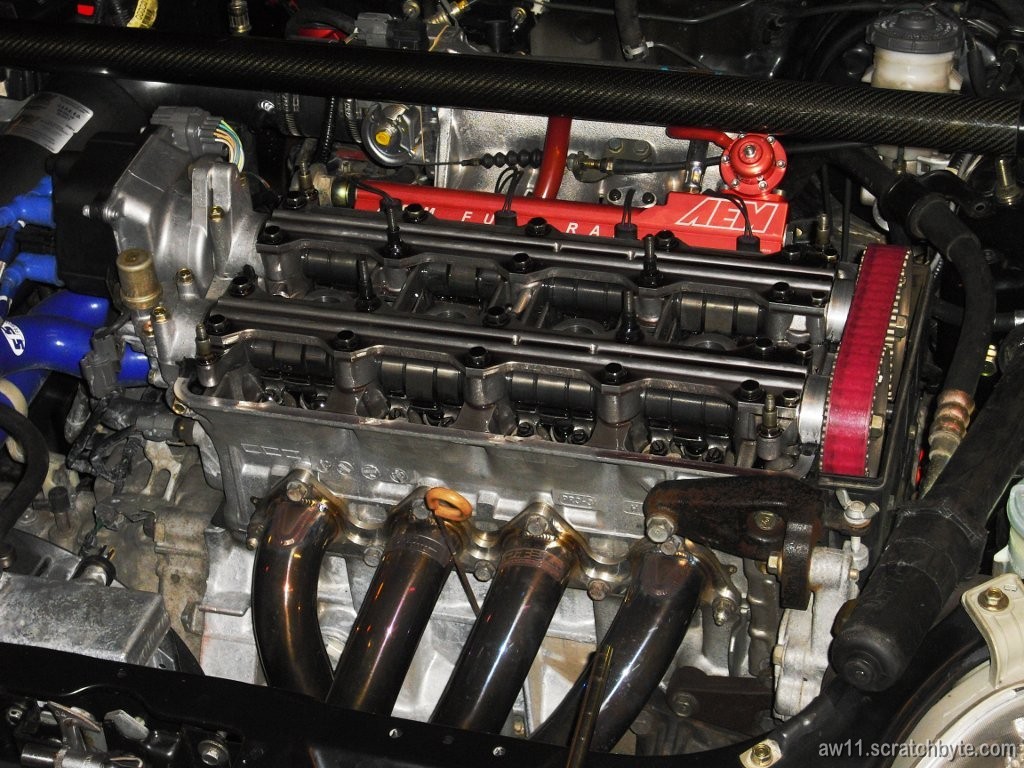
Without engine cover
Widric tuned my tires slightly. There is a new groove on the outside of the tire. 😀
Not completely hideous sight. Actually, the rims do look nice on Civic 🙂 Best thing is that I can try Widrics TE37’s on my AW11 😀
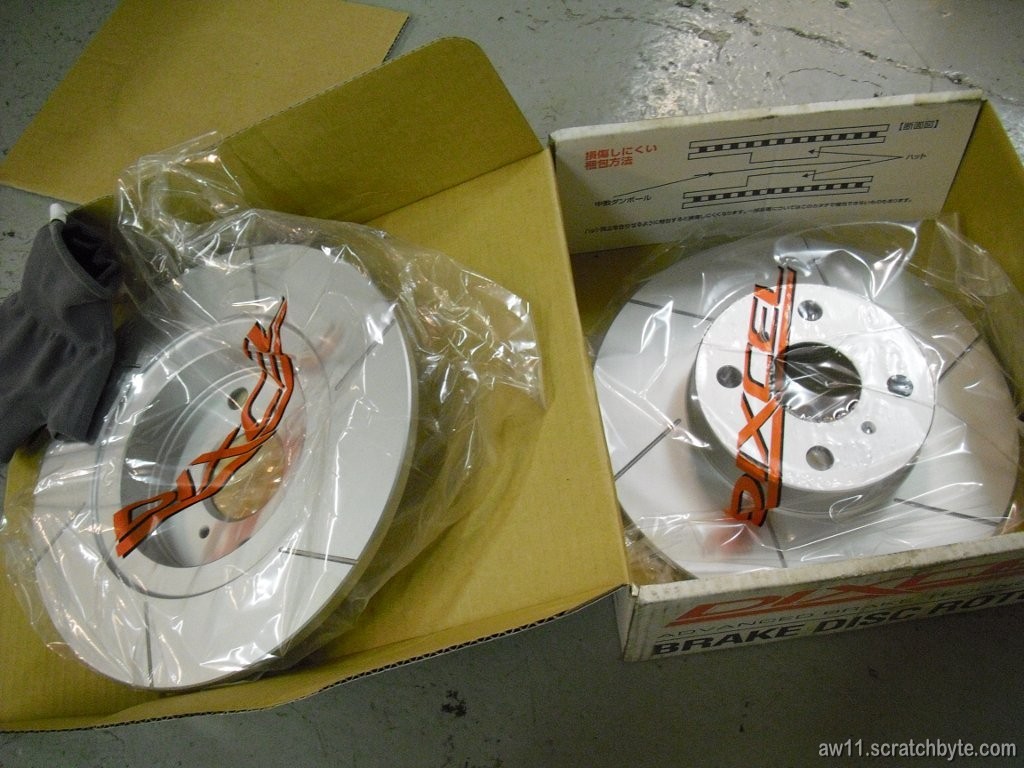
How wrong I was! The discs were in mint condition, still in their plastic bags 😀
…and I had two rebuilt rear calipers with pads already mounted 🙂
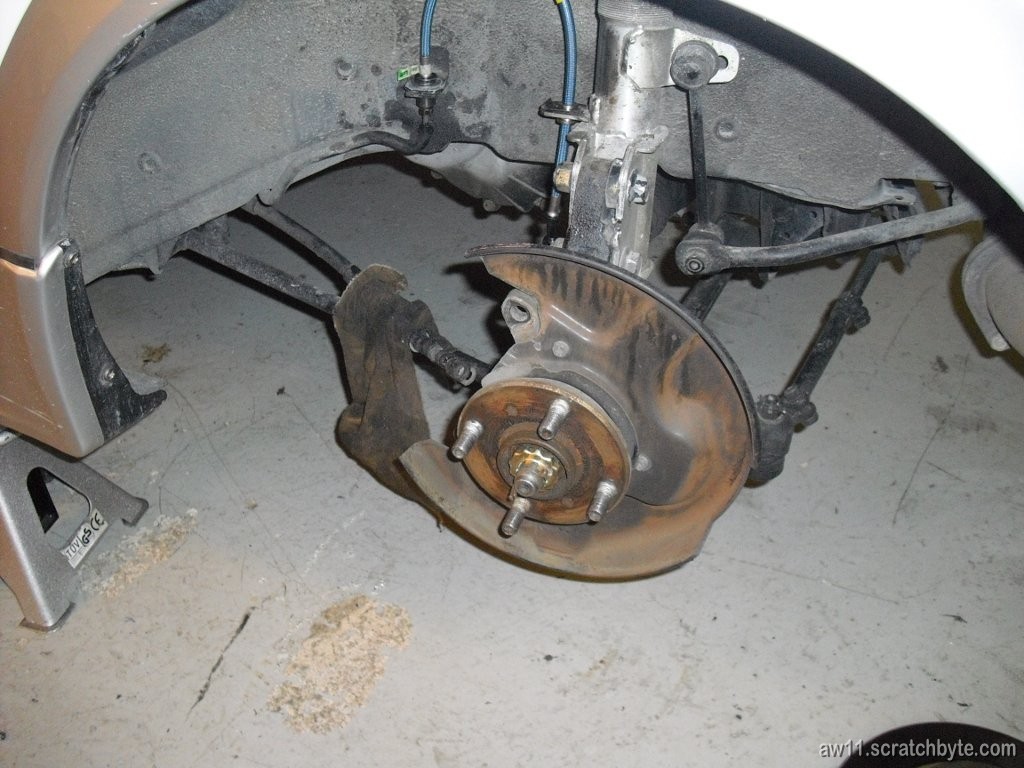
The rear hub, with WedsSport steel braided hose.
Everything together. I was waiting for Widric so we could bleed the brakes. He has had plenty of practise with Civic’s bigger master cylinder and ITR front calipers.
(Which still aren’t working as they should)
I actually got the brakes together without any injuries! How nice is that! 🙂

I had to test Widric’s “rain set” because he needed my 16″ wheels to get the MOT inspection. Not bad, kinda shame now that I didn’t buy a similar set.
Being sick has its advantages. You have all the time in the world to get around the internets to look for AW11 stuff 😀
Until the point where you are too dizzy and start to hallucinate things. Fever <3
I went to the garage and took couple of pictures of my wiring loom.

…ans then I added the results into my diagram, which ishere.
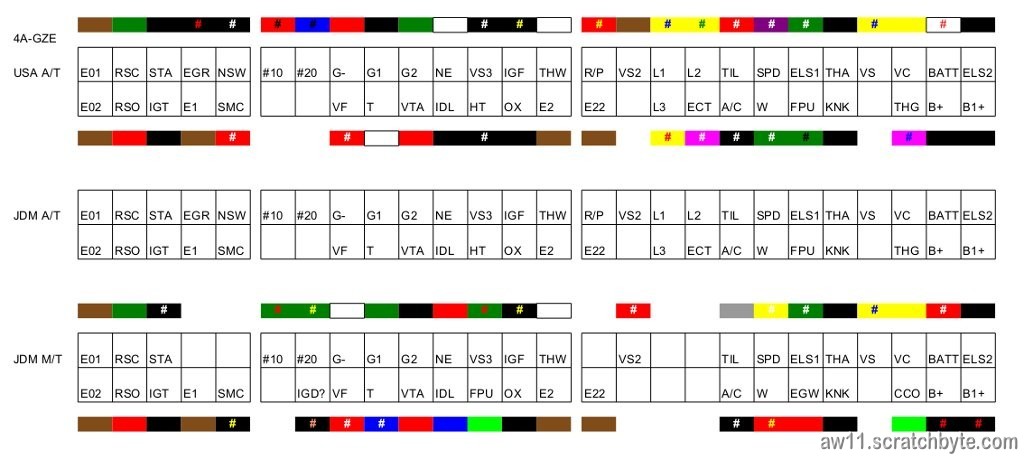
Collected my 4A-GZE ECU wiring info into one picture. Of course, YMMV and I can’t be held responsible. Reason for this is to help me with the AEM EMS installation (finally!)
The JDM A/T (which I used to have) is still without correct titles and colors. I have to go through my wiring and then update this pic.
I think I’d better to check the JDM M/T wiring loom too, but that’s gonna take some time. I have labeled the box where it is, but there is plenty of other stuff on it.
The ECU pins have wiring loom colors above them.
Click the image below to get a bigger one.
EDIT: I made a dedicated page for this thing, it’shere
I removed the oil pressure sensor from the gas tank pipe and reattached it to battery tray. I added some clear tubing and vinyl tape for protection and attached the sensor with heavy duty zip ties.
Red and white wires at the top of the picture are water temp wires, black, yellow and second white are for pressure sensor. Blue and white on the left are for oil temp.
I tried to get rid of the buzzing sound inside the car, but it’s still there. I think I need to get the car on the jacks again to look at the oil lines.
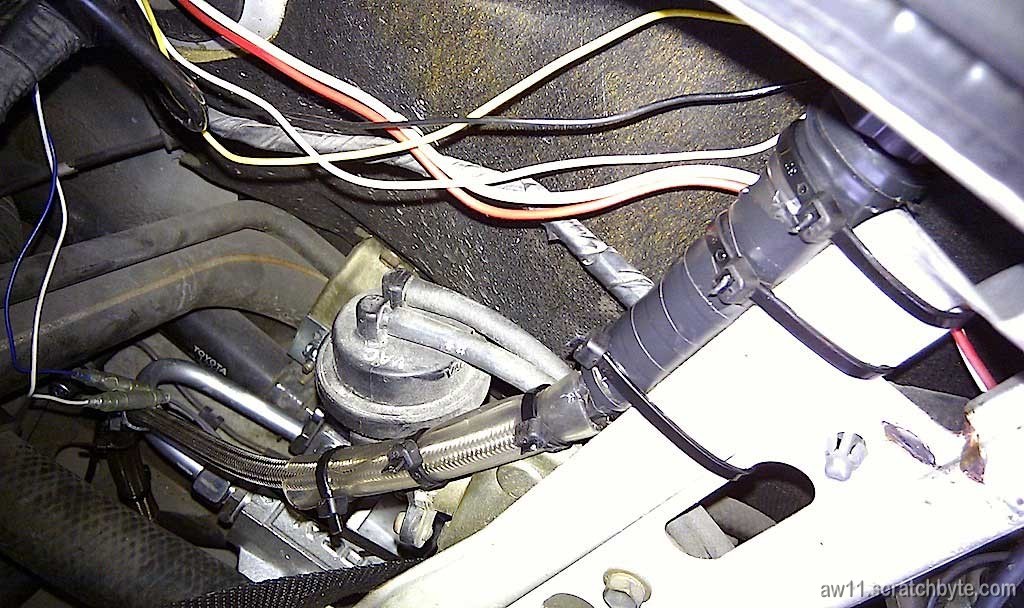
The remote filter head is partly visible at the bottom.