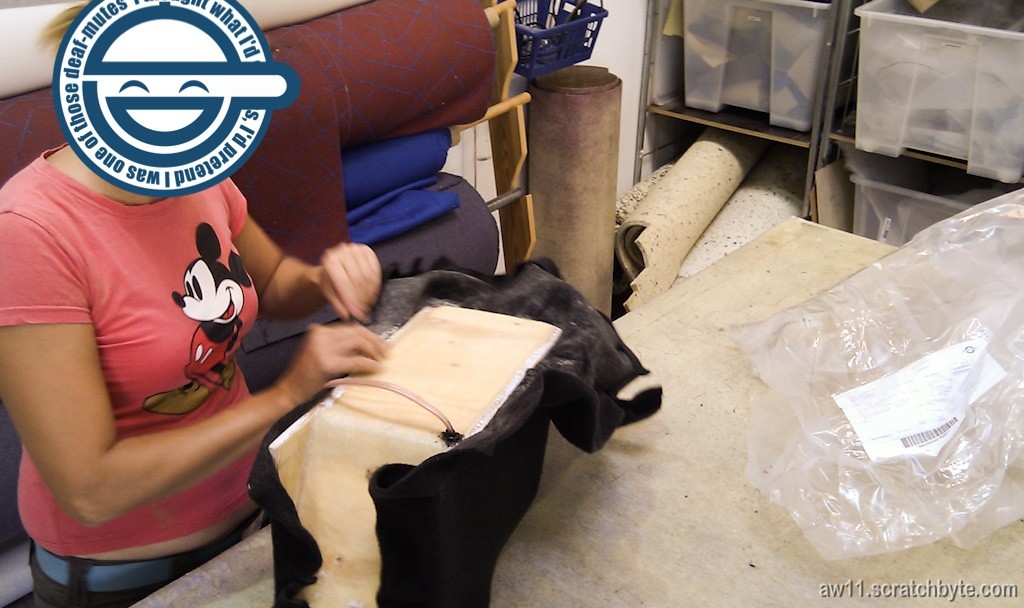
Last week I spoke with Mr. Sensei about my woofer box situation and he thought he’d have some spare time to work with it.
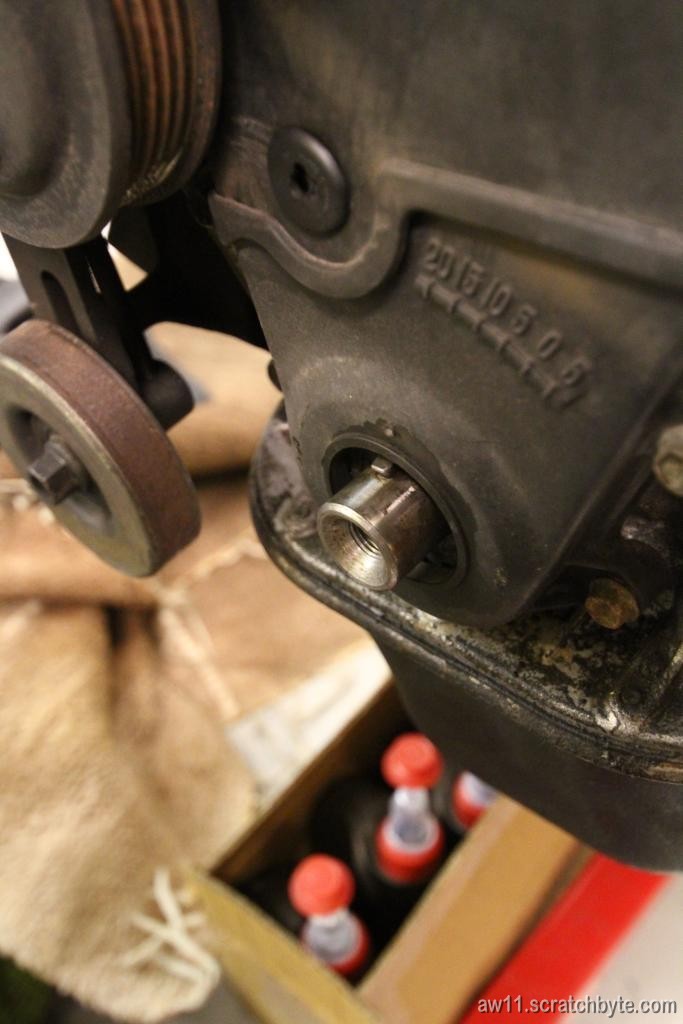
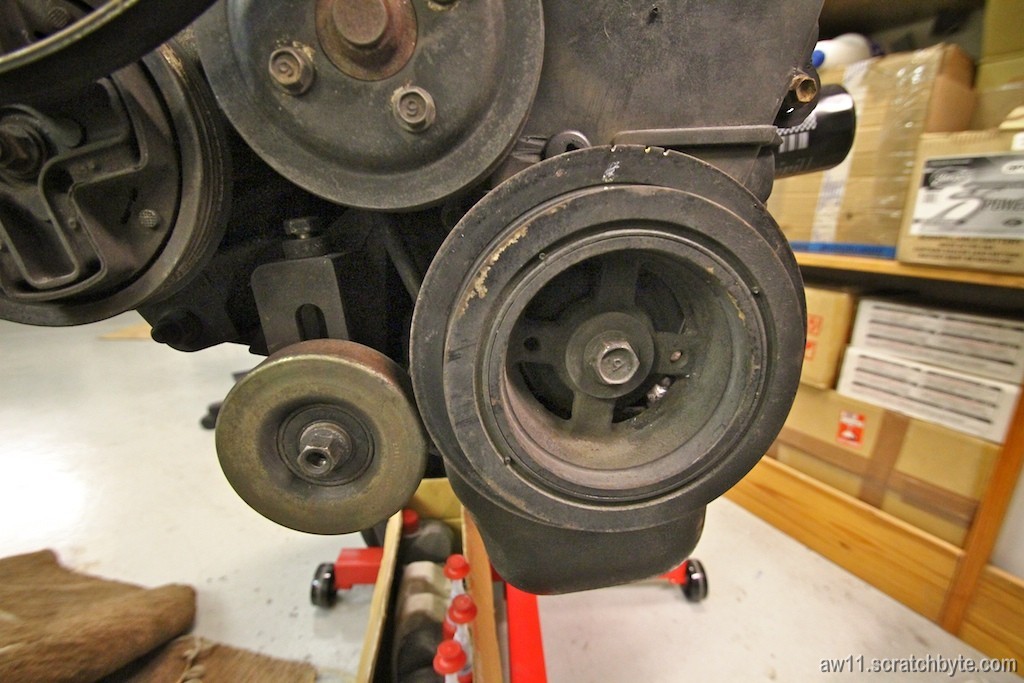
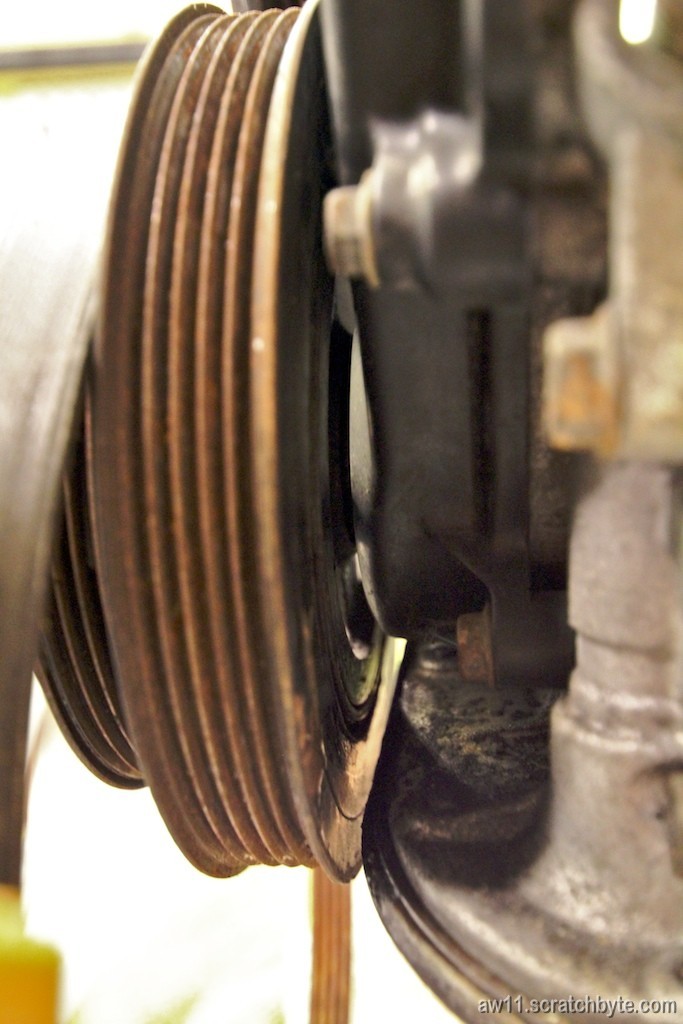
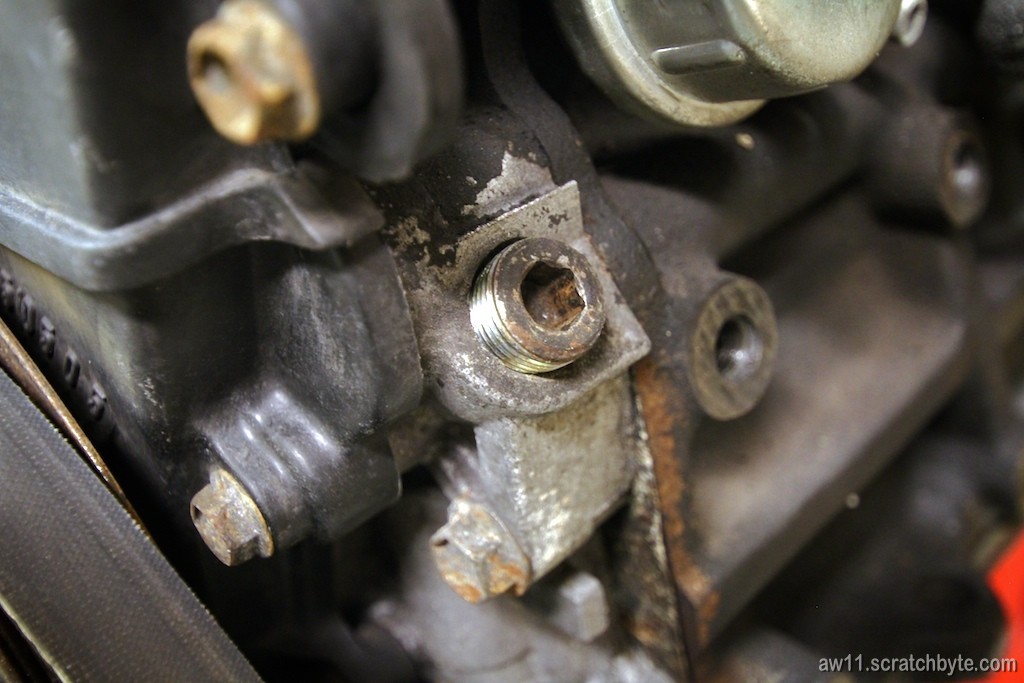
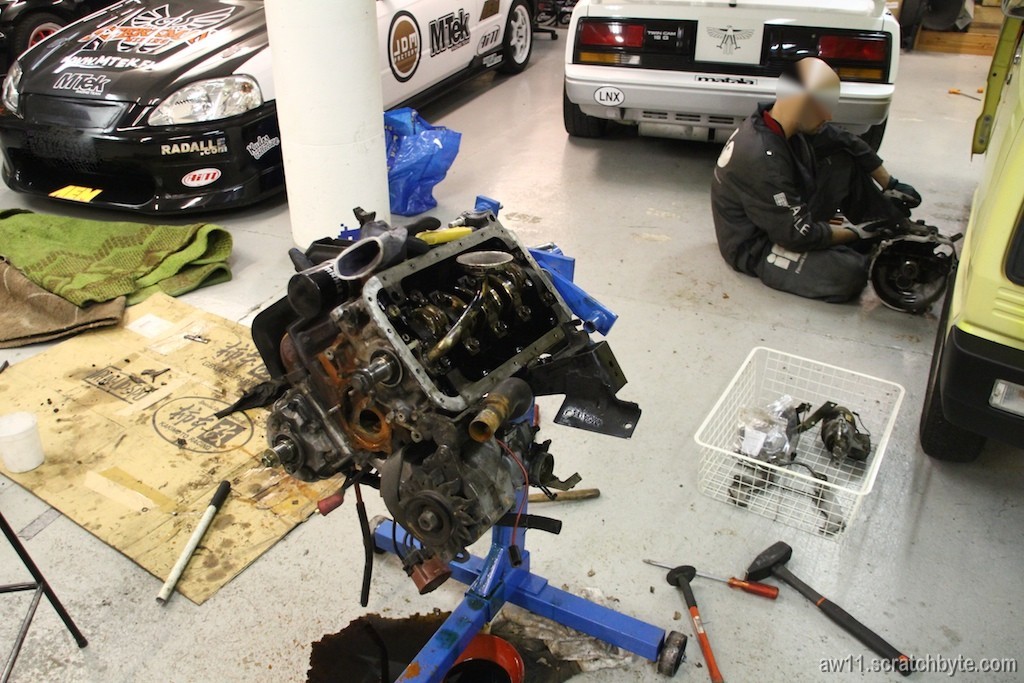
As I had nothing to do and the car still has the unknown weird noise, I drove over to his place see how things were turning out. Didn’t find the cause for the annoying sound, but that was a minor annoying detail for this day.
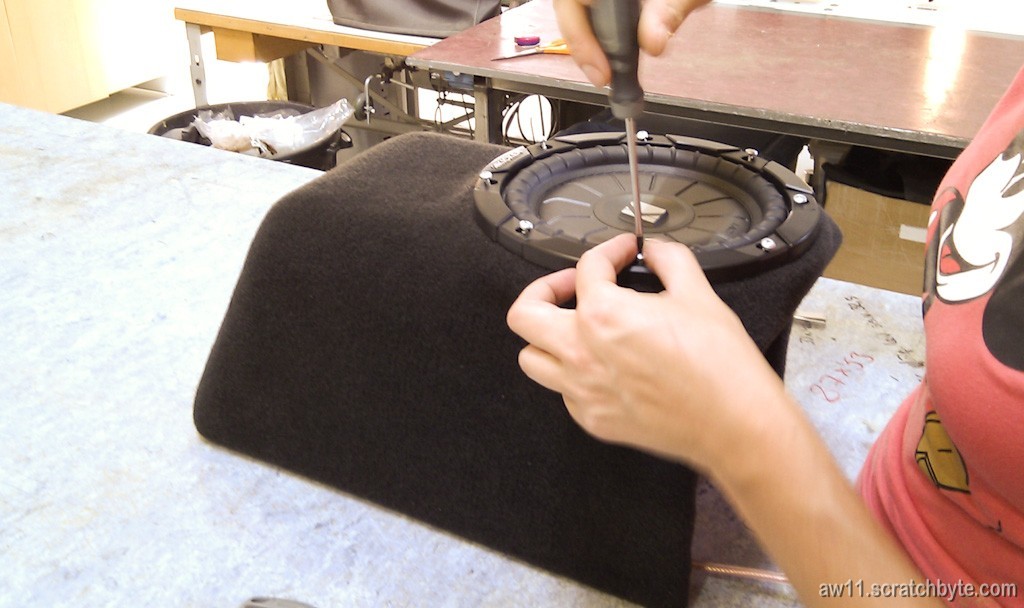
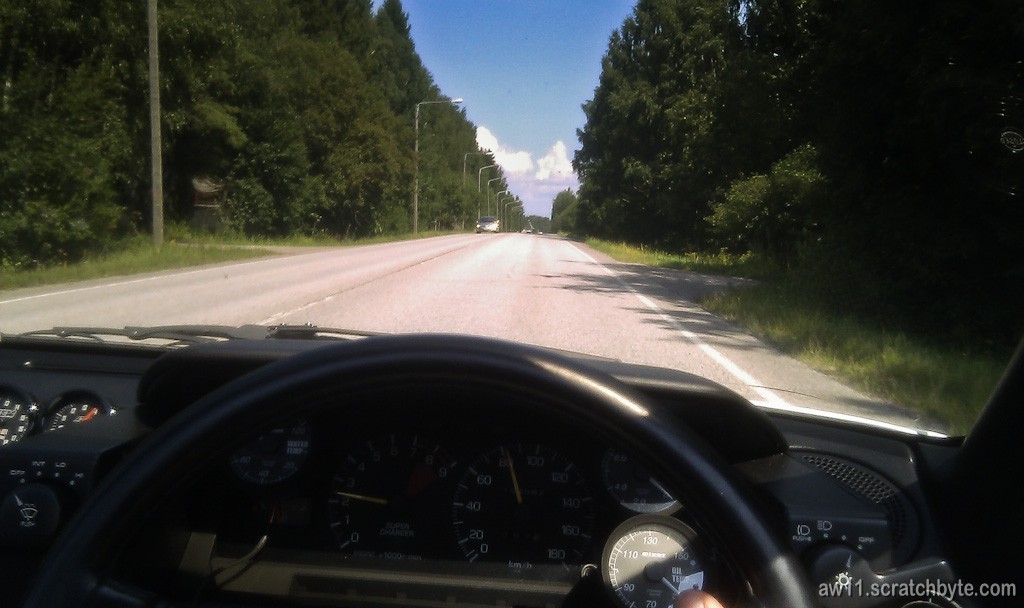
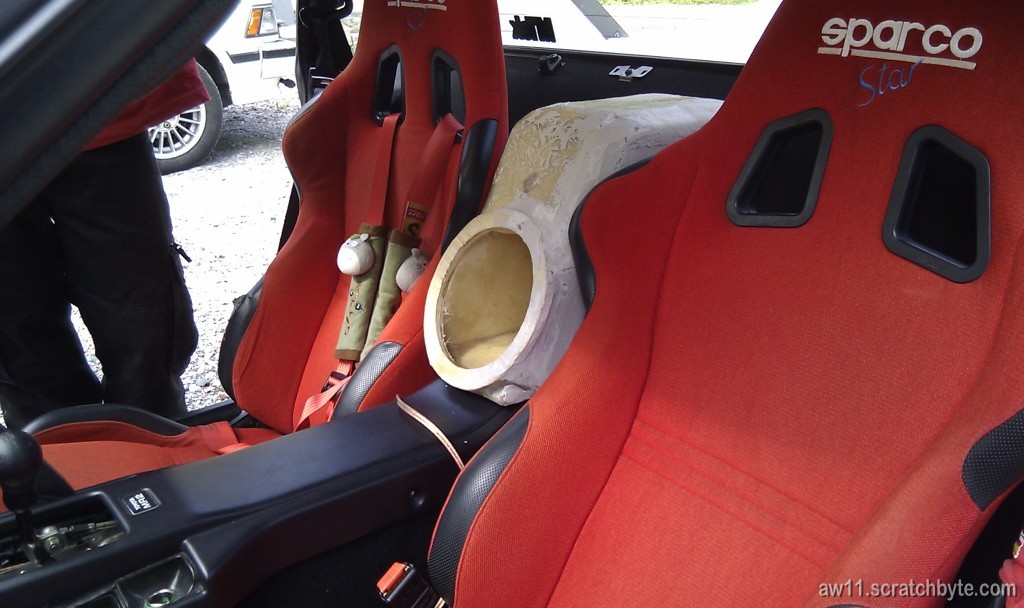
Such a nice, warm afternoon 🙂 (and some test fitting with Mr. Sensei)
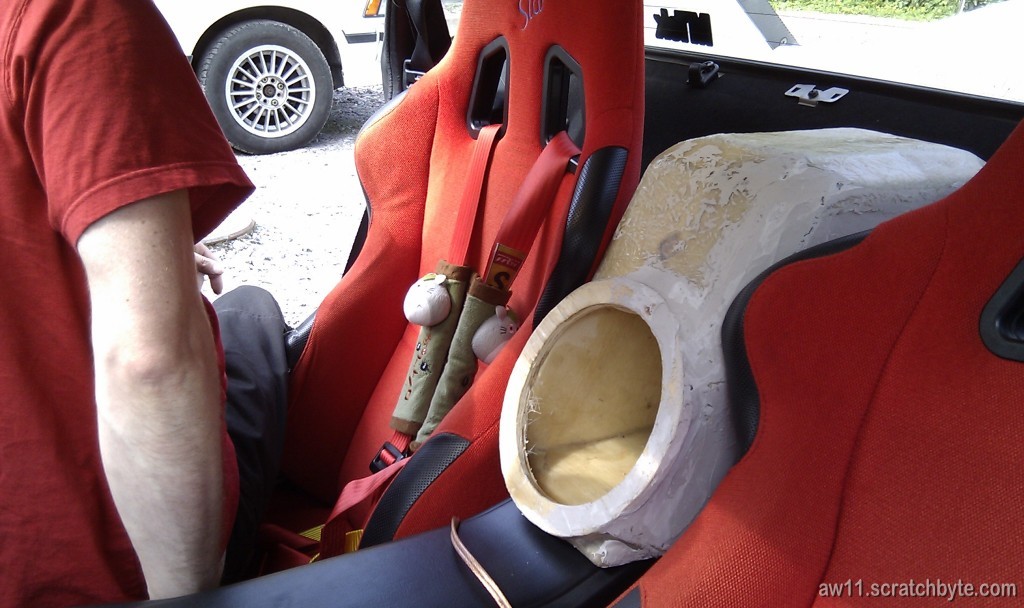
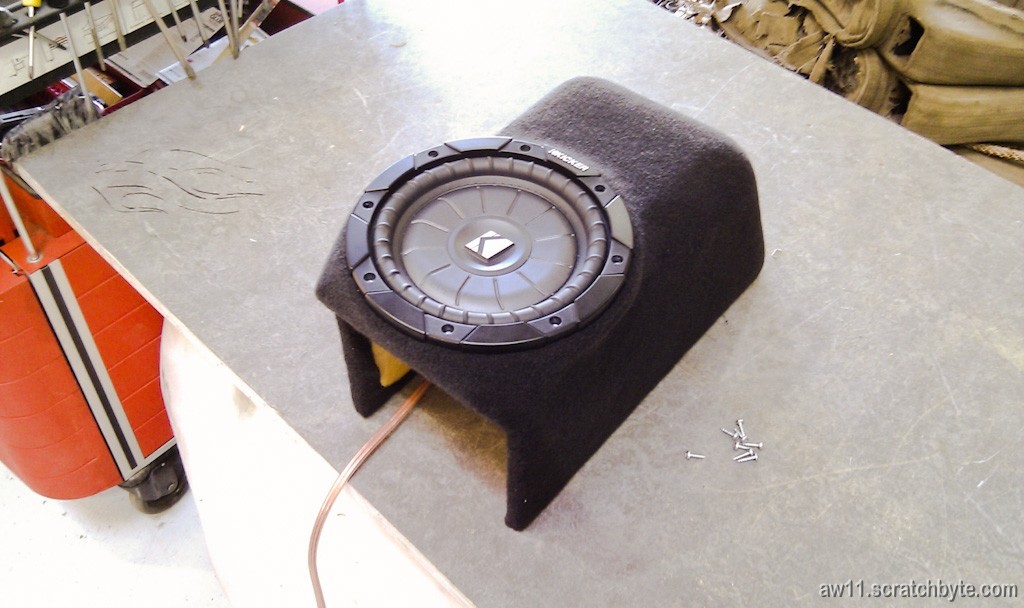
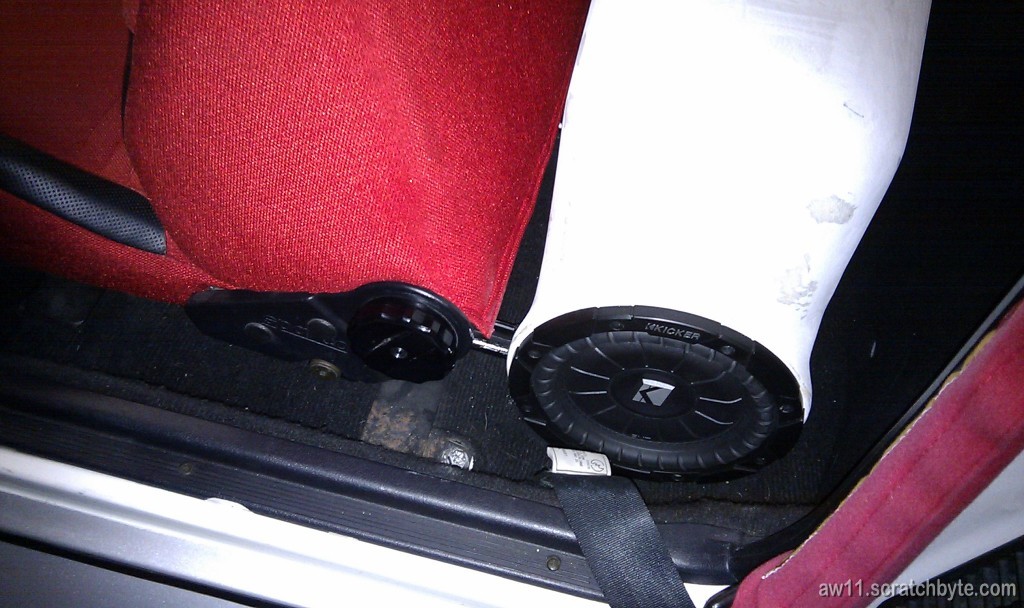
A better view:
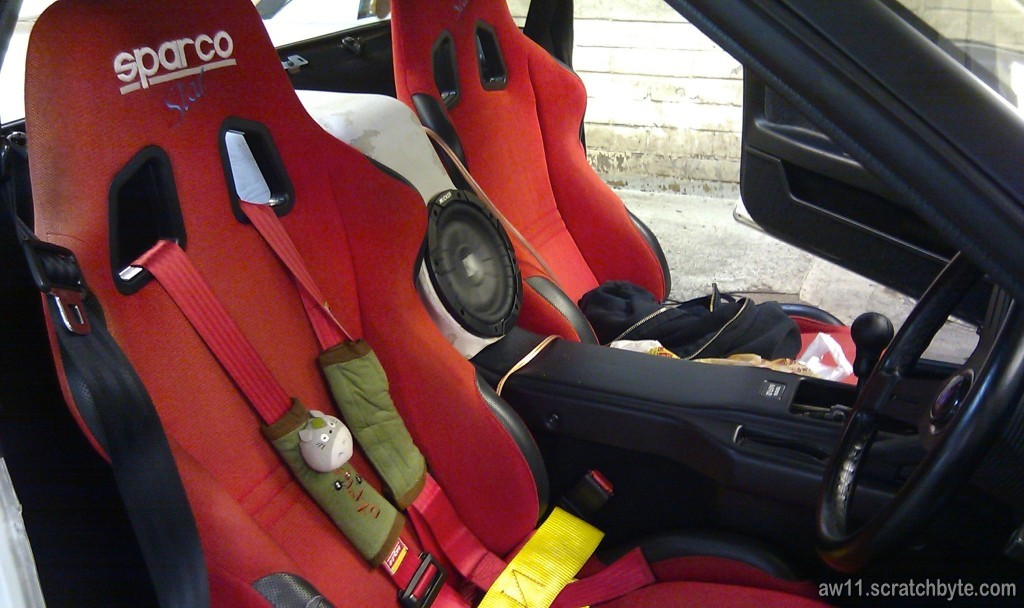
…and one more

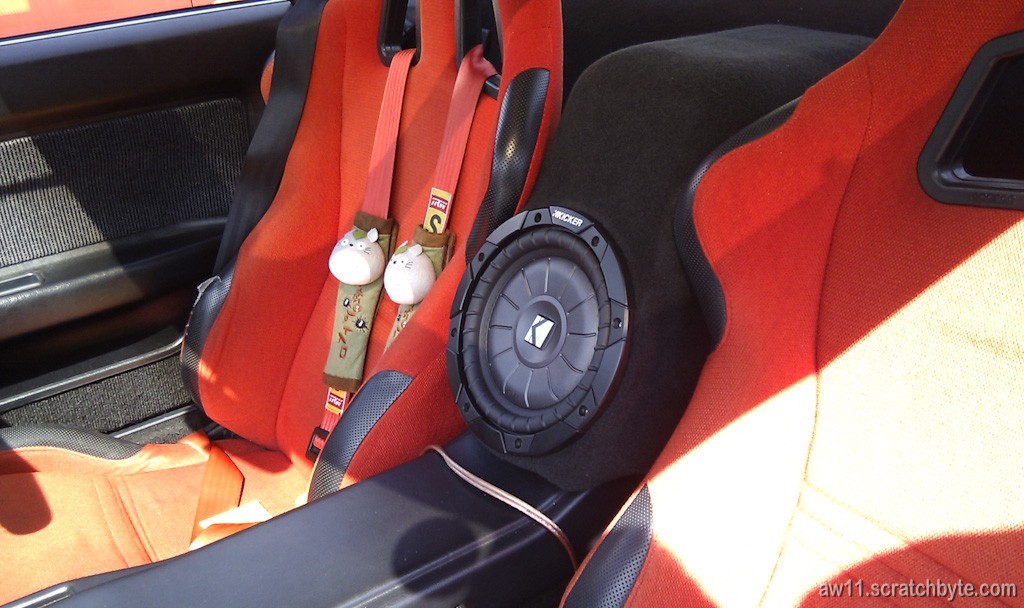
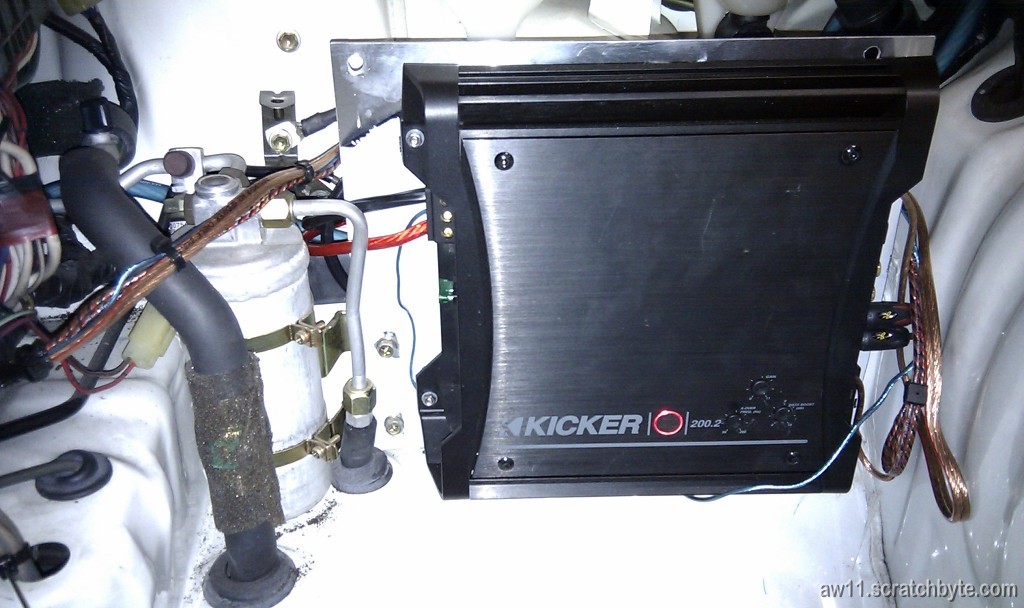
Then some amp adjustment at the garage

…and boom says the bass 🙂
I still need to do the wiring inside the box, build some kind of mount for it and get some black fabric and someone to wrap it in. 🙂
Huge thanks to Mr. Sensei, awesome job. (The woofer works nicely, though it doesn’t deliver similar kick as my shittiest 10″ woofer in a 25L box)