Choosing the turbo

Visited the guy who is going to make the turbo exhaust manifold for me. We spoke about an hour for various things and in the end I narrowed my turbo selection into BorgWarner EFR 6255/6258 and Holset HX30W.

Both turbos are very durable but there are some differences.

HX30W would be nearly optimum for what I’m looking for. Relatively cheap, modern and small A/R, somewhere around 0.4. In general the turbo would make boost from small rpms, but still should make enough power for my application. Physical size (somewhat big) and the fact that it is made for diesel engine are turning me to BorgWarner.

6255/6258 (still havent decided which one should have) is bit expensive. Power estimates are similar with the Holset but the turbo itself is full of high tech thingies. Ceramic bearings, space age alloy turbines and whatnot. The turbo, what I’ve found from the internet, is physically bit smaller than Holset, but with way bigger turbine blades. With all the space age bits (lightweight and smaller inertia) the turbo should still be comparable with Holset.

Other parts the guy is going to build for me are complete 3″ exhaust with small muffler and some piping for the intake. Gotta watch my budget. 🙁

Some specs fo the turbos: (will add in the rest of the specs later)

Holset HX30W BW EFR 6255
Compressor inducer 44mm 49,6mm
Compressor exducer 71mm 61,4mm
Compressor trim ? ?
Compressor A/R ? ?
Turbo inducer 56mm 55mm
Turbo exducer 49mm ?
Turbo trim ? ?
Turbo A/R 0,41 0,63
Flange T3 T25

photo-2

photo-3

photo-4-mr

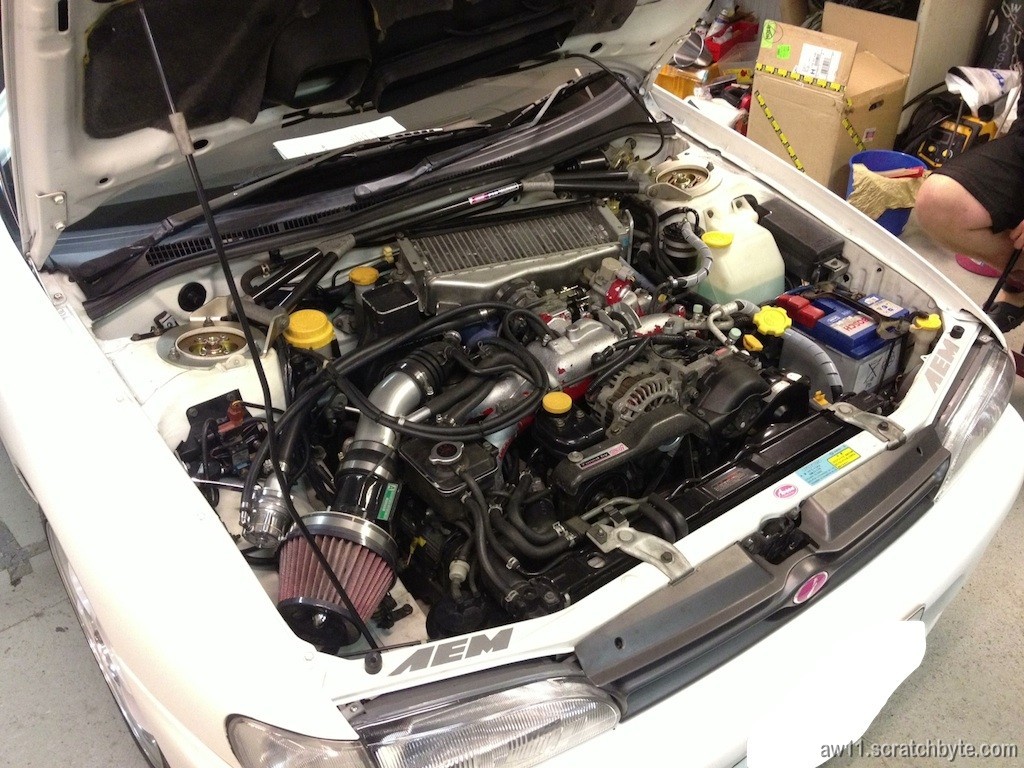
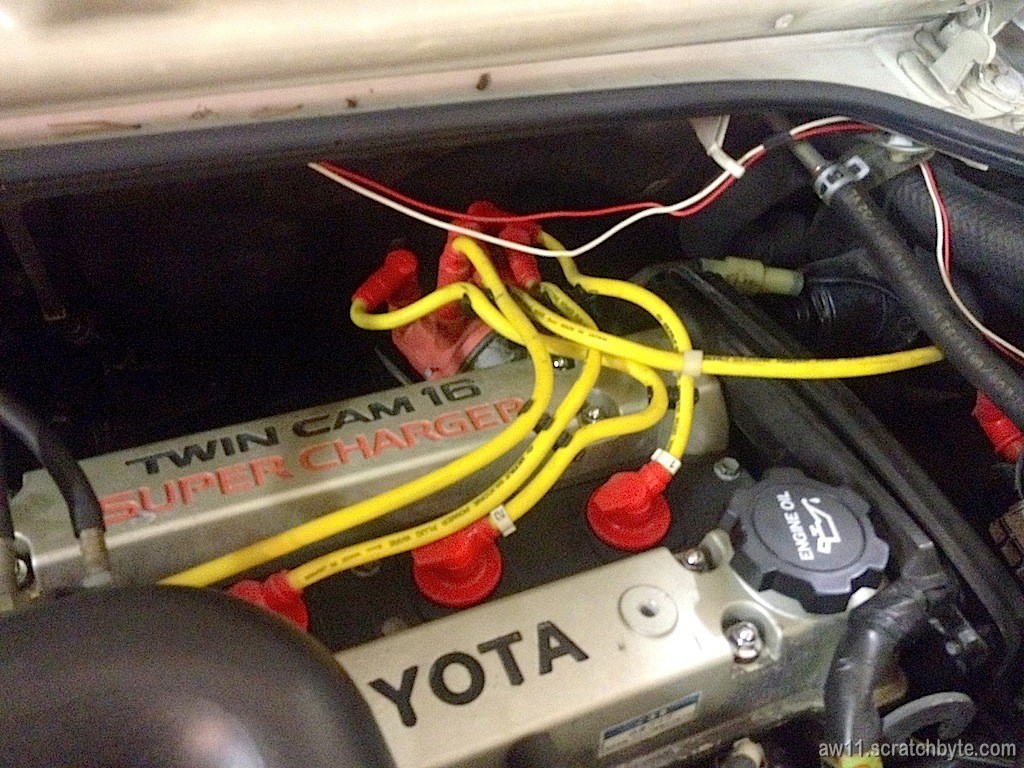
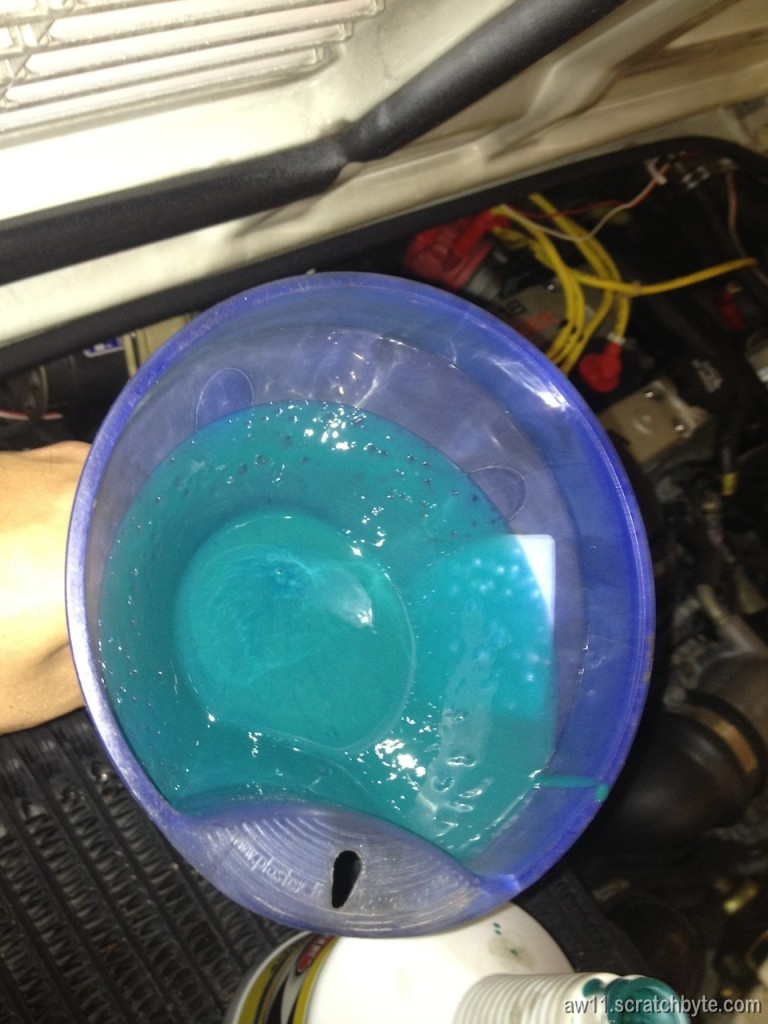
Last time I drove the car was nine months ago

AEM Boost controller

I was bit on the sick side today, but went to garage anyways so I could check what was going on. Widric was there, installing a Blitz blowoff valve into his WRX STI. Maladar briefly popped in just to leave his beloved Micra.

With the blowoff valve installed we went to a test drive. Widric had connected his AEM boost controller which was also on the test bench. For a while we got clean boost of about 0.6 bar (and nice blow off sounds) but then the car started to act weirdly. We pulled over to check that everything was ok under the hood. Widric handed me the boost controller manual and I noticed that the boost controller had its vacuum/pressure lines wrong way around.

No tools with so we couldnt do anything. Widric was baffled because he had checked and doublechecked the lines to boost controller but still theyve ended being reversed – the one going to wastegate was on the pressure side and vice versa.

At the garage Widric rerouted the lines and I went through the boost controller settings, setting it to what I thought was normal. Then we headed to nearest Shell station to get a full tank of nitro 🙂

My “normal” settings were bit off *cough* 1.2bar *cough* so we started from the zero. I first set the boost controller to minimum boost so we could see that the wastegate was working and opening around 0.55 bar as it should. Then we slowly increased the boost from the controller and got a nice stable 0.75bar from it. We managed to get around 0.85bar but then any higher boost after that was somewhat unstable and we went back to garage.

Widric was pleased how the car turned out. I was thinking that wastegate opening pressure setting wasnt correct and that was somehow now disturbing the boost. At this point we had to call it a day and leave. I sent a text message to Maladar telling him what we had found and while at it, asked if he still had those boost controllers. Maladar said that he still should have at least one – he would try to find it for me 🙂

Turbosmart fuel rail adapter

Got a Turbosmart TS-0402-1002 fuel rail adapter.

photo 3

This piece should replace the original fuel pressure thingy so the fuel rail can be fitted with a adjustable one. I’ve got a generic AEM pressure regulator already, but I’ve been looking for this thing quite a while.

photo 4

photo 5

And it fits 🙂 I got my spare fuel rail from the garage and tested the fitment. The thread holes have some offset but I believe this is for subaru compability. Looks fine to me.

On a side note, seems that I forgot to remove battery when we came back from the track last time. Now I have a totally flat battery which doesnt want to work. I already sketched a plan to mount a lawnmower battery in the frunk, but that’ll have to wait.

Distributor cap and spark plug wires

The car has been running on the rich side for a while for no obivious reason. Beldin pointed out that I should check the plug wires and the dizzy cap, because who knows how long they have been in there?

I havent ever done anything to distributor so this was bit of undiscovered country for me. The dizzy cap I removed from the AW11 was dirty and the leads were quite corroded.

IMG_0226

I removed the spare engine dizzy cap and found out it was in better shape. I cleaned the leads and put it into AW11.

IMG_0230

Putting the dizzy cap back in the car was tricky. Cramped area and big useless hands.

Also, I took the plug wires out and measured the resistance. All wires were in 2kohm area, but the wire coming from the coil said something like 5kohm. No idea what the relevance is here.

IMG_0231

Before heading out for a test drive, I finally rememberd to turn the front shocks all the way down to softest setting. I’ve had them on 6/16 for 2 years at least.

Something in the engine compartment made kind of a wailing sound, but I fixed it by turning the music up.

I was probably hallucinating about the car, but it definetly was more perky. Air/fuel ratio didnt fluctuate that much anymore and the lowest that I saw it to jump (for 0.02 secs) was 12. Before doing anything it went all the way to 11 and stayed there for a long time.

Next time I have to check compression, the plugs and the dizzy rotor 🙂

Gearbox – oil and drive shaft oil seal

I started everything by draining the oil from the gearbox – and this time I undid the filler first, just to make sure that I dont end up with empty transmission and no way to fill it up.

IMG_0002

Oil was fairly clean, but it did have some black smudge here and there from the lsd.

IMG_0003

The shockproof oil had bit unusual color for a oil. MT-90 on the otherhand was just normal.

IMG_0011

…and the old engine side oil seal. I replaced it with a new one from Toyota.

IMG_0009

Gearbox oil

I came across a nice deal of gearbox oil and bought some – now I owe 80 euros to Beldin who gracefully loaned me the money. I should carry cash with me more often.

I bought 4 quarts of MT-90 and one quart of Shockproof for the AW11. I spoke with the guy  about the difficulty of chosing the oil for AW!!, which should at the same time please the gearbox and the LSD.

We checked from the internet that E51 gearbox should work just well with the GL-4 MT-90. He recommended that I should also add one bottle of shockproof to “”harden”” the mixture and added that if the LSD is not working with this mix, I should get some Redline friction additive.

I also need one oil seal for the drive shaft 🙂 and I need to fix the longer drive shafts CVJ cover.

IMAG1423