Power cable installation

Beware. For reasons unknown, my cellphone took only bad pictures.

I started the whole thing by removing the fuse box in the frunk. I tried to push the cable through the wiring loom passthrough, which at first seemed impossible, like there was a wall behind the hole. The

New LEDs

front

I got some LEDs from SuperBrightLeds. First impression was that the leds themselves were quite similar to the chinese ones. With a quick glance, I couldn’t tell any difference in brightness, pattern or color between ordered pairs (I ordered 4 different types).

In the above picture I have a WLED-xHP5 on the left and my trusty old Osram Cool Blue on the right. Again, the color is too blue for me (xHP5 is only available in cool blue, about 6500-6000K) but I’ll try to get either white or natural white (more yellow) LEDs next time + some more for the gauge cluster.

Also, my front wing is looking nice, 🙂 maybe bit more work to secure it properly. Some of my tests with the subwoofer amp can be seen in the frunk, like wiring and stuff.

Amp and subwoofer

IMG_9927

My first idea for mounting the amp was something like this. A plate in the trunk where to hang the amp. After speaking withMr. Sensei, I decided to move the mounting plate in the front trunk (pictures later).

Main concern was that the amp has a DC-DC converter which would disrupt the ECU and the car wouldn’t run properly. The ECU is under the plate in the above picture. So, some sawing and now the plate fits in the front trunk. 🙂

Removing the automatic transmission

Very rare picture of me. Almost looks like I could lift the small puny Toyota up by myself.

2

Not sure if this is enough clearance for the swap

7

8

It’s stuck

10

Underside.

19

From the top, obiviously the intercooler had to be removed and then open the thermostat bolts and lift it off the transmission. Also, A/T box has four electric connections, which need to be taken apart. There are instructions on the internet about the A/T -\> M/T swap, but the gearbox part doesn’t seem to be that difficult. (Can’t wait for the clutch line installation…) 😀

14

Putting gearbox back together II

I just got the pictures from Maladar. Some pictures were bit on the dark side \;), so I had to do some basic (and really quick) editing to them.

The millionth bolt going in

IMG_9921

Iz hammertiem!

IMG_9934

It-just-won’t-go-in!

IMG_9937

Fifth gear

IMG_9944

Fifth gear ready

IMG_9956

And then from my blue era, liquid gasket

IMG_9965

The gearbox is now ready for the swap. Yay!

Clutch line and LSD

Couldn’t find this info anywhere, so I measured it myself. The thread at the end of the clutch line is M12 x 1 andpipe diameter is 6,3mm. The pipe diameter is actually 6mm. It’s really difficult to get measurements from the pipe because it is so bent in every direction.

Here’s the thread, bit lousy picture as I took it with my cell phone

IMAG0484

Part of the clutch line – the line from slave cylinder

IMAG0485

And the master cylinder – mainly the thread

IMAG0487

Here’s the LSD with SW20 LSD speedo gear. I was worrying the fitment, but it was ok and there was only one way to fit it on the LSD. Now, we have all the parts to build the gearbox again.

IMAG0490

Subwoofer and amp

IMAG0491

Mr. Sensei gave us a visit today and he brought a subwoofer + amp for me. He’s also building a subwoofer box for me, which is going between the seats against the rear wall.

What I got was 8″ Kicker CompVT element and ZX 200.2 amp – nothing fancy, but should be enought for a small car like AW11

We took some initial measurements for the box today, and Mr. Sensei retired early to meditate with tools, epoxy and fiberglass.

Mr. Sensei’s blog ishere – with lots of pictures about lowered cars 🙂

Parts for LSD and gearbox + major setback

IMAG0477

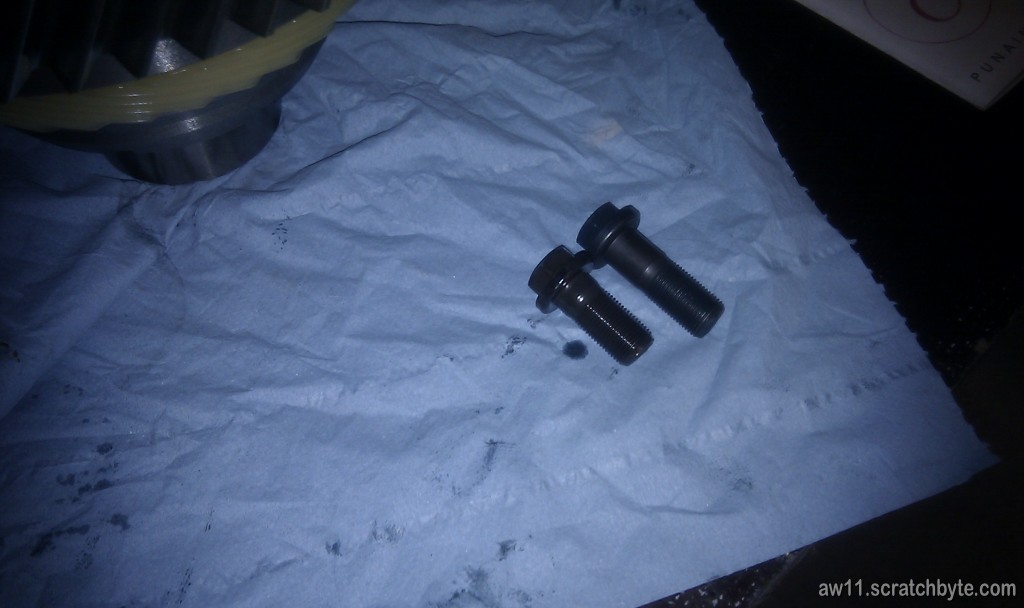
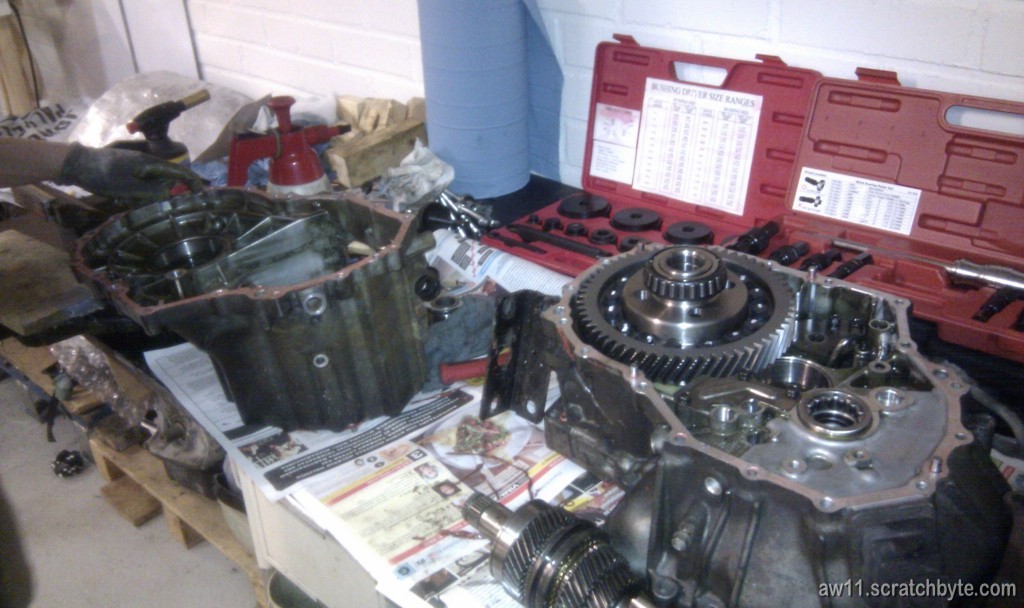
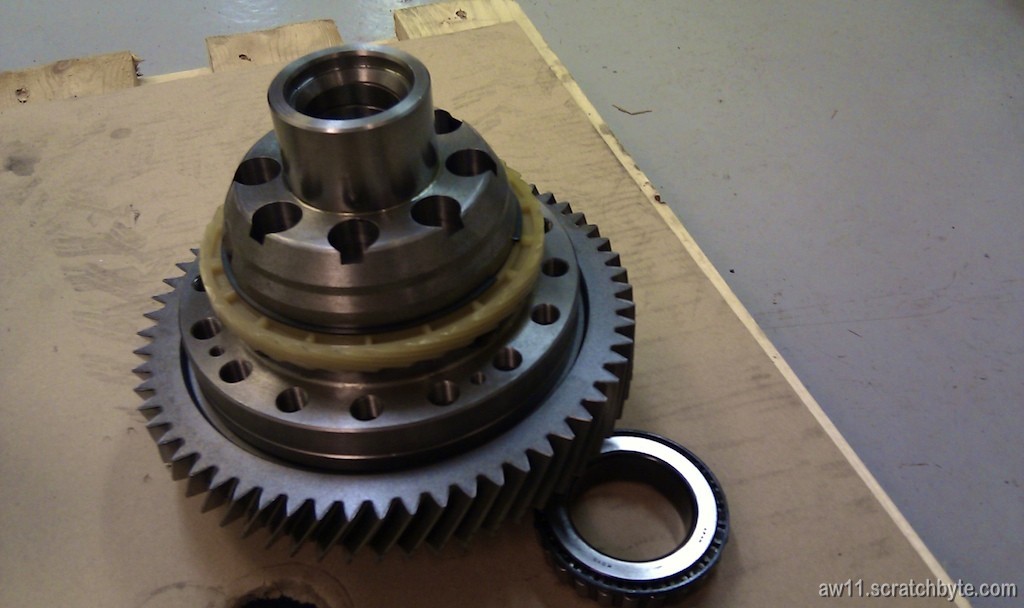
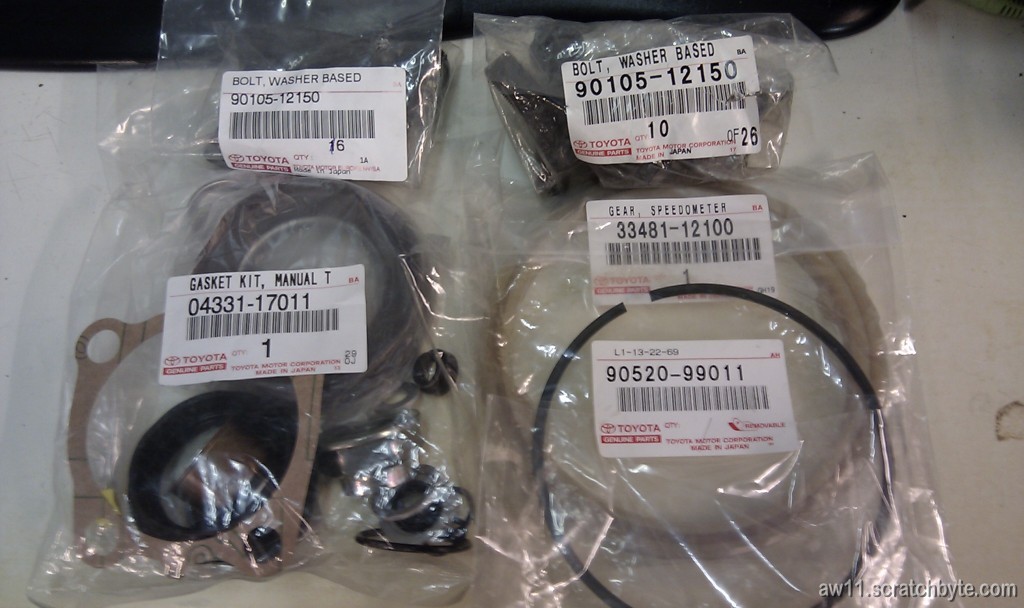
Something positive! I got my parts from Toyota for the LSD and gearbox. A speedo gear, a mystic “band” for it, bolts for diff gear and new seals for the whole thing.

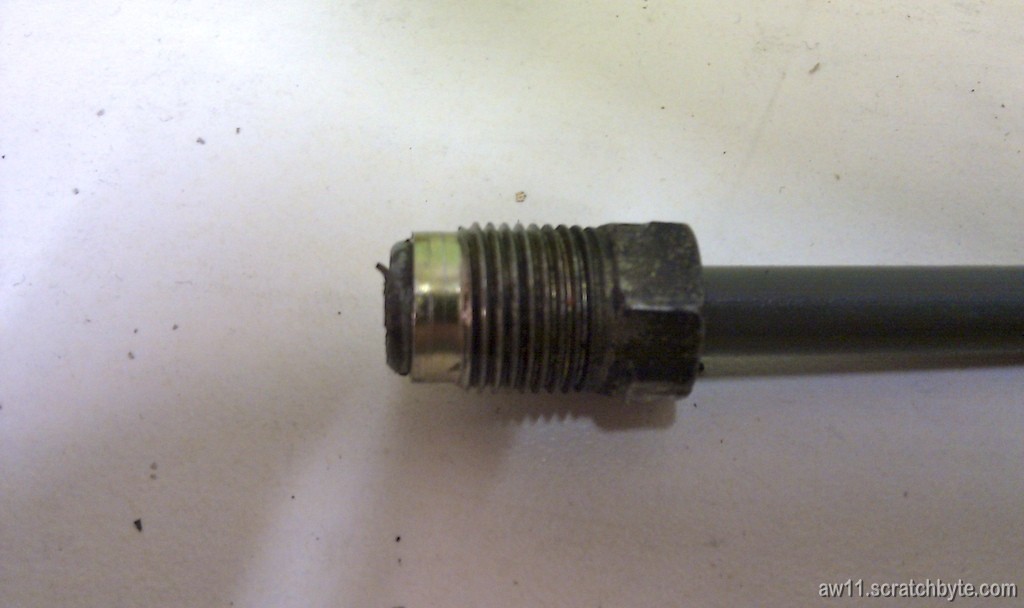
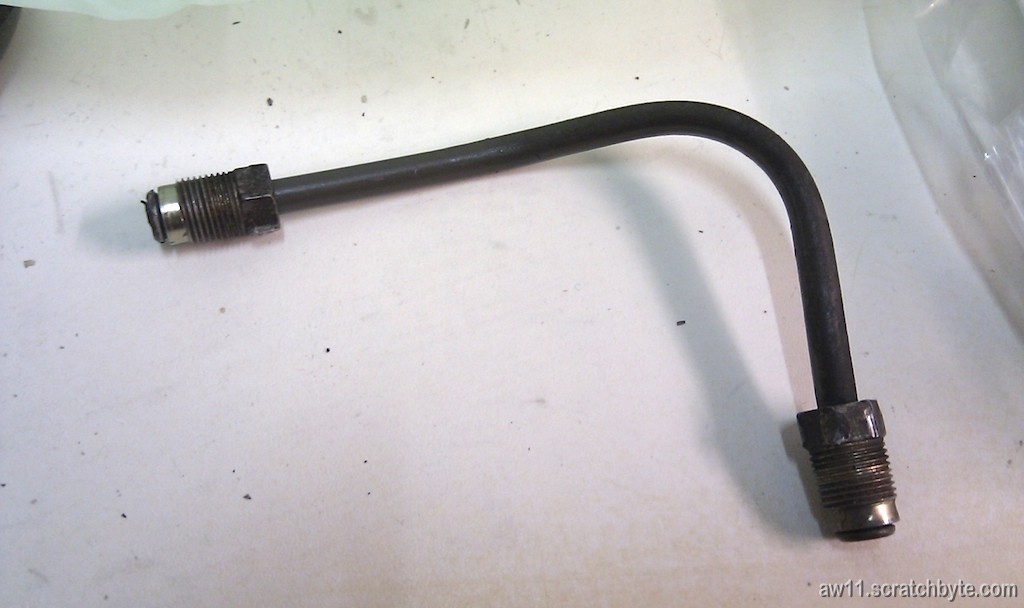
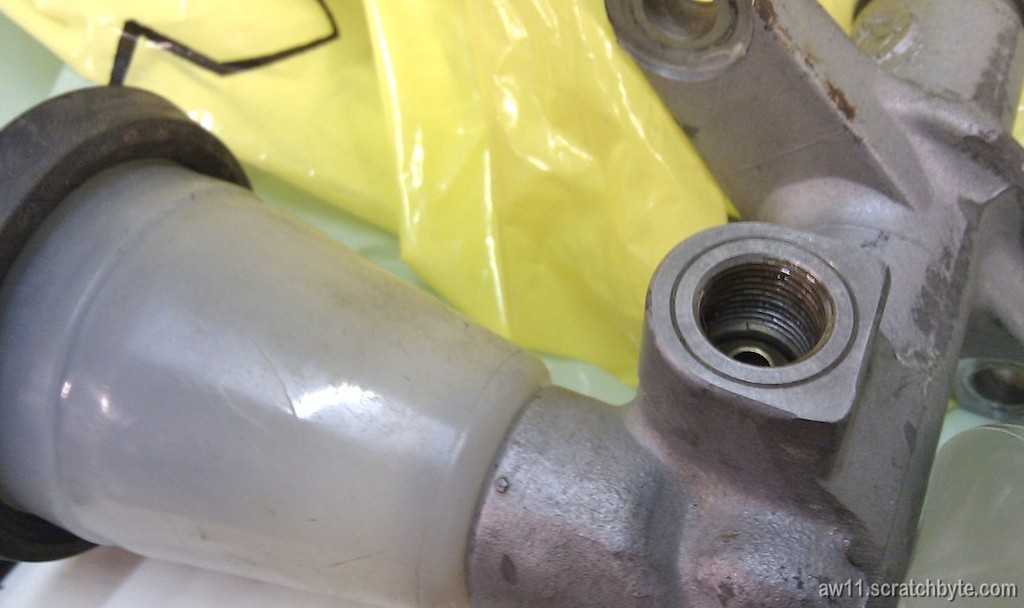
Then, the negative part. I went to my local hydraulics store, and they didn’t have parts to make me a 3,5m steel braided clutch line.

I also asked the clutch line parts directly from Toyota, but the answer was “discontinued”. Maladar has been telling me, that the best way is to buy a brake line kit and doing-it-yourself.

I’m still not very fond of the idea, because I have a feeling that this will take longer than expected and there will be problems.