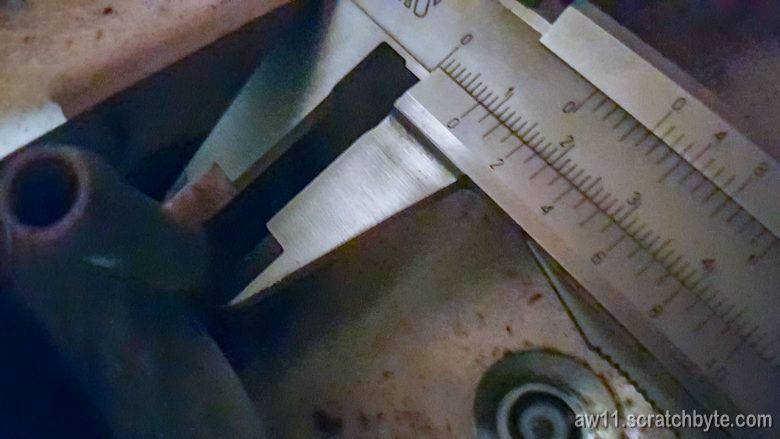
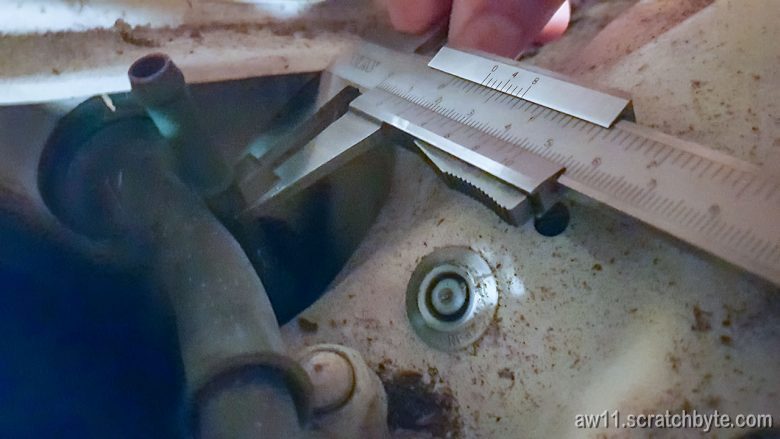
Shims, buckets and everything arrived in the mail 😊
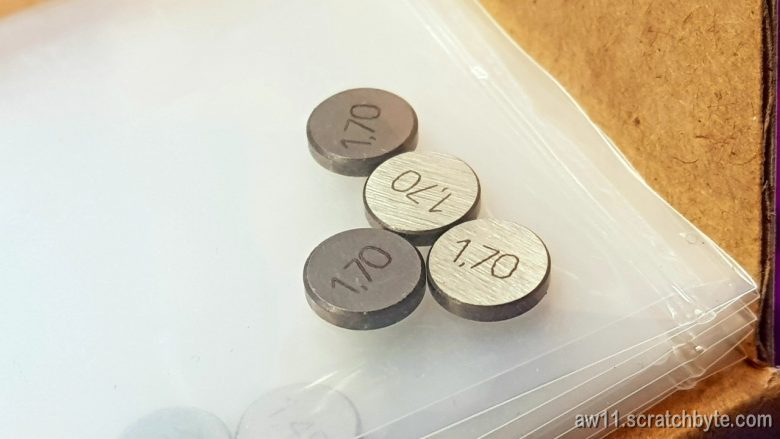

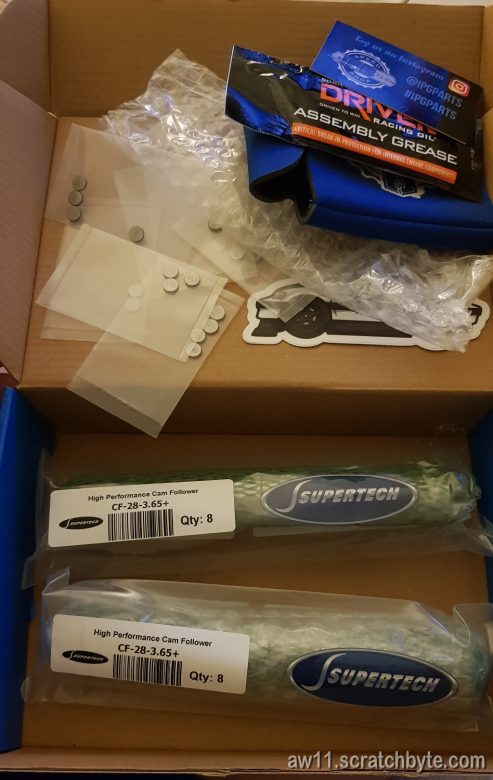
This was holding my cylinder head completion back.

Toyota MR2 AW11
Shims, buckets and everything arrived in the mail 😊
This was holding my cylinder head completion back.
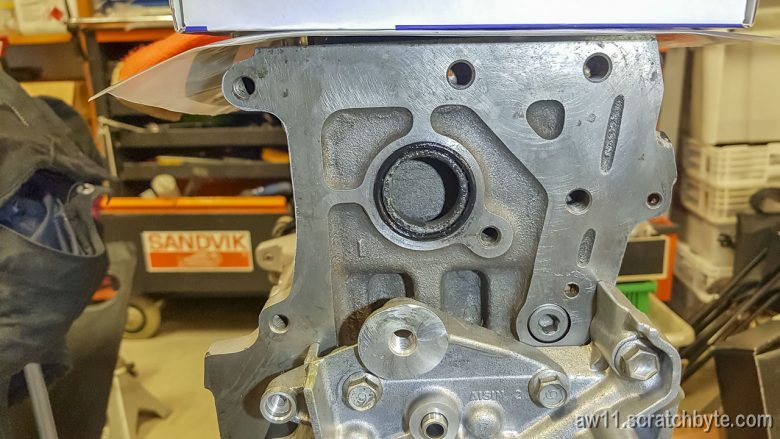
Removed most of the rust and crud from the groove.
And then lubricated the rubber seal with silicone grease. This should be more than enough to seal the water pump.
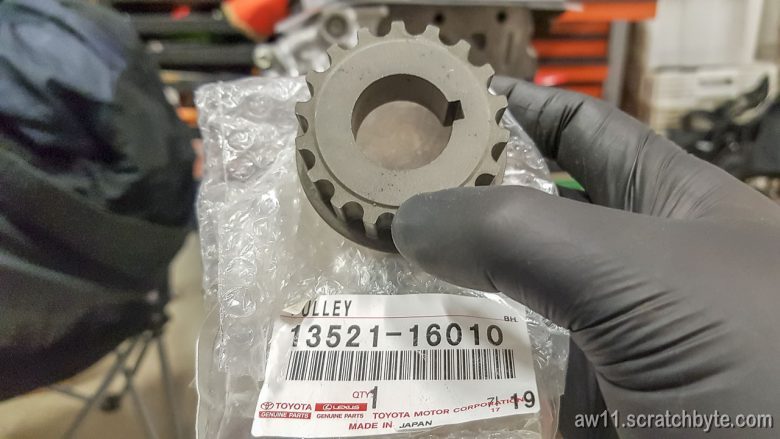
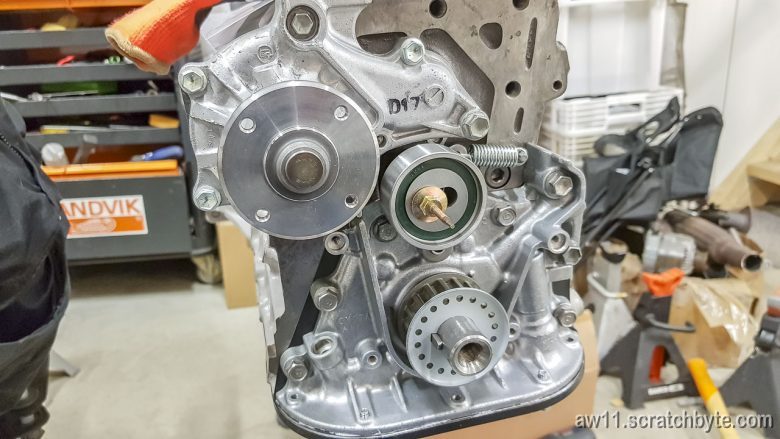
Brand new timing belt pulley. Looks gear-ish.
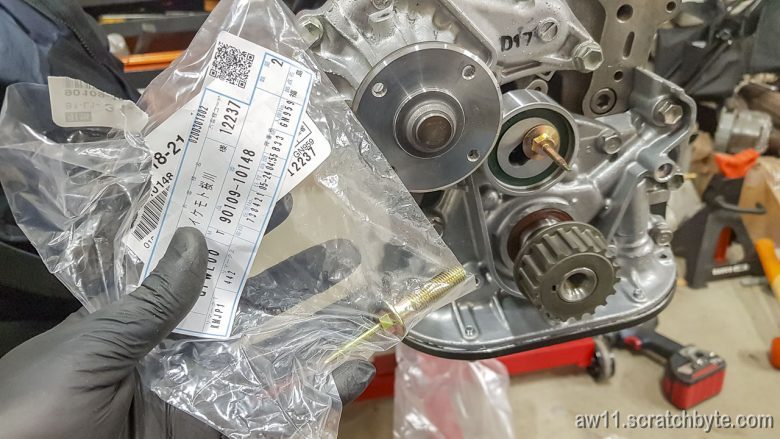
…and then water pump and some timing belt related stuff. This was probably my mistake, but I have two of these pointy tensioner pulley bolts 🙂
A quick head gasket test. It’s cometic 0.75mm (.030″) thick.

Brains work in mysterious ways. At this point I suddenly got a spooky thought that the TTT pulleys were for different kind 4A engine. Almost ran to get the pulleys.
Everything did line up perfectly, so fuck my brains.

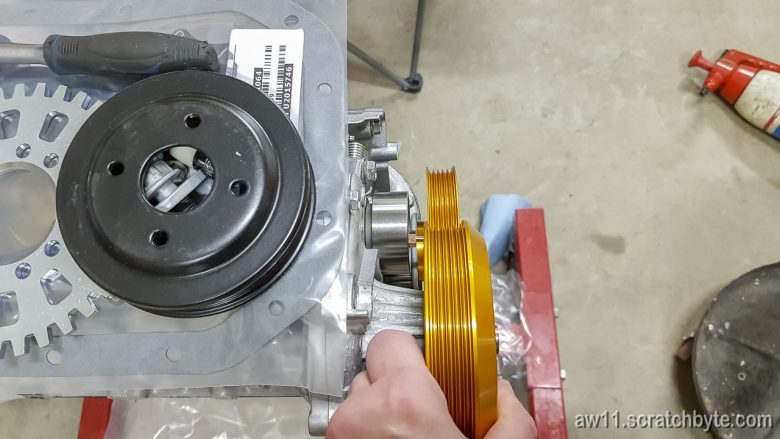
Glorious golden pulleys! Woooooo! 😀
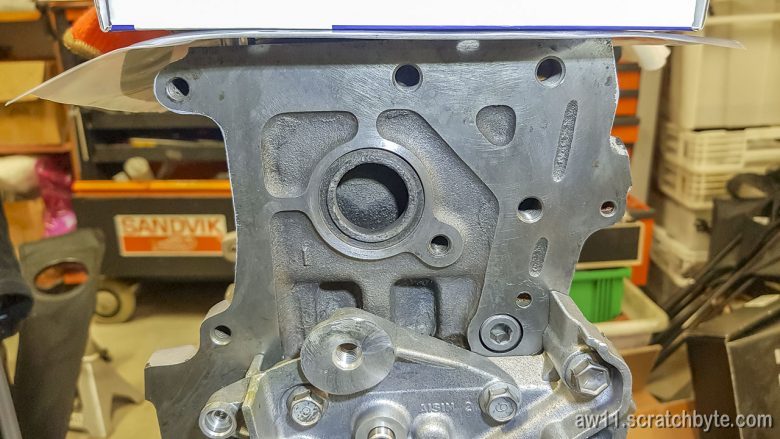
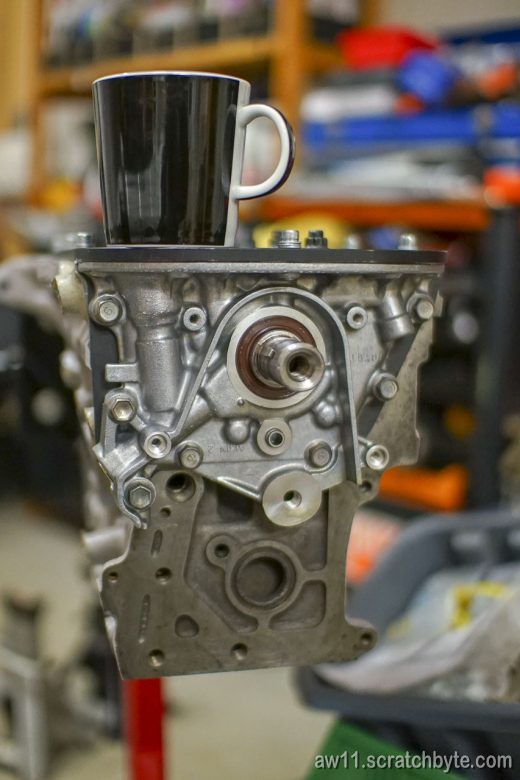
This is something I’ve been worried for a long time. I’ve had a brand new water pump since almost beginning of this project, every now and then it has been under piles of other parts or lost somewhere inside our garage, but the worrysome part has been the engine block.
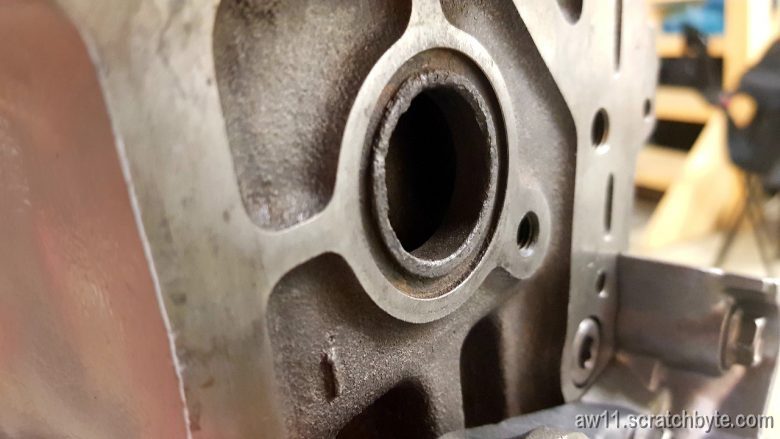
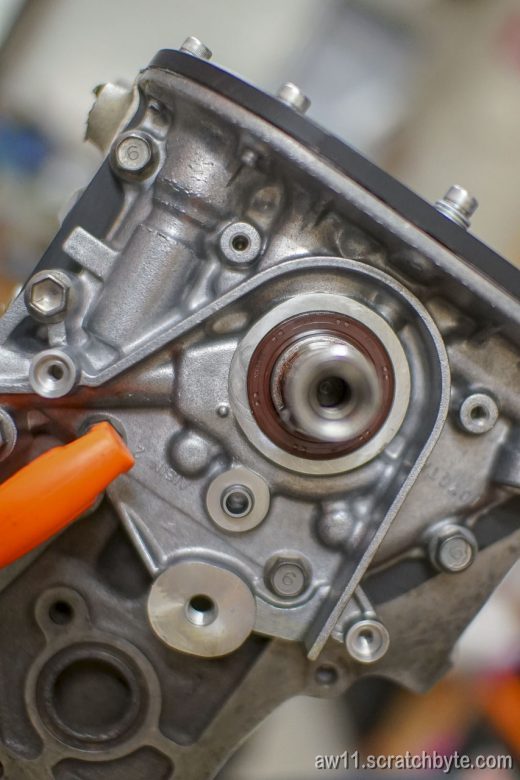
The coolant orifice on the block has been corroded and I havent been brave enough to confirm that the water pump would seal against it anymore.
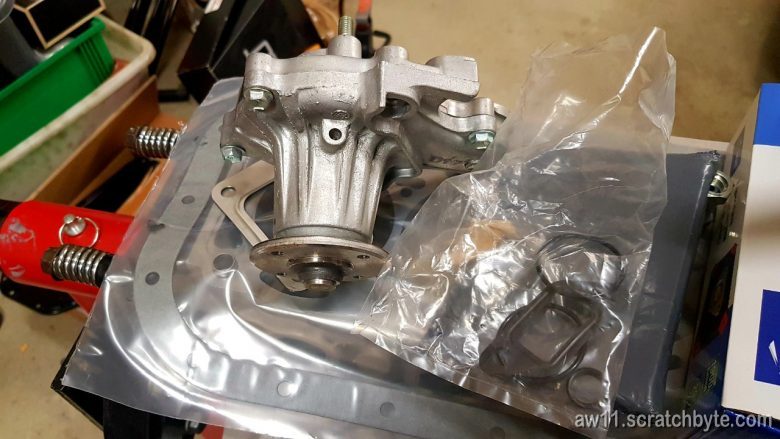
Below – the new water pump and some gaskets
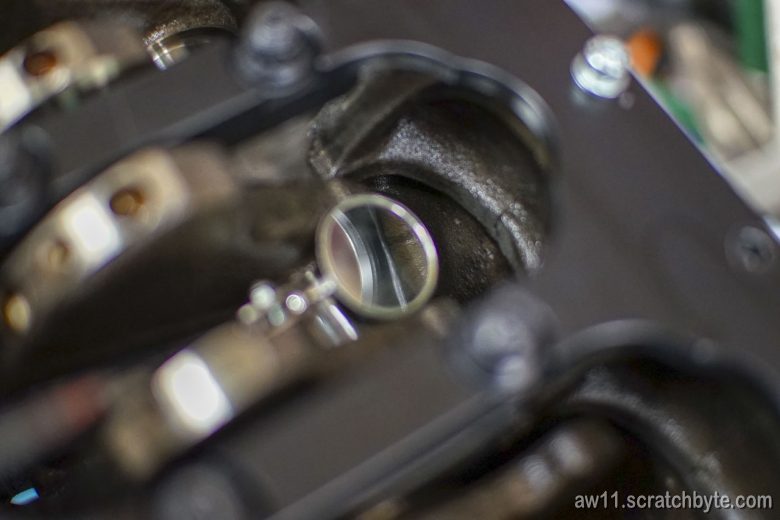
And here is the corroded coolant inlet on the block
I testfitted the needed rubber ring in the groove (didnt take any pictures of it though) and it seems that all is well, the inside part of the groove that has been corroded isnt a sealing surface. The rubber gasket ring inside the groove will seal against the flat water pump coolant exit surface (below)
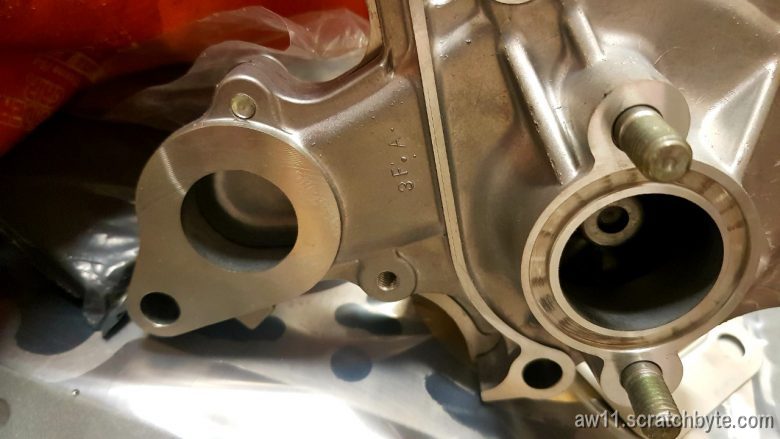
I think I just need to clean the groove from rust and other debris and maybe add something to seal it even better.
While I was tightening conrod bolts, I found out that the bolt head was not 10mm.
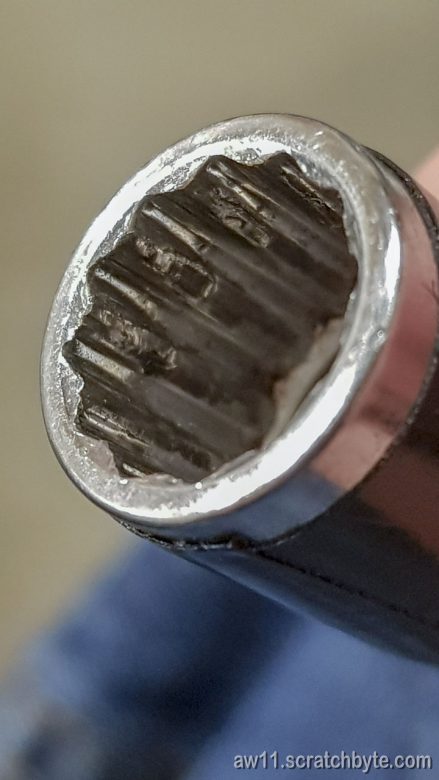
Totally forgot that ARP does not come from metric world. Almost shat my pants when I felt the tool slip – luckily it was just the socket giving up.
Figured out pretty quickly that the bolt head must be 3/8″, which converts neatly to 9.5mm, and just to make sure that the size wasnt something really weird I also bought a 9mm socket.
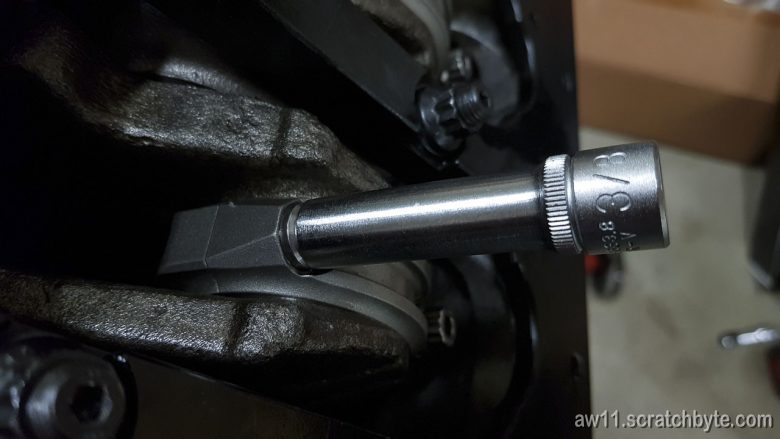
Perfect fit – it was 3/8″. I cleaned everything twice and tightened the bolts to 40Nm per instructions from conrod manufacturer.
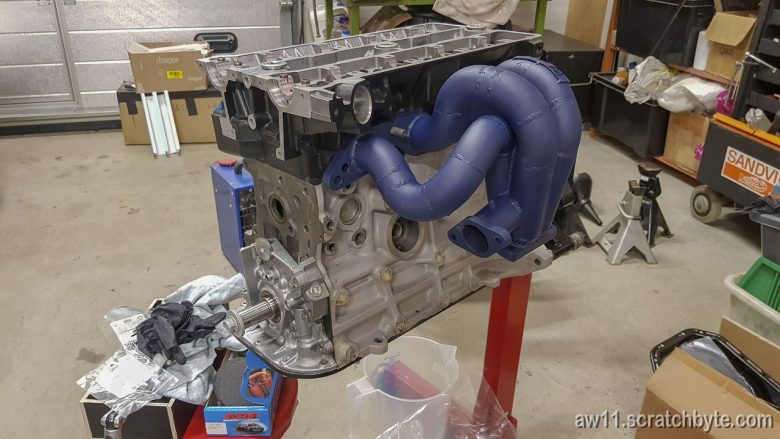
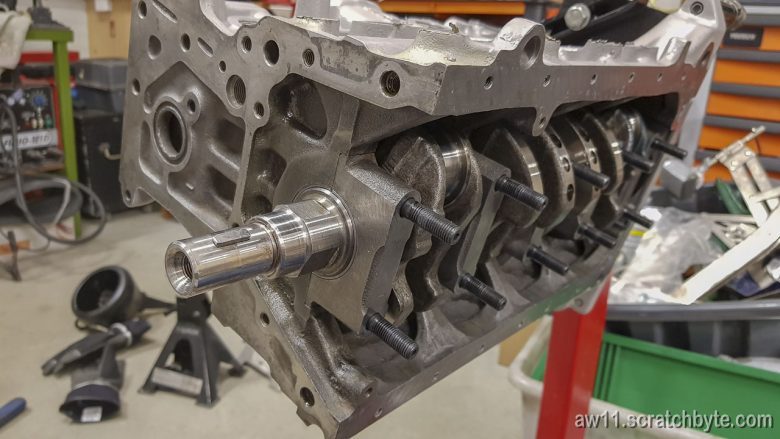
Heading towards this:
Meanwhile Widric had bought a disco ball.
After quickly checking the shop manual that I wasnt forgetting anything (like those ring pins), I rummaged through Widrics stash for a piston ring compressor.
Quick check from the internet how the piston ring gaps should align and in they went.
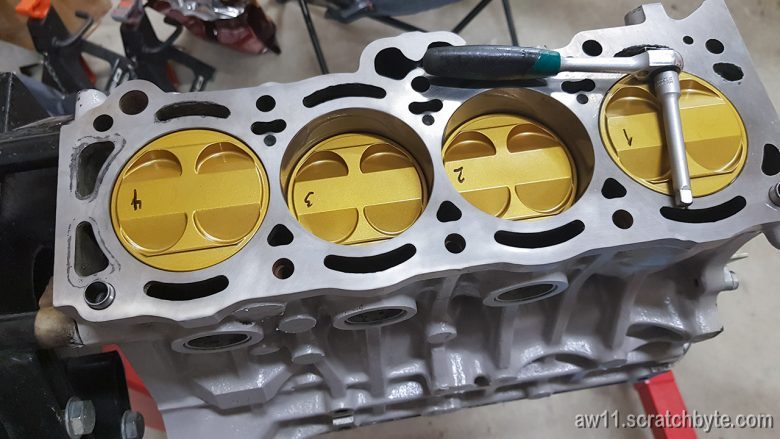
All four went in nicely, no hiccups, very smooth movement and no obivious problems.
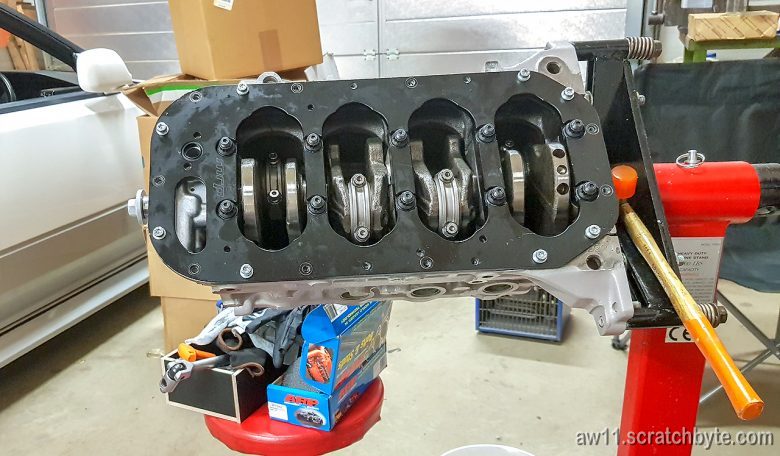
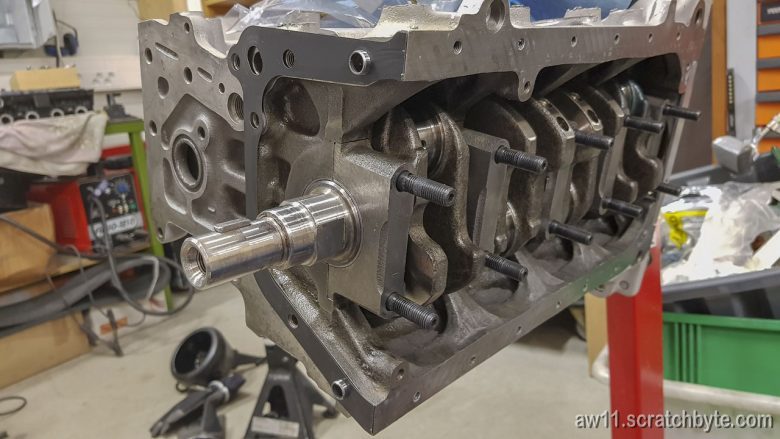
From below, bolts are in place but not yet torqued.
After getting back home, a cold surprise from Hokkaido!
This is weird. There is a dent in the circled area, but I’m not sure if it is a defect. I’ve seen plenty of toyota oil pan photos and almost all of them have a dent in this area.
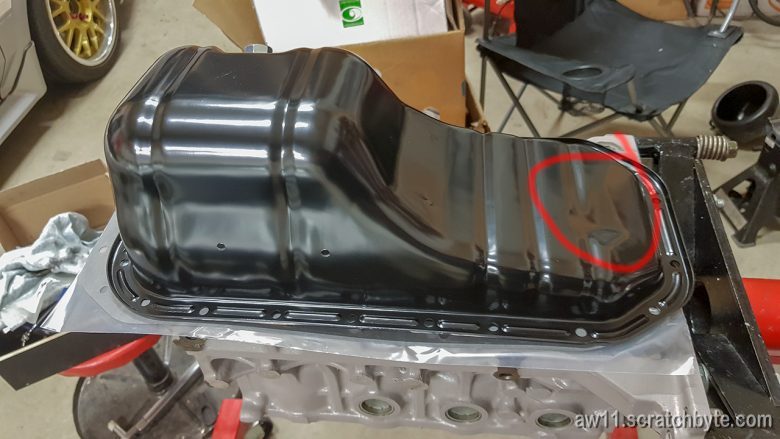
Positive things: This is a sump from AE92, which didnt have a oil return line. I can drill it where ever I want to.
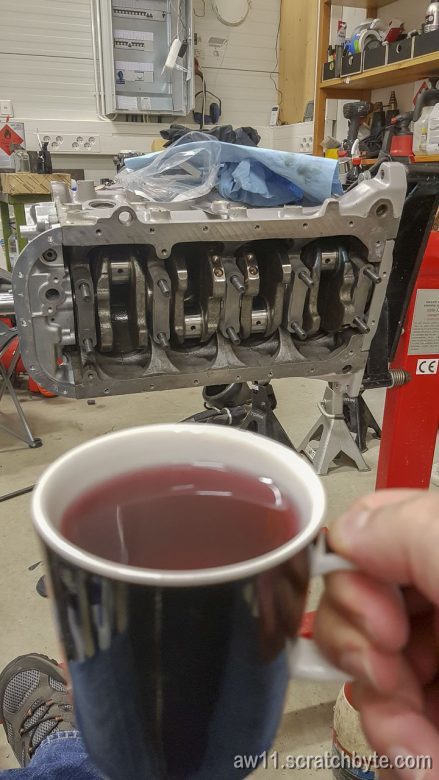
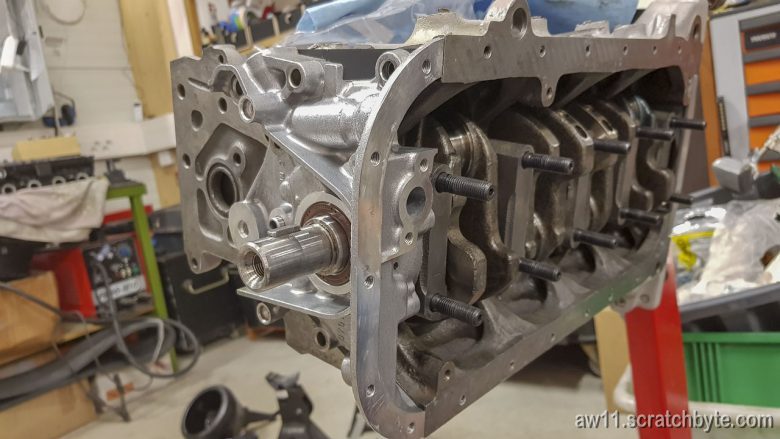
This didnt go well at all. Now that all that hassle with crank has been dealt, I thought I should glue crank girdle and block together.
Having some glühwein
My choice for sealant/adhesive was Permatex Supra Grey. It was very easy to handle and the results were good. Afterthought came to me bit later that I should have avoided grey and black RTV colors and used some other. It wasnt easy to scrape off grey RTV from the grey block and if I had used black RTV, it would have been really hard to scrape off from the all-black crank girdle.
I prepped everything, checked that bolt holes lined up and made few alignment tests. Everything seemed good and I torqued both rear main seal and oil pump to the spec.
Carefully applied a decent sized bead around the block, avoided oil pan bolt holes and lifted the girdle on the bottom of the engine.
Below: First round with the RTV
Below: examining how the RTV is doing
I went around the block inspecting it and noticed that the oil pump had moved. The front seal on the oil pump wasnt aligned around crank anymore and it took me a while to get it aligned again. Couldnt figure at that time what had happened to it but left it there and gave the RTV time to cure.
Later I noticed that the oil pan bolts that I had used to secure the girdle were causing this.
Pretty hard to see it, but the top side of the crank in this photo sits tightly against the seal.
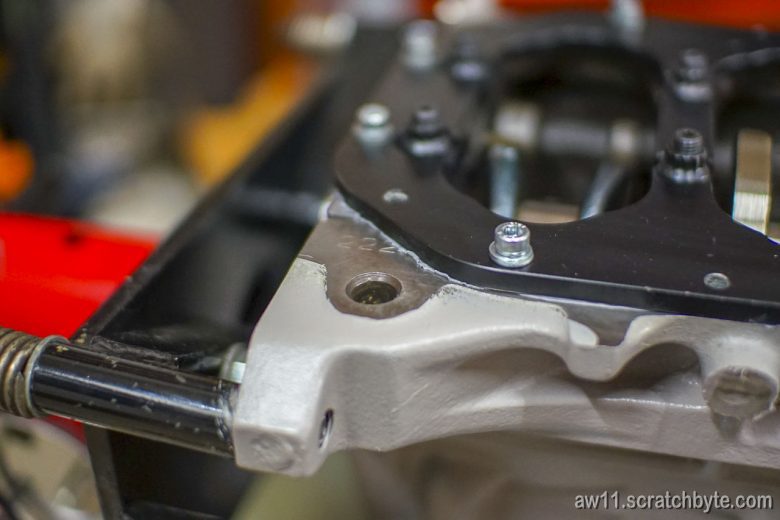
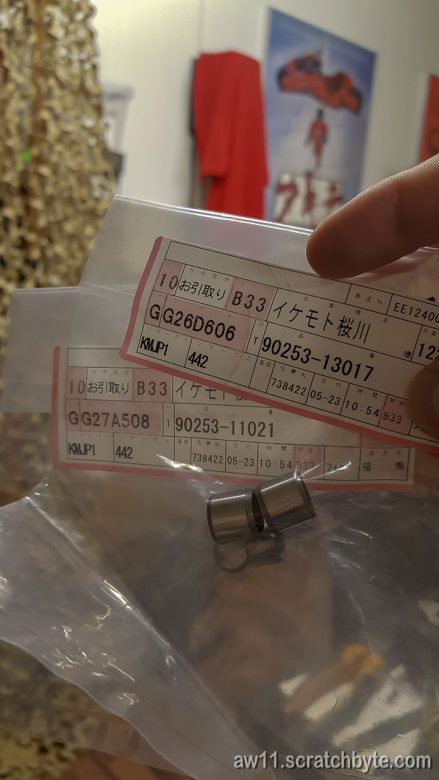
Couple of days later I was reading the shop manual and noticed that I had forgotten the two alignment thingys from the oil pump side (Toyota calls them ring pins) that were meant to be inserted into block.
I’ve got both ring pin sets here, the other that are for the top of the block – to align the cylinder head (larger ones) and the ones that align the oil pump.
RTV had cured well and the girdle was really stuck to the block. I was impressed how well it holded and it took some effort to separate the two.
Smacked the two ring pins into block, checked the alignment and reglued everything. The glueing actually took less time than cleaning the RTV residue off the parts.
Finally, glued again
Some years back I made a trip to Japan to visit Tokyo and to see Ms. Tsukuha-san. Trip was awesome, but I didnt expect ending on top of Mount Haruna in Gunma.
Mount Haruna is also known as mount Akina in Initial D series.
At some point I jokingly asked Tsukuha-san if she knew Initial D because at the time she was involved in car manufacturing. She said no, but next day she asked if I wanted to visit the Initial D area in Gunma.
“Of course”
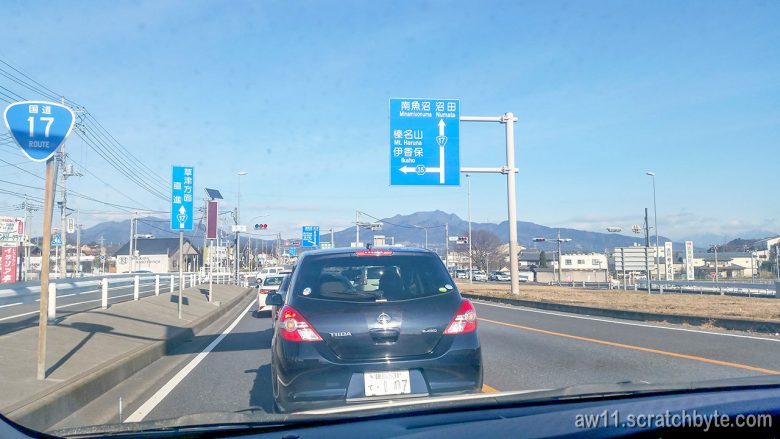
Our journey started from Akasaka in downtown Tokyo.
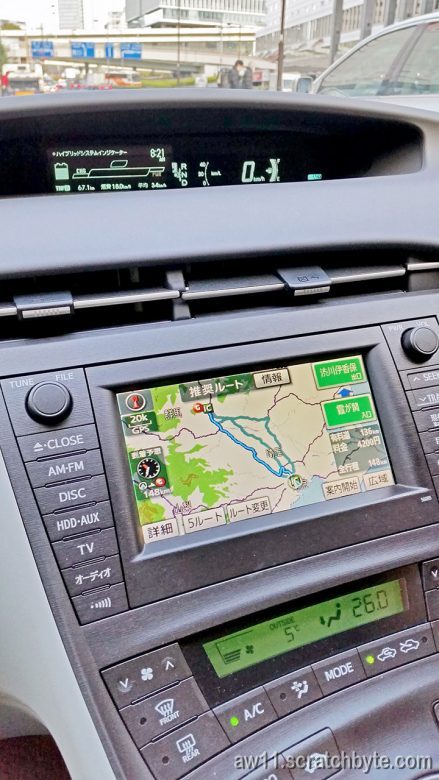
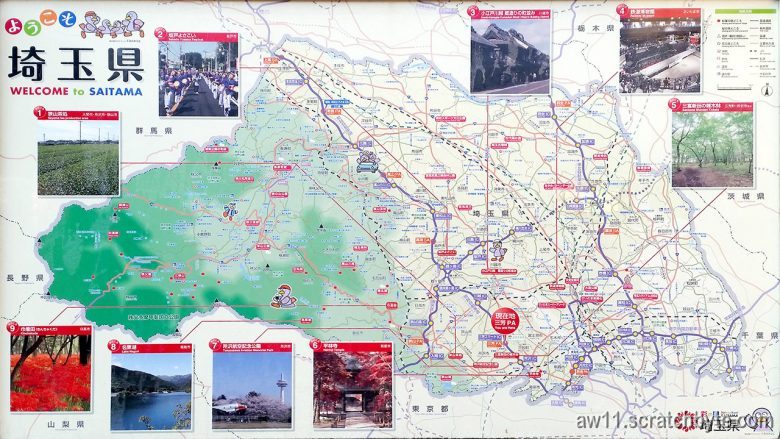
Our trip took us through Saitama, took a picture of the Saitama area map while we stopped at a rest area.
Nothing unusual while driving, but then I noticed the mountains in the distance.

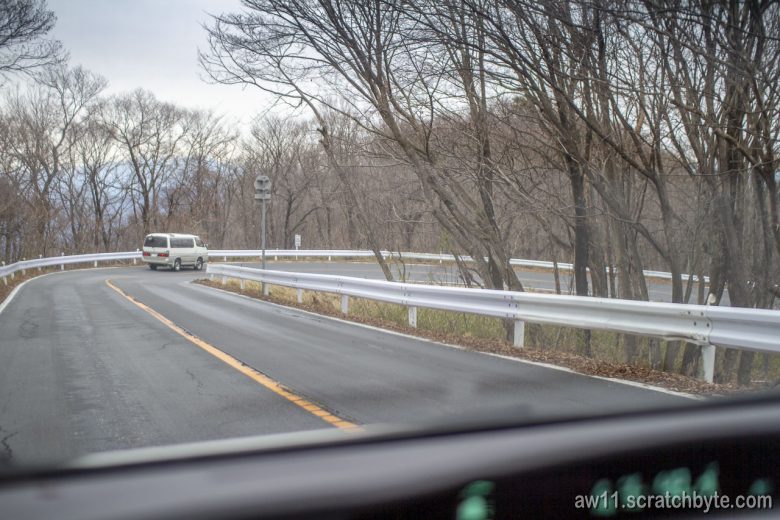
Then we turned to smaller roads
We passed a small town called Ikaho while driving uphill. Tsukuha-san was slightly worried that the road would be icy up in the mountains. I didnt have a japanese driving permit back then so I was declared a emergency driver if there would be snow or ice.
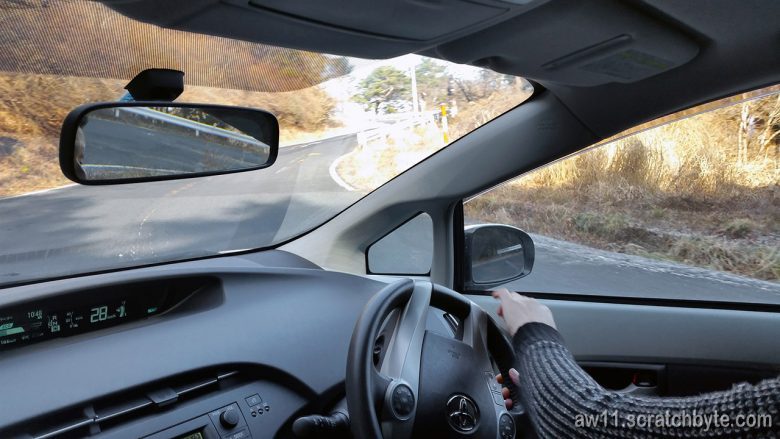
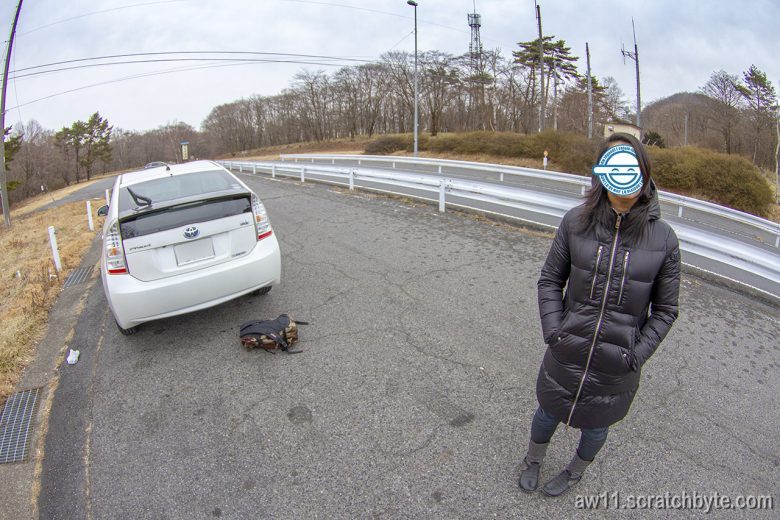
There was a small parking place with cool scenery where we stopped
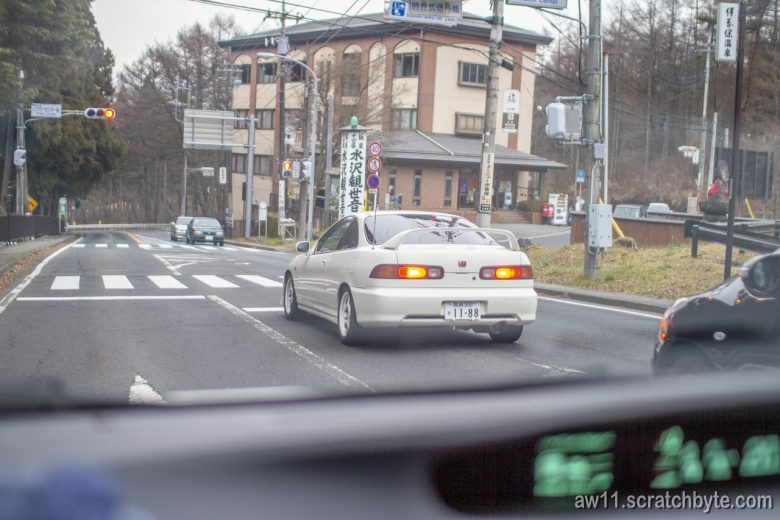
Then after driving on for few moments uphill ended and I suddenly recognized the spot. We were at the exact location where the guys in the anime started their downhill runs. I told this to Tsukuha-san, who asked me how the FUCK I can recognize the place which I have only seen in the anime.
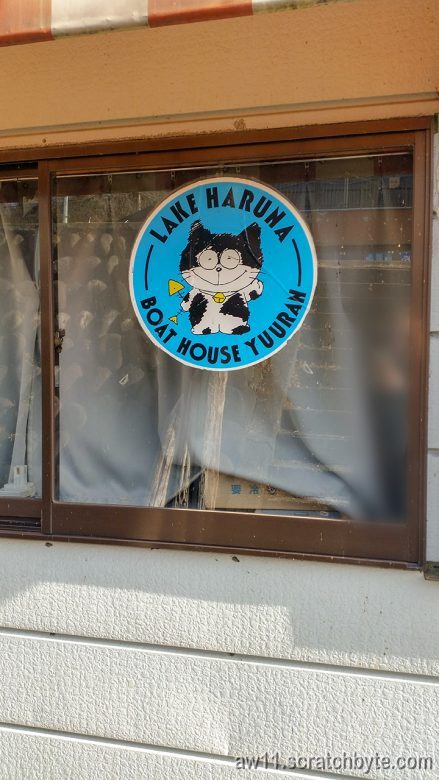
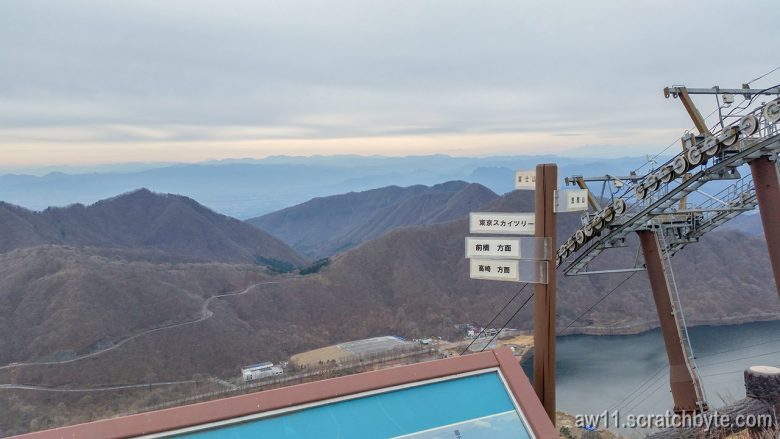
Tsukuha-san suggested that we should stop there on our way back. I agreed and we drove to lake Haruna. Below, I had to blur my reflection.
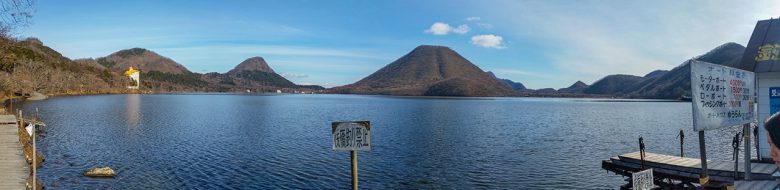
In the middle of the picture is one of the peaks of Mount Haruna. On top of it is a shrine and the top of the mountain is accessible with cable car. You can see Tsukuha-san at the lower right corner.
While having a dinner, Tsukuha-san wondered how tall the peak is from the lake level and I guessed between 100 and 150 meters. If I remember correctly, the top was 207m from the lake.
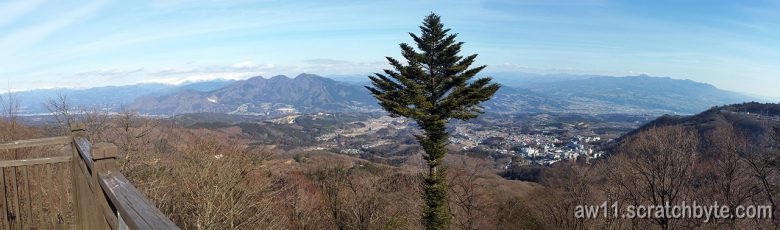
The cable car didnt go all the way. We had to climb the rest.
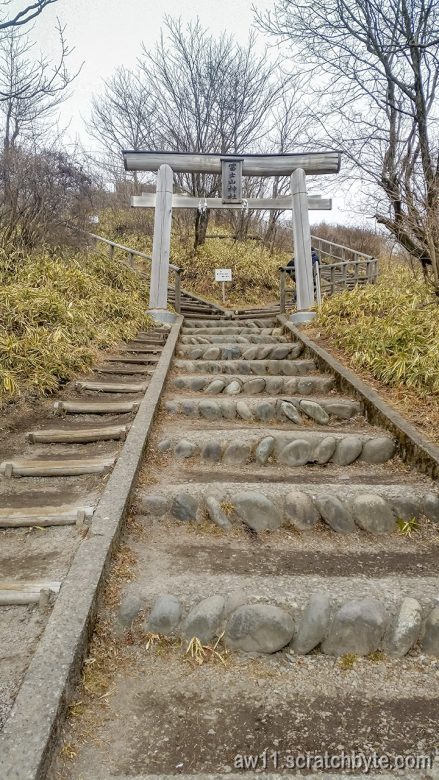
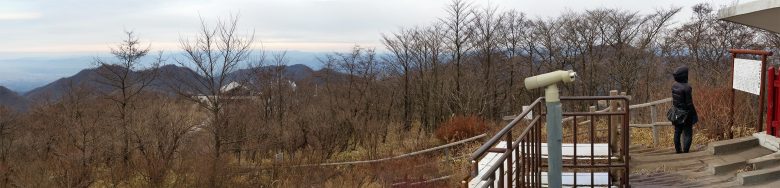
“On a clear day you can see the Kantō plains from the top of the mountain”
Well it was cloudy.
Tsukuha-san is reading about the shrine, while I took photos.
Me and Tsukuha-san:
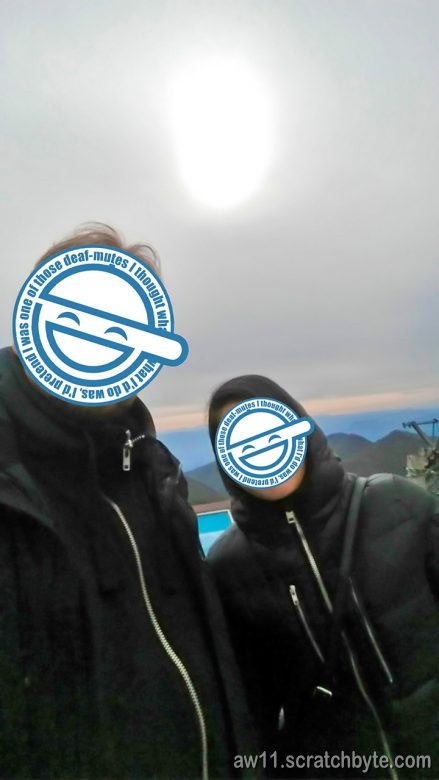
Im sure that I took a better photo of this… oh well.
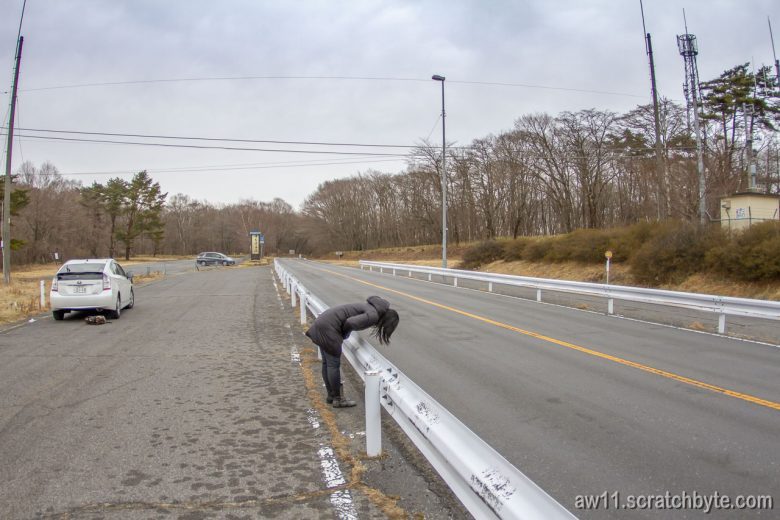
We then headed back to car and drove to the starting line.
Tsukuha-san checked the location from her phone…
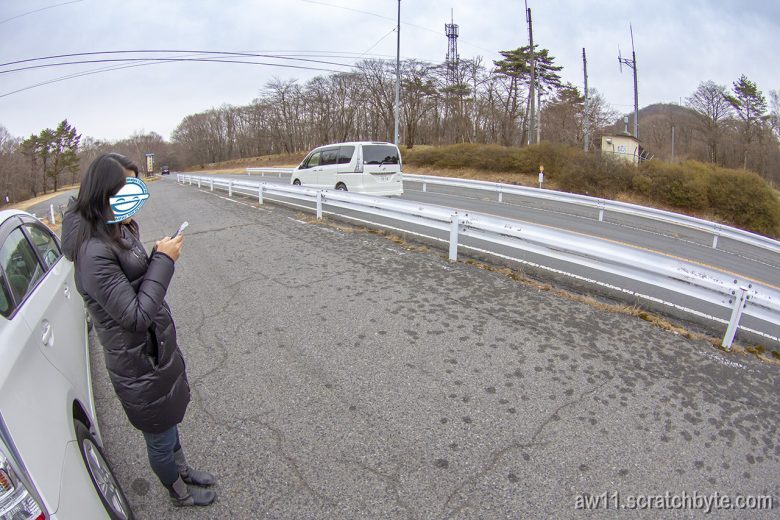
…and I told her that there should be a sticker on the barrier telling that we are in the right place…
Kanjo racers from Osaka?? Randam?
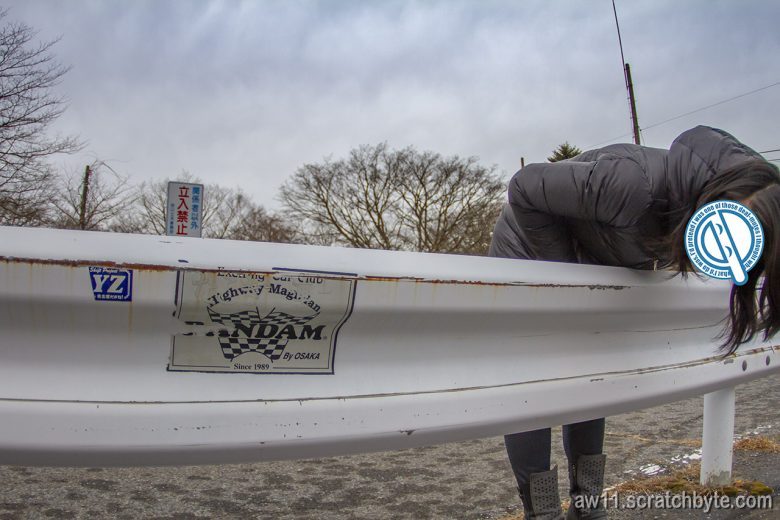
Its getting cold
We then drove the downhill section all the way to Ikaho. Ikaho is halfway down from the mountain and below it is Shibukawa city. It was never mentioned in Initial D, but the guys lived in Ikaho and had a job in gas station in Shibukawa.
Ikaho, being a tourist attraction, gets a lot of visitors who dont speak japanese. After parking the car, the cashier of the parking lot noticed me and asked if I could make a better translation of the prices and rules they have.
With Tsukuha-san, who speaks excellent english, we tried our best to make a good translation, but only manage to do a so bad pig latin translation of the rules that Im still ashamed 😀
I noticed later that the parking lot where we parked was also featured in Initial D – the people who in anime/manga came to see the race left their cars in the same parking lot where we just had left ours.
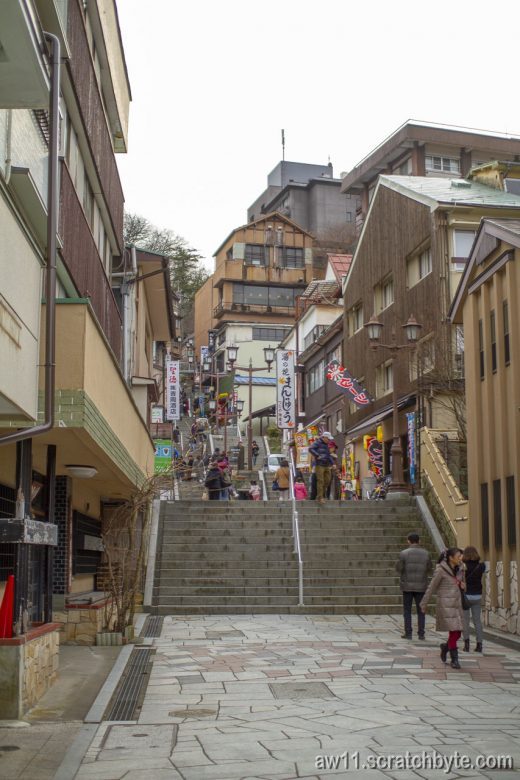
Then we climbed the famous Ikaho stairs. Tsukuha-san told me about the history of the buildings and onsens in the area, especially the one that was owned at some point by the kingdom of Hawaii.
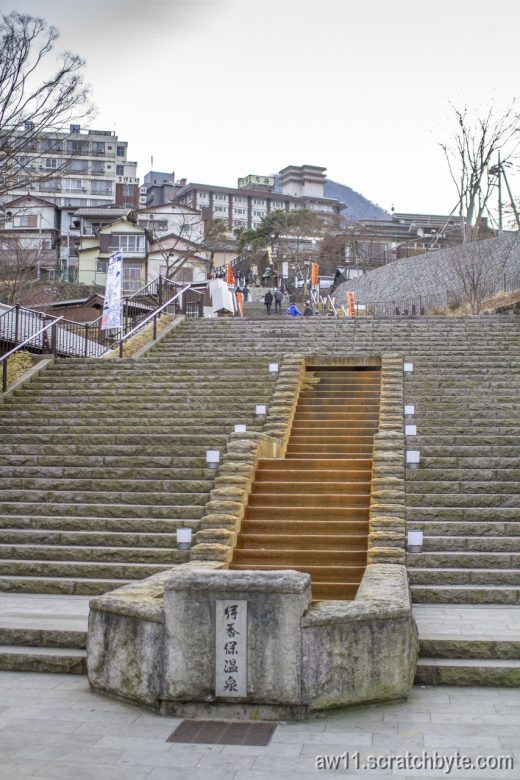
I have to check this, but there should be 365 steps, one for each day of the year.
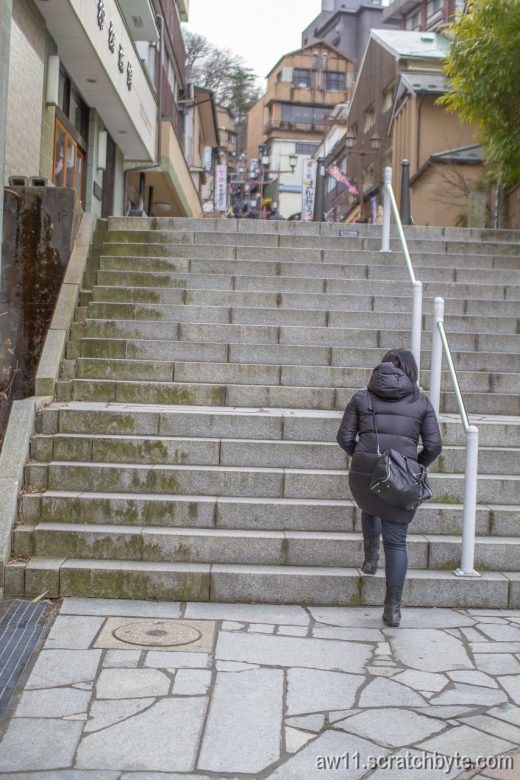
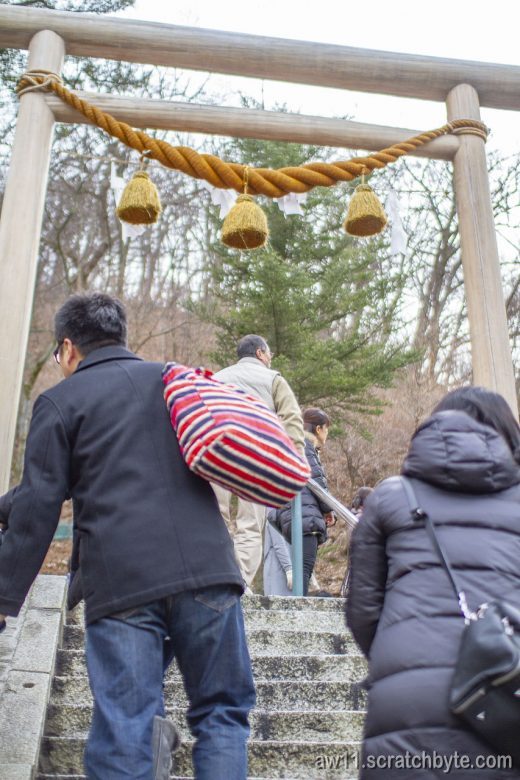
Finally the Mizusawa shrine! Idiot me didnt take a picture of the shrine! Look here for the photos. Tsukuha-san climbing in front of me.
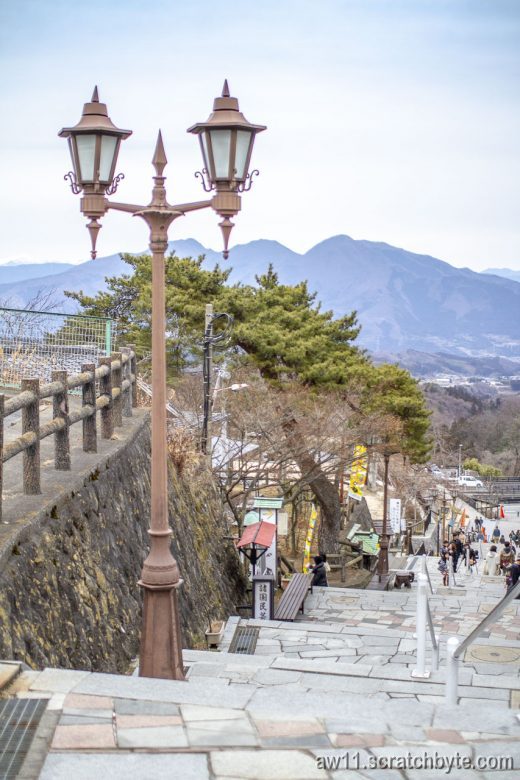
Coming back down was easier – again, the scenery was absolutely stunning.
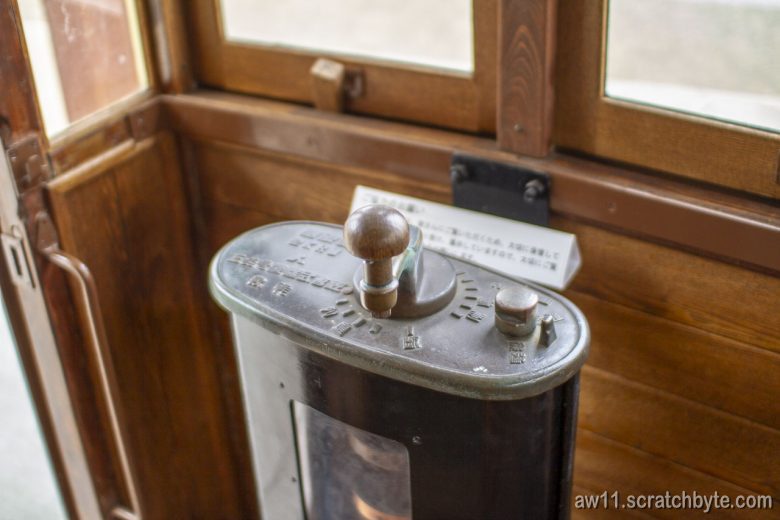
Afterwards we stopped to examine a tram. While looking at the tram and wondering what the hell it was doing so high up the mountain, we noticed that there was a “conductor” inside, who then told to Tsukuha-san that this was the only day the tram was open to public – it was a old local tram that was converted to museum.
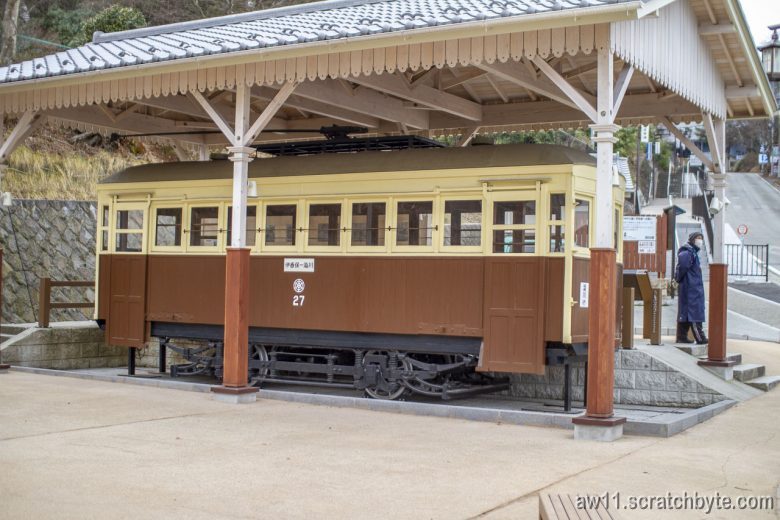
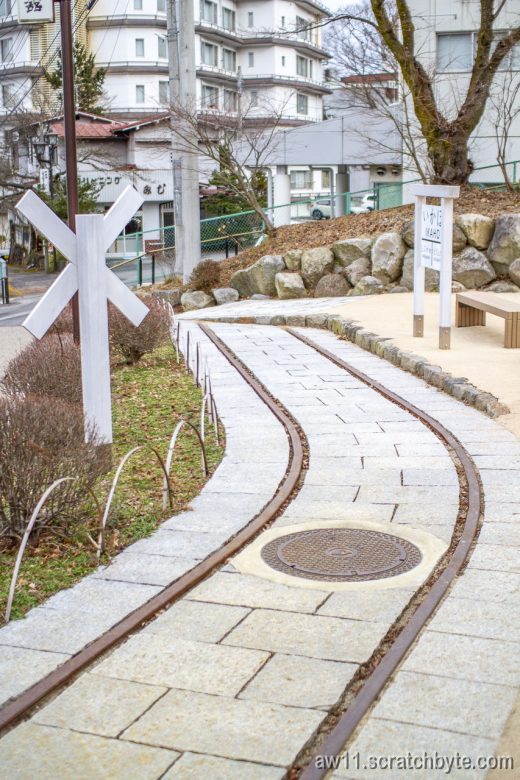
Old tracks and a Ikaho station sign.
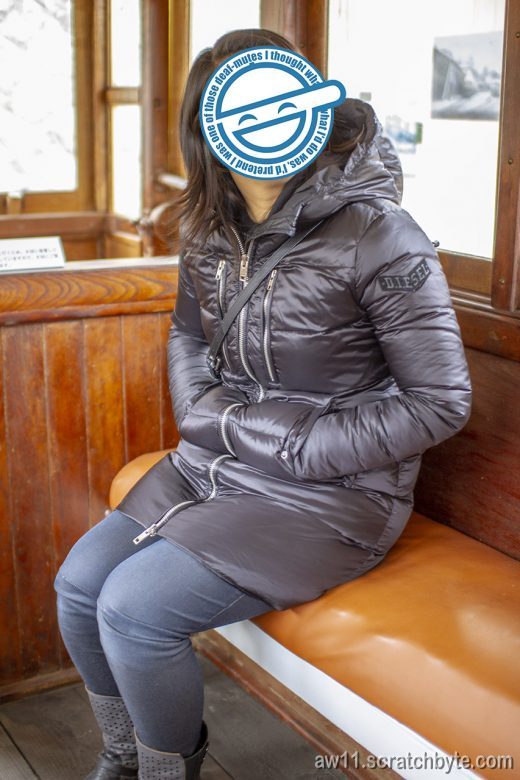
One curious passenger
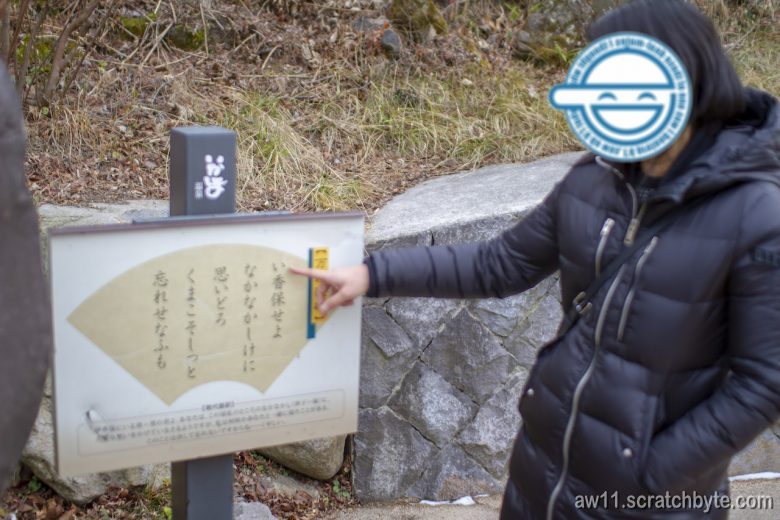
Outside, we found a plaque either about poem or poet. Tsukuha-san tries to translate it for me.
Tsukuha-san then noticed that it was getting late and the weather was turning into worse. We left immediately back towards Tokyo but declared that Ikaho was cool.
It seemed that half of Tokyo was visiting the countryside and had the same idea, to get back to Tokyo as soon as possible. There was plenty of traffic going into same direction.
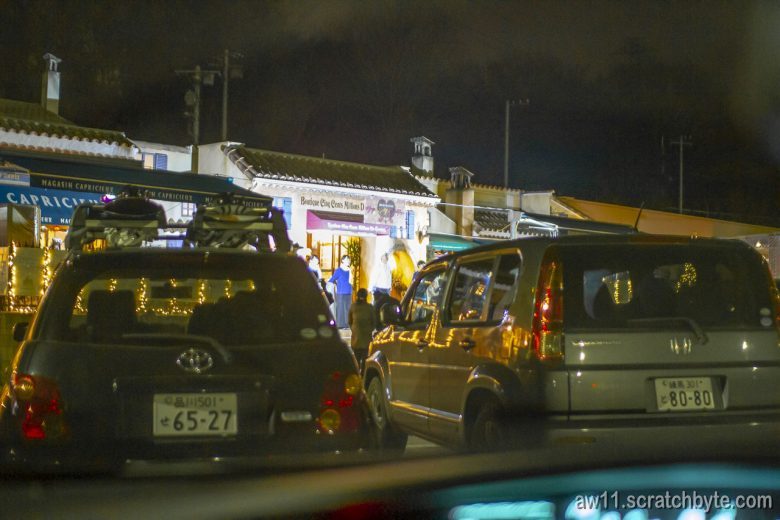
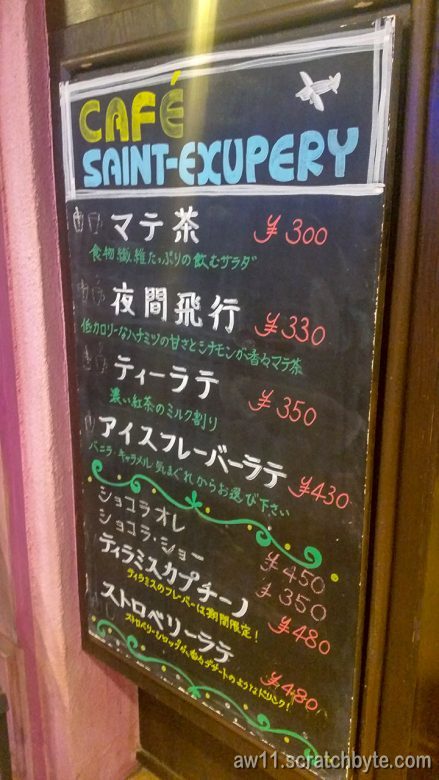
Tsukuha-san told me that she wanted to stop on a certain rest area on our route. I got a surprise of my life. The entire rest area was themed after Saint-Exupérys Little Prince and half of the signs were in french with japanese translations. My french is questionable at the best so I was unable to understand in two languages! 😀
After that we continued back to Tokyo, laughing almost all the way back. Tsukuha-san dropped me off at Akasaka, I walked back to my hotel and she drove away.
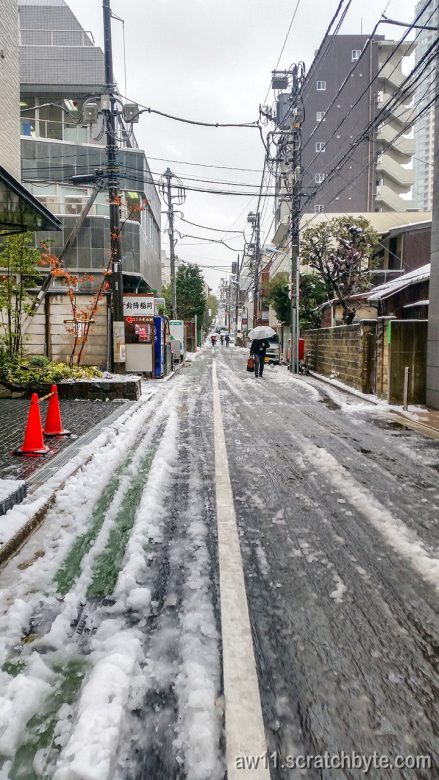
I woke up in the middle of the night to the weirdest sound – the water drain in front of my hotel room window bubbled and gurgled with 20cm of snow. Luckily I woke up, it was fantastic to see how everything was under thick cover of snow 🙂
Next day looked like this:

Ok, this is it. The last inspection before turbo swap. 121xxx km on the odo.
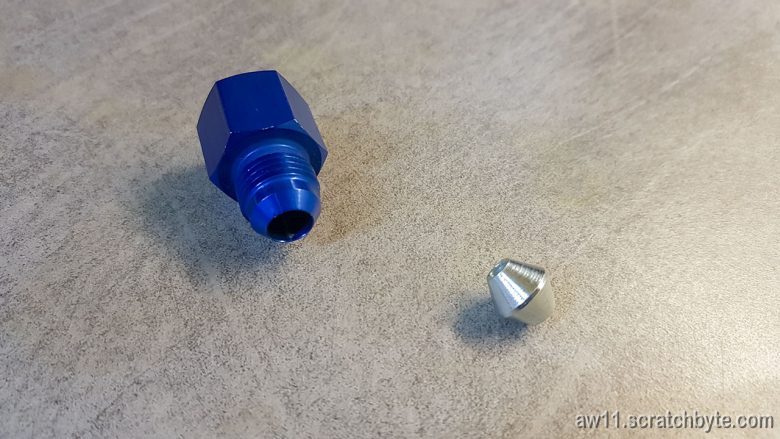
BSP-to-AN6 -adapter (which has a concave bottom) and a steel adapter to make convex from concave.

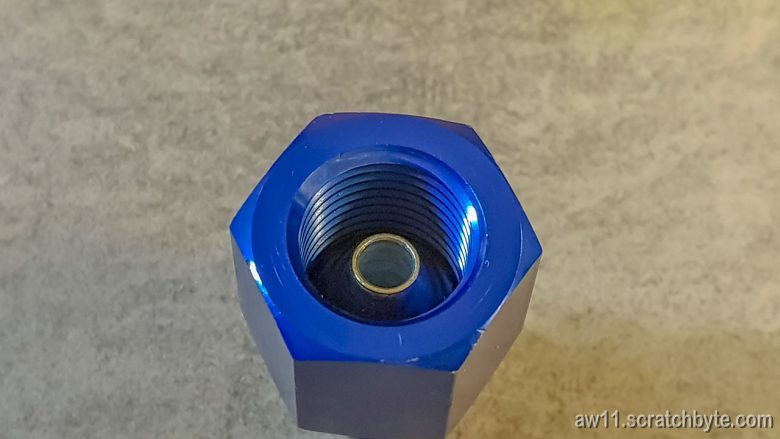
Not sure if this works, but this is going to be my spare fuel line adapter if that 5/16″ pipe fitting doesnt for some reason work with the stock hardline.
I went to see Beldin and his zoo (six dogs, two lizards and two children) and asked him about the hardline diameter. I used sherlockholmesian deduction that stock hardline diameter might be around 8mm on every japanese car just because every japanese car can be upgraded with a Walbro 255LPH pump that has a 5/16″ outlet. What a coincidence.
Below: two photos of Honda CRX hardline – 8mm as I suspected. My cellphone had so little charge that I couldnt use flash and Beldin left his phone inside.