Maladar got me the nuts!
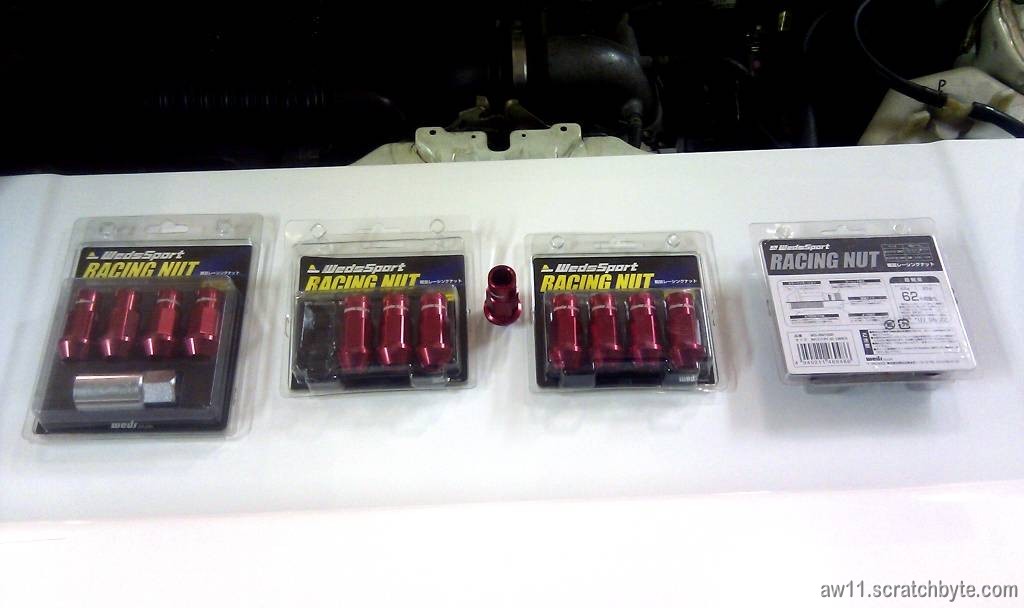
Mmmmm, nice!

Toyota MR2 AW11
Maladar got me the nuts!
Mmmmm, nice!
How does a 195/50 R15 wheel fit into ee111 corolla? Quite nicely 🙂
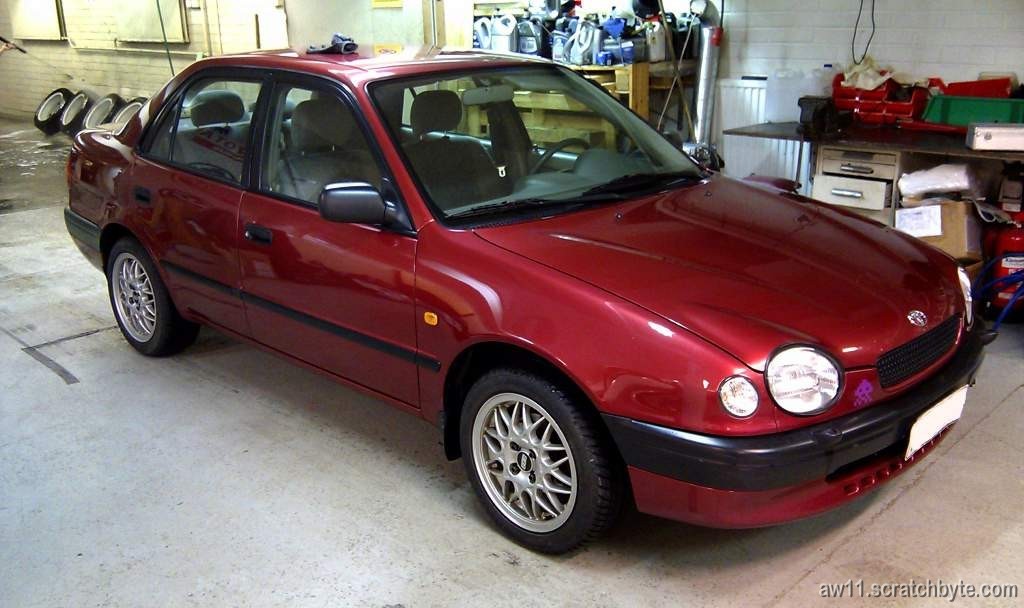
My mom wanted to visit some relatives and I thought that I would swap the AW11’s original BBS’s into Corolla. Doesn’t look that bad, with WedsSport lock nut set.
Maladar will definetly comment something like “It needs lowering springs!”, but noooo, this is car will stay as stock as possible. Easier to get around the town 🙂
Found my old PIAA nut set for AW11 and the red color goes nicely with the golden rims:
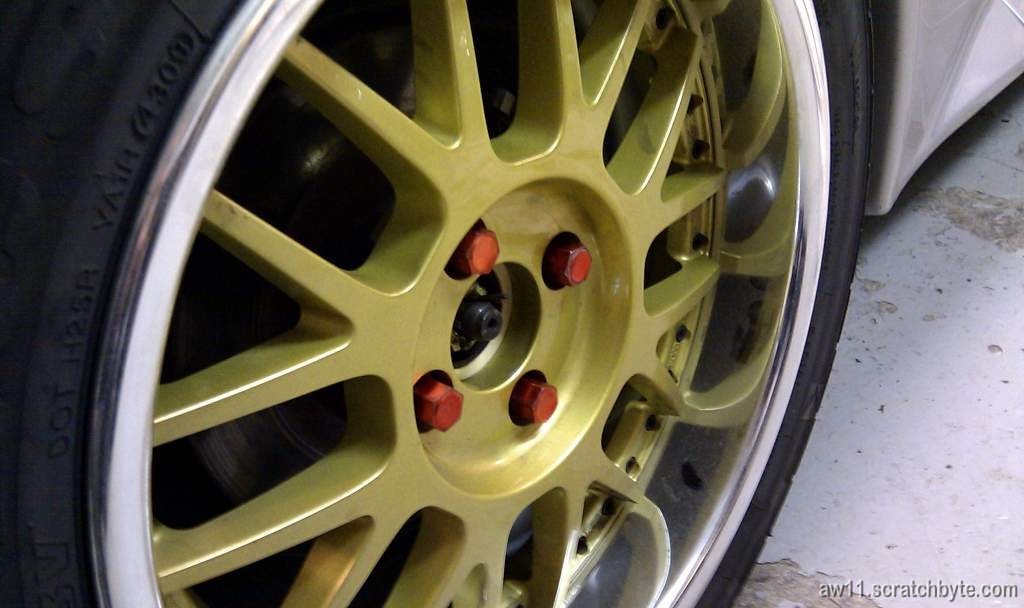
Maladar still has one set of red Weds lock nuts, I think I’m going to need that set!
Some pictures I took. Bad quality because I didnt bring my real camera with. HTC wtf!
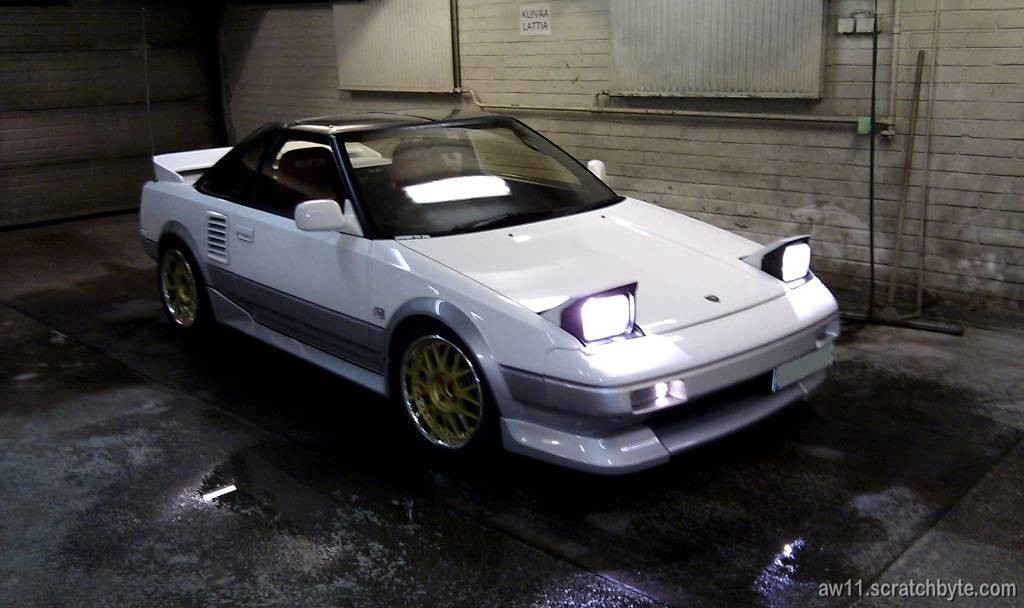
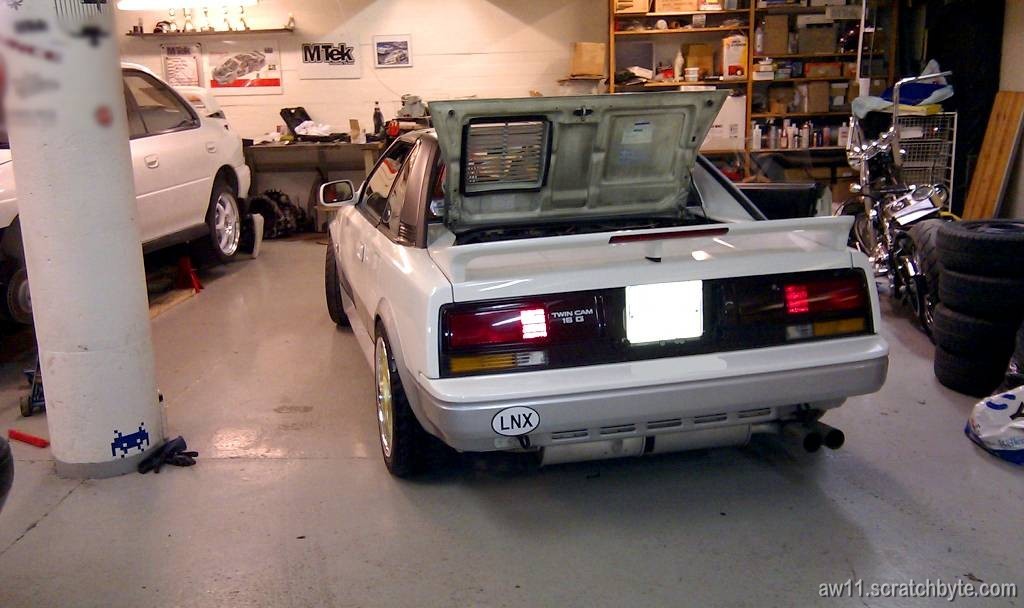
I built the crummiest license plate holder, the license plate now sits on the left side of the car. The inspection guy told me that either left side or center, but not the right side where I usually have had the plate.
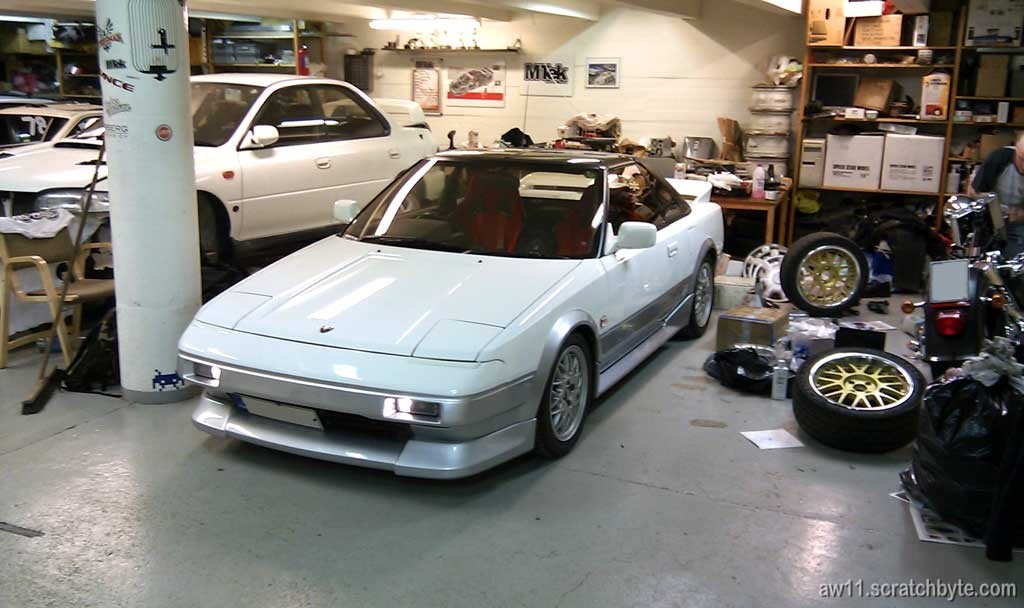
Home sweet home
Something good, indeed! Mr2 had its inspection done today and it got through without problems. Y-a-y!
…but I forgot couple of things:
Still, everything was ok! Cant understand how he missed those things but who cares? I got passed!
Coming back from the inspection I floored the car. I had to be quick with the shifter and the engine felt powerful! Did the bigger crank pulley really do this?? I need more boost!
Utah Saints – Something Good
Good to go! I got everything together for inspection:
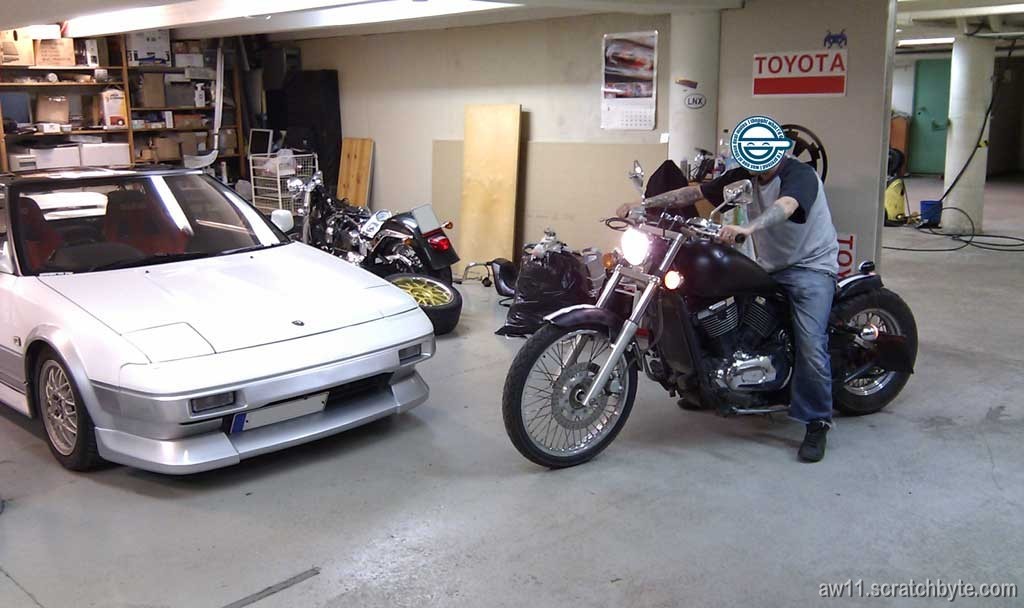
At the same time my cousin was building his bike and Scotty came over to show his bike:
I left brakes, drive axles and other problems for later 🙂
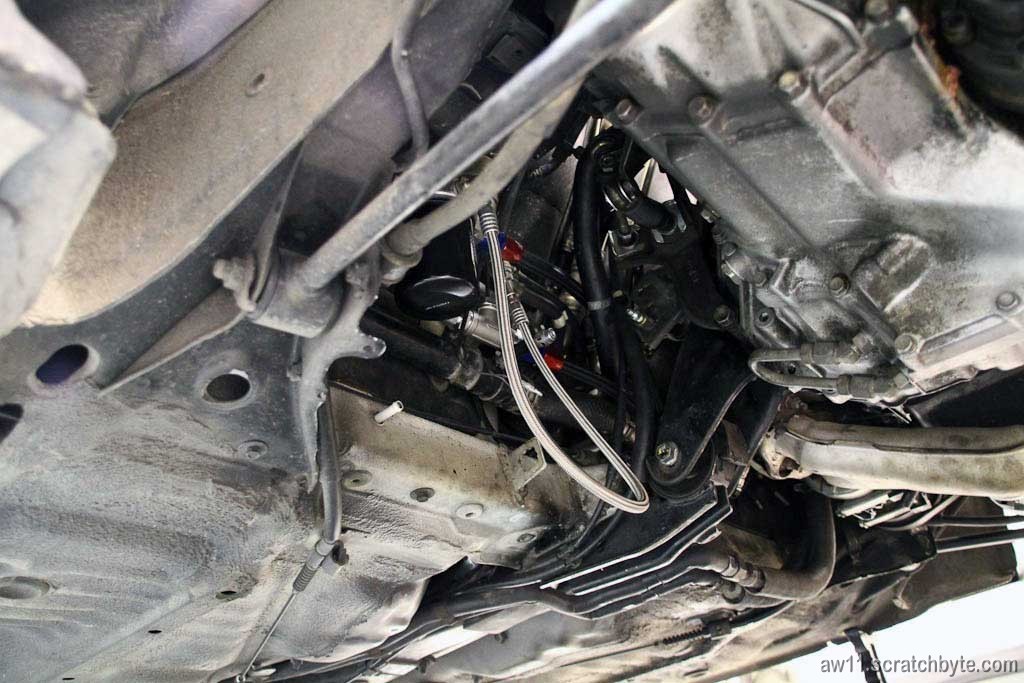
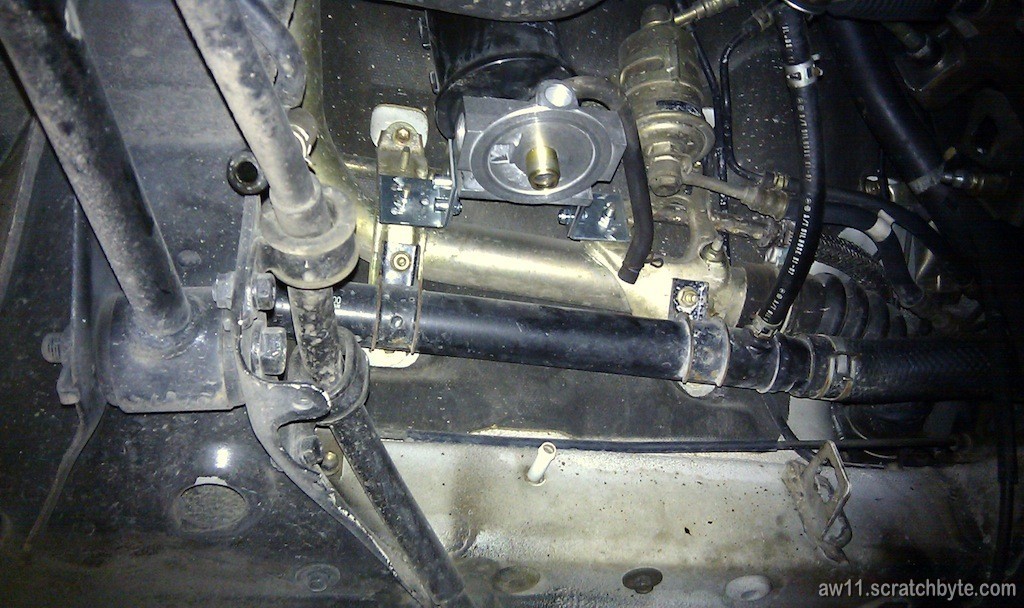
This is what I had in the car. I didnt open the relief valve yet, but it seems to be working just fine. The old cooler hoses look terrible (and they were leaking at the point when I removed them).
The picture is missing one of the copper seals and one rubber seal. I also reused two of the hose clamps so I could plug the old return line to the oil pan.
I double-checked the new system for leaks and found two! The braided line to pressure sensor had a really small leak, barely noticeable. The temp sensor also had a small leak, but I applied some thread lock/sealant and left everything to settle.
I was little worried about my remote filter head. I wasnt sure, if it was properly supported, which lead me to draw some plans to make support brackets. While under the car, I yanked the filter head and it was really rigid. I still intend to make at least one bracket for it.
Also, made some hose and wire rerouting and ziptied things so there would be less movement and less abrasion between parts. I tried to wrap the oil filter hoses into 3M aluminium tape, but couldnt reach them because of the A/C hoses. While thinking how to get the aluminium tape around the hoses, I tried the heat resistance of the hose with my heat gun. Found out that the outer nylon braid could take 200C heat for quite a long time, so I imagine that the aluminium tape should be enough to protect the hoses from the heat coming from exhaust.
Im using 3M 425 aluminium heat reflective tape. I’d love to use gold-based heat reflective tape, but if I remember correctly, the price was astronomical.
Finally got all the things together! The car is actually running in this picture and I cant find a single oil leak! Oil pressure before warming up was just under 4 bars, which is something like 55psi.
There was a small clicketyclackety sound coming from the crank area, but it was just related to oil pressure. Went away when oil pressure rose up.
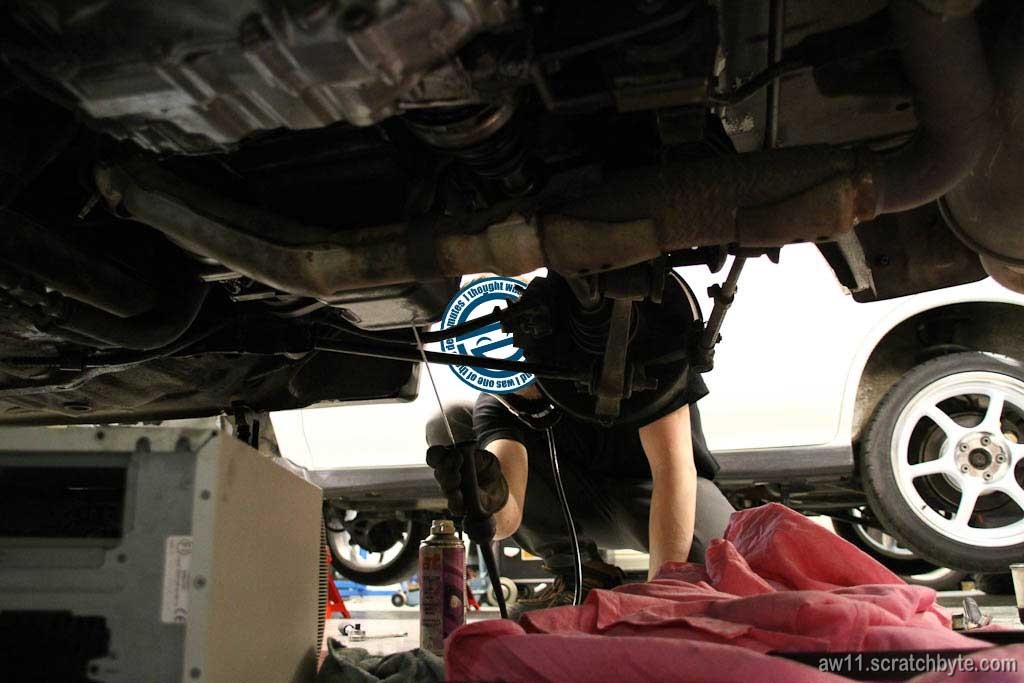
Maladar is trying to find the source for the sound:
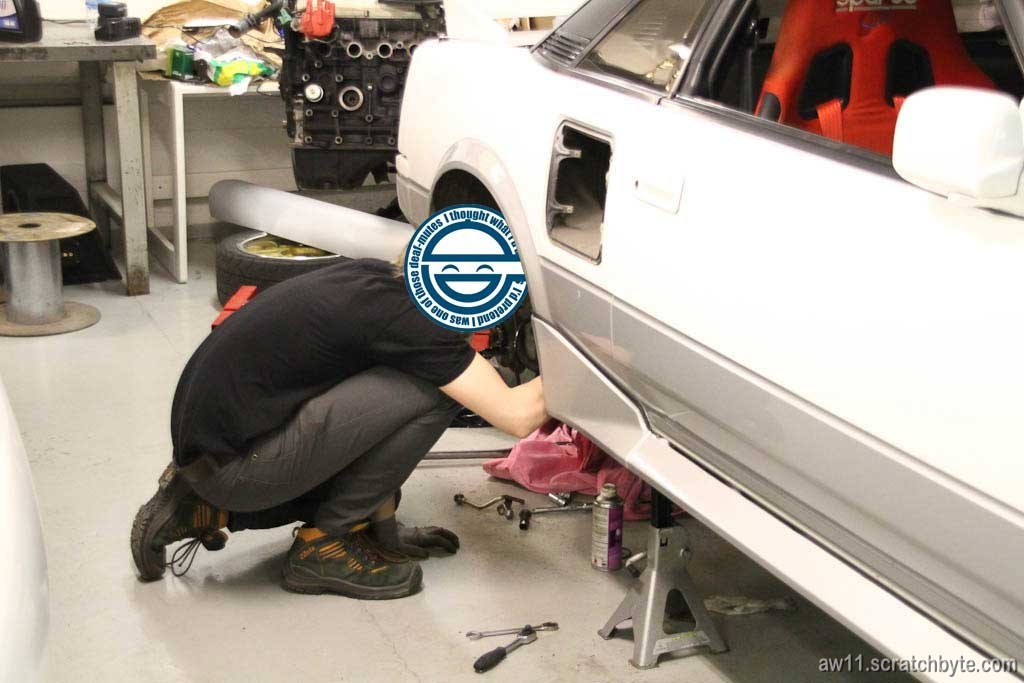
I’m looking for a oil leak while Maladar is (still) looking the source for the weird noise. I installed the bigger crank pulley too, which needed a slightly longer belt and a slightly smaller pulley.
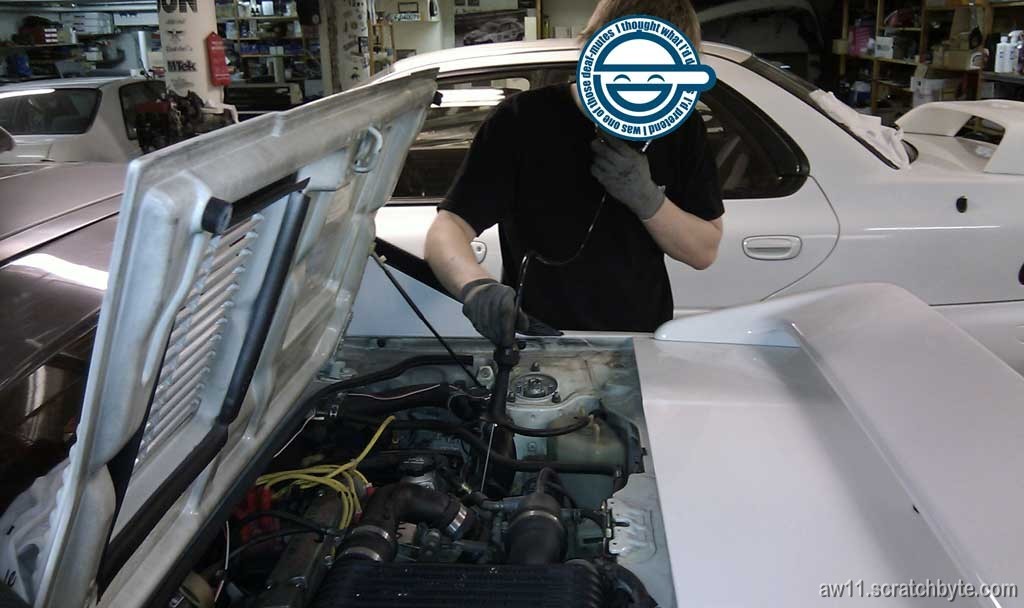
The professor of speed examining the injectors
We tested everything and let the car get warm before stopping the engine. Then we had a small celebration in nearby sushi restaurant:

Trollfia and Maladar. And some sushi. Nom!
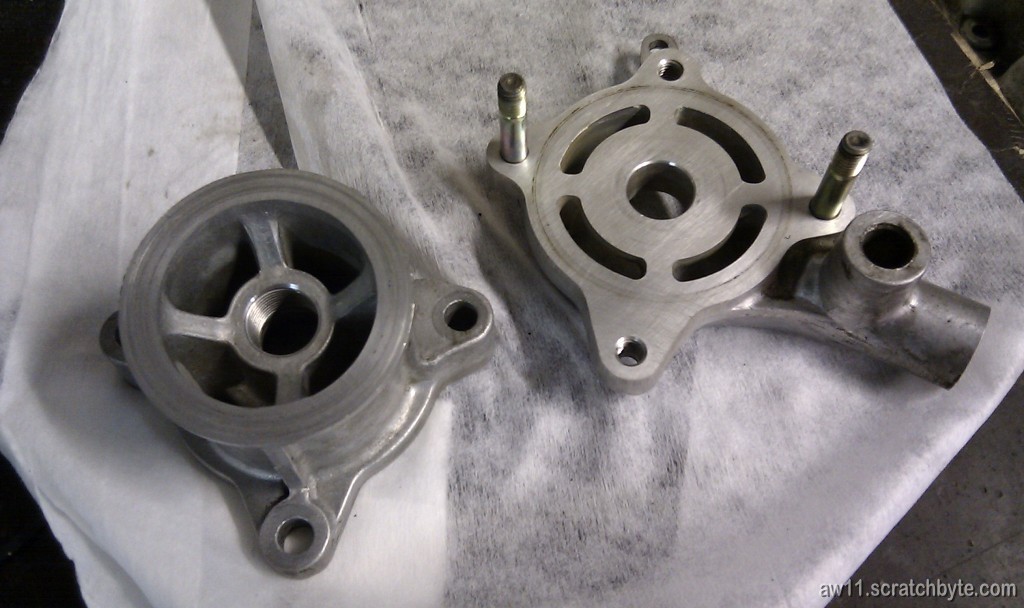
I didn’t find proper bolt to block the oil cooler outlet, so I decided to try one last time to remove the whole oil filter assembly. I finally got it out and replaced with the one that doesnt have anything extra.
I cleaned everything and after couple of hours and some fumbling with tools I got it installed, without removing the exhaust 🙂
I just need some oil, hoses for the relocated filter and reconnect the AC compressor + some small bits and I can start the engine again 🙂
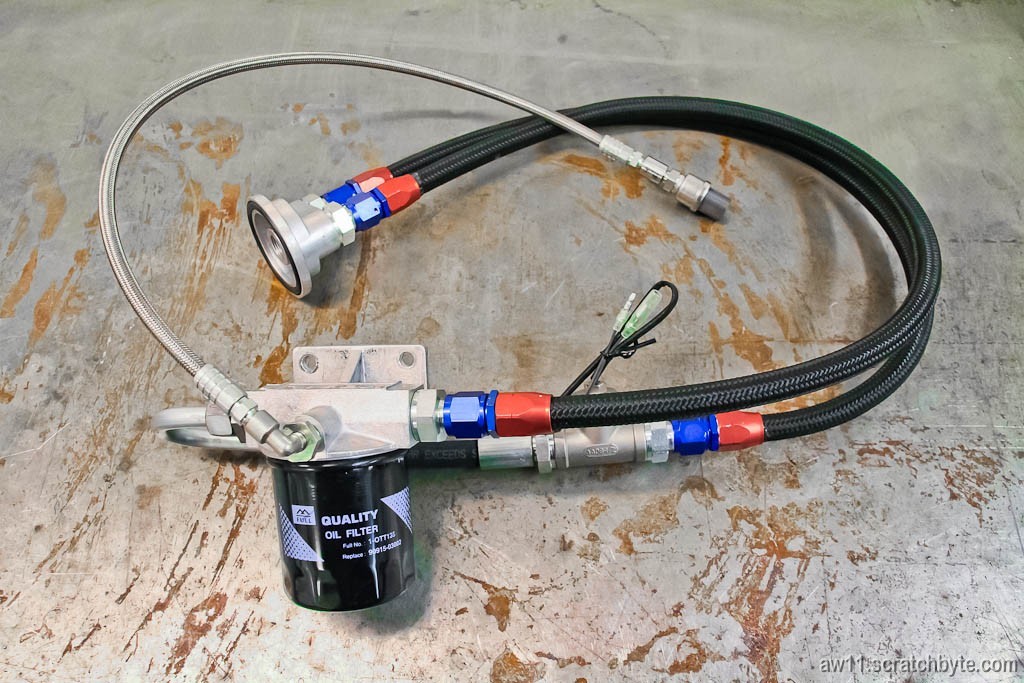
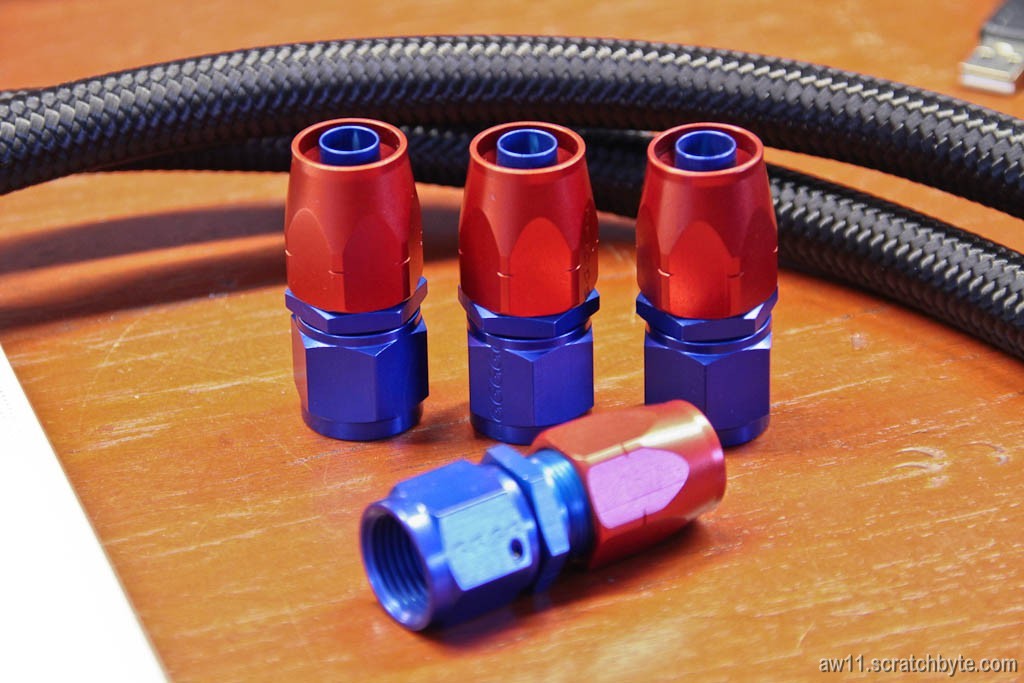
This is what I’m going to install in the car:
Still WIP, but I’m getting there. Slowly.
I got the alternator back where it should be and I started to tear down the original oil cooler lines and components. Old oil lines were of course deteriorated and the hanging A/C compressor didn’t help much with the workspace 🙂
I had thought that I could put the oil filter base from my spare engine, because it doesnt have place for the oil cooler port, but that turned out to be fantasy. so Im just going to plug the cooler hole and see what happens. I’ll get back to that when I’m swapping the spare engine.
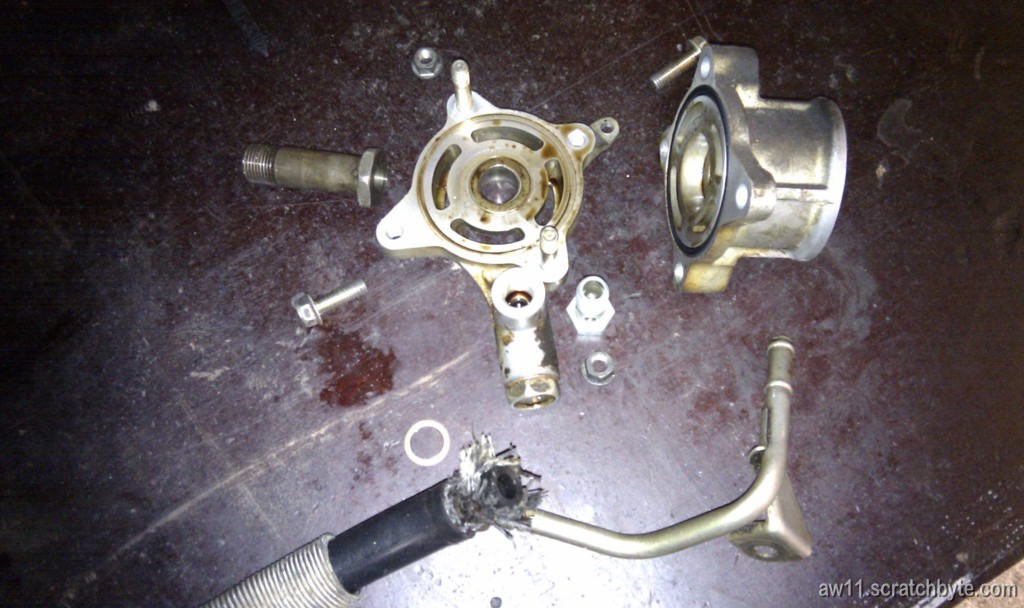
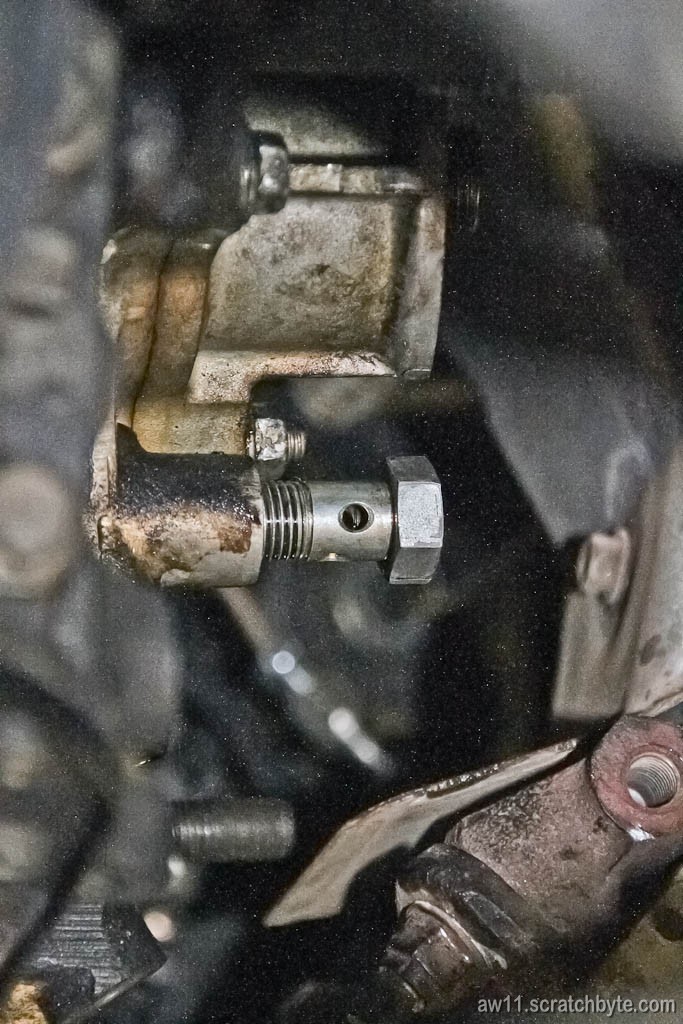
The banjo bolt I need to replace:
Then the whole thing, A/C compressor on the right:
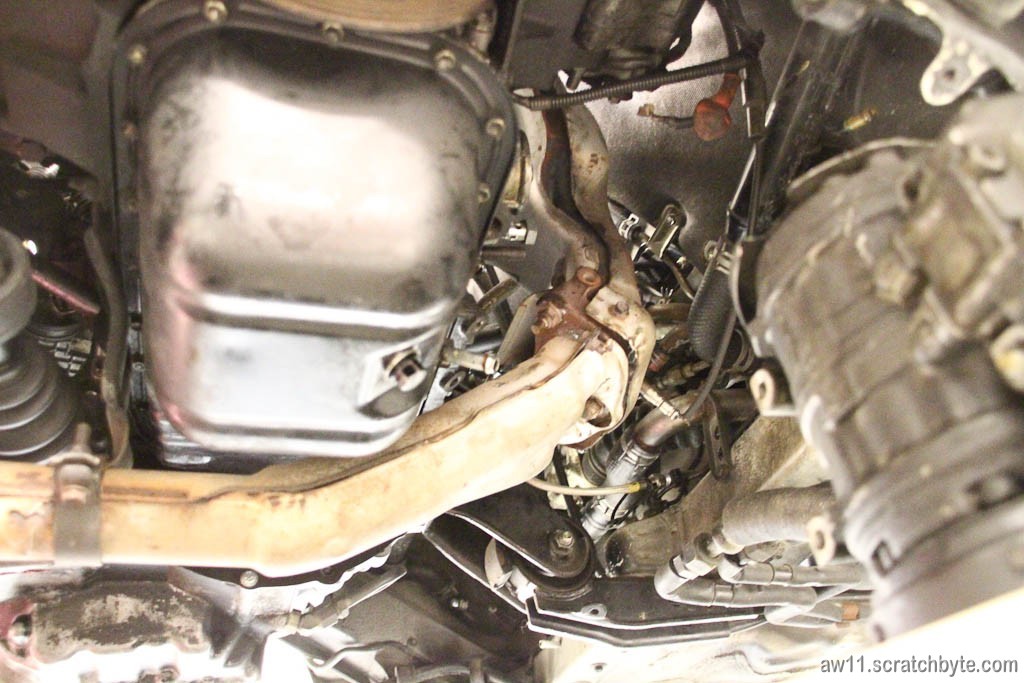
I think the worst part is now done. This whole thing took about 8 hours and I still need to route the relocation kit hoses and bolt the A/C compressor back.
Finally! Found the pic I took earlier:
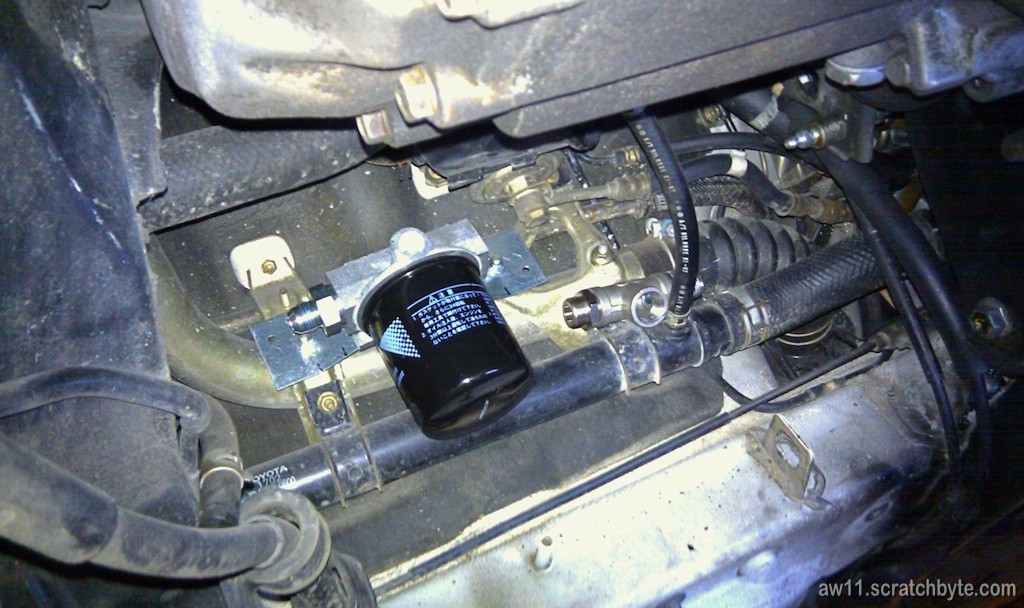
Found a perfect place for remote oil filter head!
Removing the carbon canister frees a nice spot, I just needed to build a new braket.
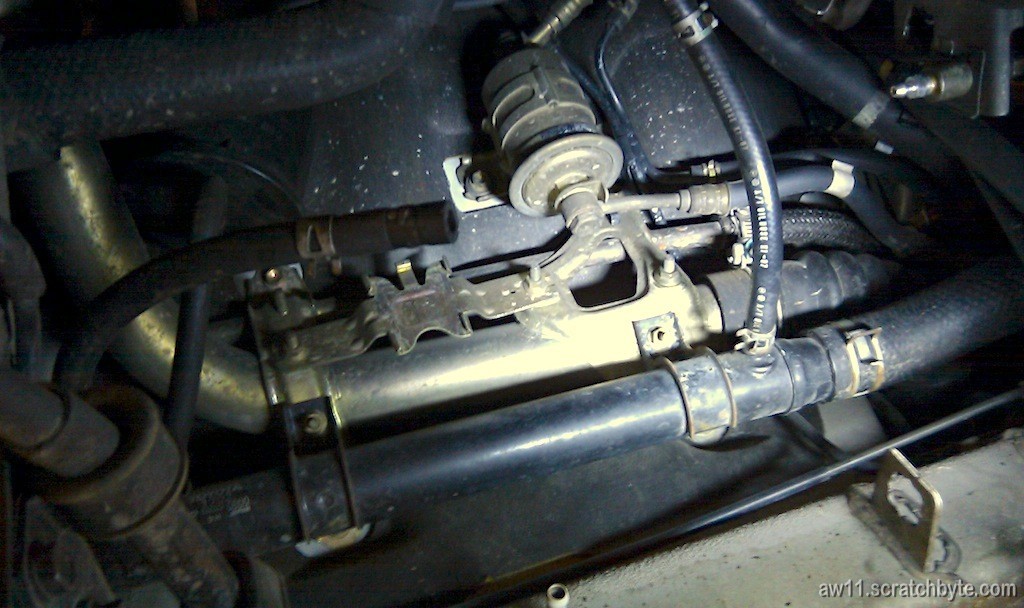
My first prototype, which was only a bent piece of steel. Just above the old AT transmission oil cooler is a T-piece for a oil temp sensor.
The prototype gave me an idea to route the second oil line behind the filter with a flexi bit so the T piece wouldnt be stressed too much.
I got a short oil line made for me. There is a bit weird angle in the line, but it’s fixed now.

I didn’t take a picture where I testfitted the hose, which is a shame.
My second prototype was bit more mature, but it still needs some strenghtening. The carbon canister is standing on the remote head, still not removed.
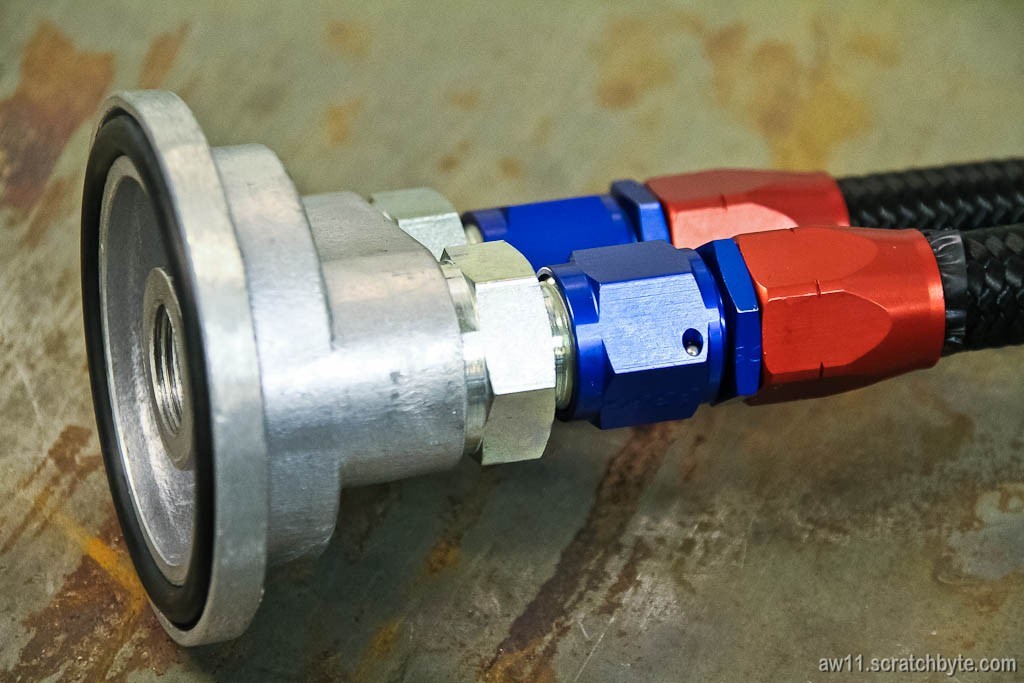
I also got some braided line and AN fittings. Now where did I put that picture…?