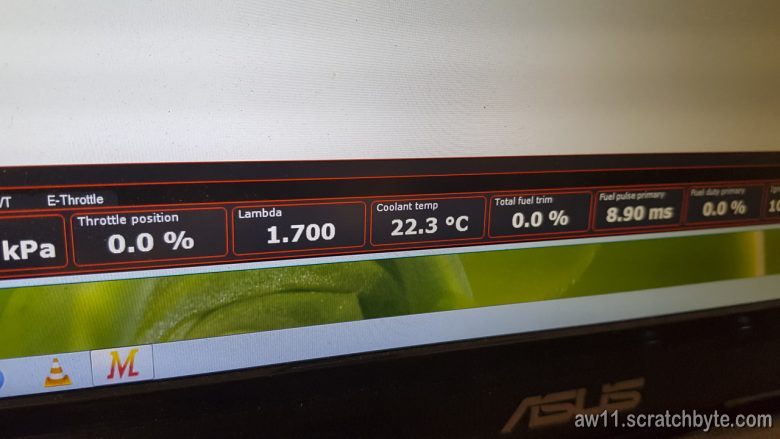
I skipped all those “first start second start nth start” videos because there is not much to see. Engine idles roughly. This video has bit more balls 😀
Odd jobs
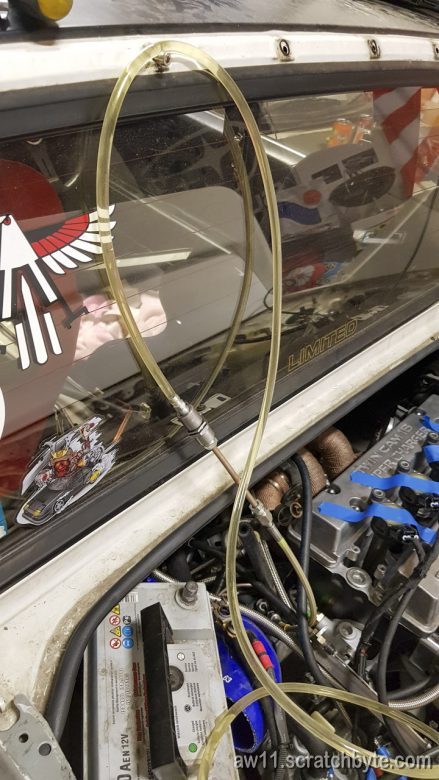
I fixed my poorly done clutch line. This time with proper tools. Ended up building it in such way that one person can bleed the clutch.
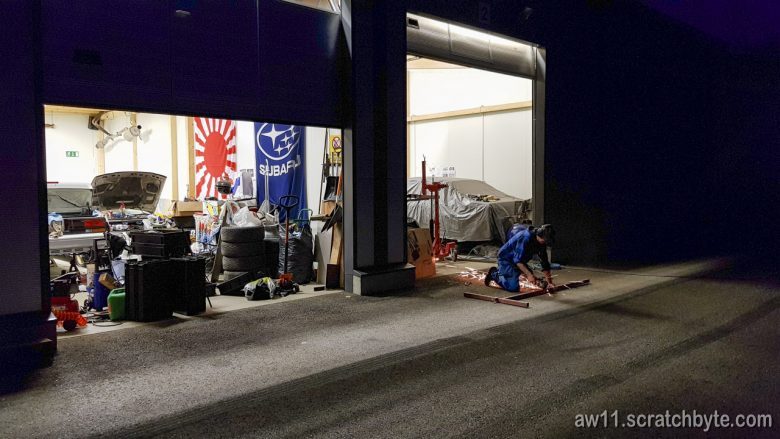
Evening at the garage
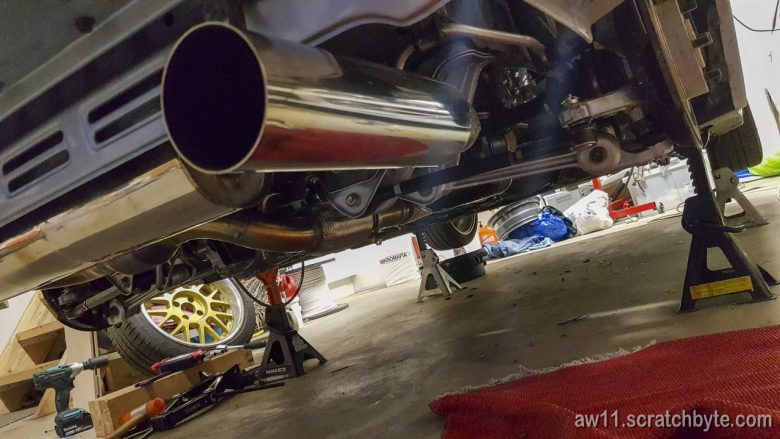
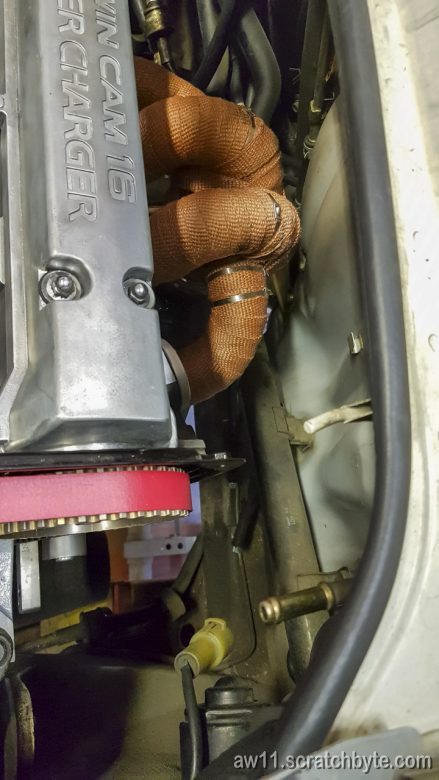
Exhaust install
And suddenly we’re ready for the first start
Cam angle sensor and water pump problems
The problem with the cam angle sensor was easy. I didnt have one and I had to make a very straightforward installation for it
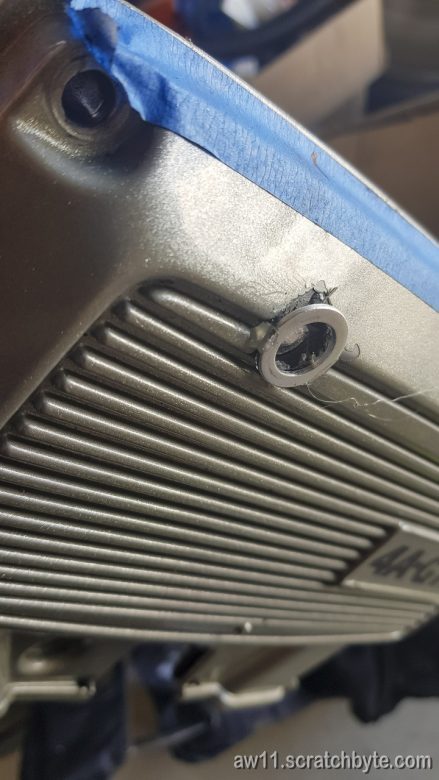
Hole in the cam cover for the sensor
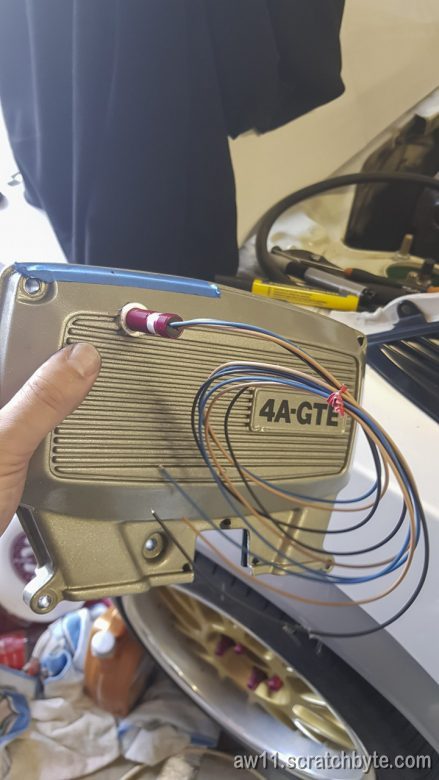
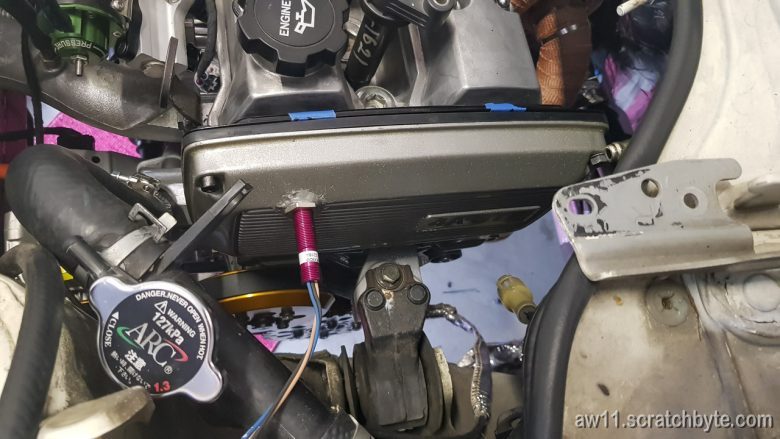
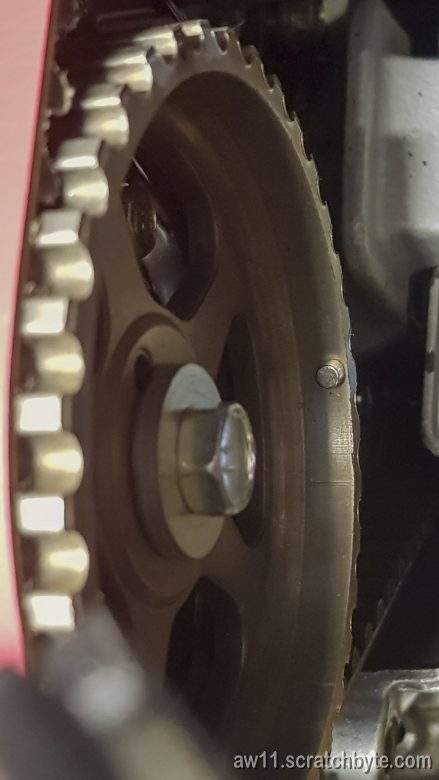
And a small neodynium magnet into intake side cam gear. I needed a single blip from the cam wheel before TDC and that was enough.
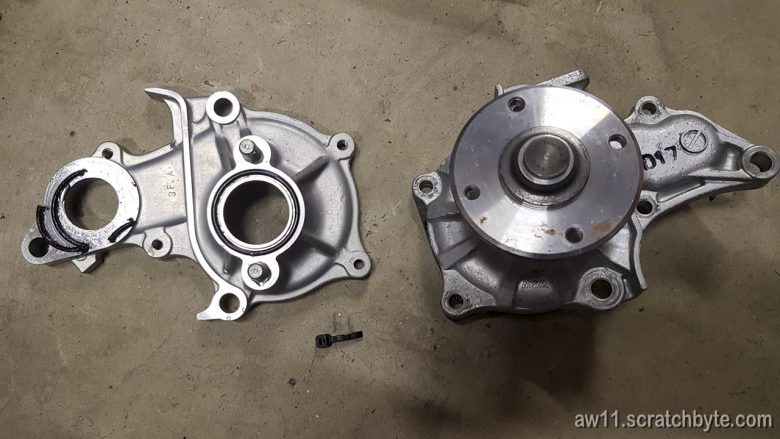
Water pump problem was bit more serious. My fix was as bad as with the cam angle sensor.
I found out that there was a coolant leak, but couldnt see where it was coming from. When I finally removed the water pump, I found out it was the block side seal.
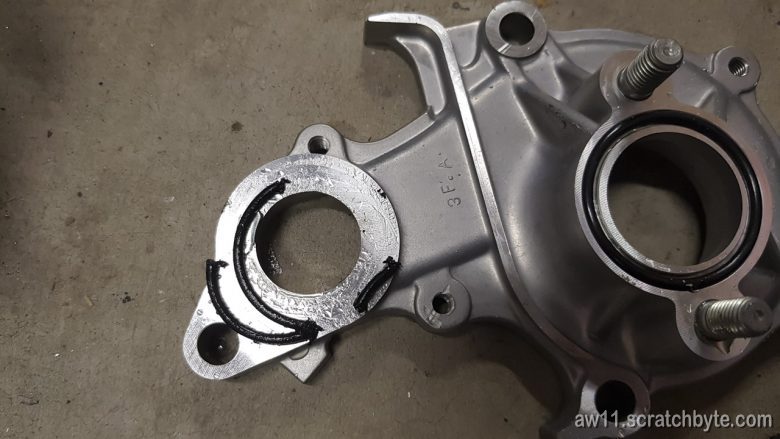
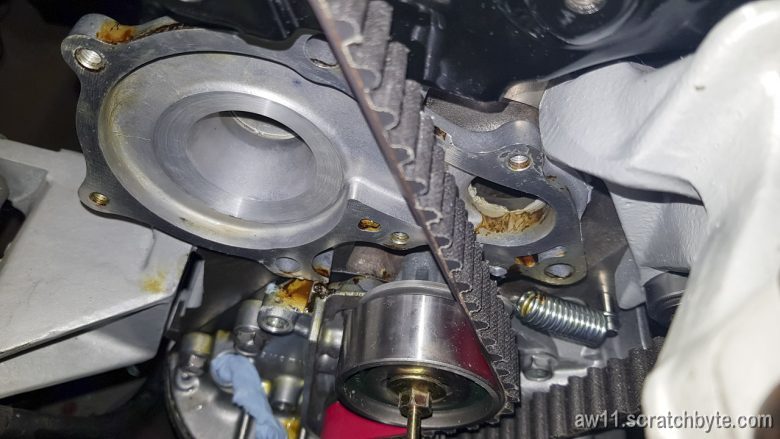
I did have two separate leaks. In the photo above, there is some brown residue in the block side coolant passage. Thats Permatex aviation gasket maker which didnt work at all. It was washed off with the coolant and I was so pissed it RTV’d the hell out of the waterpump. I guess it needs some power tools to remove it now.
Lots of photos
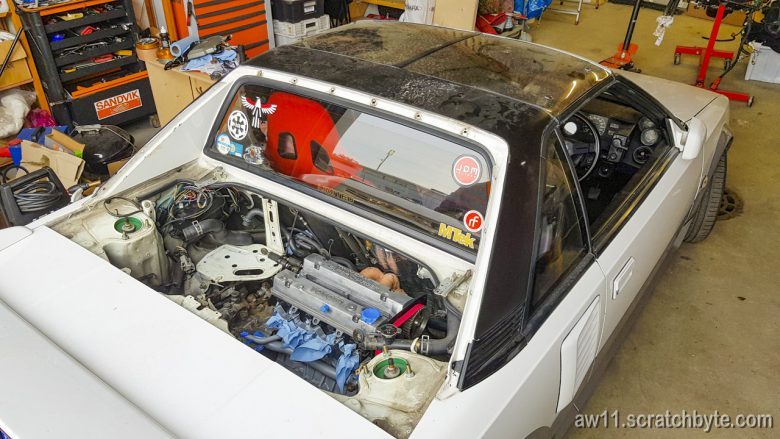
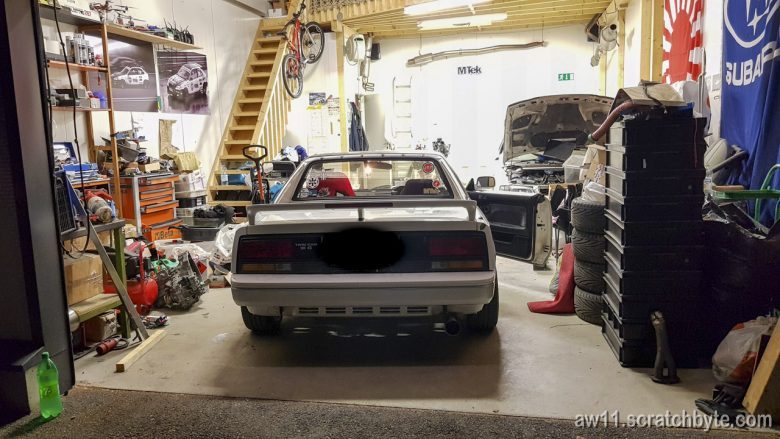
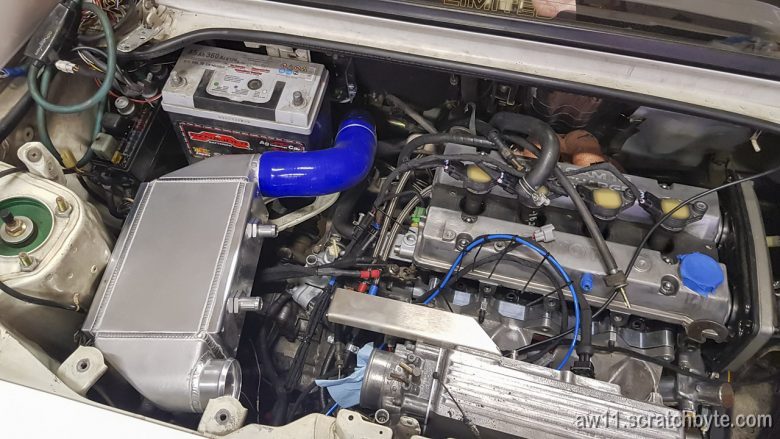
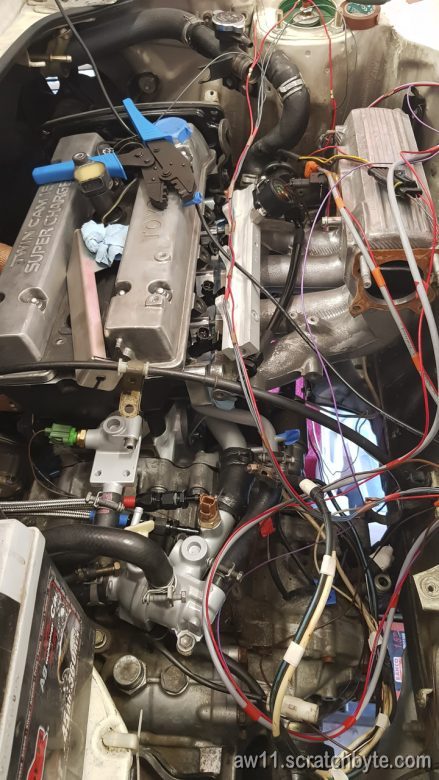
Engine bay is looking nice 🙂

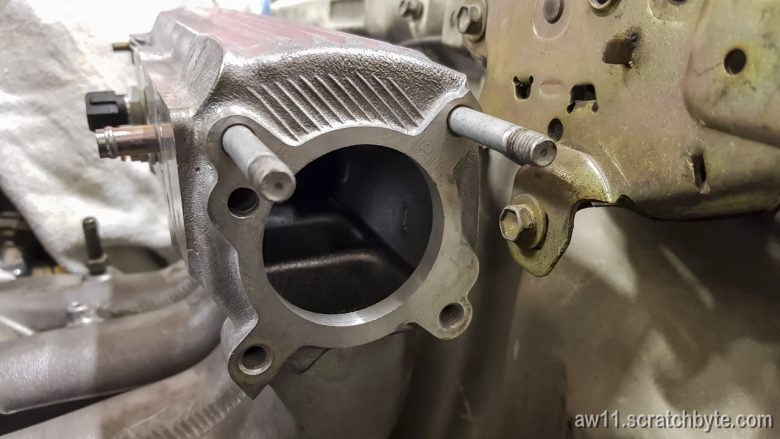
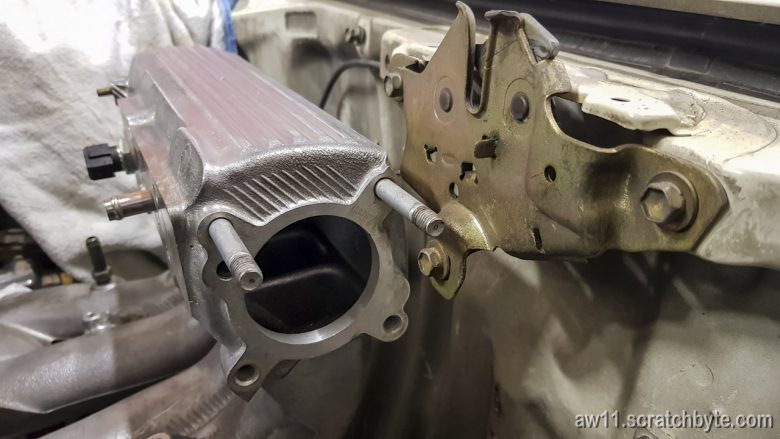
Below are some pictures of the intake and the hassle with it. Seems that the engine bay lid locking mechanism is in the way and I had to take it off.
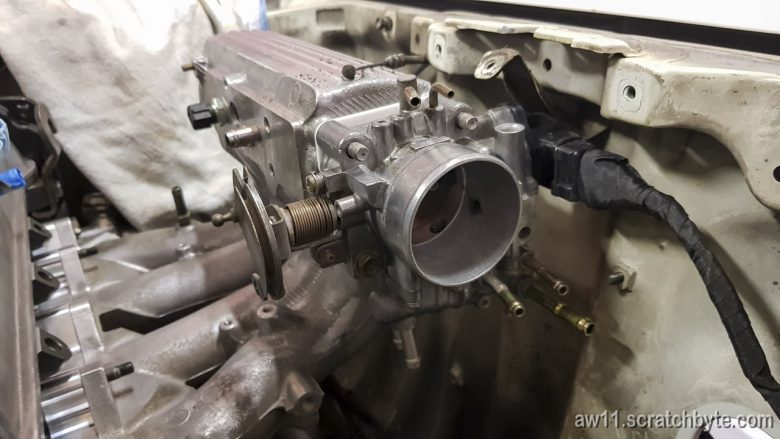
Also, to get the TPS to fit, I had to bend one of the supports
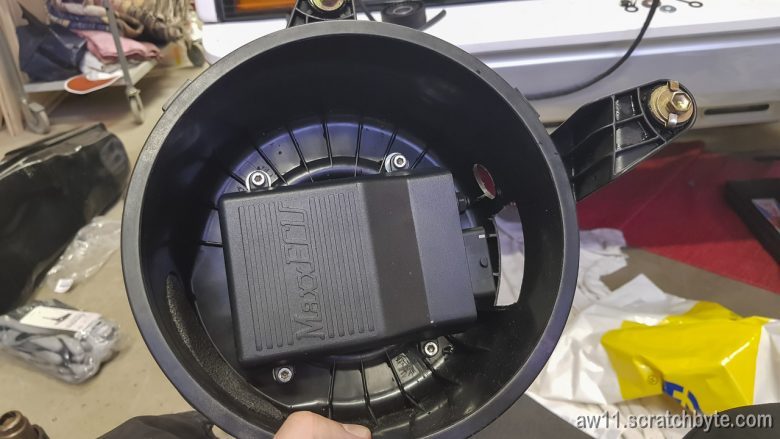
Stock air filter location is now the new home of the ECU
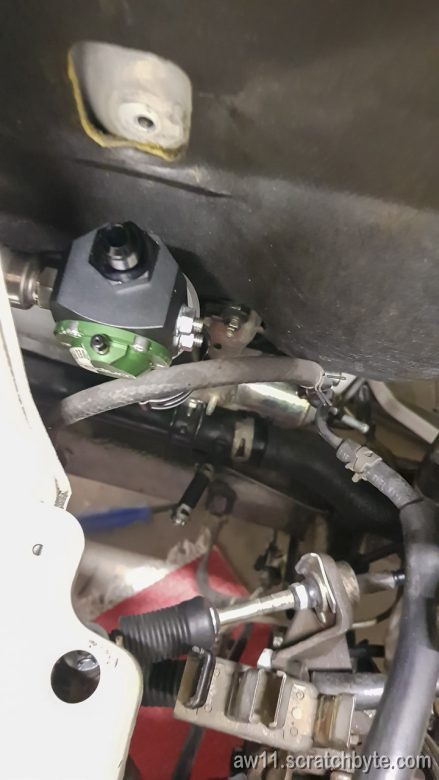
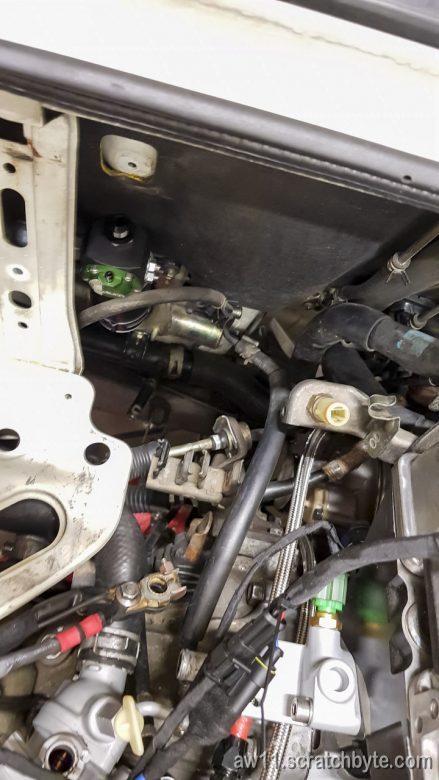
Fuel damper
Fitting charge pipes – first test
This has to be one of the weirdest pictures i’ve ever taken. It is a panorama under the car
Fuel filter, fuel pulse damper and some piping
Finally the piping gets all the way from turbo to intercooler
I had to borrow widrics’ kraft durch freude -car and it came with one extra life 😀
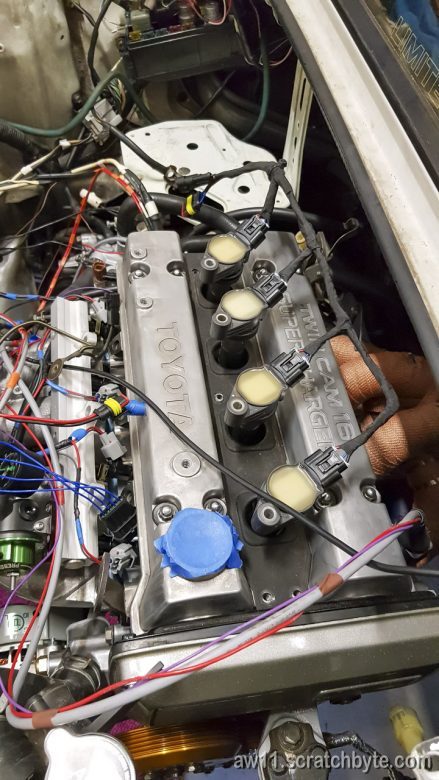
Coilpacks and alternator wiring
Im using coilpacks from a Toyota something with V6
Swapping from 4A-GZE stock alternator with external regulator to 4A-GE alternator with internal regulator is easy. Remove correct wires from the external regulator and stick them to the 4A-GE alternator plug. Even the wire colors are same.
Ice cream
Me and Widric having ice cream

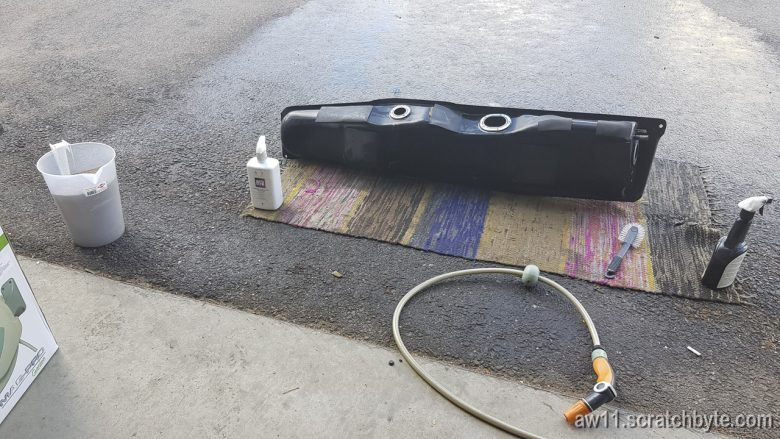
Fuel tank
Fuel tank needed attention.
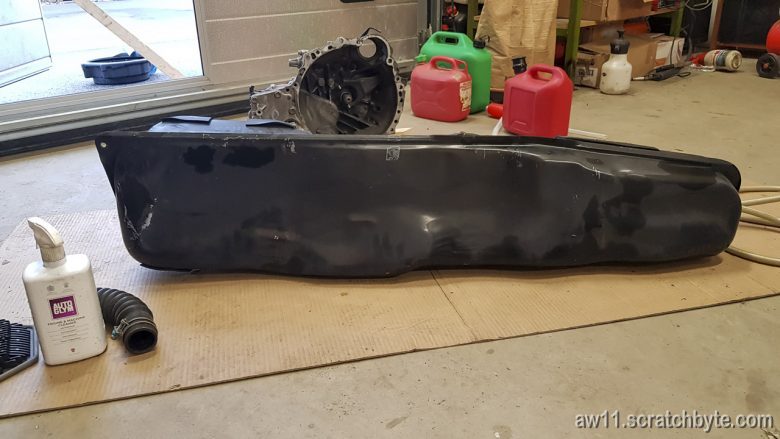
I was full of this… this… what ever this is but it is not rust
There was a manufacturing date on top of the fuel tank 62.9.26 which is 26th of september Showa 62 or 26th sep 1987

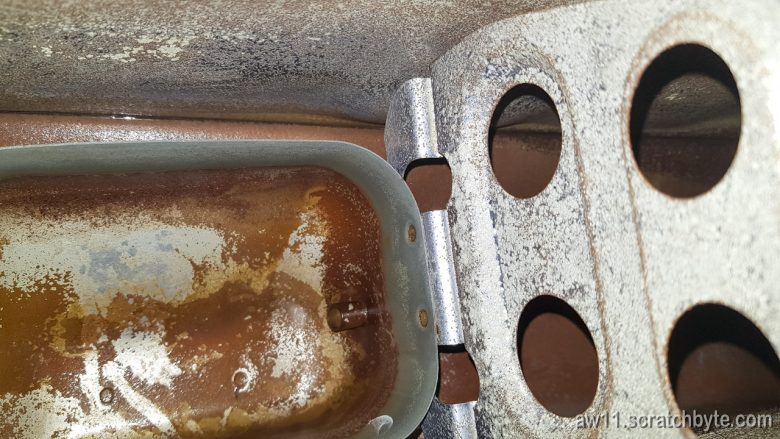
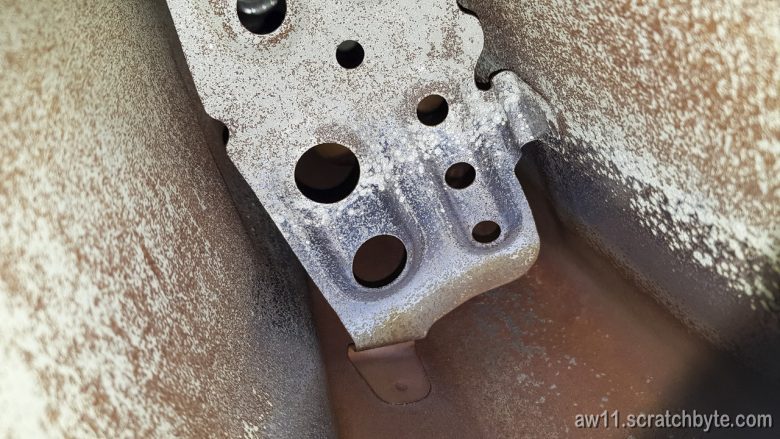
Cleaning and cleaning
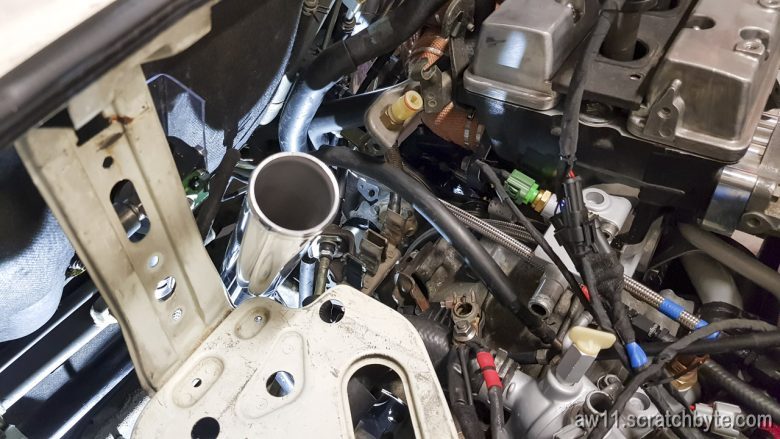
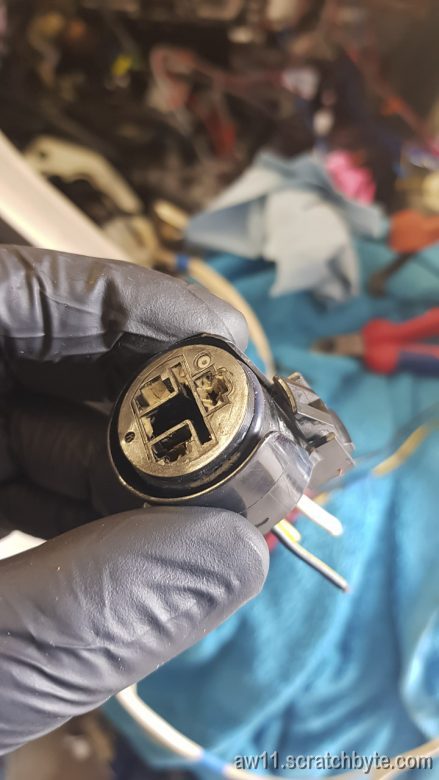
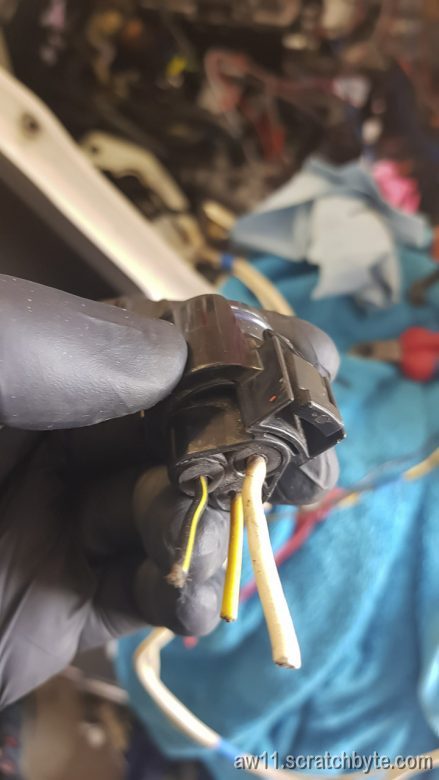
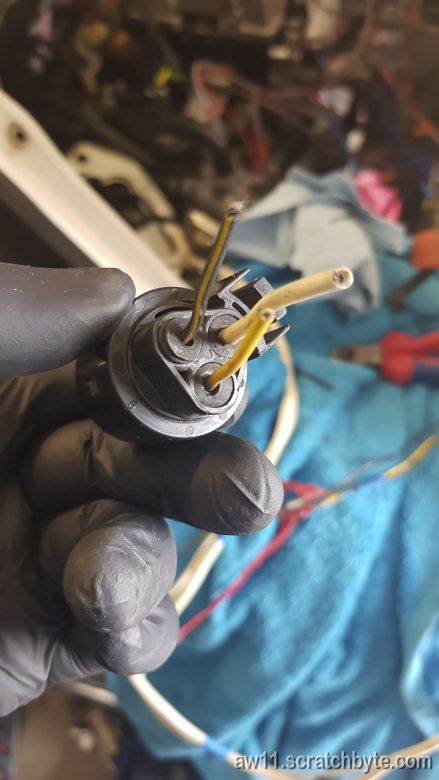
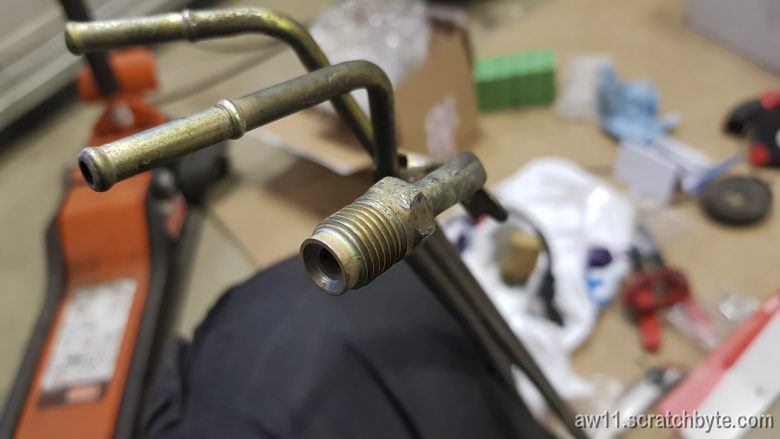
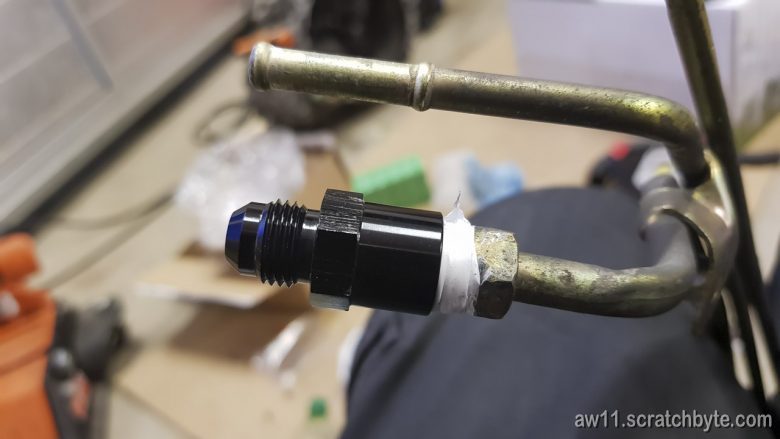
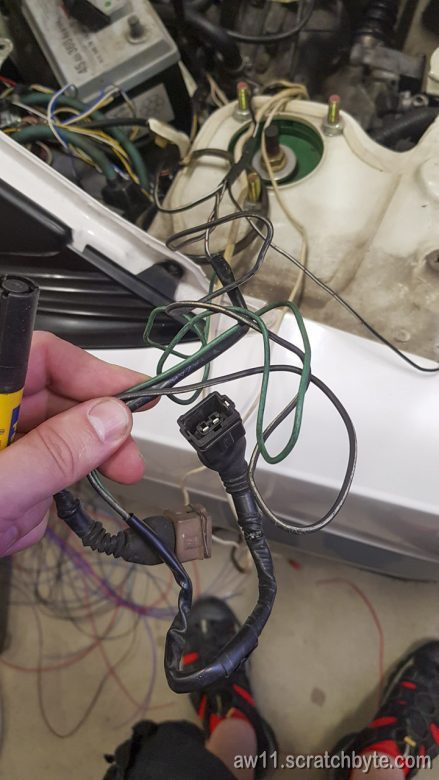
Old fuel pump
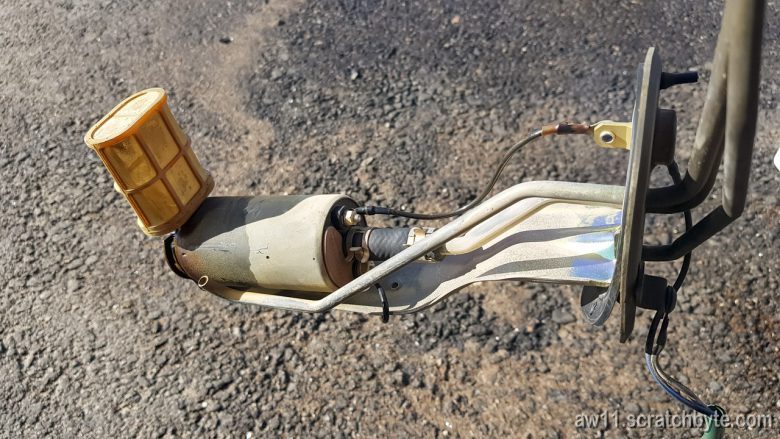
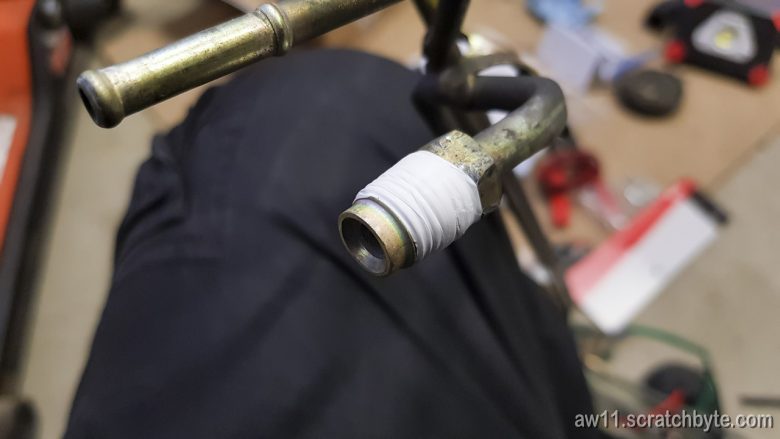
Remember this? This is the line from fuel pump that I though was something inch-sized. Well I made a huge mistake. It was M14 x 1.5 and the AN adapter was easy to find.
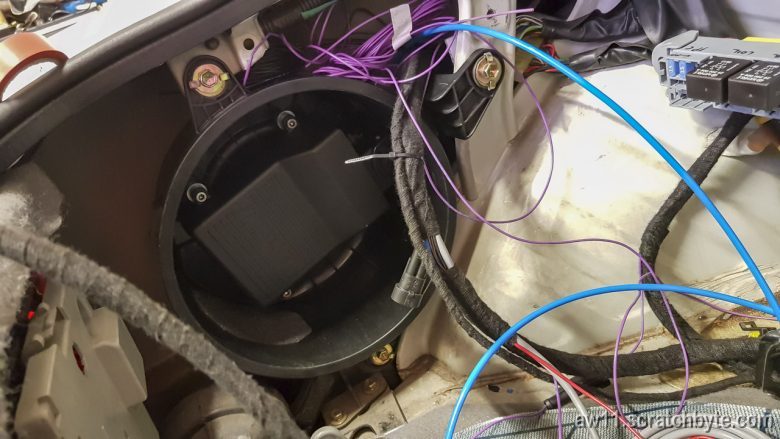
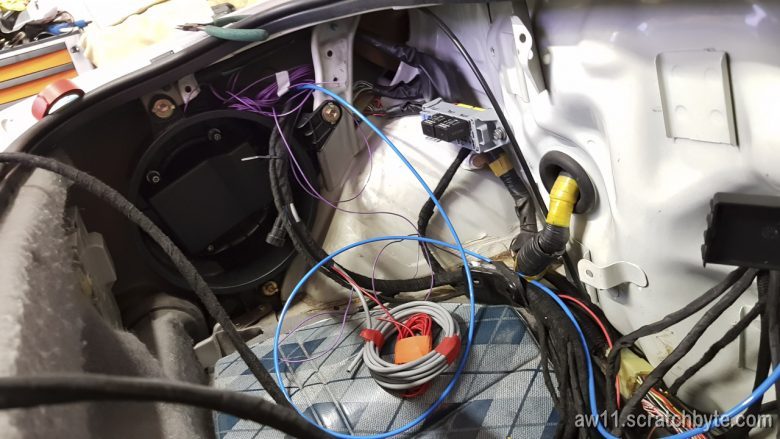
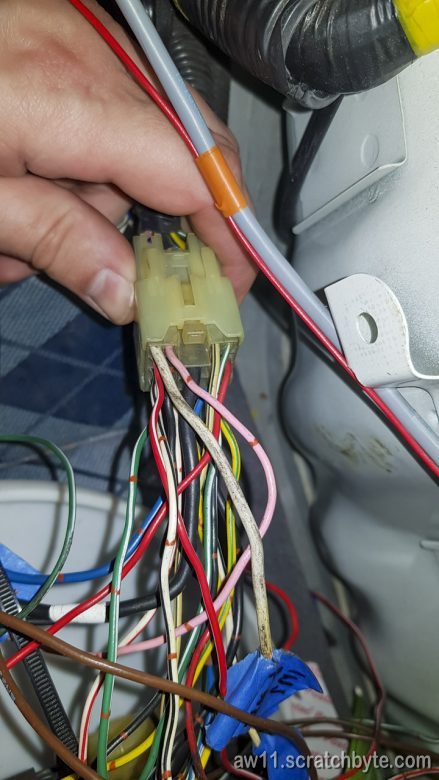
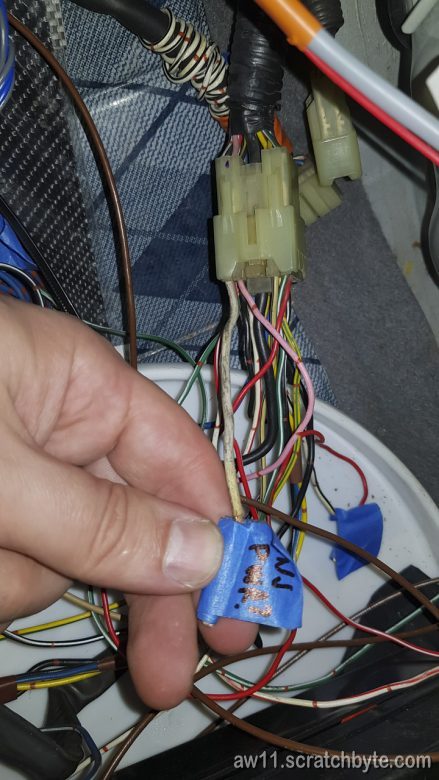
Wiring continues – some wins
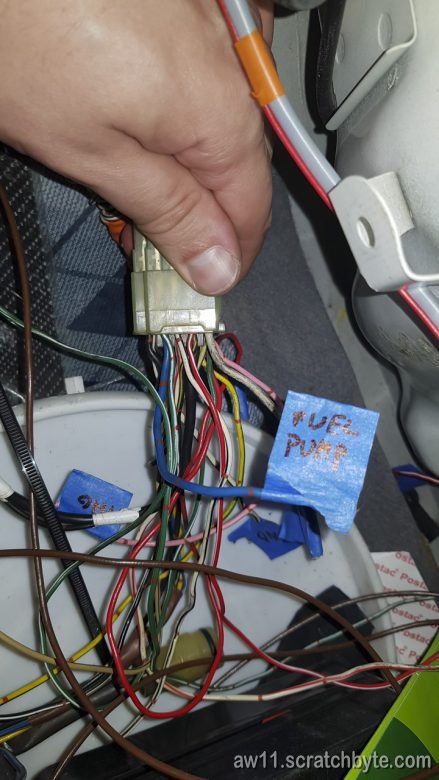
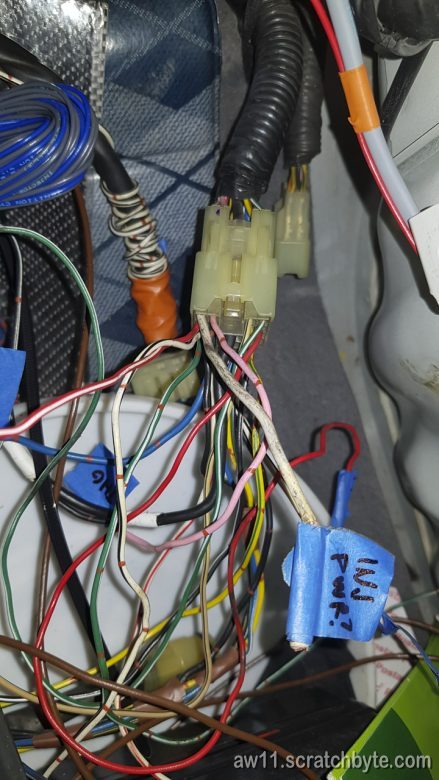
This is the trunk connector, I already forgot what this was called. It definetly isnt the M2, that resides in the engine bay
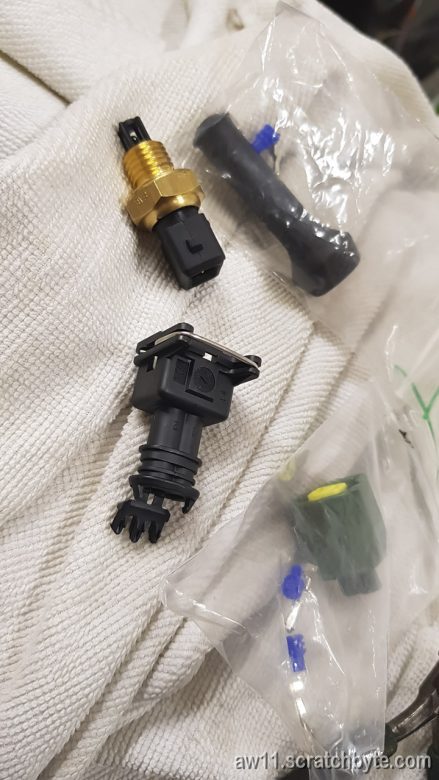
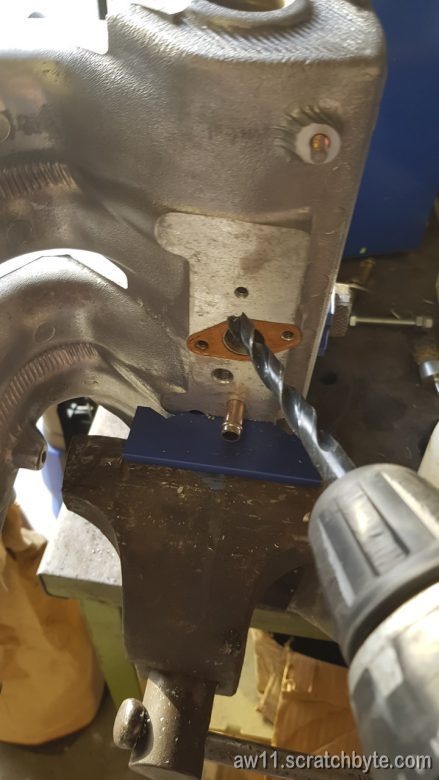
Some new parts – this is a intake air temperature sensor, which turned out to be too short.
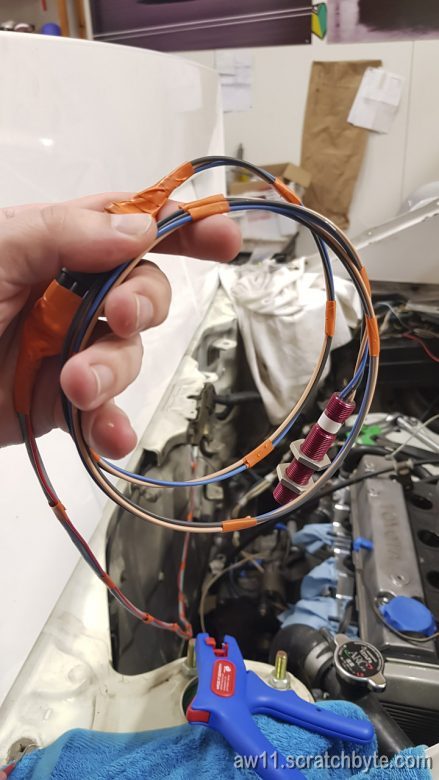
Crank angle position sensor wired
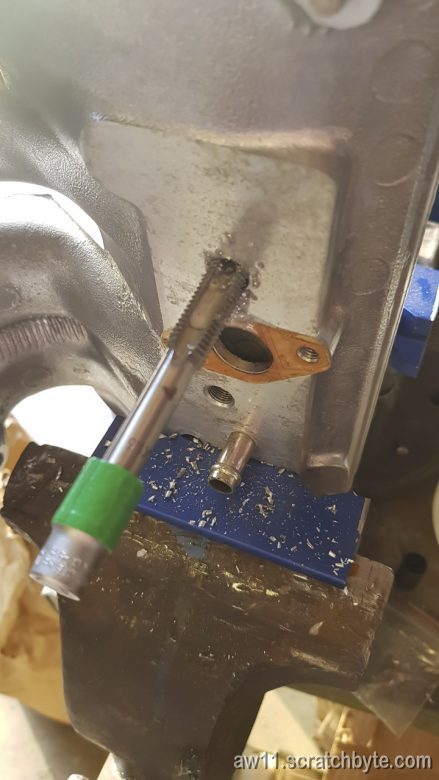
Had an idea to slightly drill one of the holes on the stock intake bigger to fit the intake temp sensor. In the end, there wasnt enough material to tap the thread and I had to find a different solution
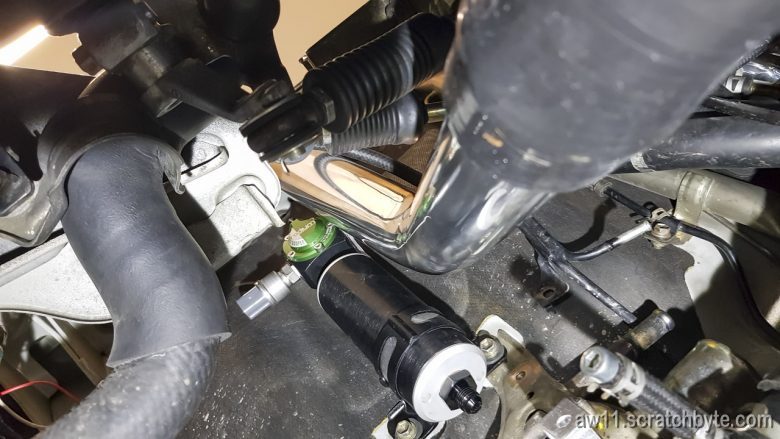
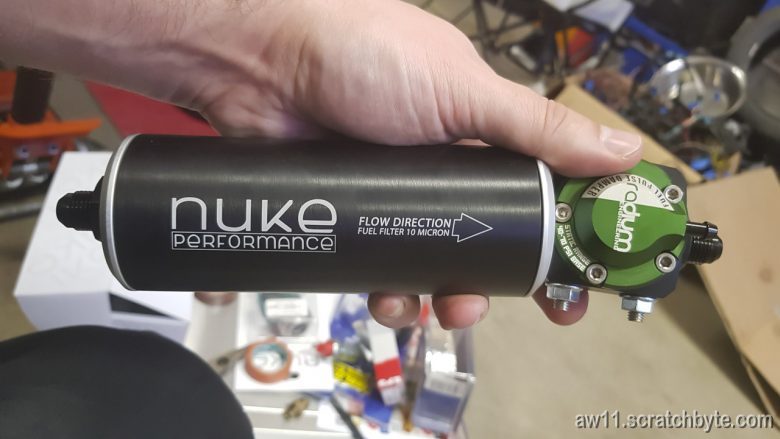
Nuke filter and radium damper 😀
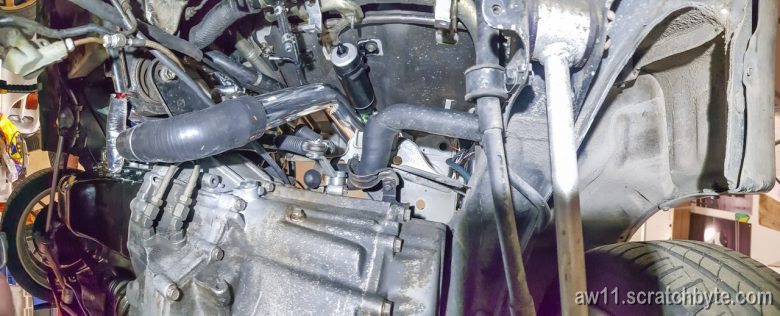
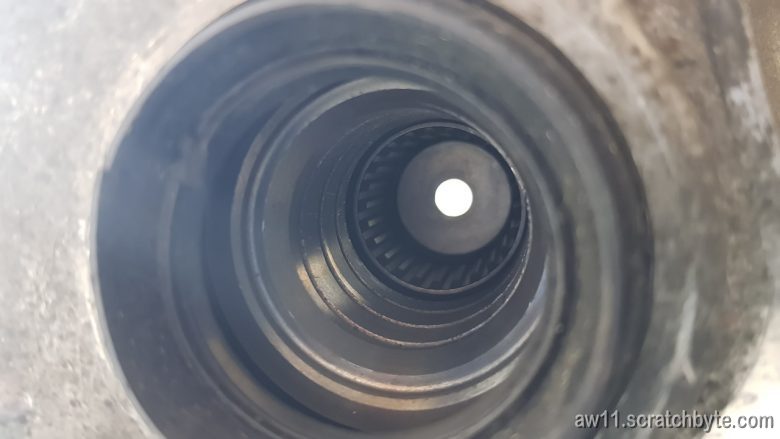
Someone was selling a E153 gearbox from a JDM import SW20 – I had to go and buy it. The guy selling the gearbox told me that this was the only bit of that SW20 still in sale – he had sold everything else, including the twin plate clutch.
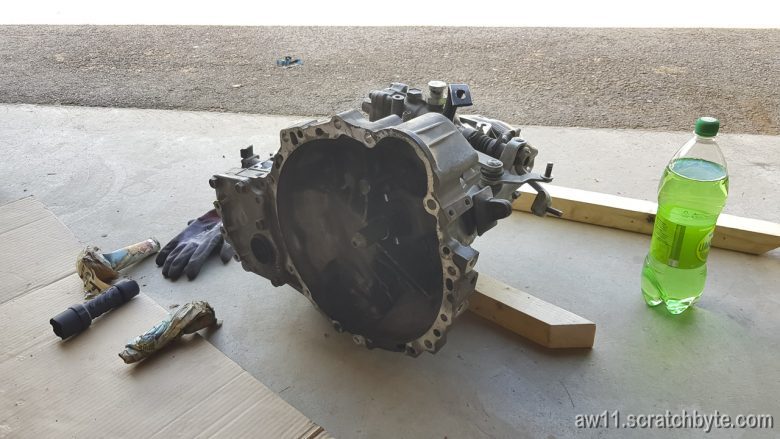
Well, japanese dont just swap in a clutch and leave the gearbox untouched. When I got back, I peeked inside through speed sensor hole and woooo-hooo! A Kaaz LSD inside! 😀 picture below is just from the drive shaft side.
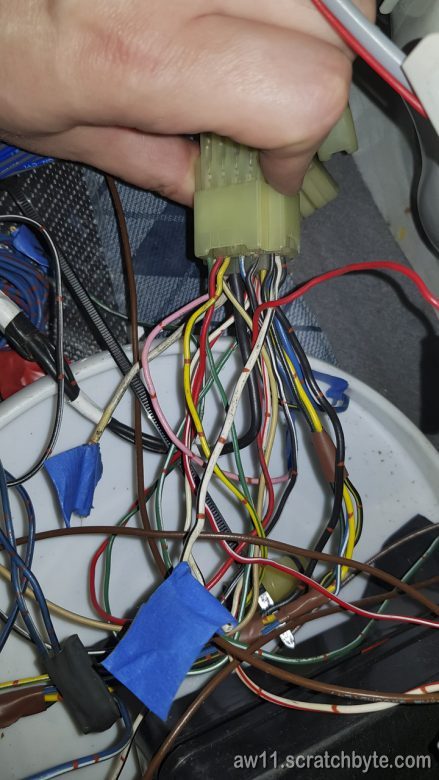
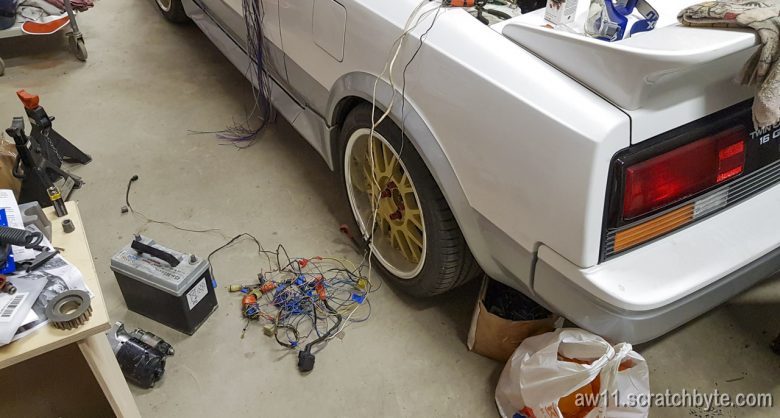
More wiring:
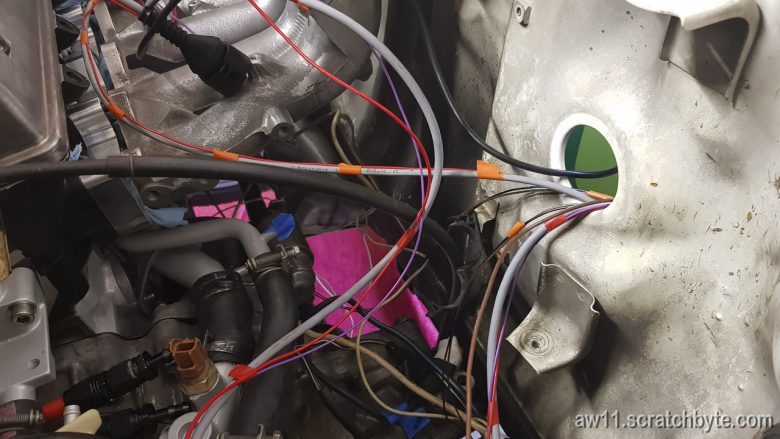
ECU powers up from stock wiring loom!
Let the wiring begin
Oh no
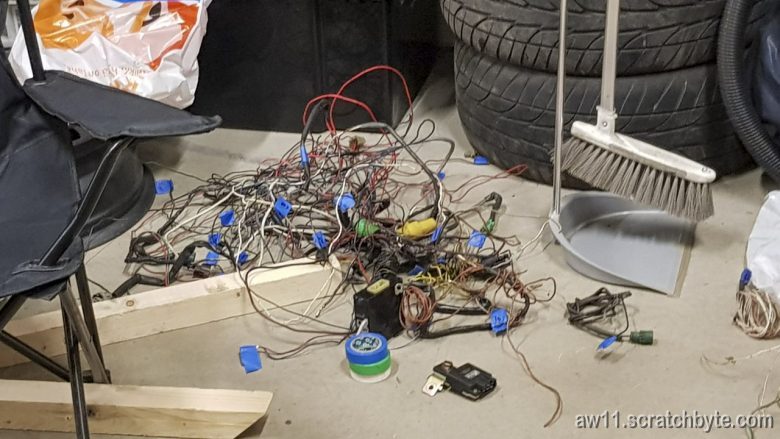
Removing all this wrapping from the original wiring loom felt like im stuck in some kind of black christmas receiving only crap
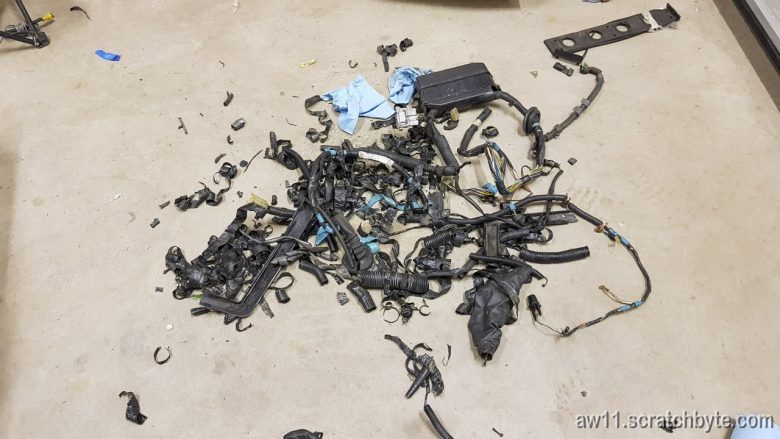
What
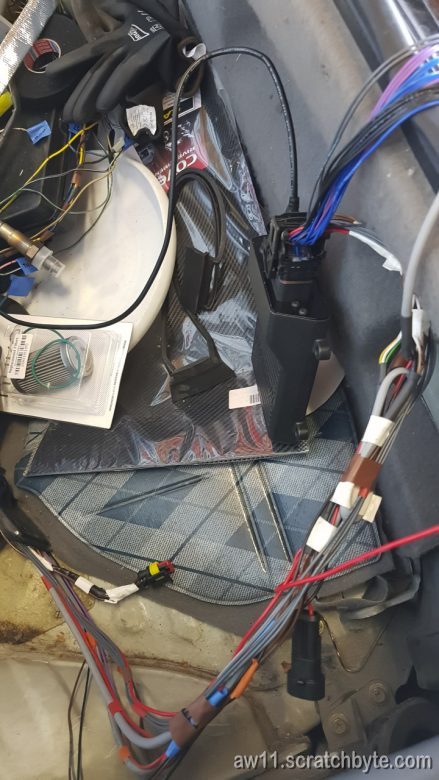
The ECU now lives here – temporarily
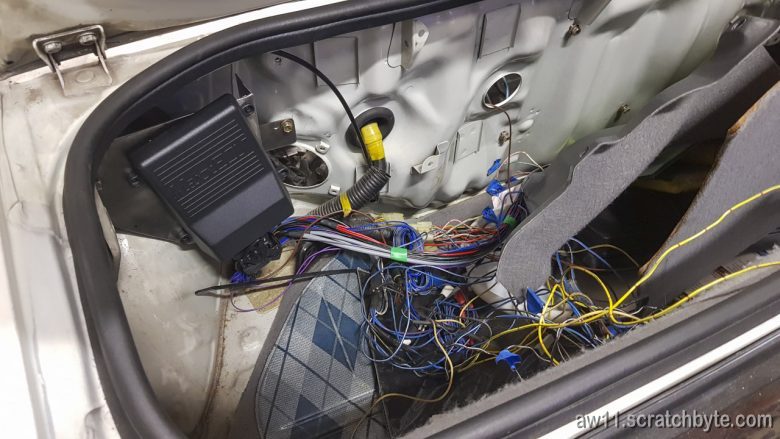
Aaaagh
Hm, at least the intercooler looks nice 🙂
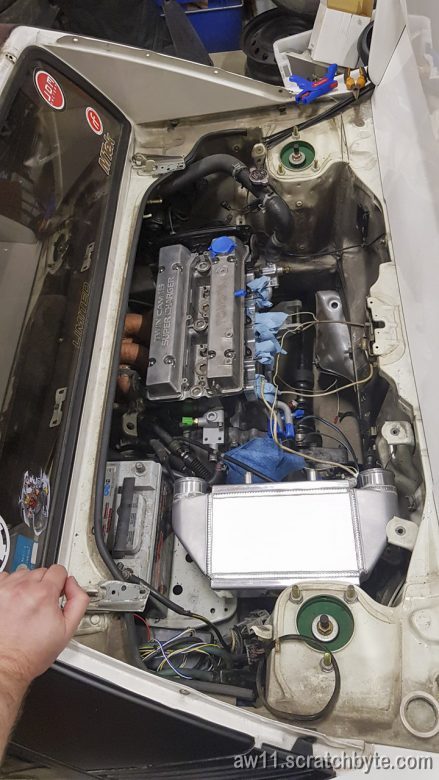
New engine!
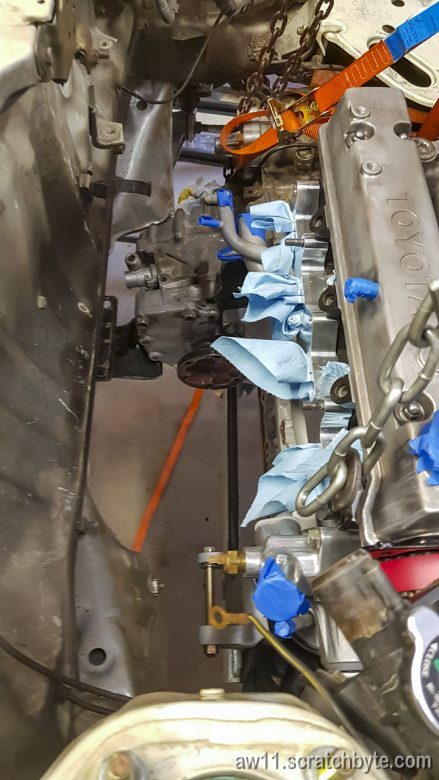
Hoist hoist
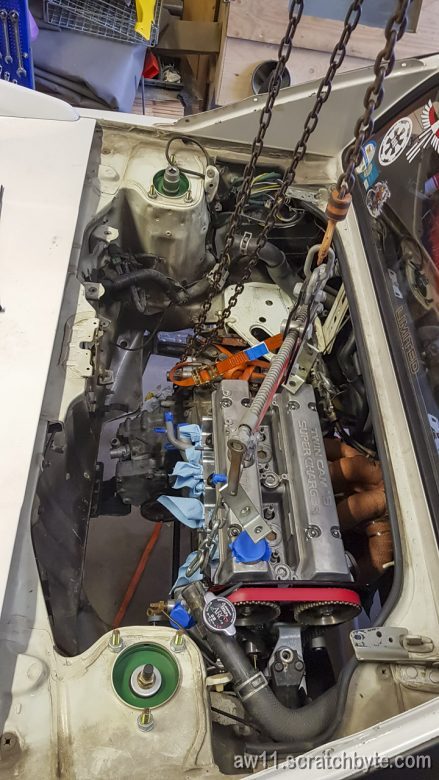
It fits! I was slightly scared that the exhaust manifold would be big, but there is enough space in front of it and there was no need to reshape the bulkhead.
Everything lines up

On this said there is plenty of space.
Engine swap complete
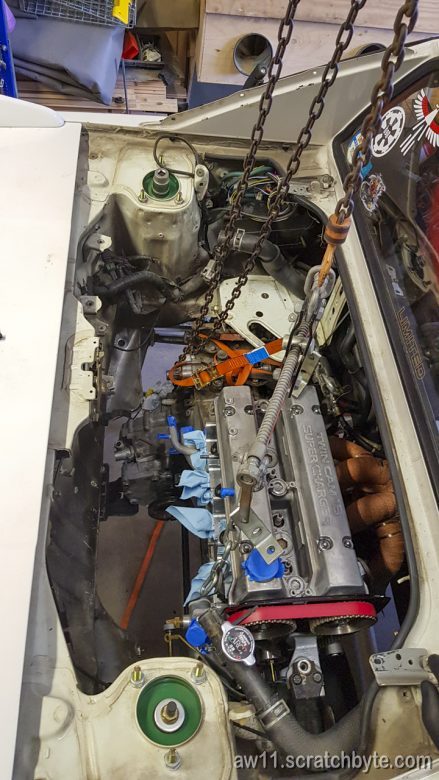
And back in my own shop. The swap was done in my neighbors shop because moving the car seemed to be easier than moving the car lift.