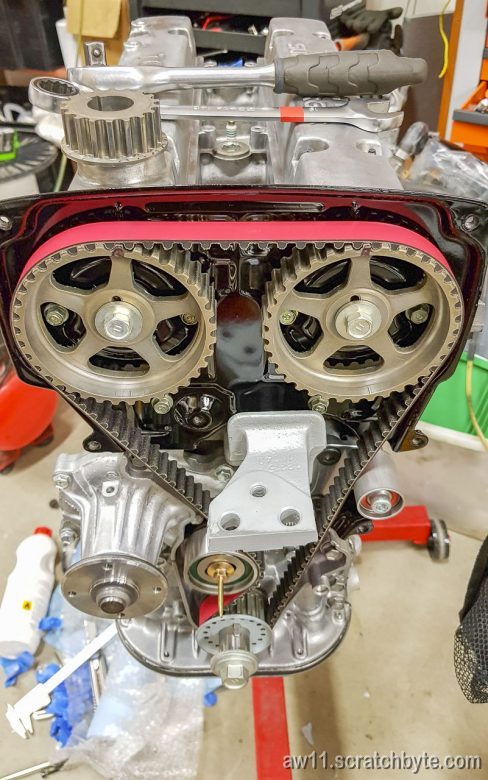
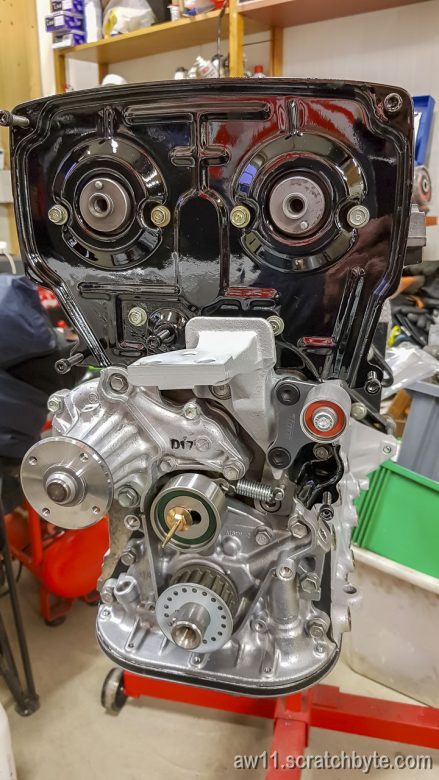
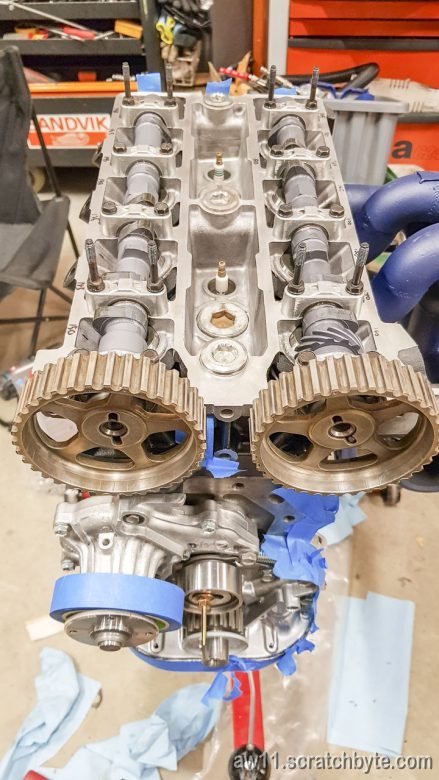
Timing belt and timing marks have been covered around million times on various web sites. I aligned the marks, installed the belt and rotated everything two crank rotations and checked again, that was it.
Belt is Toda belt for 16V engines.
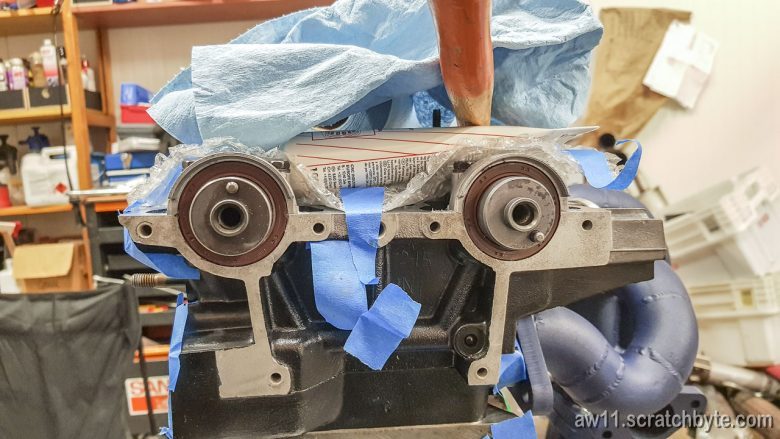
Below: cam gear timing marks
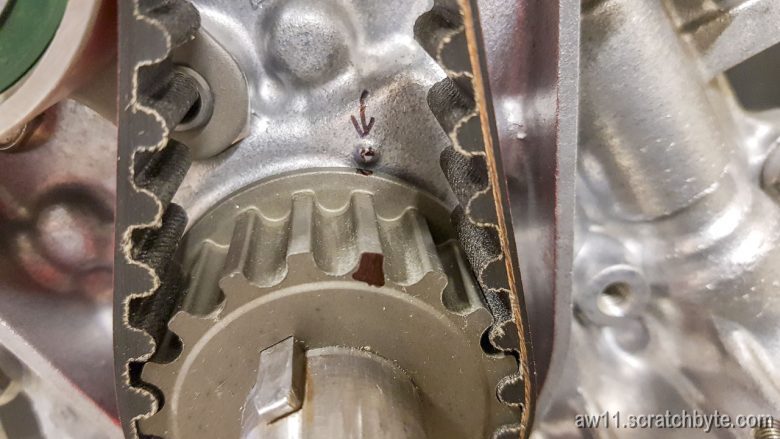
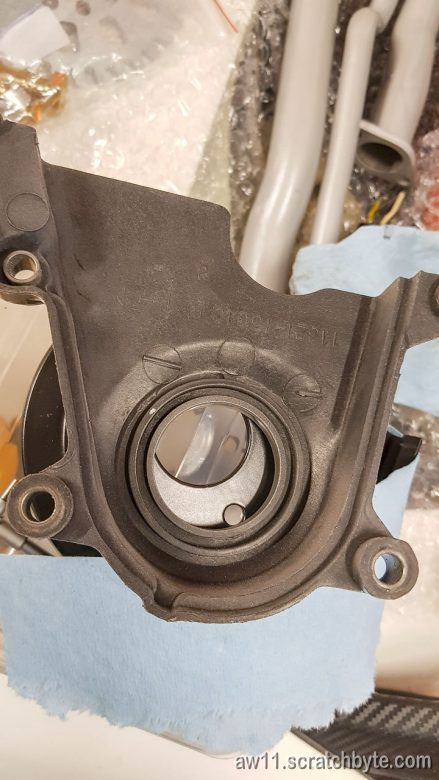
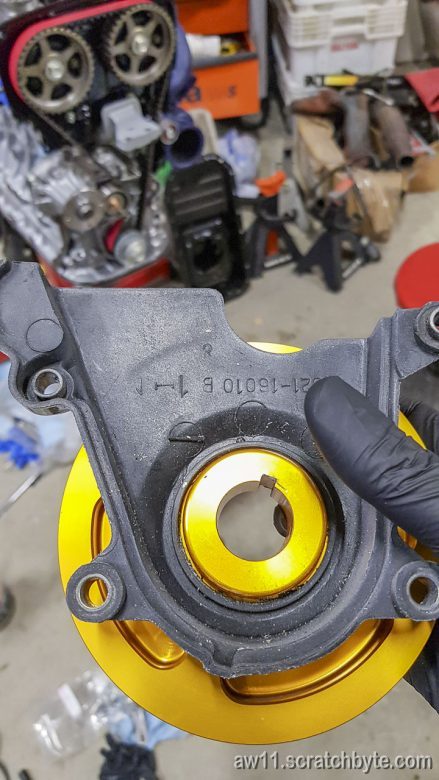
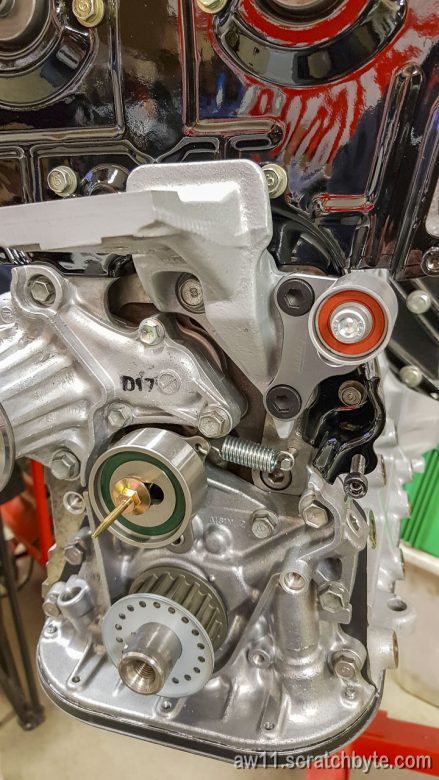
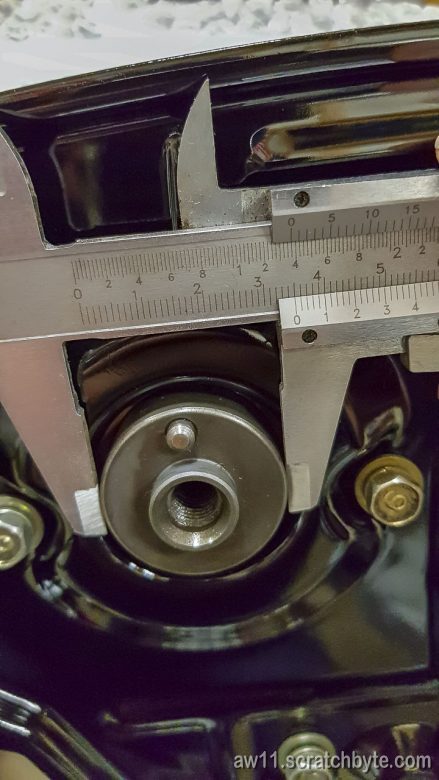
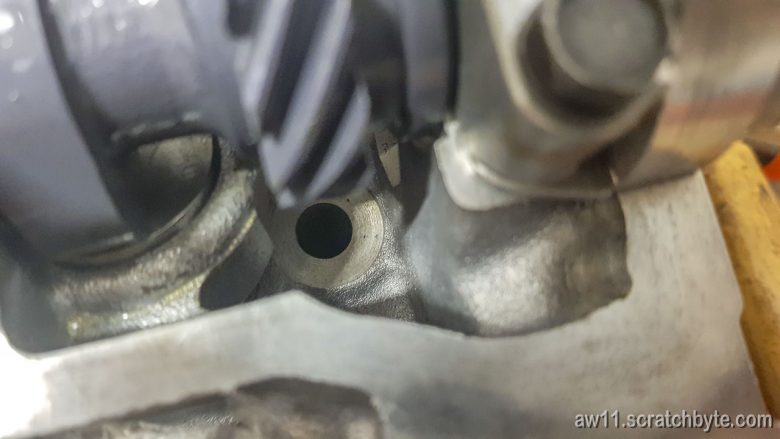
Below: crank gear timing mark and a dimple on the oil pump
While the crank key points upwards, the first cylinder is at TDC and the small mark next to the second teeth should line up with the oil pump dimple.
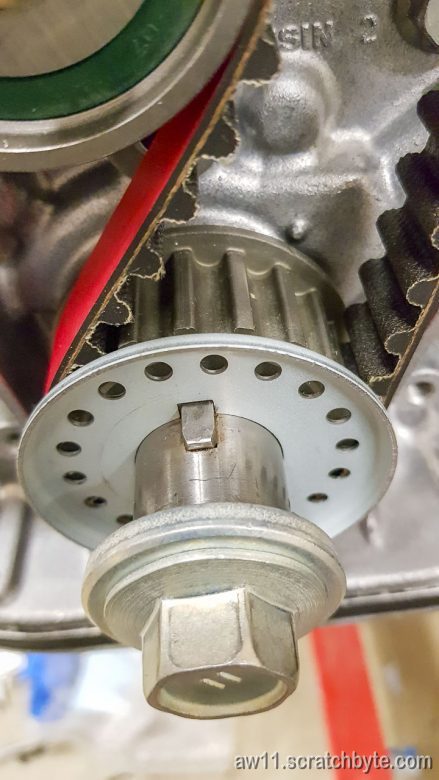
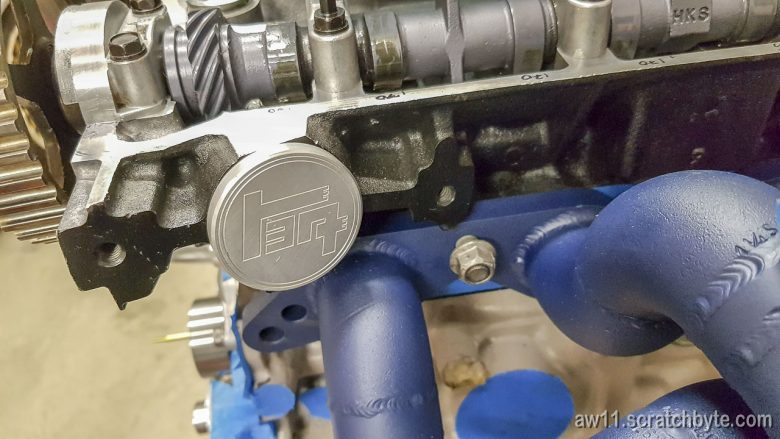
Installed a plug into distributor hole – it has the classic Toyota logo on it (トヨタ)
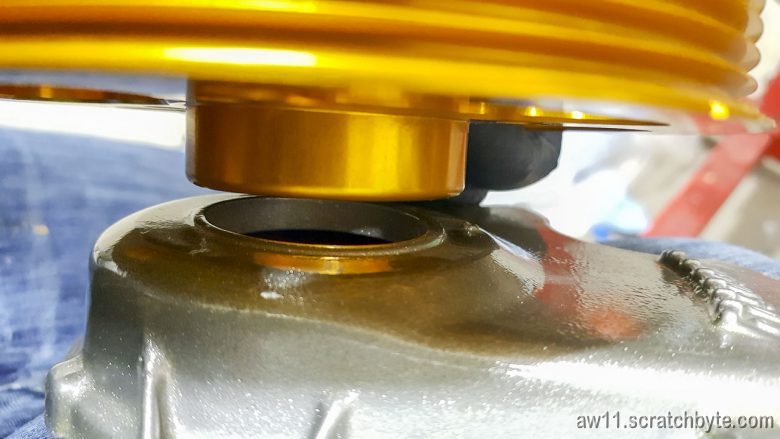
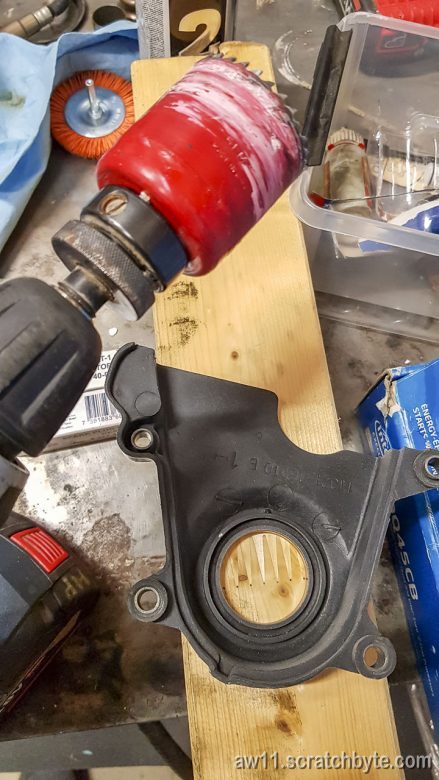
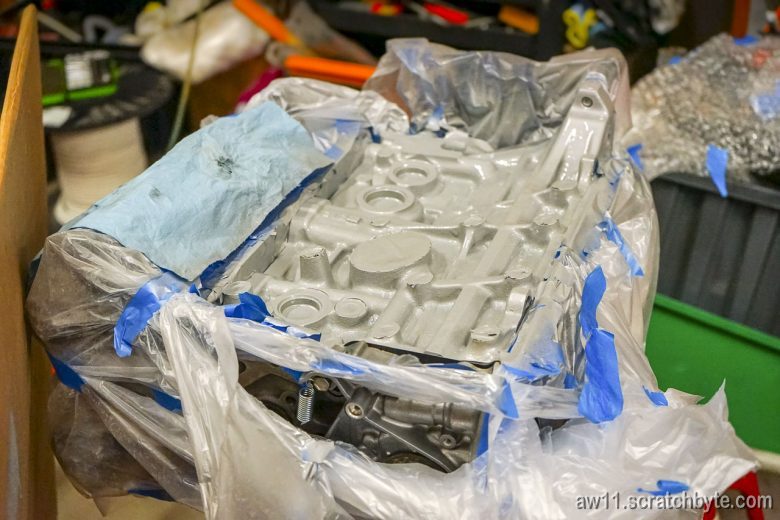
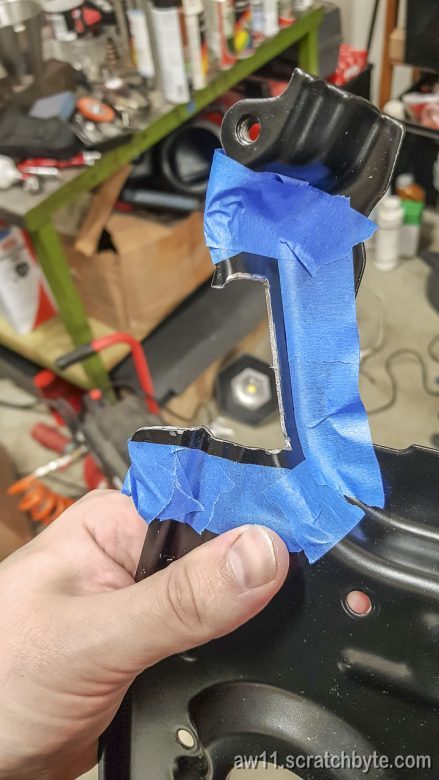
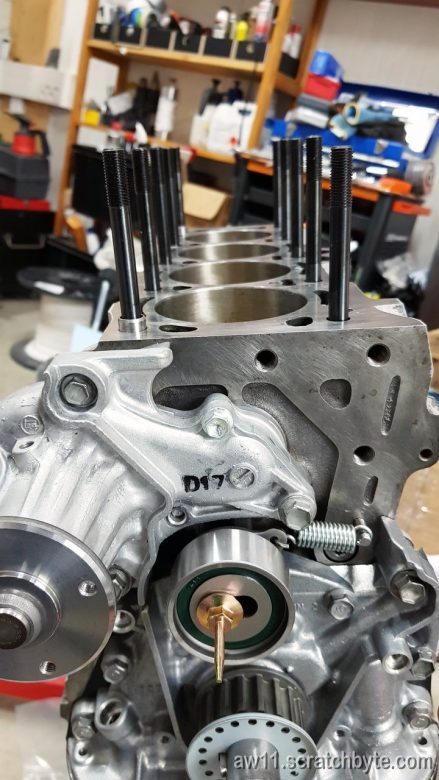
Noticed that I needed to cut a small bit off the back plate if I wanted to use MRP tensioner. Cut is done and prepared for painting.
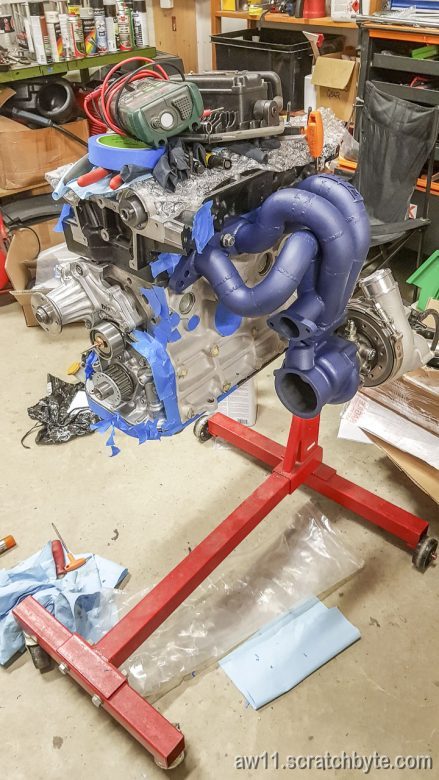
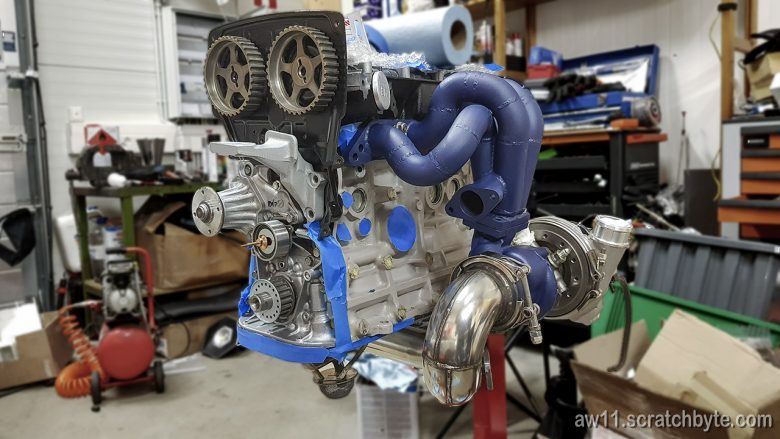
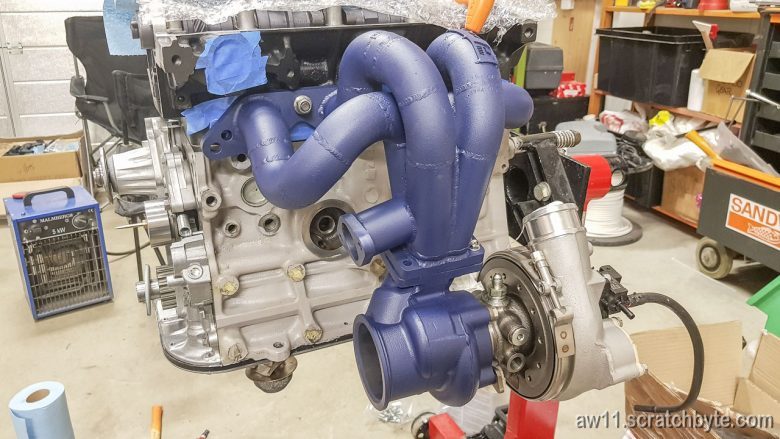
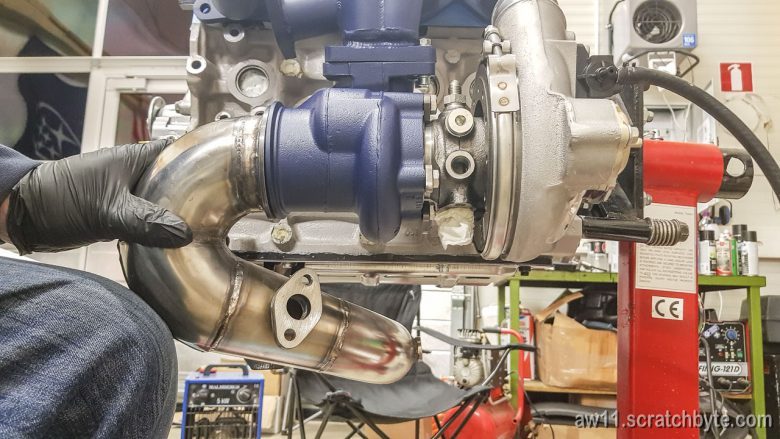
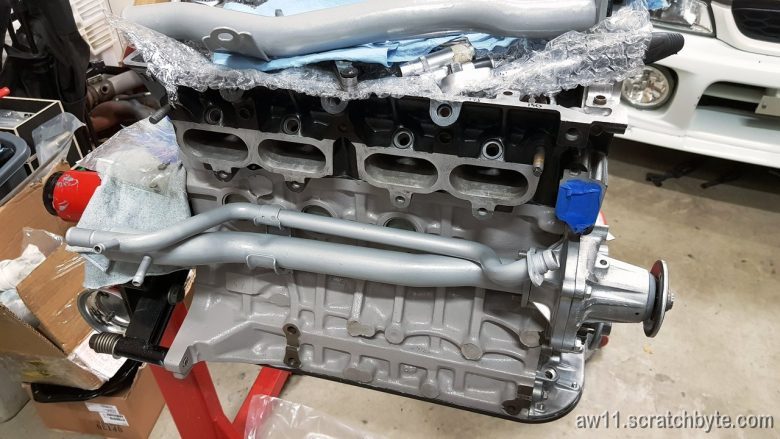
Found the v-band along with some other turbo parts. The block still needs one coat of epoxy paint to get it fully chemical resistant – thats why there is so much of painters blue tape.
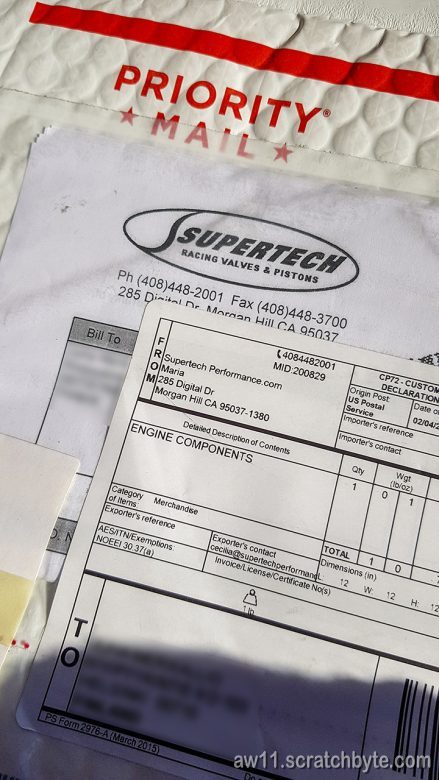
Huge thanks to Mr. Tagliavini from Supertech! My local dealers didnt have the rare shims in stock, so I turned to Supertech itself. After explaining the situation, Mr. Tagliavini sent me the ones without a charge!
The missing shims was purely my mistake, so this was very generous from Supertech!
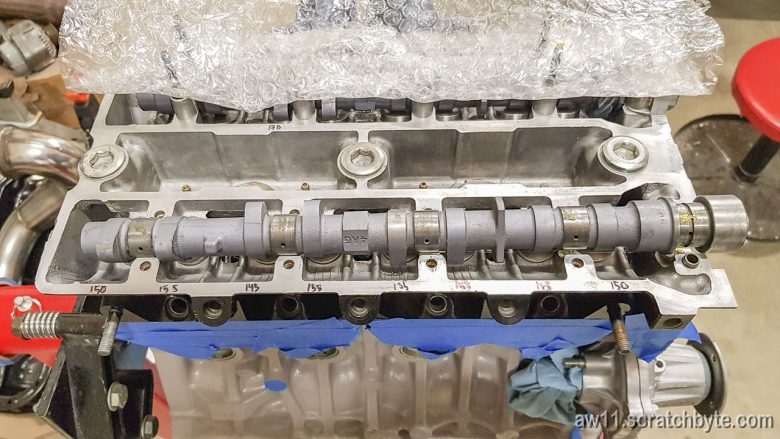
And, after measuring the gaps once more, the camshaft was ready to be installed. 🙂
Relocating the alternator to the intake side means that I need a different kind of coolant neck for cylinder head which in turn means I have to use a different kind of bypass pipe. Luckily, I have a bunch of them to choose from.
One camshaft installed with proper lifter gaps. There is some sealant under the first camshaft cap – this for some reason has been echoed around the forums that “dont forget to put some sealant under the first cap”
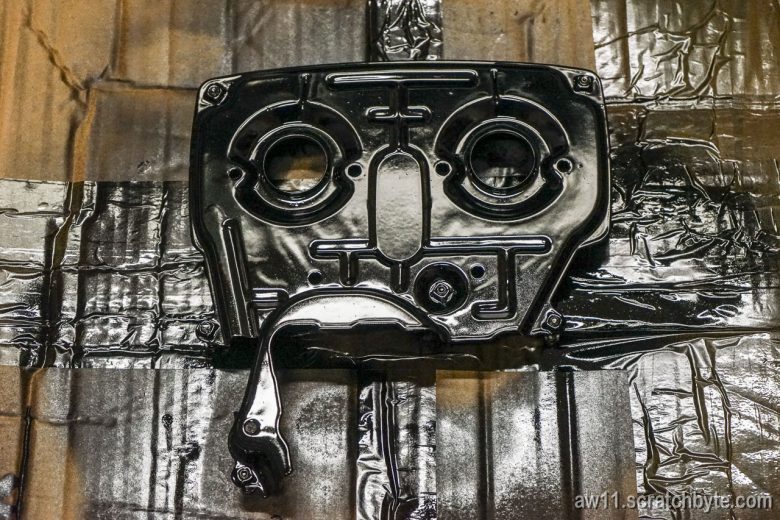
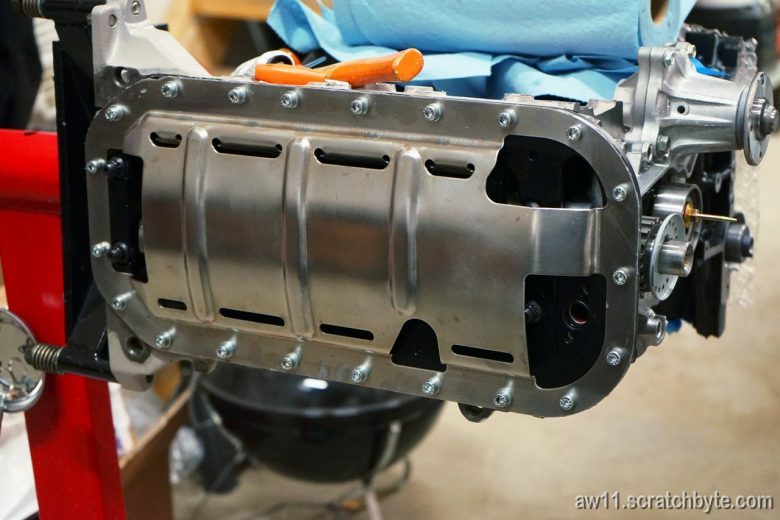
Baffle plate installed – bolts to hold it down while it dries
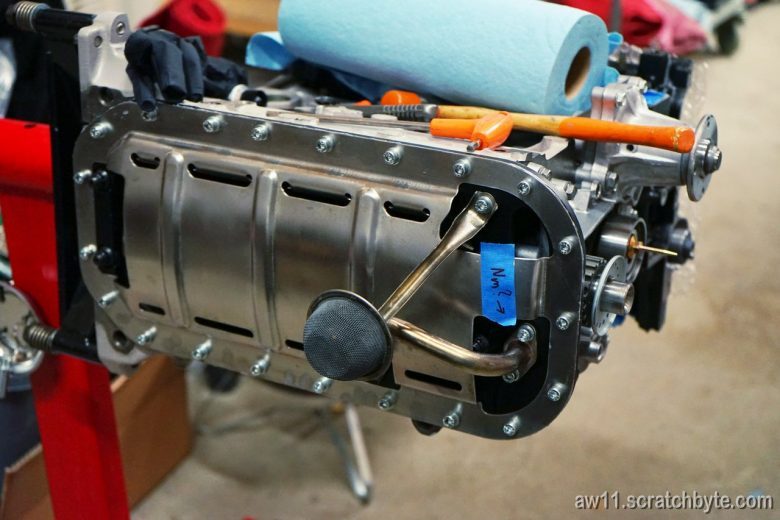
Didnt feel like going upstairs to turn on the computer and check the tightening torque for the oil neck bolts so I left a note for myself for the next time.
Edit 18.2.2019 – the torque for oil strainer (or neck or whatever it is called) is 9.3Nm. I’ll use 10Nm because thats the lowest my good tool will go 😀
The powder coating I had on the valve covers didnt work out. I was trying to paint the letters on the covers with different colors, but it ended up badly. Solvents in the paints reacted with the powdercoat and result was bad.
I think these wouldnt look that bad when polished…
(Cylinder head install while waiting for missing lifter shims)
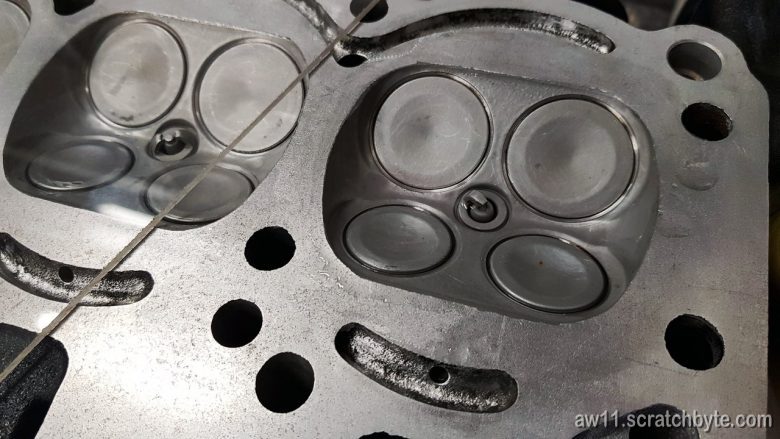
Quick head volume check. I used a small syringe to check how much fluid I could insert under the plexiglass. This time I used windscreen washer fluid for reduced surface tension and better results.
Mine seems to be slightly over 37cc’s, let’s say it is 37.5cc
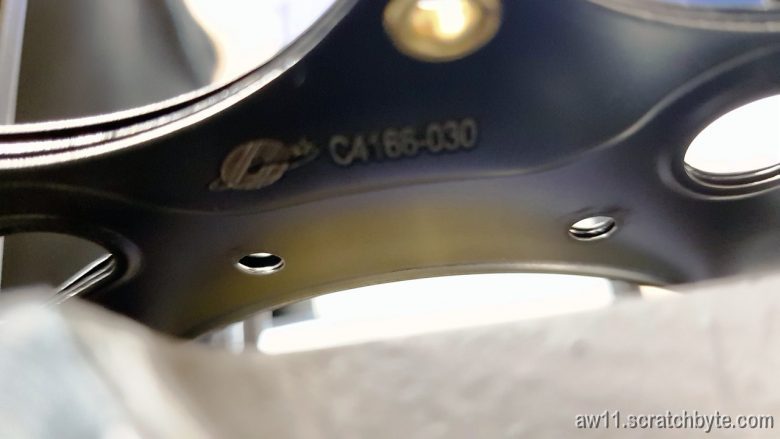
Install head gasket, a Cometic 4166-030:
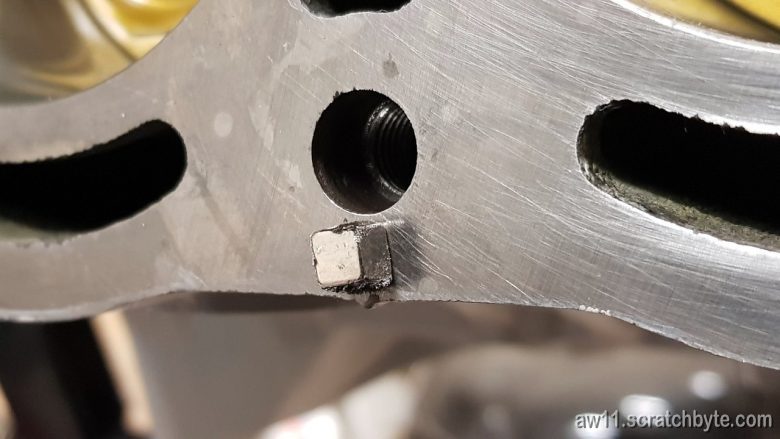
No, first chase head bolt threads. Slight surprise here, I thought the threads were clean. Full of crud and whatnot.
All the bolt holes ended up having a mixture of cutting compound and metal particles at the bottom, so I improvised a little. I tilted the engine on the cradle and stuck a neodymium magnet and sprayed the bolt holes with brake cleaner. Out came the grease and the metal particles.
This way I was able to make sure the metal particles didnt end up somewhere where they shouldnt be.
Metal particles stuck to magnet.
To make sure there weren’t any more metal around, I wrapped a magnet into paper towel that was wet with brake cleaner and wiped everything couple of times.
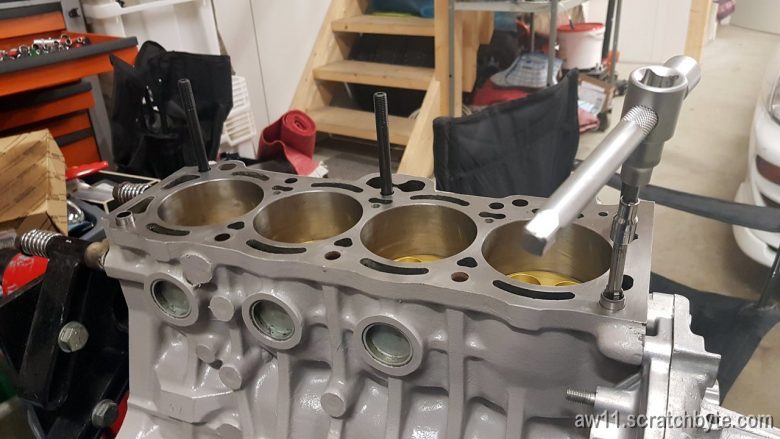
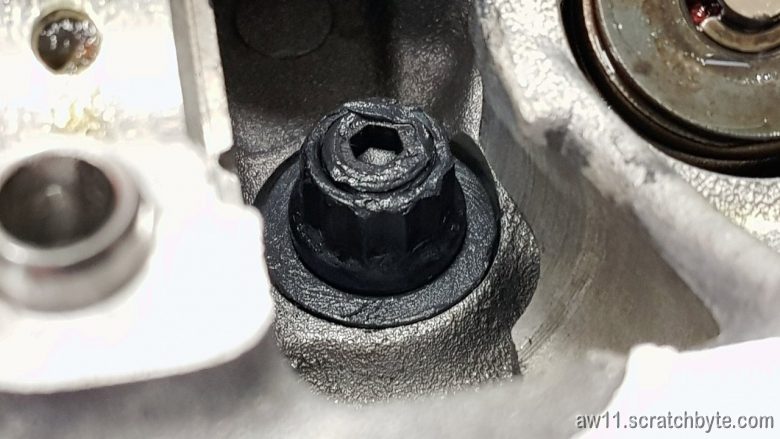
Studs inserted without much force (finger tight). Notice the first one on the right that is slightly shorter. That ends up under the distributor gear. While installing the nut on that one, it felt like the stud was way too short and it would be impossible to install cylinder head safely.
Precision job from ARP – the stud was long enough 😀
Fitting a head gasket – looks like the layers are separating and Im making a mess
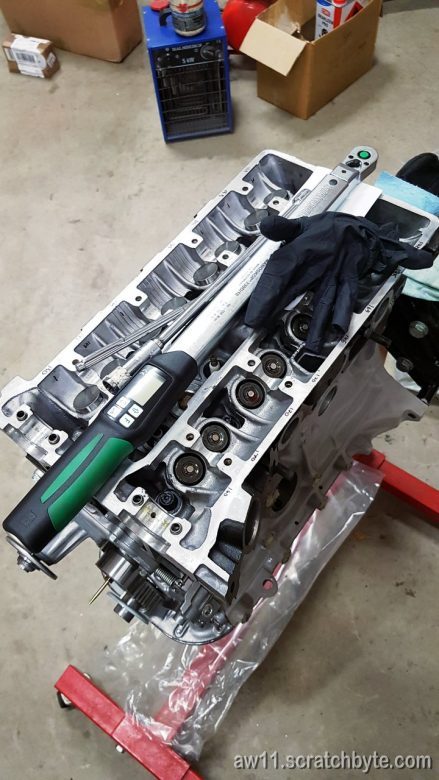
Below torquing the nuts to 80Nm with plenty of ARP thread stuff.
Torquing felt scary. I had a awful awful feeling that something would go bang and I would end up with broken cylinder block and cylinder head fucked up beyond all repairs. Luckily, that didnt happen. 🙂
While inspecting and cleaning the buckets, I noticed the shims were not symmetrical. Green arrow side had a bit more chamfer than red side. I pushed the shims in green arrow side first, somehow it felt better.
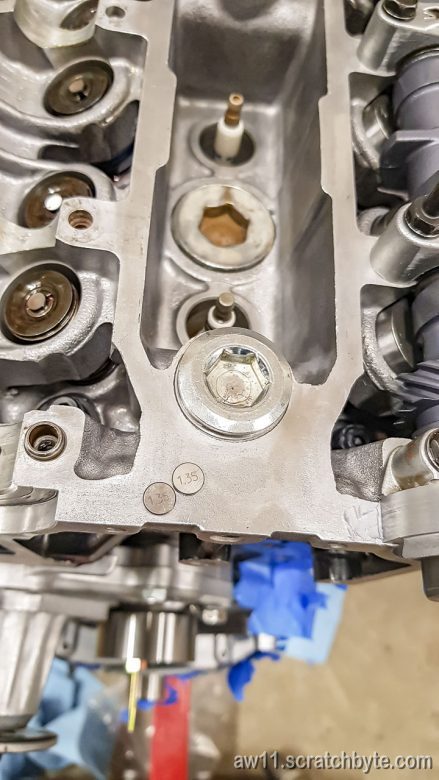
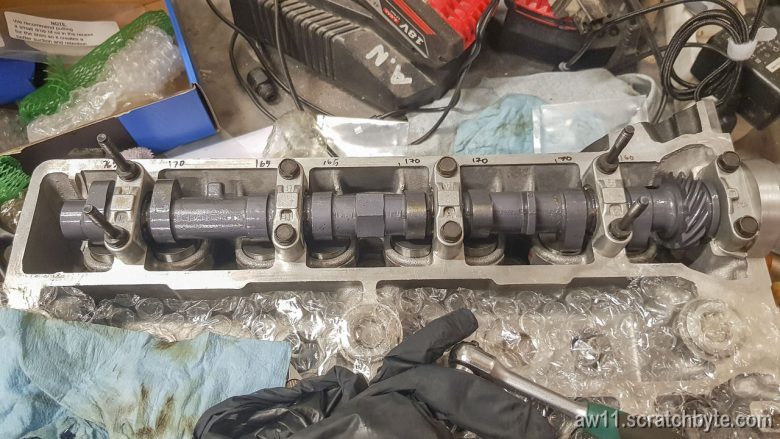
I’ve marked the shim sizes to the cylinderhead. On the intake side, fourth from the right hasnt yet been marked. I need a 0.05mm thinner shim for that one.
I did have a bit of strategy here. I ordered total of 20 shims. 16 of them were based on my results and 4 were based on the fact that I didnt trust my results.
That actually worked, I needed to swap two of the shims to get the proper gaps.
Exhaust side is ready, looking good.
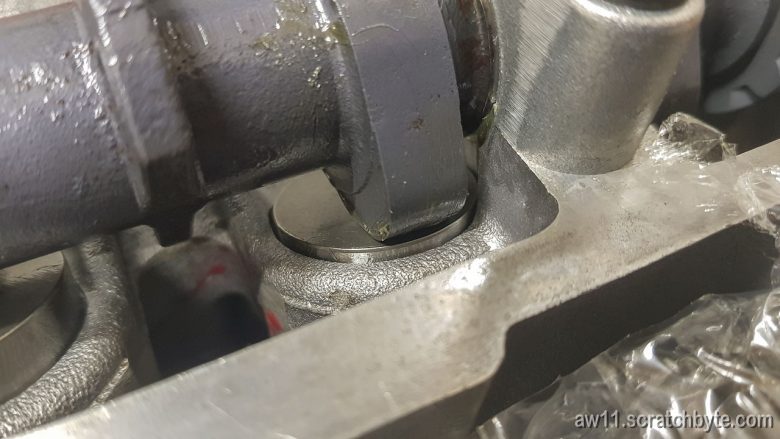
Closeup of the cam lobe pressing a bucket
Seems that I have to bolt the head to block before I put the camshafts in. Distributor gear is blocking access to the first bolt counting from timing belt side.
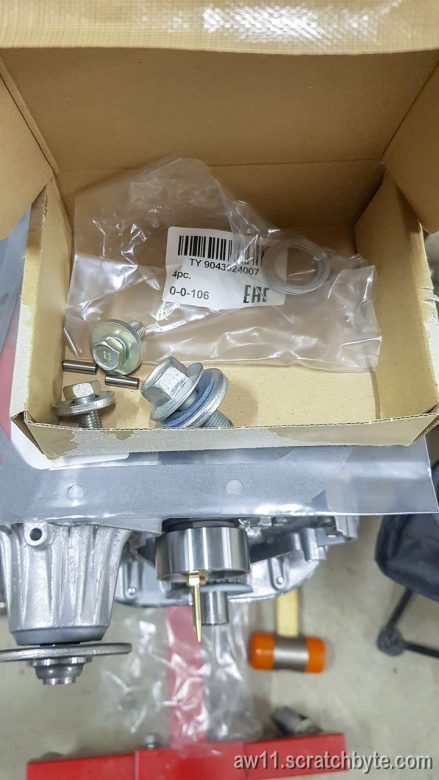
Also, two new camshaft bolts to bolt the timing belt gears, two position pins for the said gears (useless because the camshafts already had those), one crank bolt and aluminum gaskets for the cylinder head