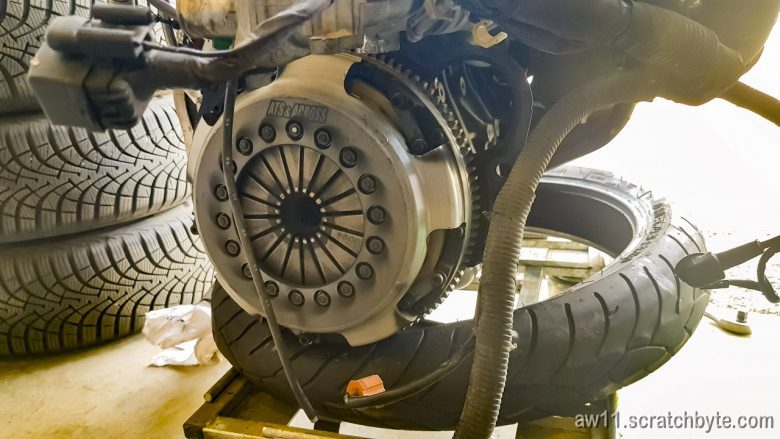
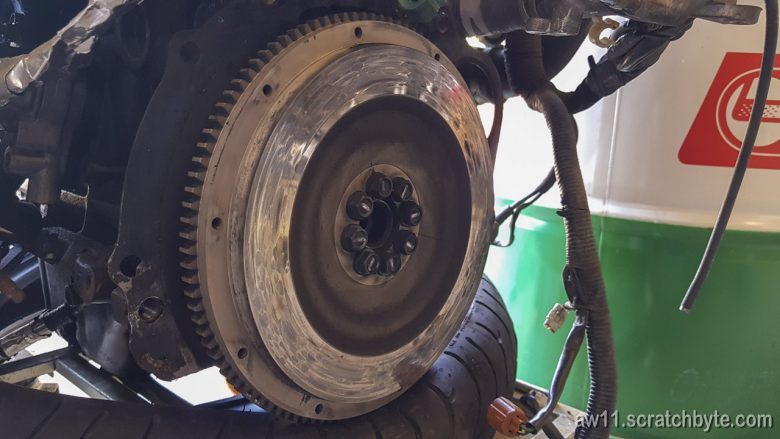
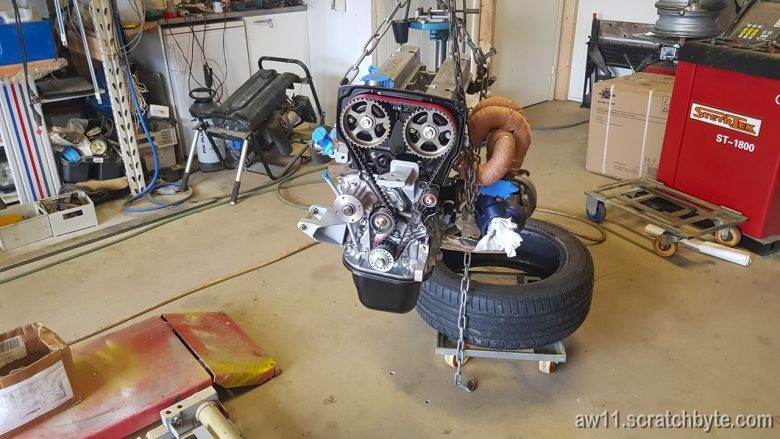
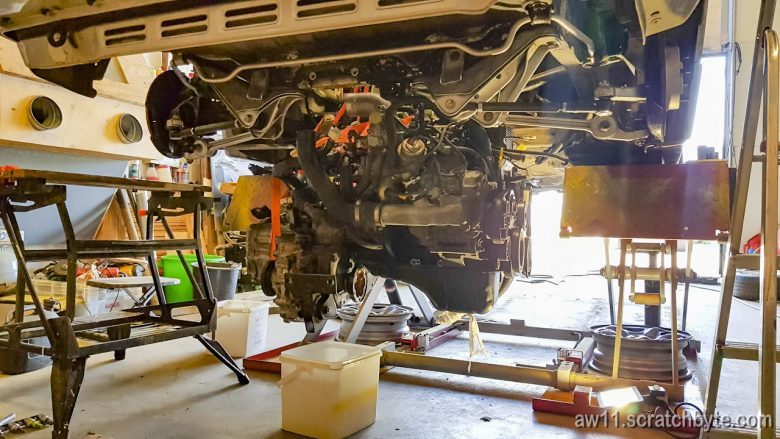
Engine hanging from our improvised engine stand – clutch is looking dusty but fine.
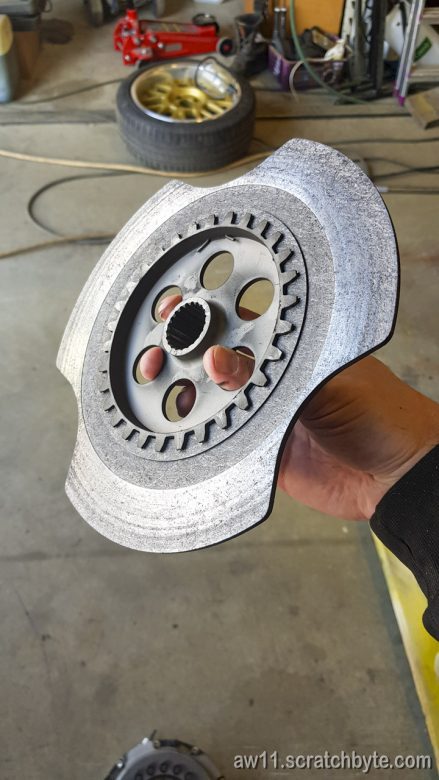
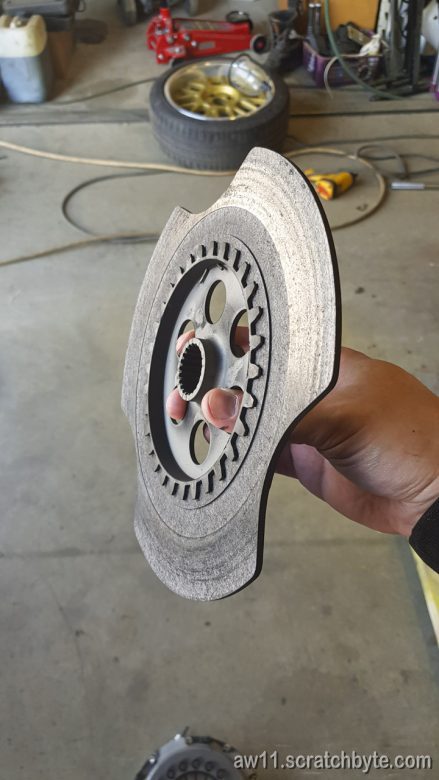
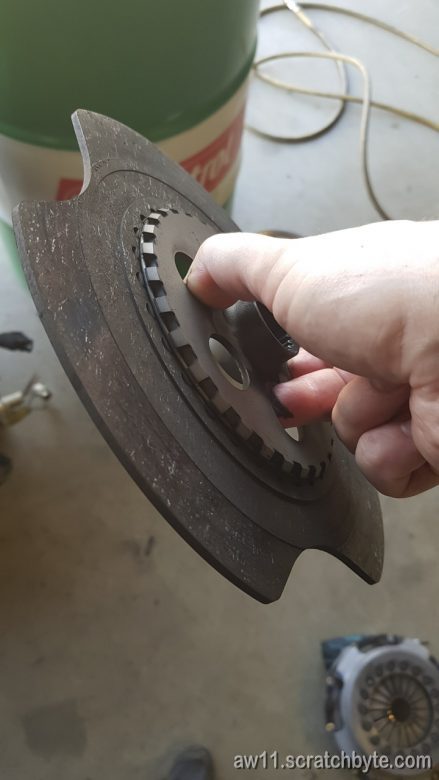
Clutch plate – completely fine.
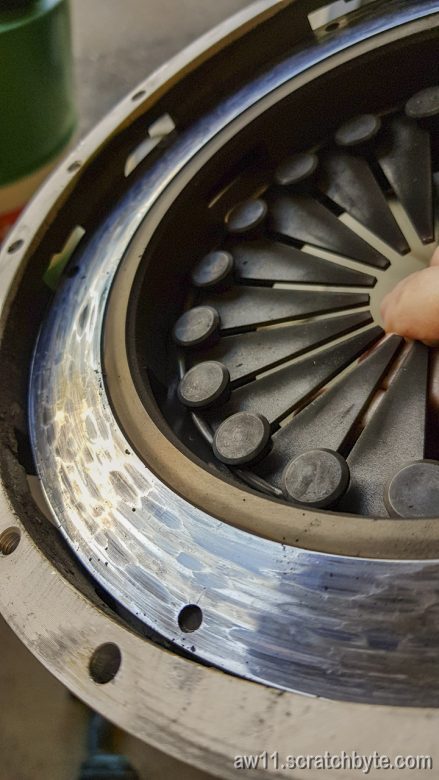
Flywheel and pressure plate are also ok
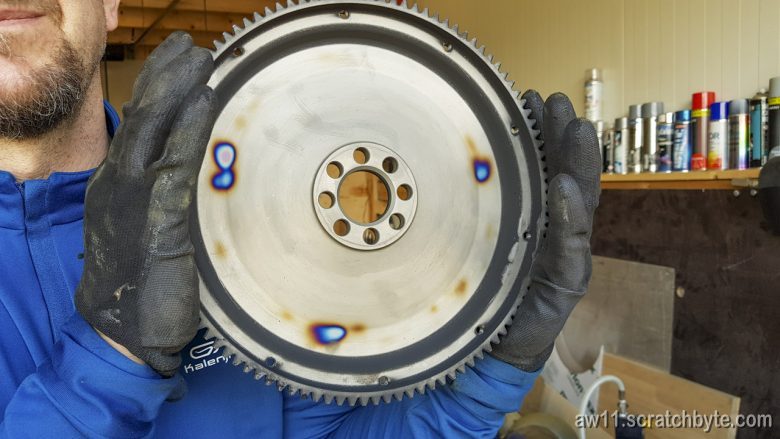
The flywheel has seem some high temps in very specific spots. No idea what could have caused this other than my driving. 🙂
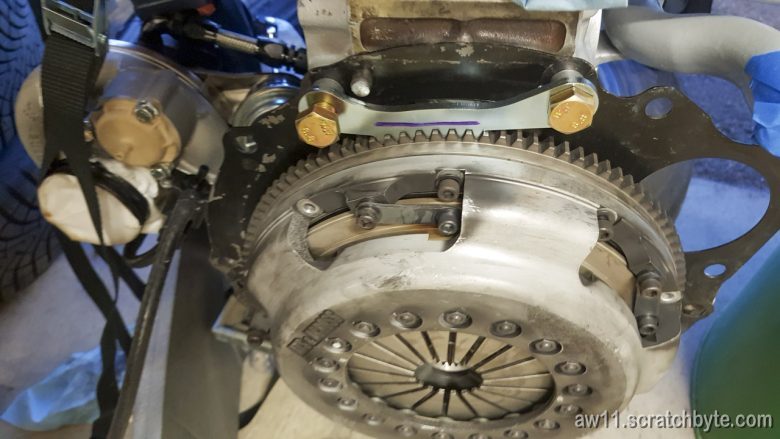
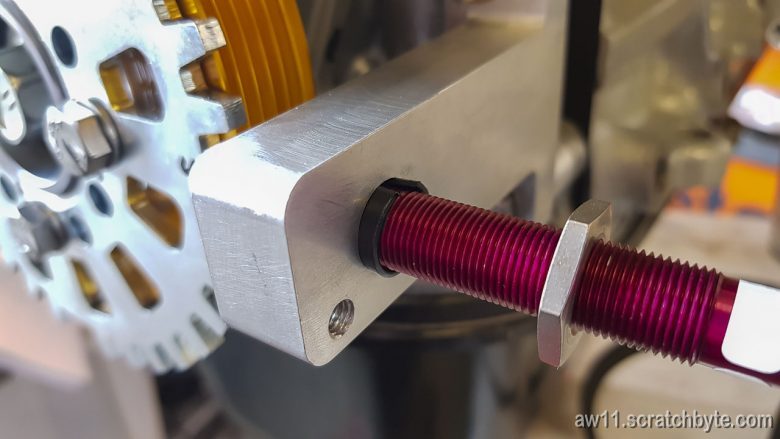
Putting things back together – here is the SQ flywheel locking tool
Day one nearing end
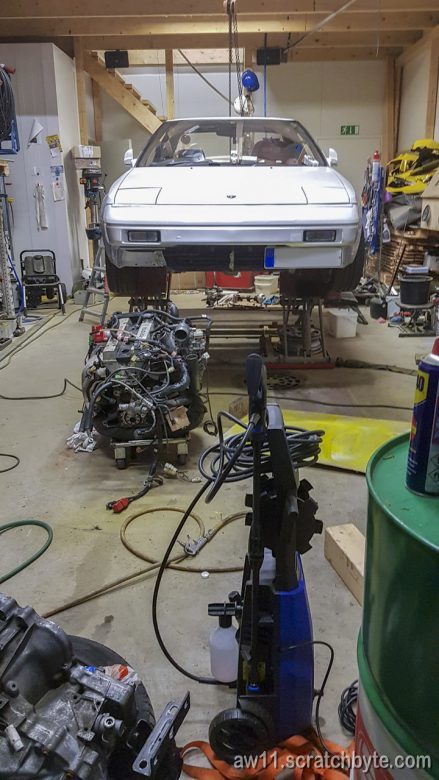
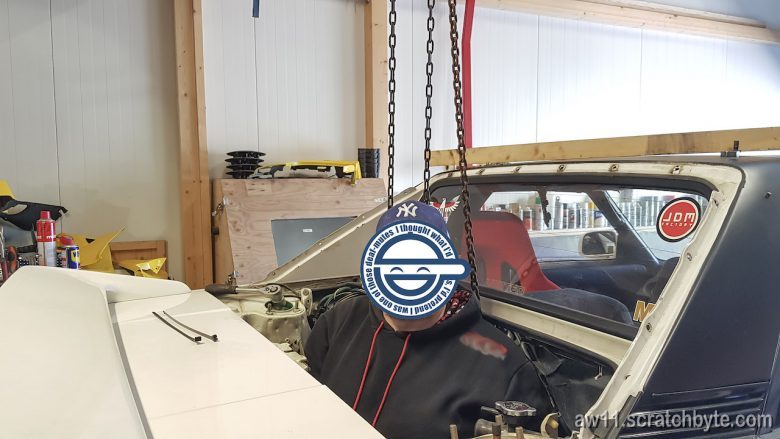
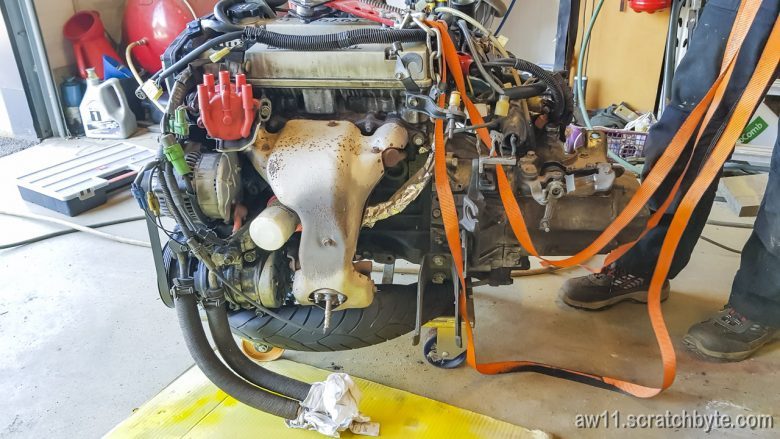
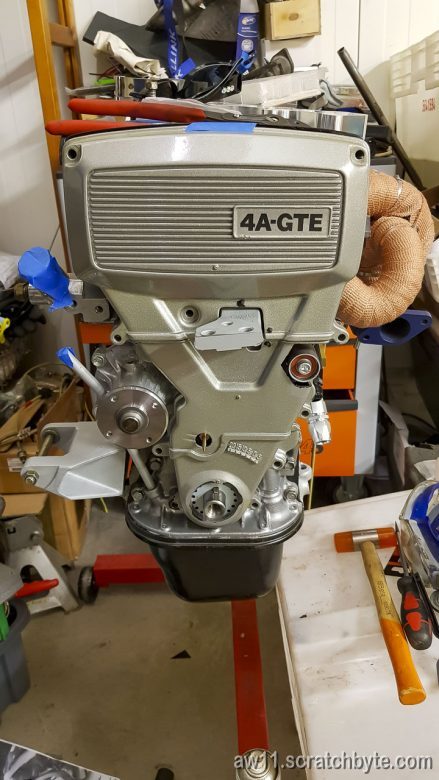
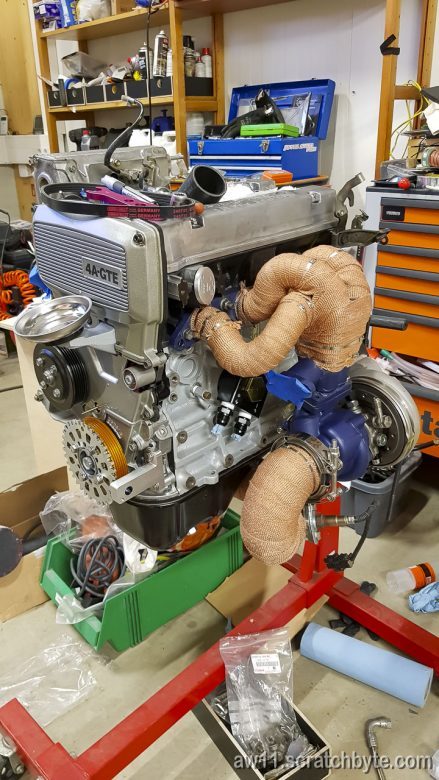
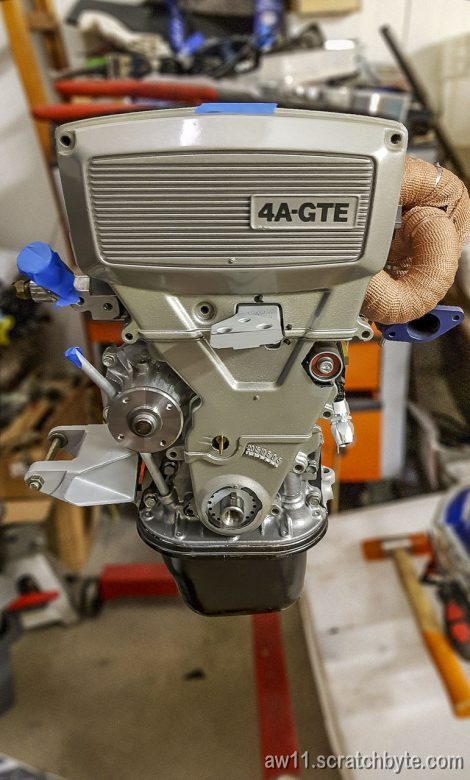
The new engine hanging from our ghetto style engine stand with gearbox already attached. From here it was just matter of lifting the engine back to engine bay.
Quick recap. I haven’t been updating the blog lately, so here goes.
Testfitted the position sensor. I have to insert some plastic in between the sensor leg and the actual sensor to get it fit snugly.
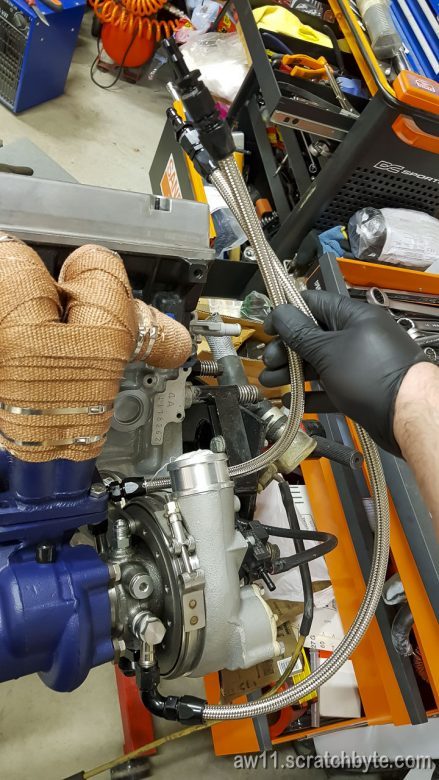
Did coolant lines for turbo
And started building the oil feed
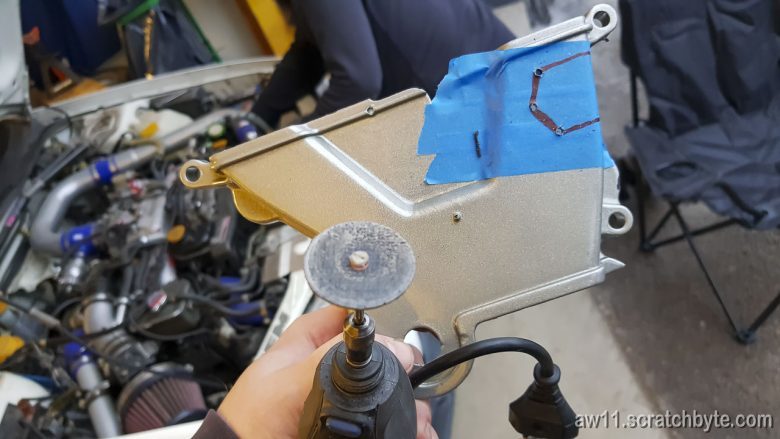
Made a hole for the cam belt tensioner
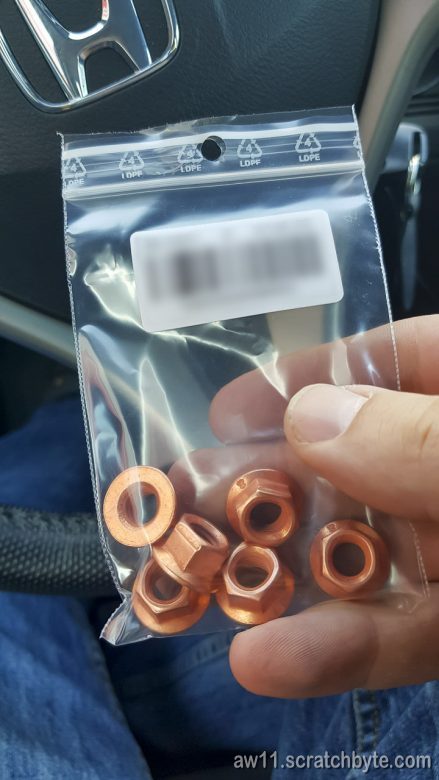
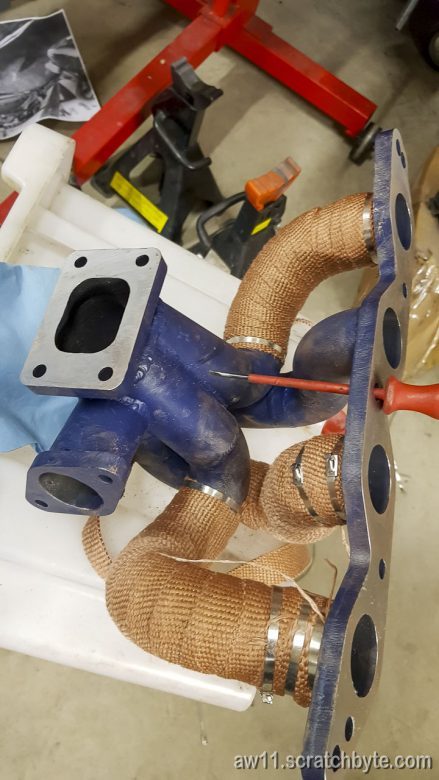
Got some copper nuts for the turbo
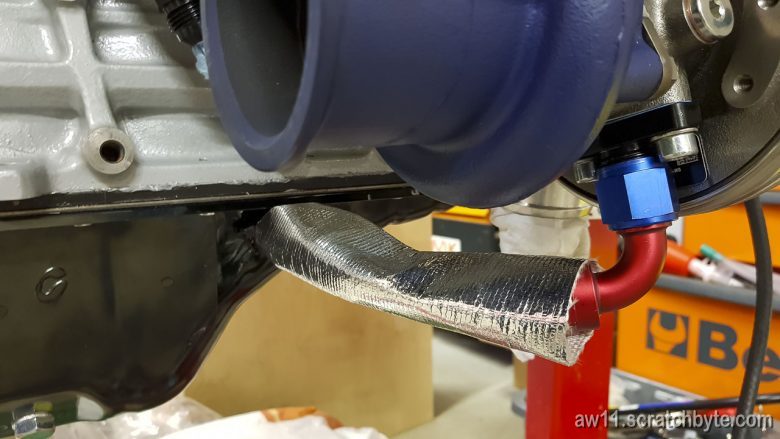
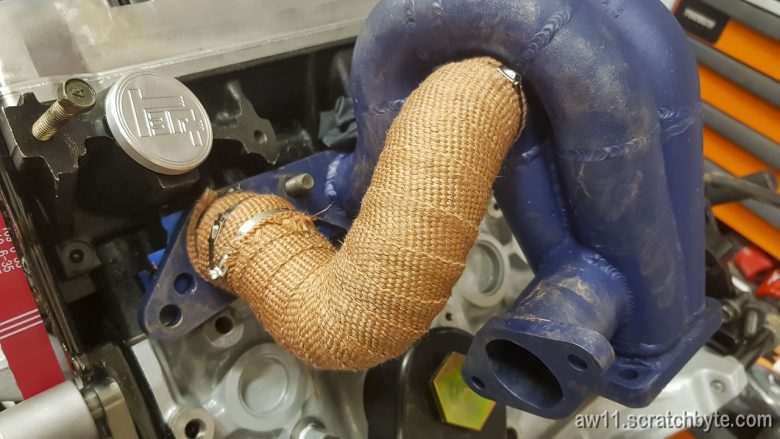
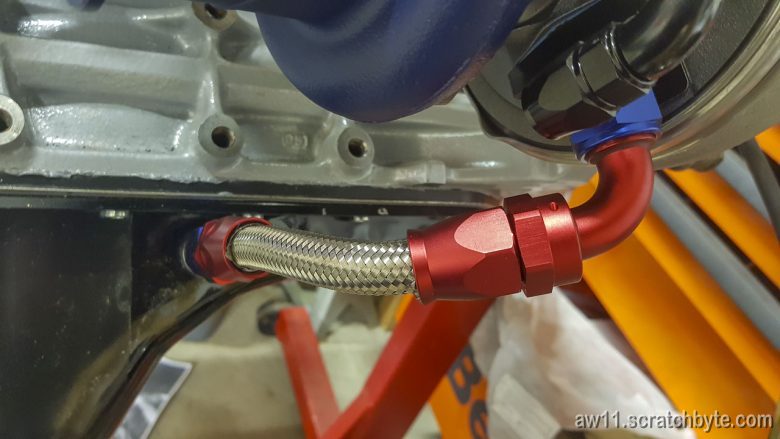
Took care of the oil return line heat shielding. This heat shield also acts as a first line defence if the fittings give in and the oil starts to leak.
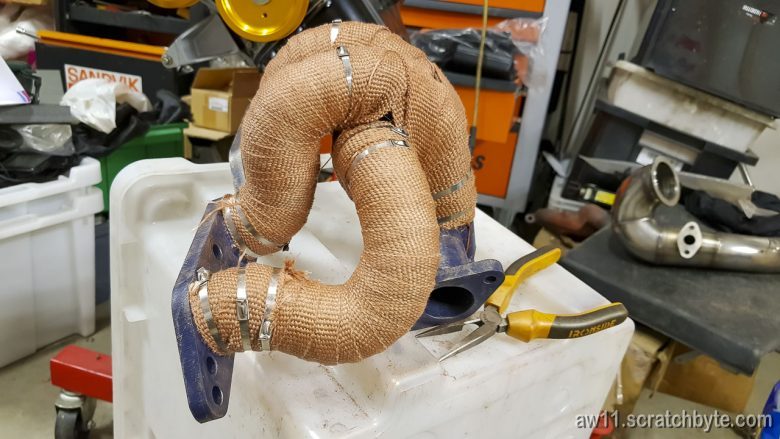
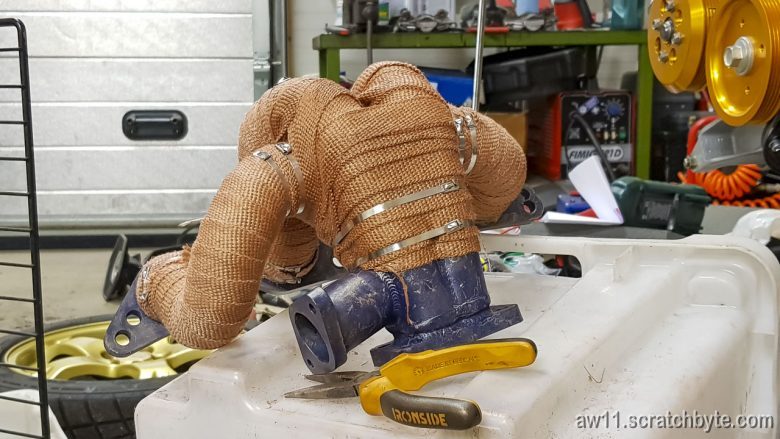
Never done this myself. Widric recommended me to get a lot of this wrapping material – which has copper somehow infused in it. He said that the copper one doesn’t itch that much afterwards.
Wrapping went pretty well, except the collector bit on the manifold which was more than tricky.
And by “properly” I mean it looks good but it is made using chinese auto dressing and fashion parts. 😉
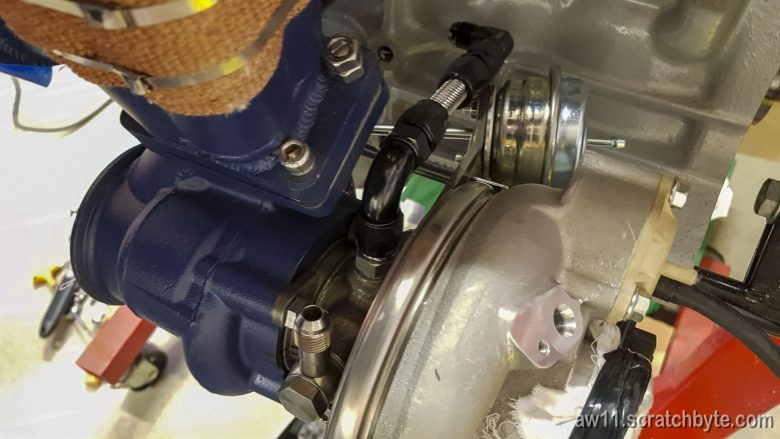
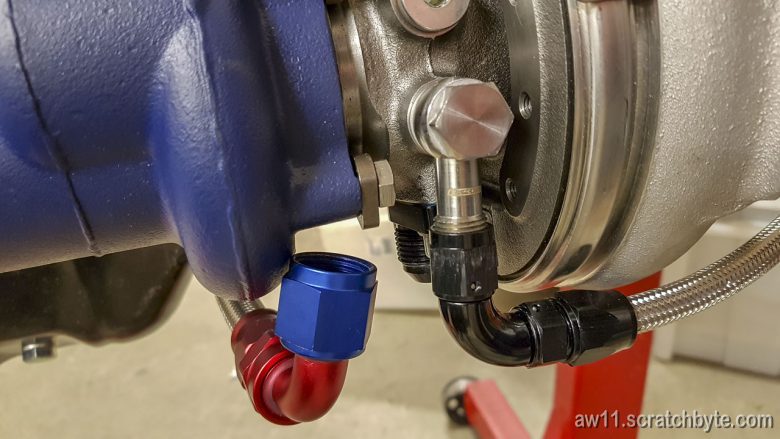
Here is the small bit of hose needed:
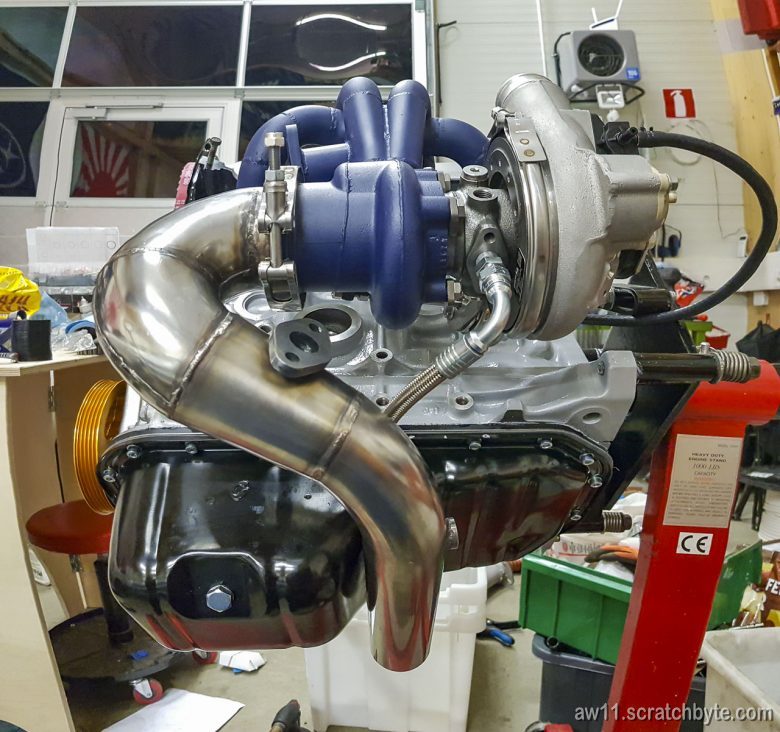
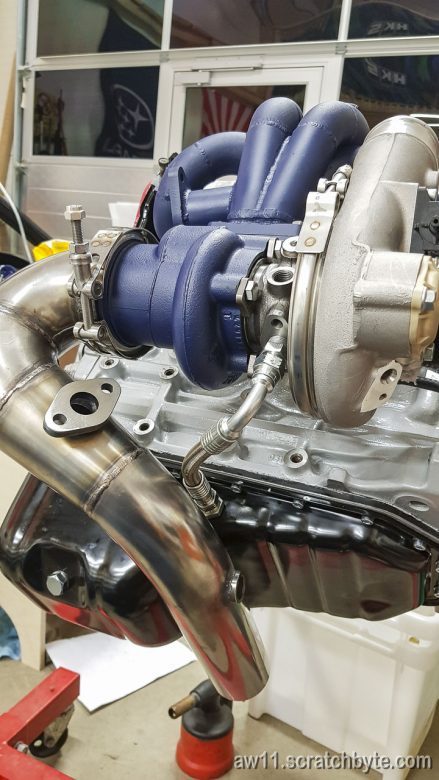
It seems to be bit too long. Also you can see the turbo coolant lines made using Aeroflow AN fittings
Definetly too long. The hose is twisted and it pushes the turbo to a weird angle. I later redid the return line, shortened it about 15mm.
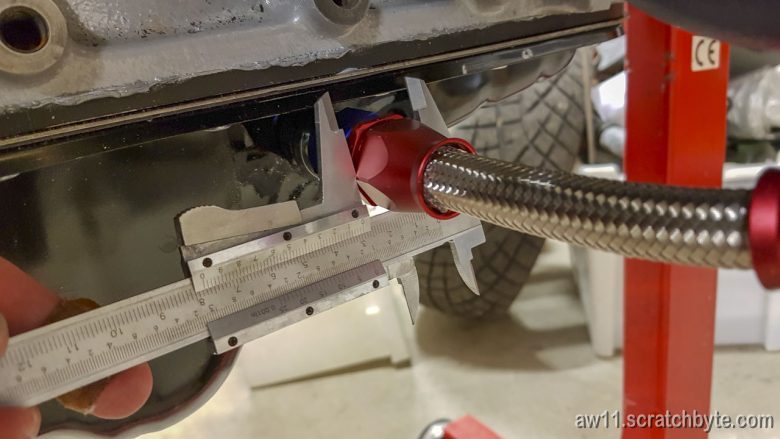
Just measuring what size insulation hose I need for the return line.
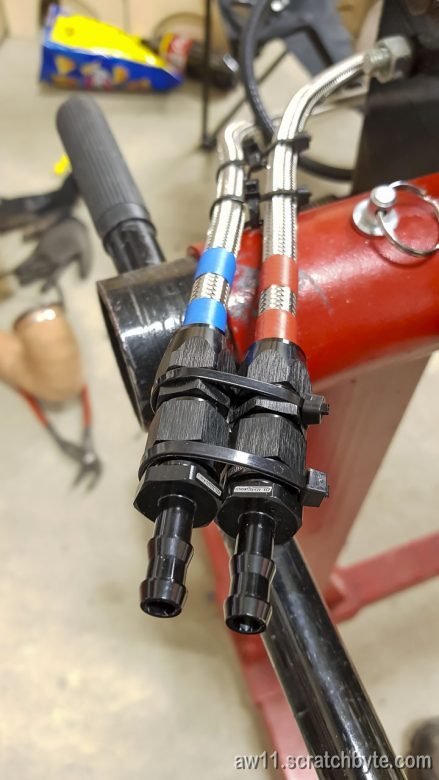
Some things I found with the chinese fittings:
The hose ends didn’t have uniform anodizing as both had different colors, though it doesn’t show that well in the photos.
While tightening the nut, the threads felt unfinished and jagged which made me feel uneasy to tighten them. When I later redid the hose, I had to slightly file the threads to fix them.
Lastly, the braid on top of the hose was wowen in some kind of medieval pattern. It just didn’t want to keep its shape and tried constantly escape the nut. This was just miserable.
Covers are on, hole for the tensioner is made, I’ve wrapped the exhaust side with copper insulator (more about that later) and found about one trillion of small details that need to be addressed before swapping engines.
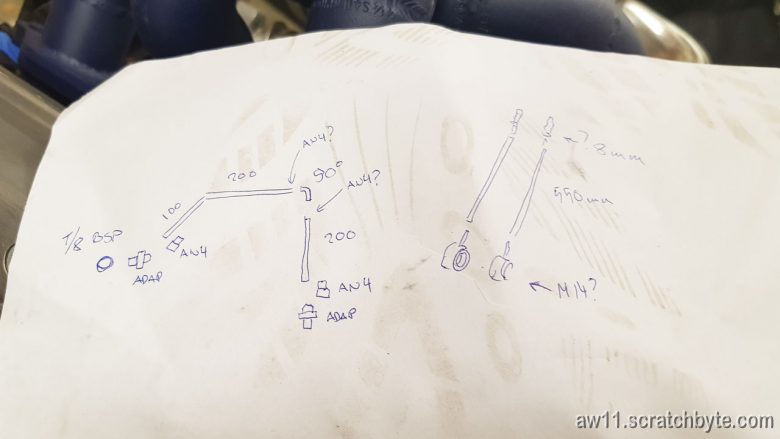
My first draft for the turbo oil and coolant lines. I did the drawings first and then, it seems, that I walked over my own plans. Shoeprint doesnt lie. 🙂
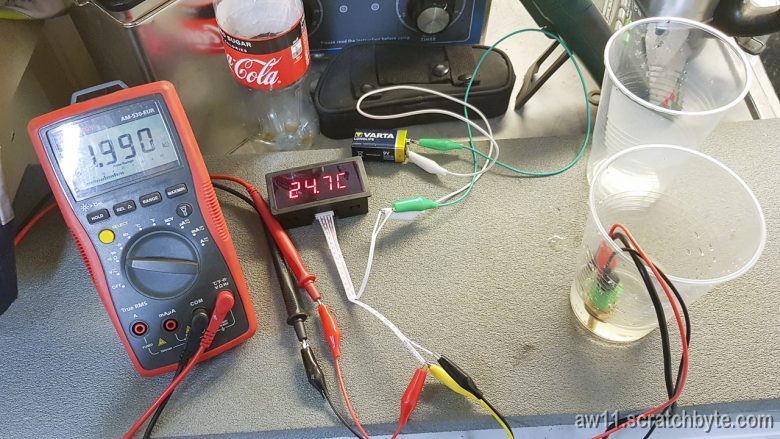
Got a cheap thermometer, one of those DS18B20 thingys to calibrate both coolant and air temperature sensors. The coolant sensor went pretty well, but the air temp sensor is still work in progress.
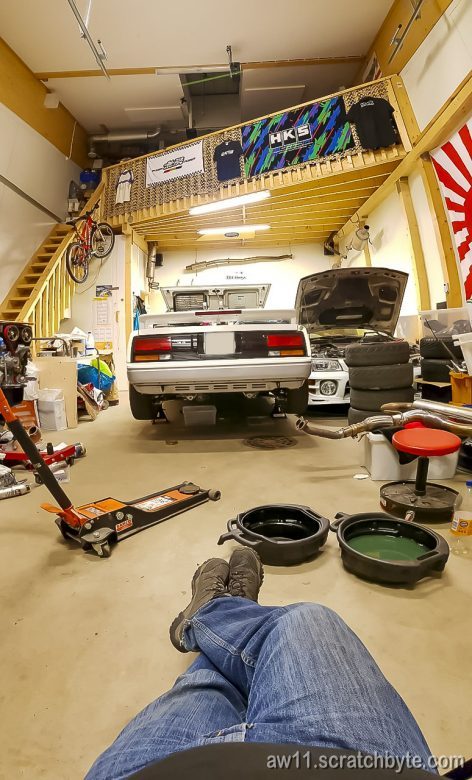
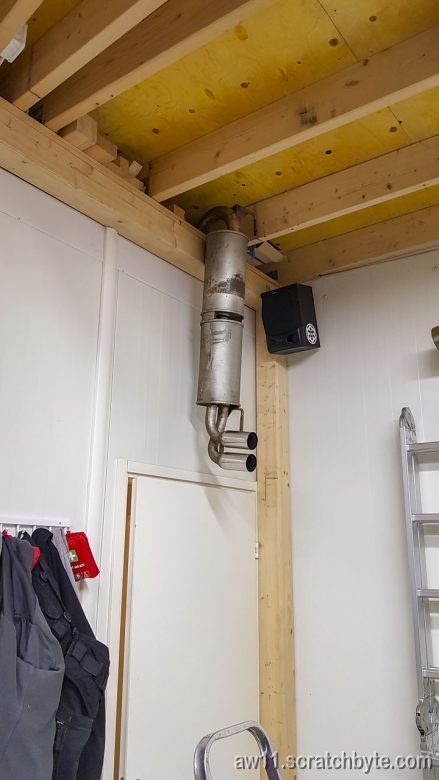
This is the famous exhaust of Damocles that looms over the heads of those who visit the toilet.
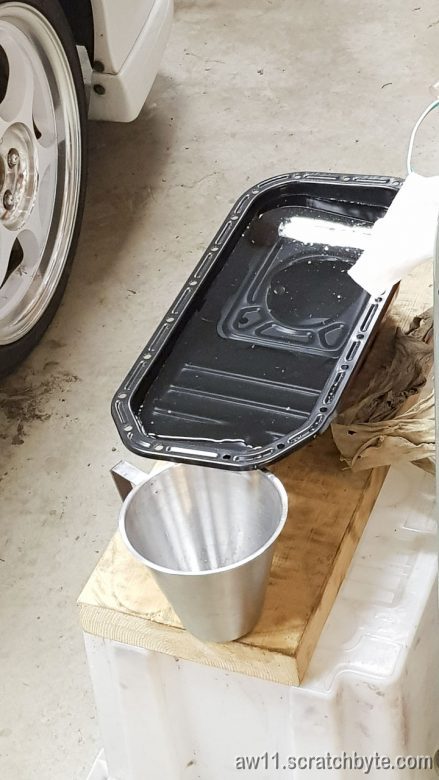
This is four liters of fluid in oil pan. I had to test it.
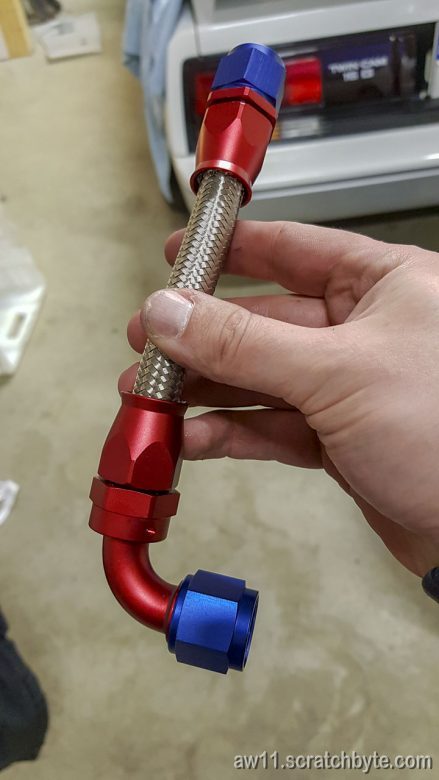
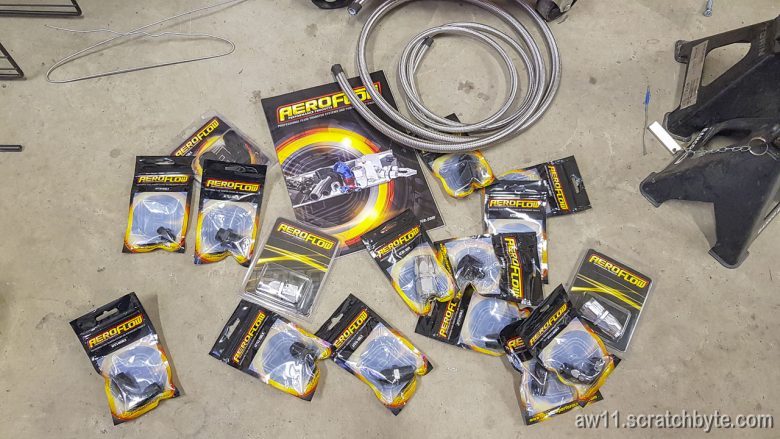
Got some Aeroflow fittings to properly make all the needed oil and fuel lines.
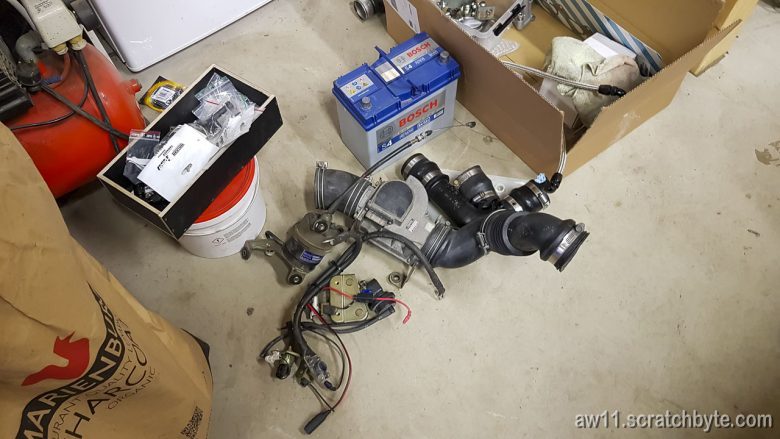
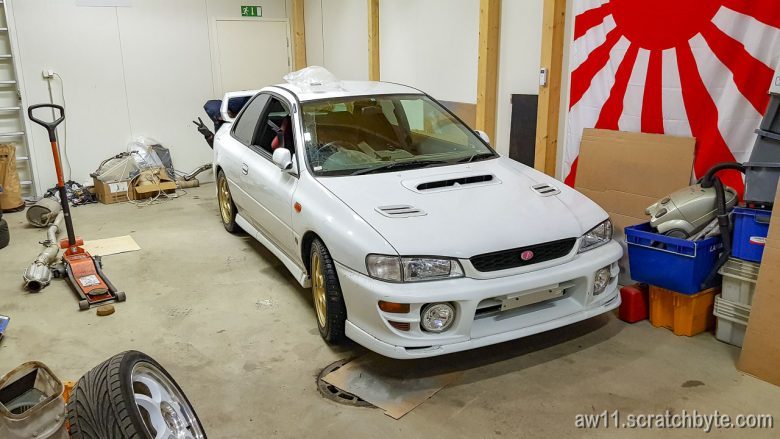
Short story what happened in Widrics’ world – mainly the adventures of his Type R.
Widric bought a less restrictive downpipe, we swapped it and a HKS super something exhaust, managed to fix boost leaks, swapped a bigger intercooler, changed oil and oil filter, fixed the front CV joint boot and changed tires.
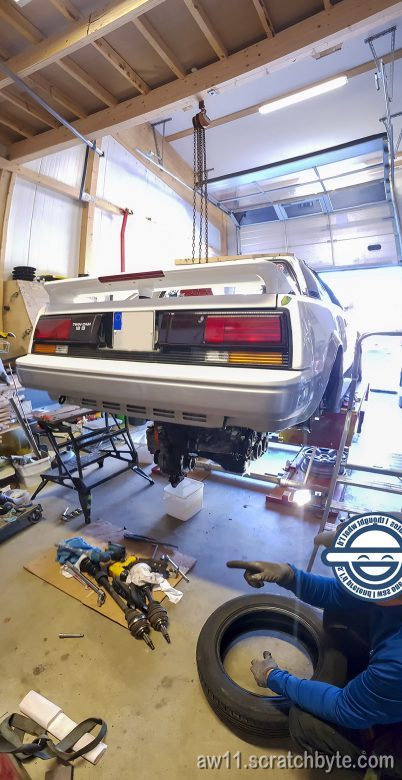
Then we went for a spin, came back pretty quickly because we forgot to tighten the wheels and went again.
We slid around the building few times and the car felt strong, really strong. Then, suddenly, Widric said that the gearbox was gone, he couldnt change the gears anymore.
We rolled in front of our door and I smelled that trademark murky hot smell of clutch and when we stopped, a cloud of smoke came from under the hood.
We havent yet diagnosed what went wrong, but I guess the clutch and flywheel got fused together. Im pretty sure that we havent made a single successful trip to anywhere with that car.
Still, Widric is in good mood. Ive had to remind him twice to look for a new clutch instead of bigger turbo 😀
Ah, I made a mistake. BW turbo manual states that the oil return line should be AN8 or bigger. No worries, I decided to go for AN10 and solid pipe.
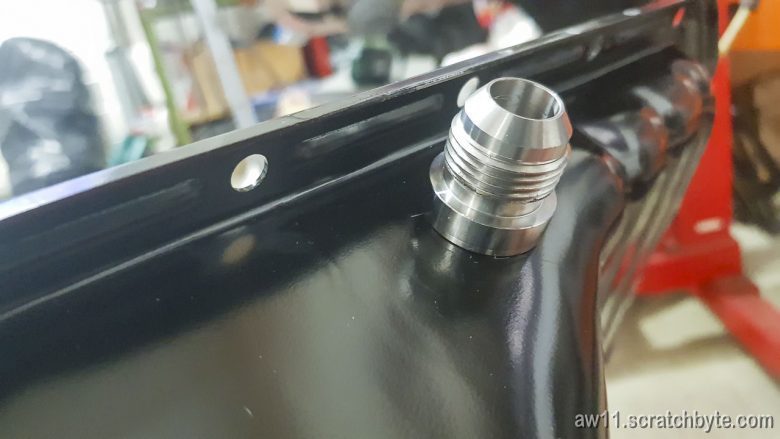
The oil pan fitting waiting to be welded.
The return line going over the downpipe isnt that big problem. The teflon line is rated for +260°C fluid and I was already planning a heat shield between the two.
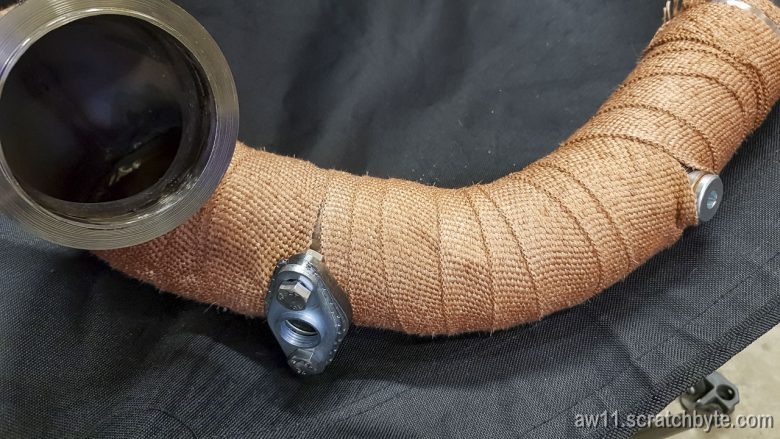
Also, I found out that the exhaust manifold had warped its turbo flange. I guess it happened when the flange was slightly adjusted to better position the turbo, but that should be fixed pretty soon.
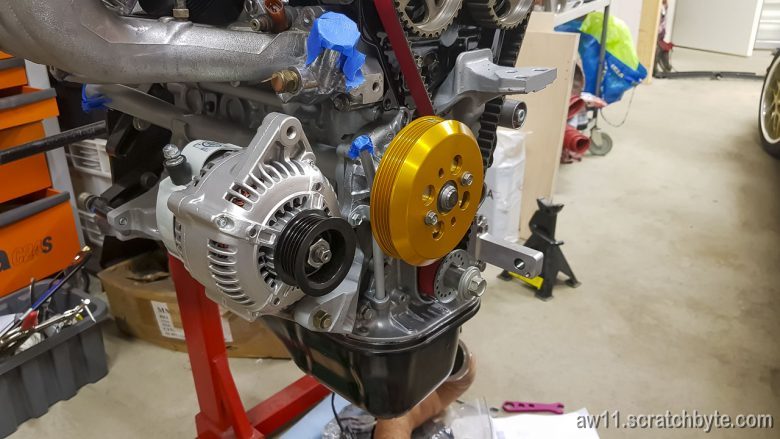
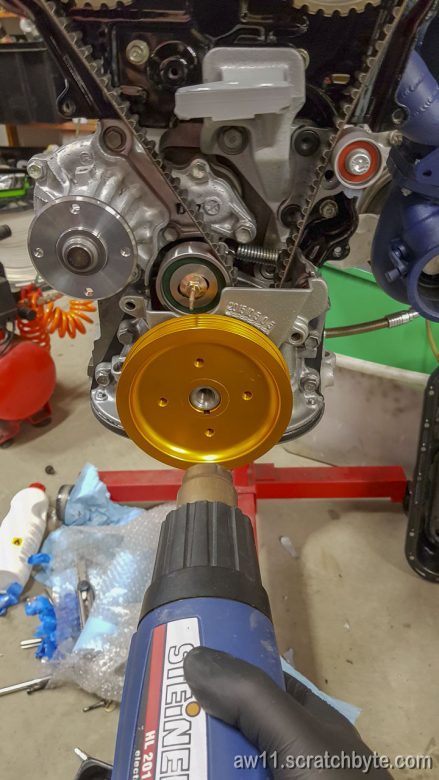
One thing I love with all aluminium pulleys is when they’re heated, they expand so much that they cant get stuck.
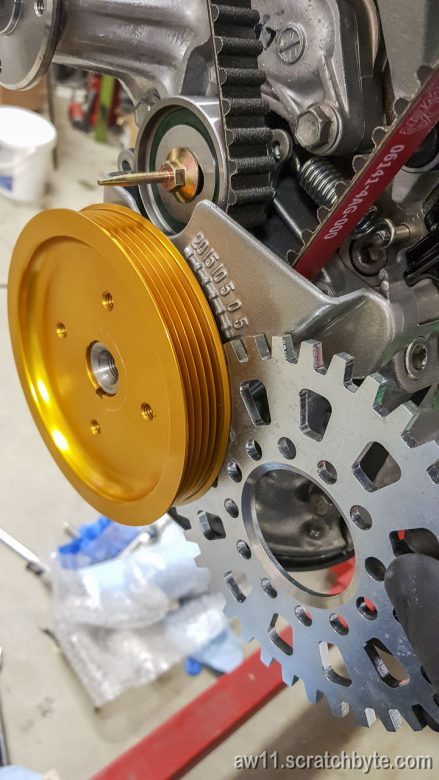
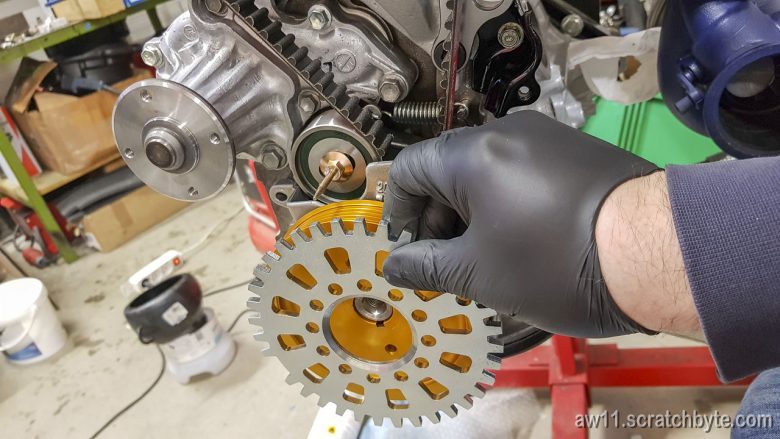
I wanted to have the trigger wheel behind the crank pulley, but 4A-GZE covers dont allow this. This was mentioned on the T3 web page, but I had my fingers crossed that this would work.
Trigger wheel is going to be in front of the pulley then
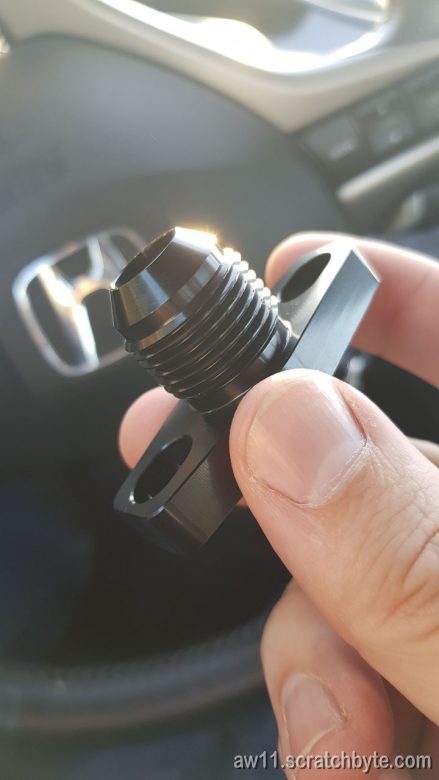
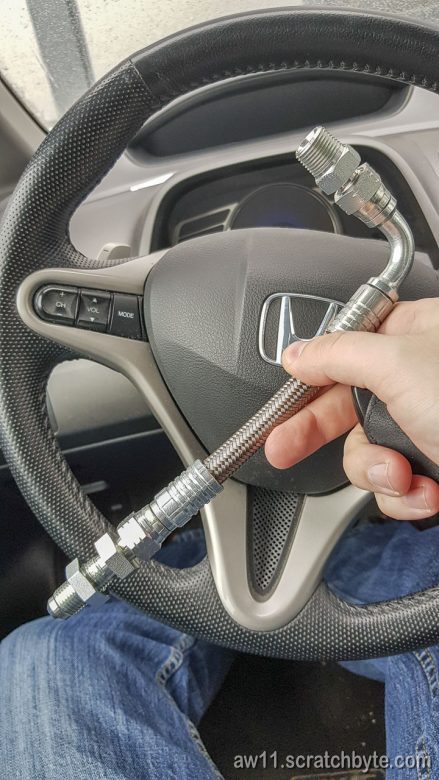
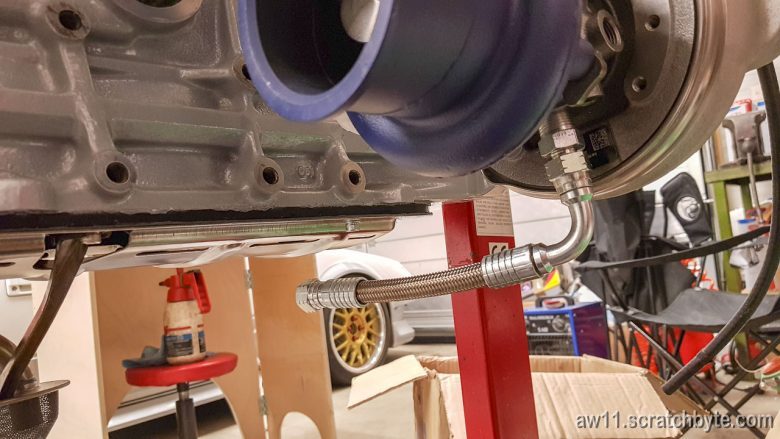
Custom oil return line! Adapter at the 90° end is 3/8″ NPT to mate with the turbo and at the straight end, a AN/JIC bulkhead fitting
Almost perfect
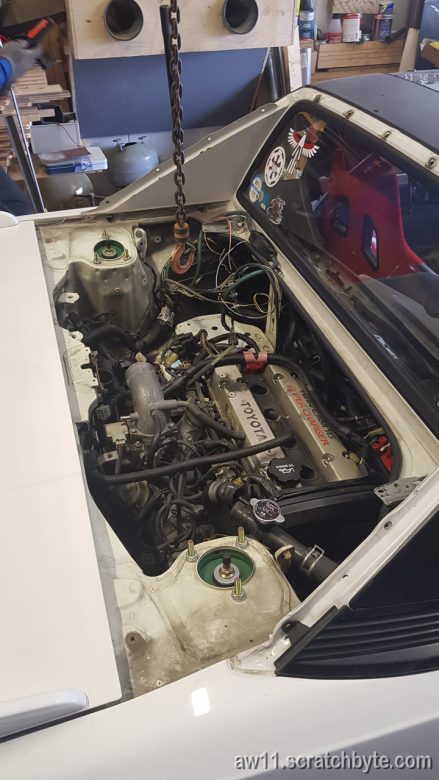
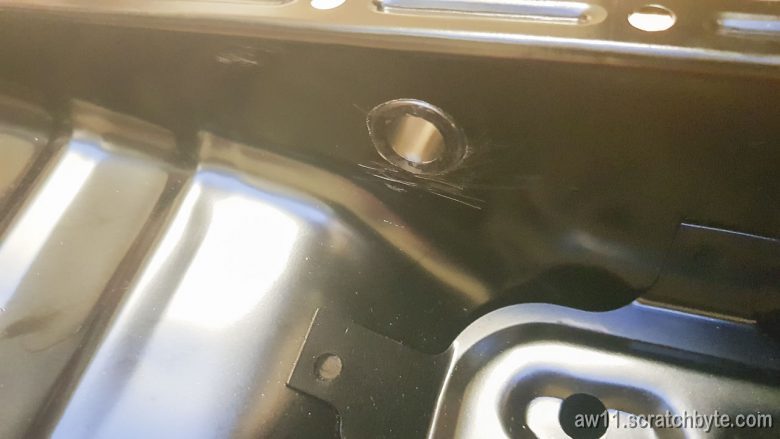
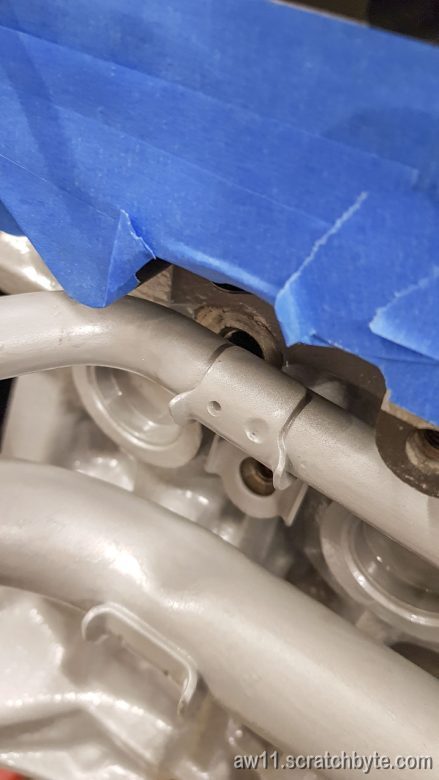
Below: Because moving alternator from the front side of the engine to the back side, I have to use different coolant lines. This makes the stock knock sensor location inaccessible. I’m not going to use the stock knock sensor, so I’m not yet sure how this turns out.