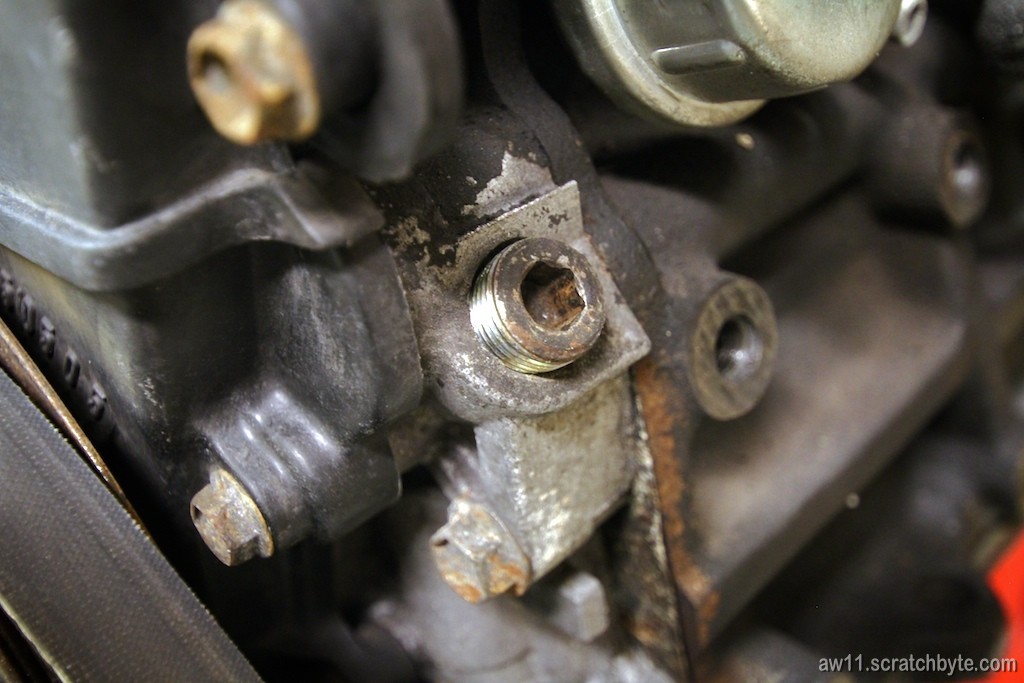
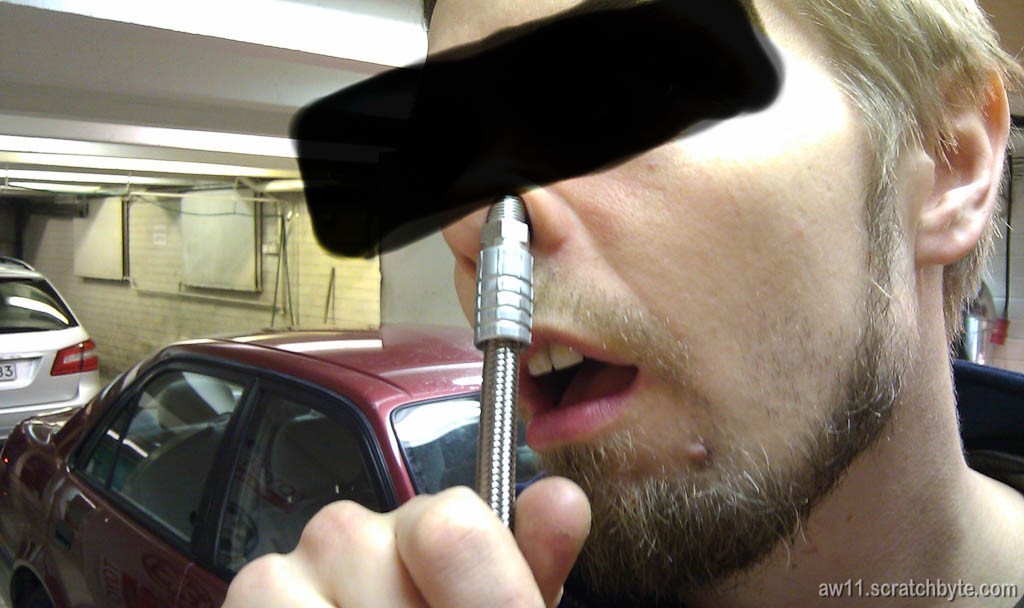
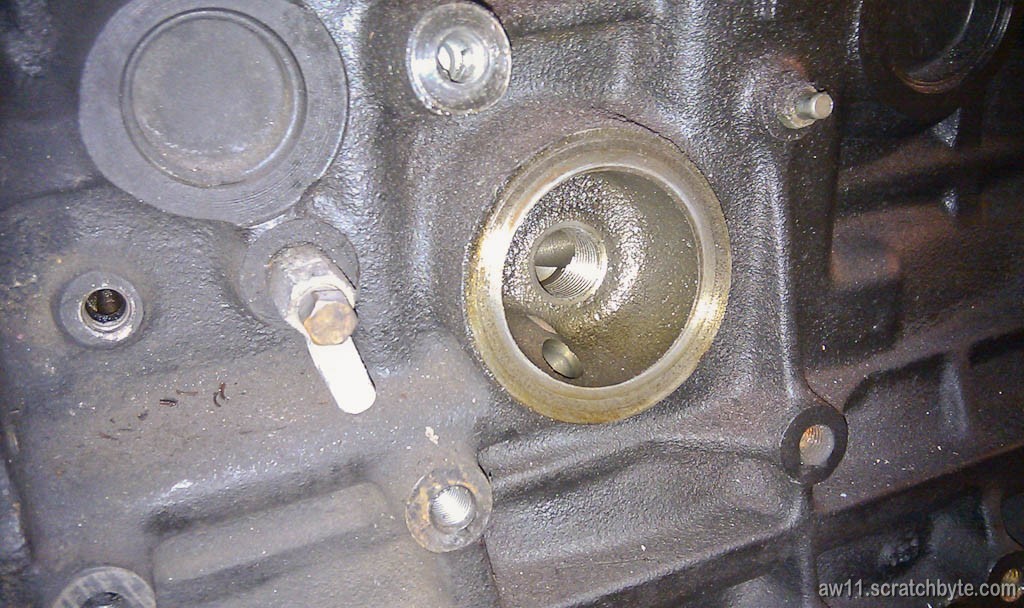
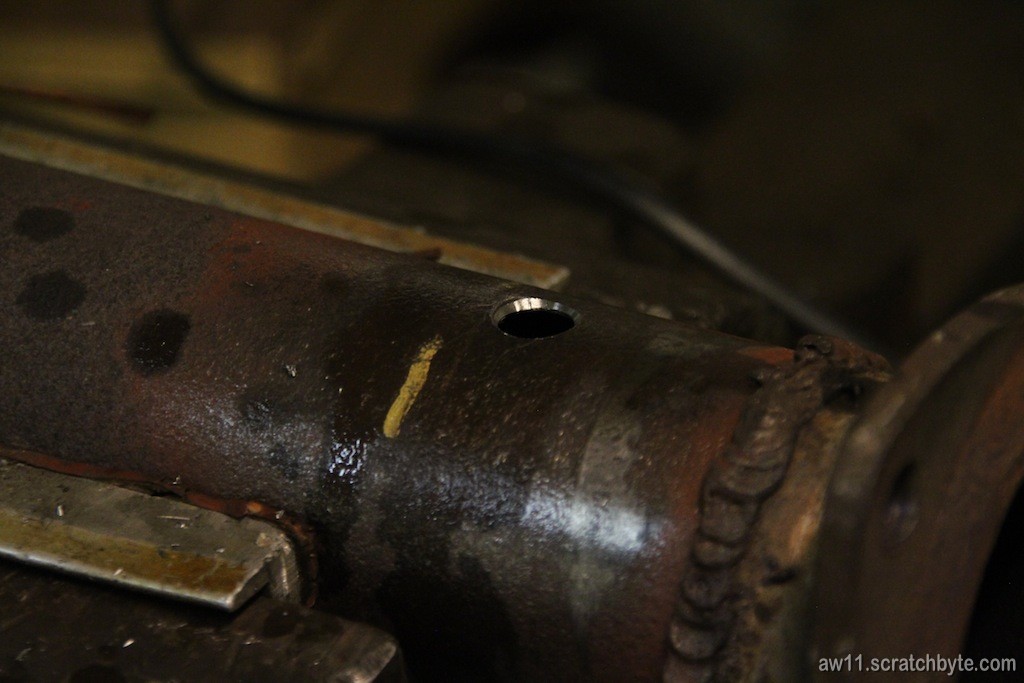
Finally found out what was the thread for this plug. It’s 5/8″ UNF – nice to know altough I cant use it 🙂

Toyota MR2 AW11
Finally found out what was the thread for this plug. It’s 5/8″ UNF – nice to know altough I cant use it 🙂
Well, hmm, I’ve been bit obsessed with both oil temp and press sensors, but haven’t yet figured out how to get them working. Also, I hate the oil filter location and the leaky pipes that go from oil filter to the oil cooler.
I didnt get the braided line -thing working, the one that goes into the original sender hole. The whole thing is under the alt braket and I had no idea where I should route the line, so I started to think other ways to get the info about oil.
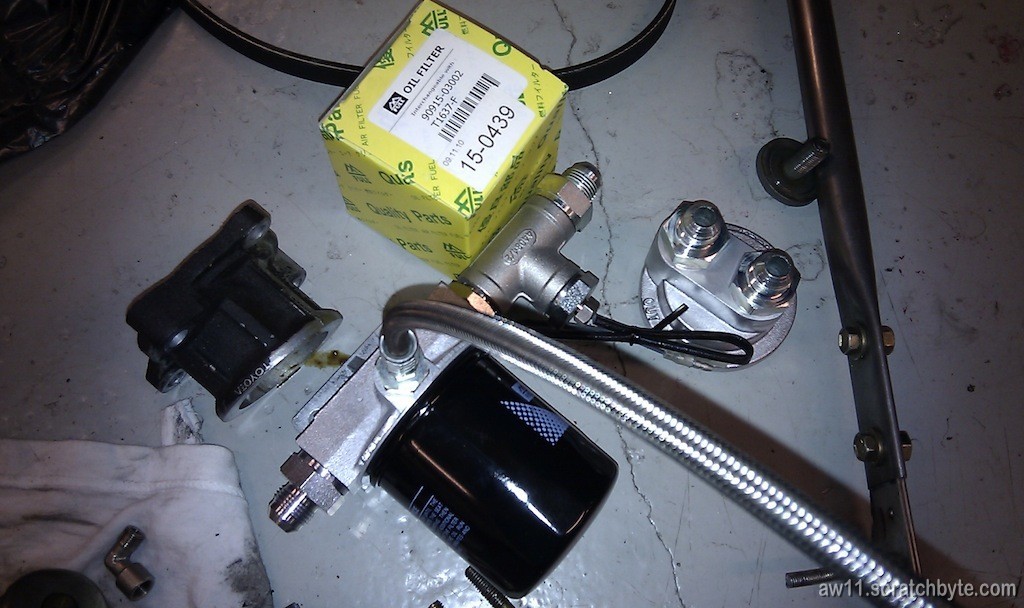
I had to go to my local Mocal representative again and ordered the parts to relocate the filter.
I finally got the parts 🙂
Maladar worked as my middle man and got me the parts. I was sitting in my apartment and suddenly got this pic into my email:
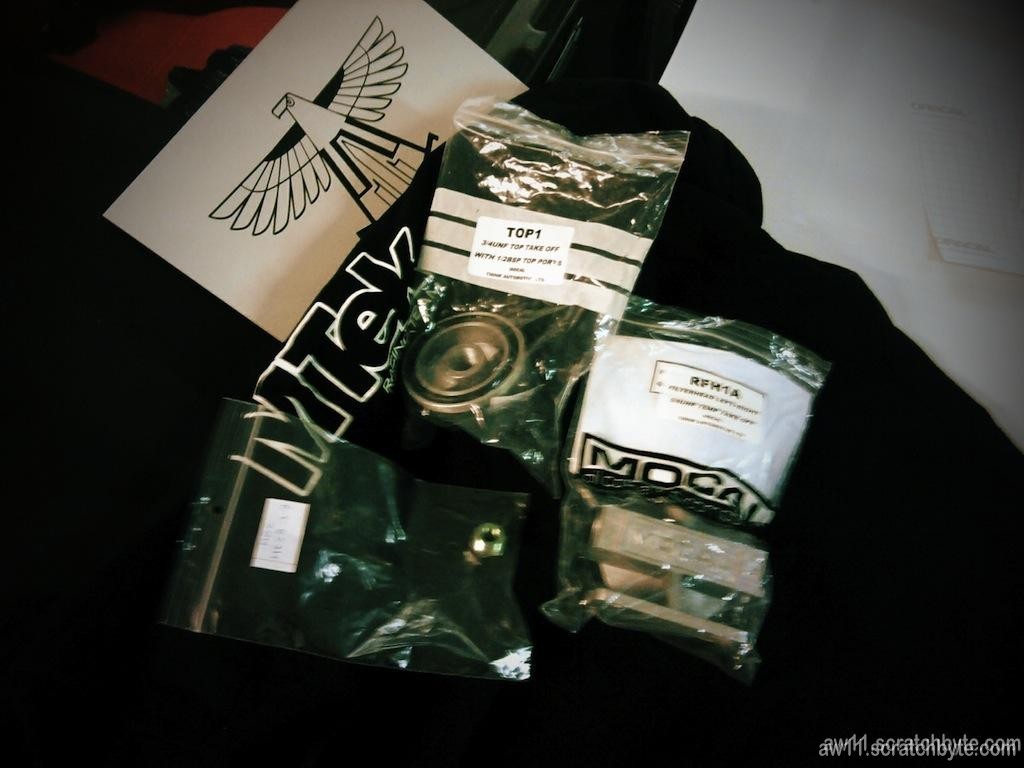
I had to get to the garage to take a picture myself 😀
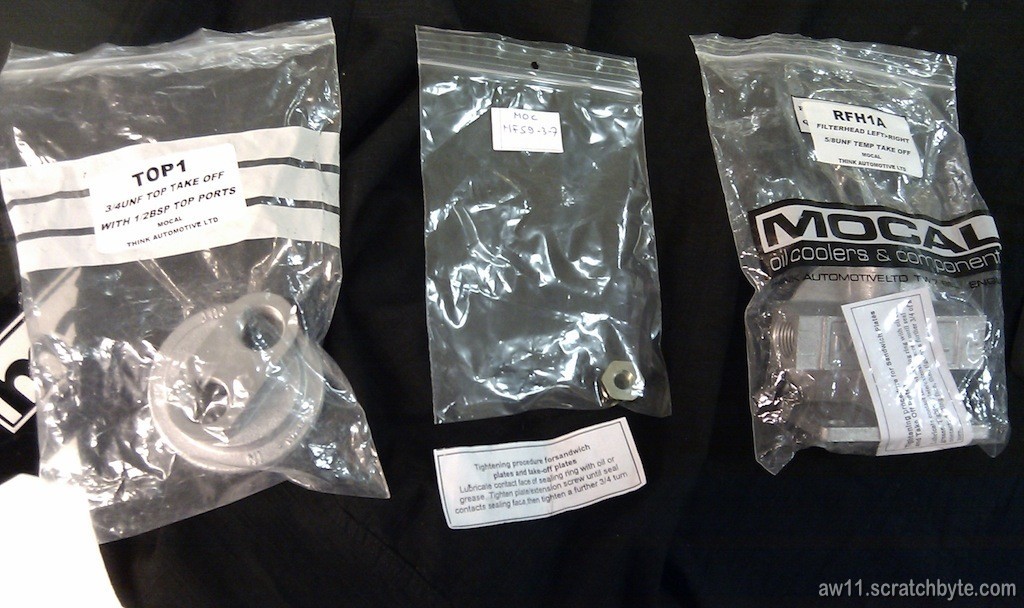
From left to right: TOP1 takeoff, a 5/8″ -\> 1/8″ bspt adapter and RFH1A remote filter head
I also had to get some adapters. I bought BSP -\> AN/JIC -adapters and other stuff. The filter head was so big that I needed to buy a Supra/Crown filter too. I’ll get better filters in the future 🙂
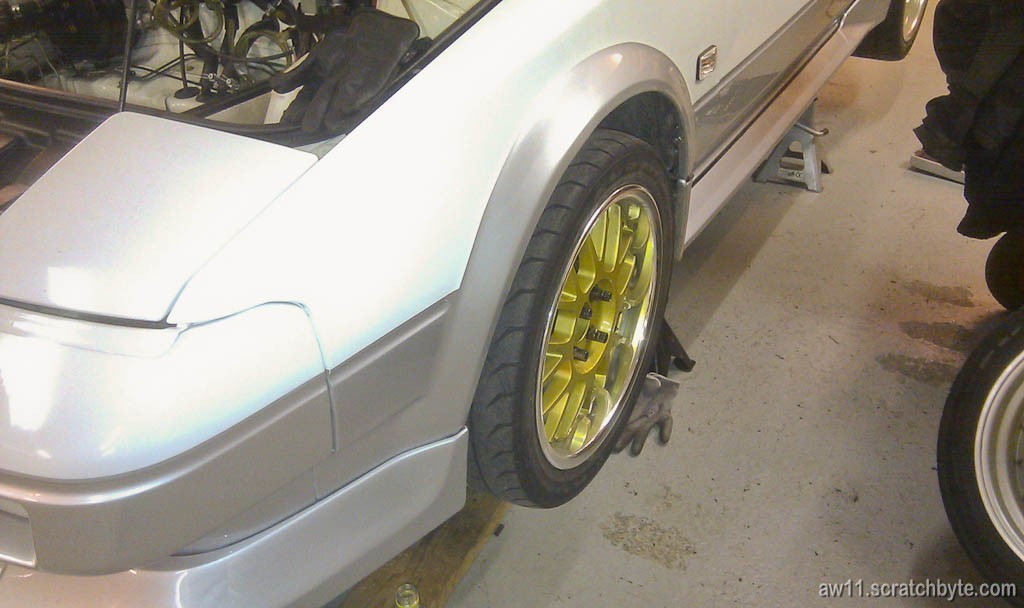
Spacers for the front wheels! I’d love to have bit more offset at the front end (yeah, this is just for looks) and the easy way is to get spacers. I also need new wheel studs and I’ve been looking for good ones from ARP’s catalog.
Tried to google the measures of the wheel studs, but got nothing reliable. Here is a pic of a MR2 AW11 wheel stud with some info I’m sure about 🙂

| TOYOTA OEM | <—-\> | ARP | 100-7715 | ARP | 100-7718 | ||||
| mm | inch | mm | inch | mm | inch | ||||
| Thread pattern | M12 x 1.5 | M12 x 1.5 | M12 x 1.5 | ||||||
| Total length (with head) | 45,5 | 1.791 | |||||||
| Length (without head) | 40 | 1.575 | 66.04 | 2.600 | 59.44 | 2.340 | |||
| Knurl diameter | 14.2 | .559 | 14.17 | .558 | 14.35 | .565 | |||
| Knurl length | 8.2 | .326 | 5.84 | .230 | 8.25 | .325 | |||
| Thread length | 29 | 1.142 |
I’m still wondering which ones I should get 🙂
(100-7715 (lexus is300) is a lot cheaper than 100-7718 (celica gts))
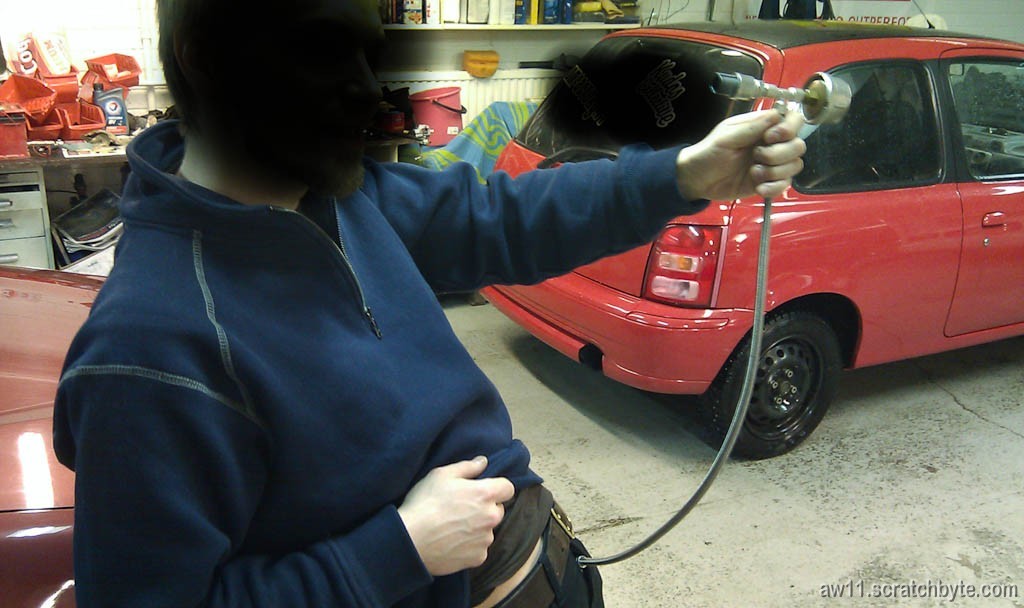
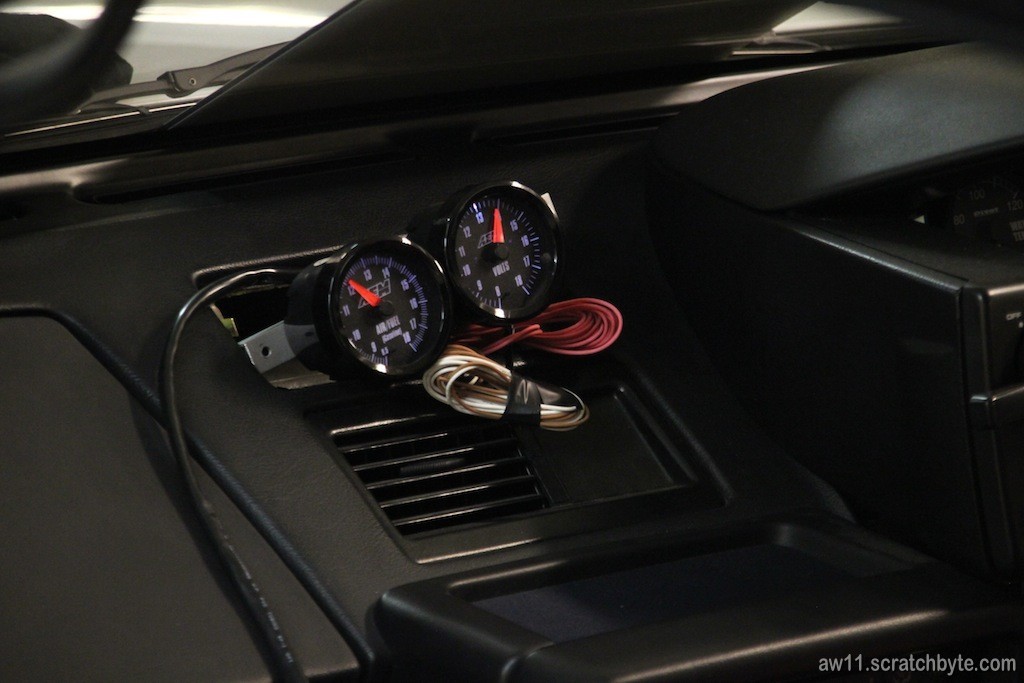
Widening the rear wheels is not going anywhere for a moment, so I started a second thing. This time I decided to install at least the oil pressure for that Pivot gauge I’ve had for so long.
Visited again my local high pressure center and got a braided hose with 1/8″ bspt fittings + a t-piece (also 1/8″ bspt) to relocate the original oil pressure sender with the Pivot one. (Pic below, Pivot one on theleft right)
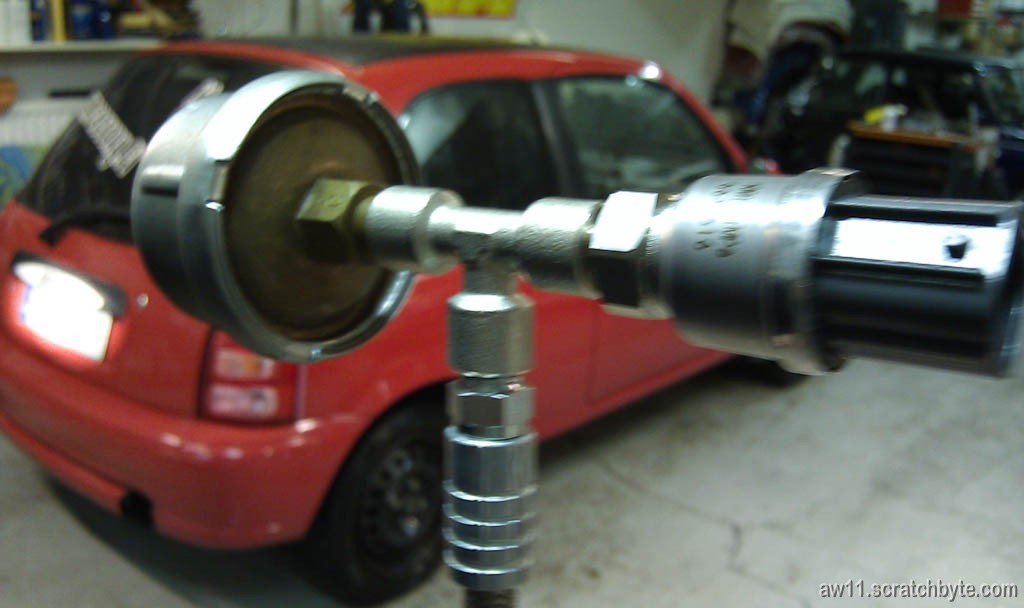
Maladar inspected my new parts for defects and quality:
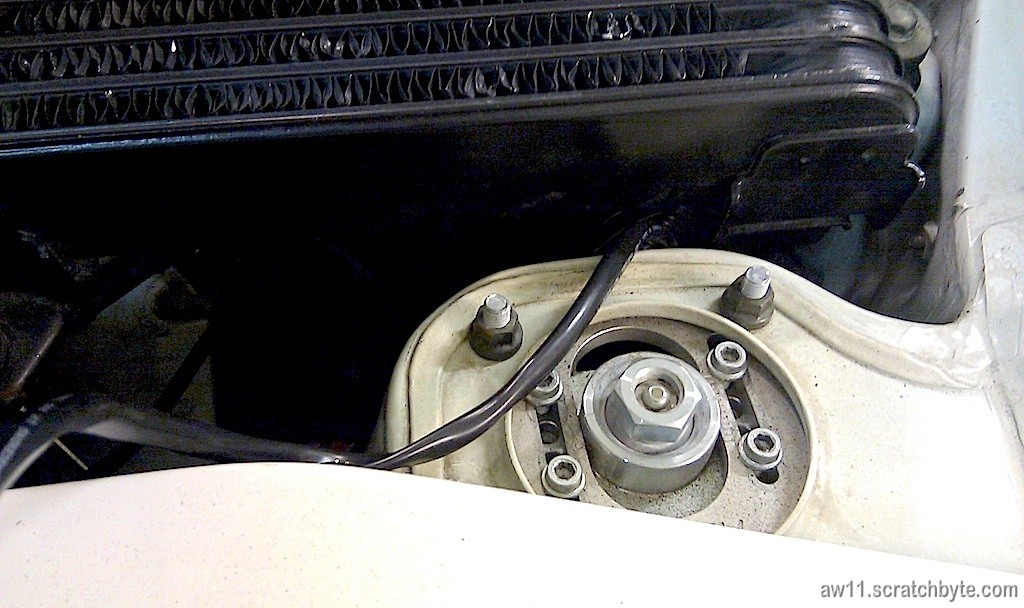
I suddenly realized that my planning for this improvement was idiots work. I had taken all the measures from my spare engine, which didn’t have alternator and AC compressor installed. I slightly freaked out when I crawled under the car and noticed where the pressure sender was. It was under the f-ing ALT bracket!
Then I bought a Mocal TGASP sandwich plate + Mocal MOC605 thread extension (3/4″ UNF, 16 TPI) to get the oil temp and a possibility relocate the oilfilter and/or get a real oil cooler in the future.
If the Internet is correct, the oilcooler installed in some AW’s is not a thermostatic, but a pressure relief type. It is rotating the oil all the time through that oil-to-water cooler in low pressure fashion.
I think I’m going to remove the oil cooler.
Maladar walked by when I was experimenting with the sandwich plate and said “Now that’s a REAL pile!” – thanks mate! 😀
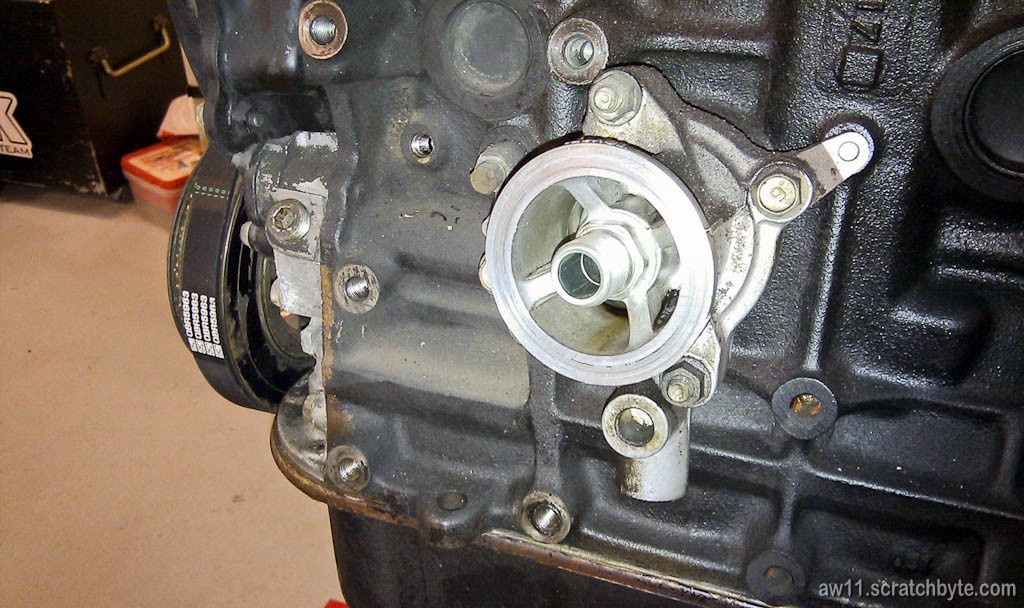
Everything removed:
Just the original oil filter thingy:
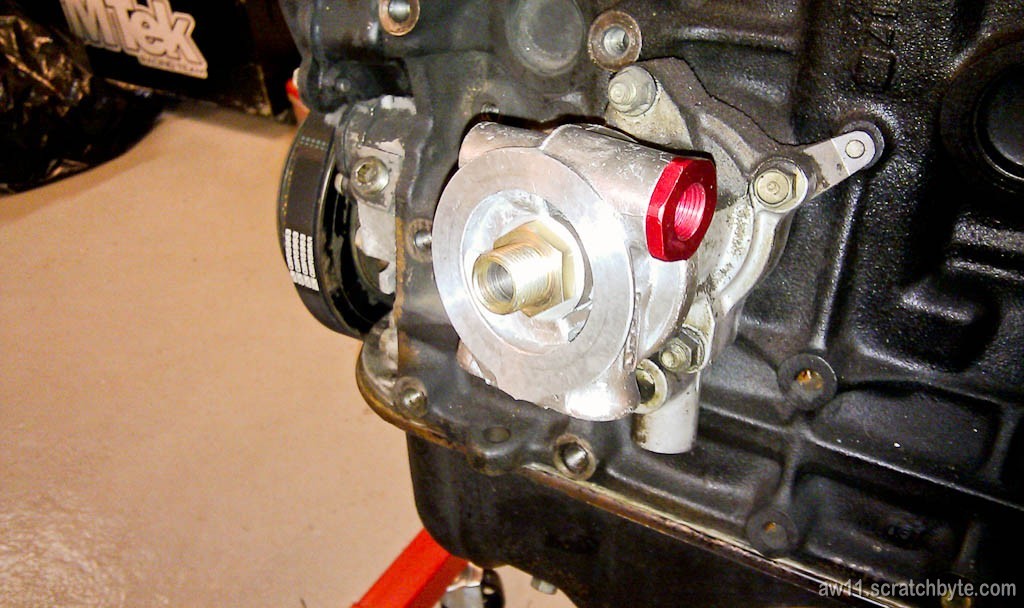
With Mocal (I need to install a loop to the sandwich plate to route the oil correctly)
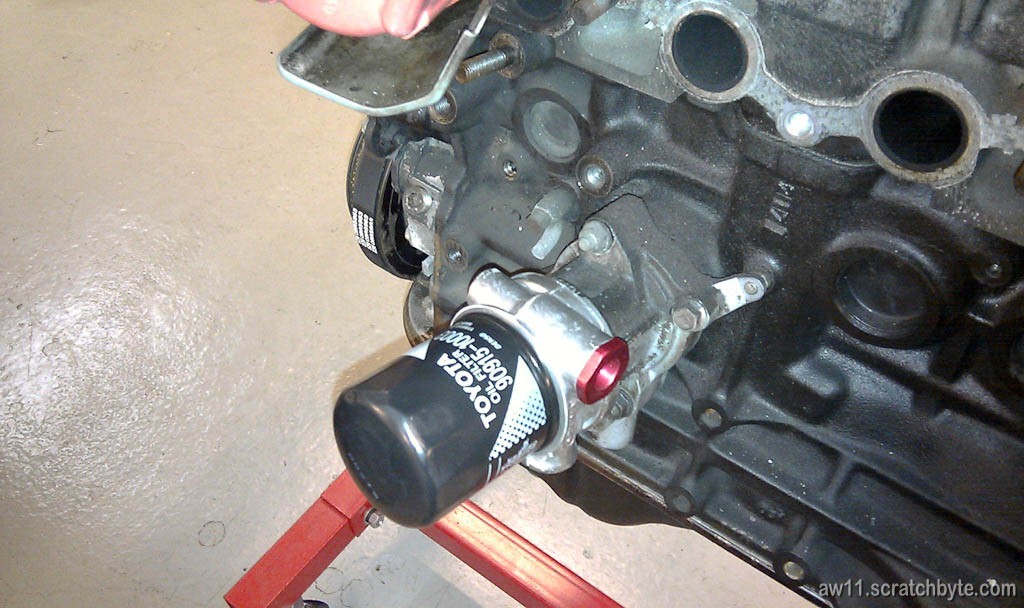
…and with the filter
At the same time it is easy to swap the bigger crank pulley:
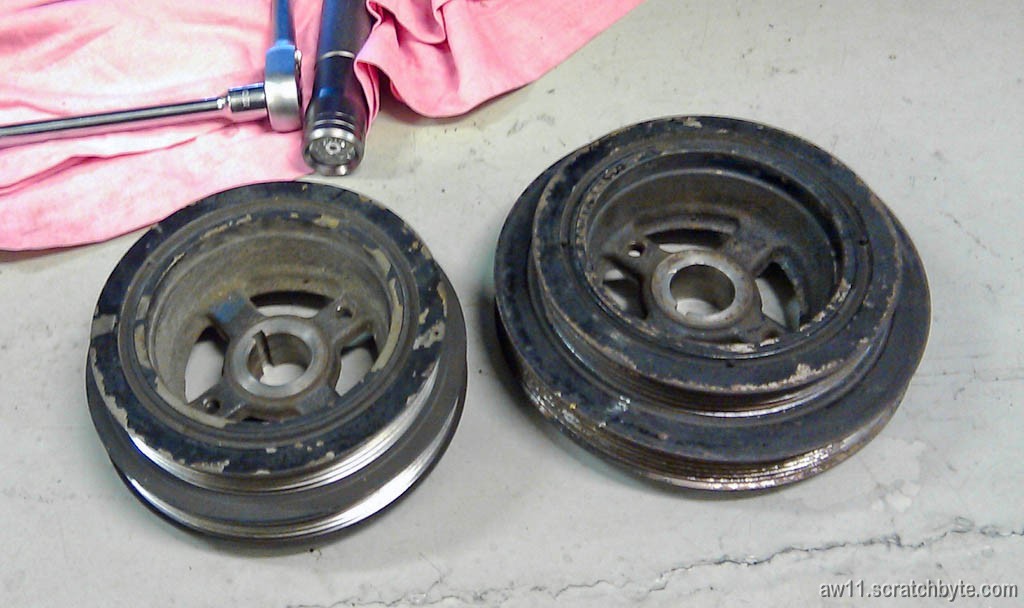
What’s that just under the crank stub?
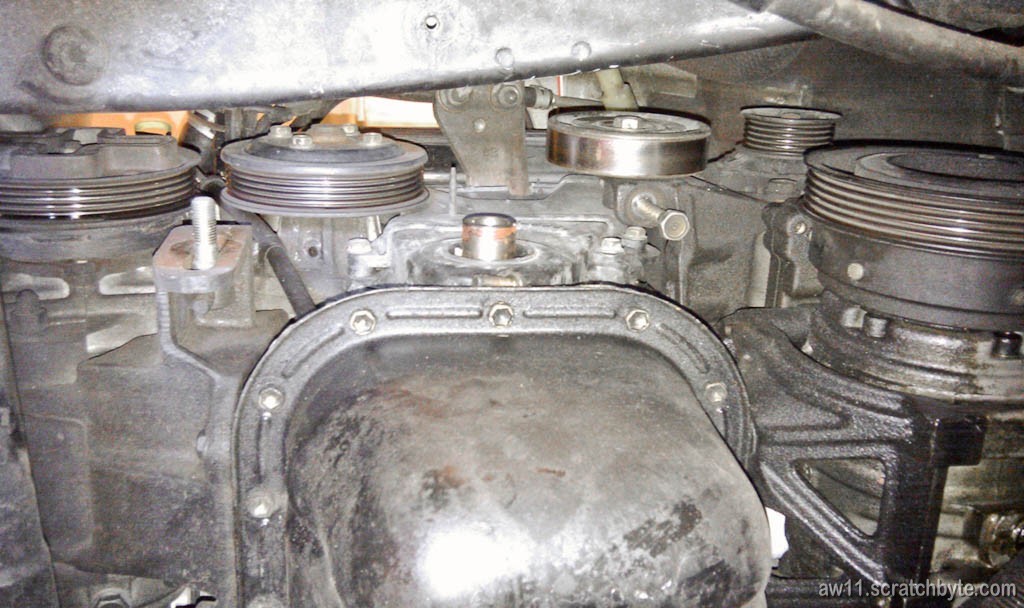
It’s one of the timing belt cover bolts, lodged behing the crank pulley!

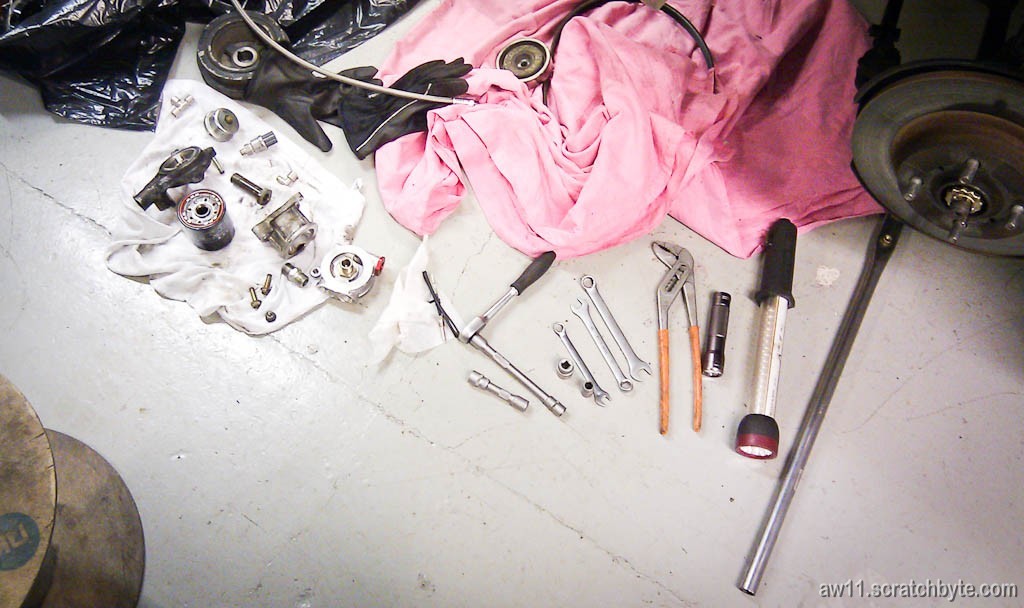
Some tools. On the right my trusty +4 Toyota SST, built and enchanted by Maladar the wizard 🙂
Got it on the jacks:
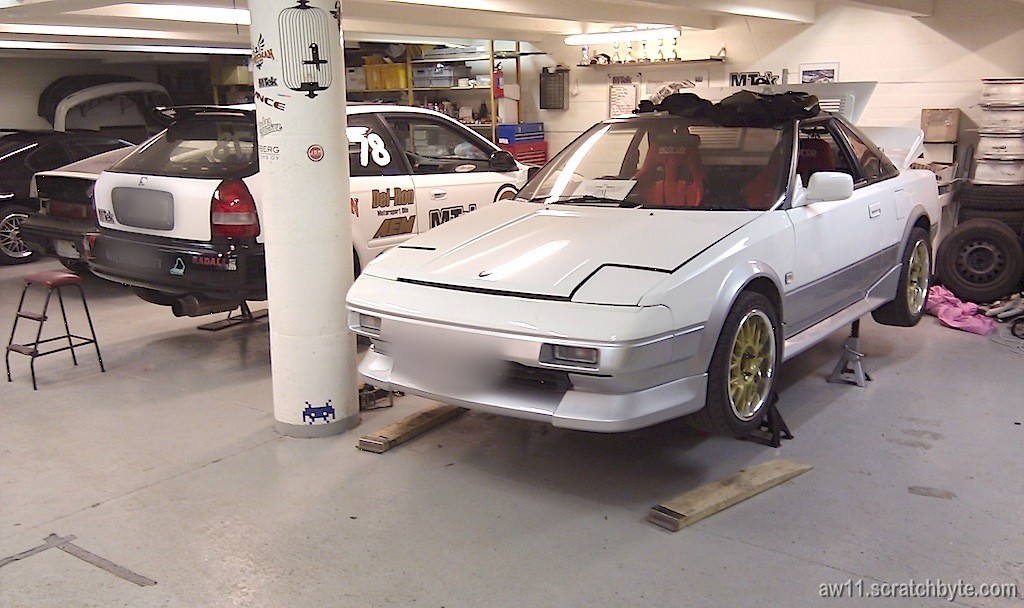
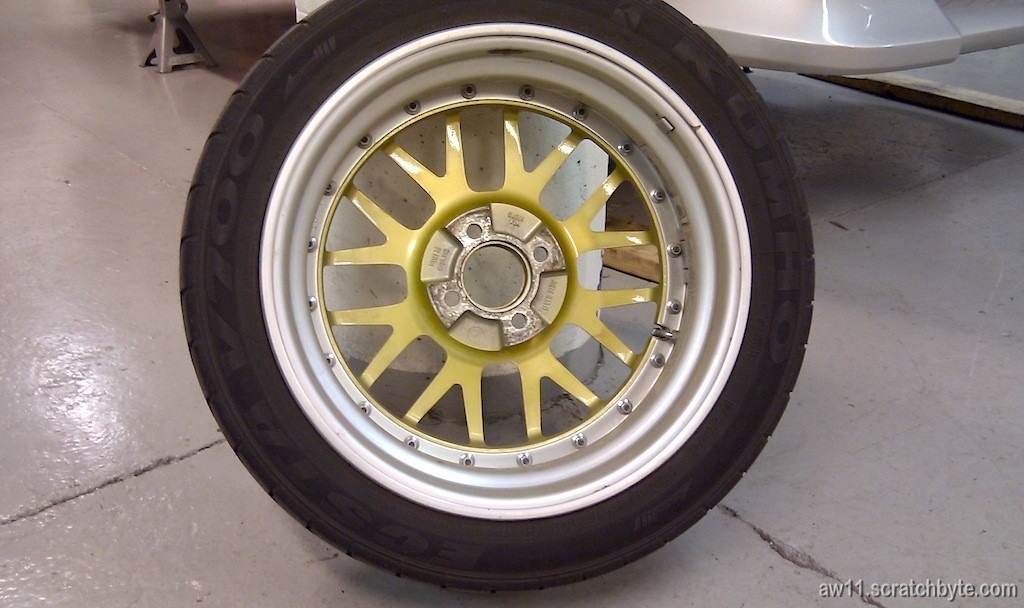
and started to wonder if I could get my rear wheels widened from 7″ to 8.5″. The SSR MS1R is advertised as 3-piece wheel, but in reality the inner and outer barrel are welded together. Quite misleading thing this whole 3-piece thing, woudn’t you say?
I measured most of the things needed to order two custom inner barrels (there is no need to touch the outer one) when I googled something related to the wheels. SSR web page was pretty clear on this thing: welded together.
How it looks from inside:
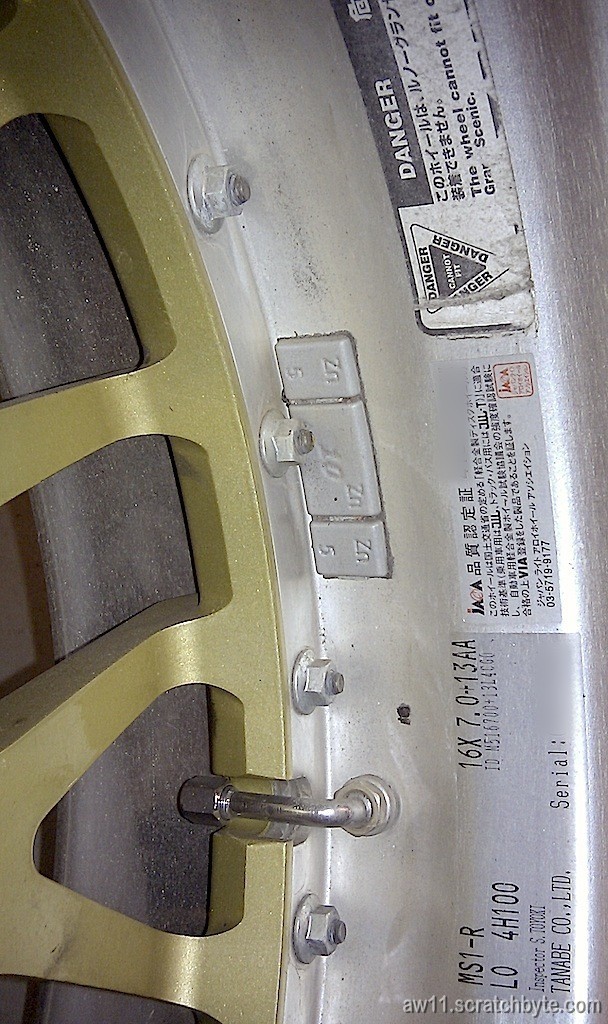
…and bit closer shoot of the info tag:
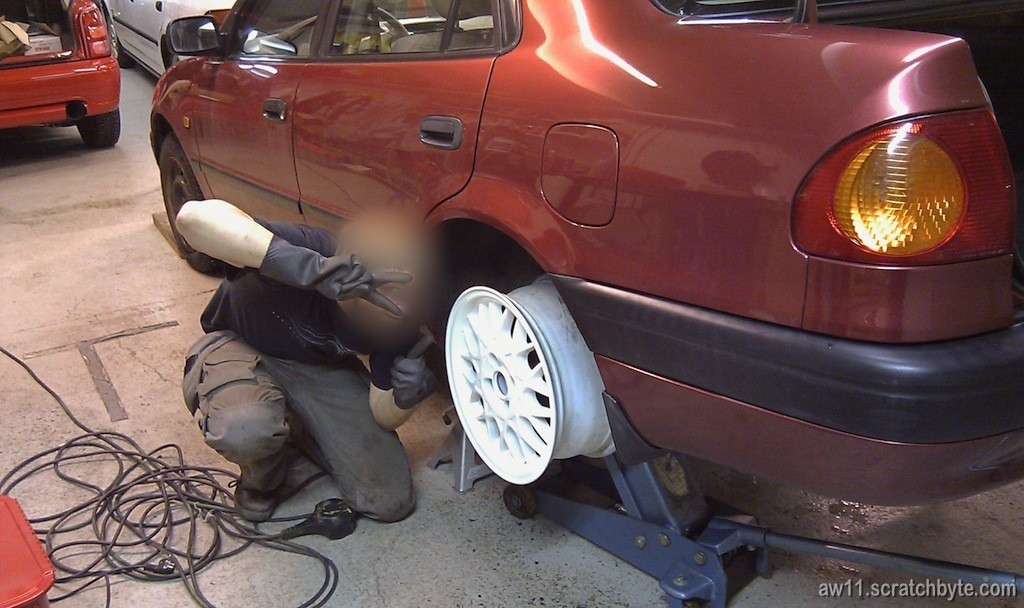
I also got a set of BBS wheels. Maladar tests the fitment with the corolla (while we were doing rear shocks)
…and bit later, with AW11:
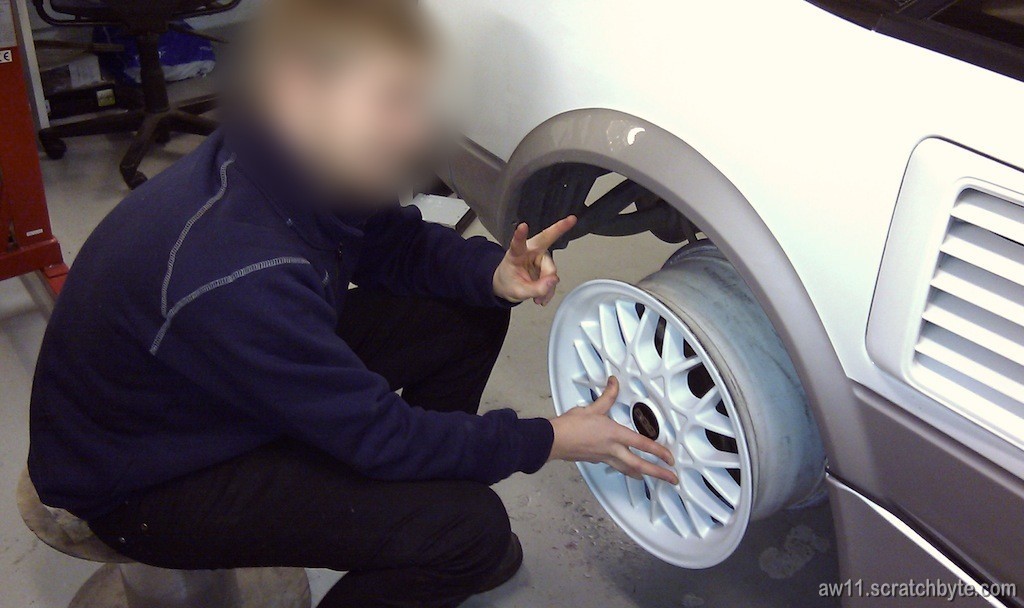
Situation unchanged.
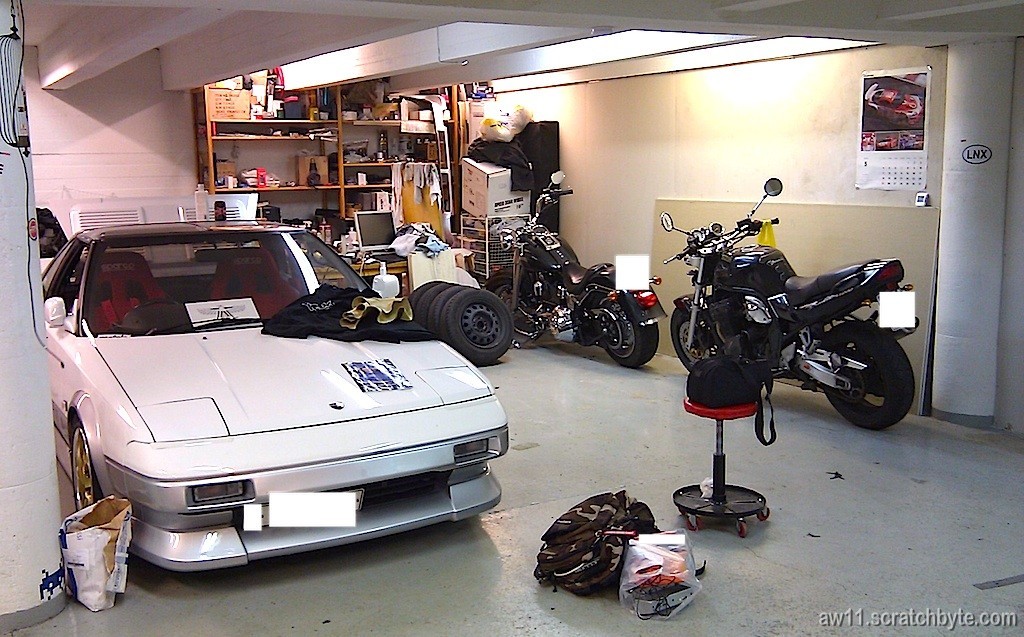
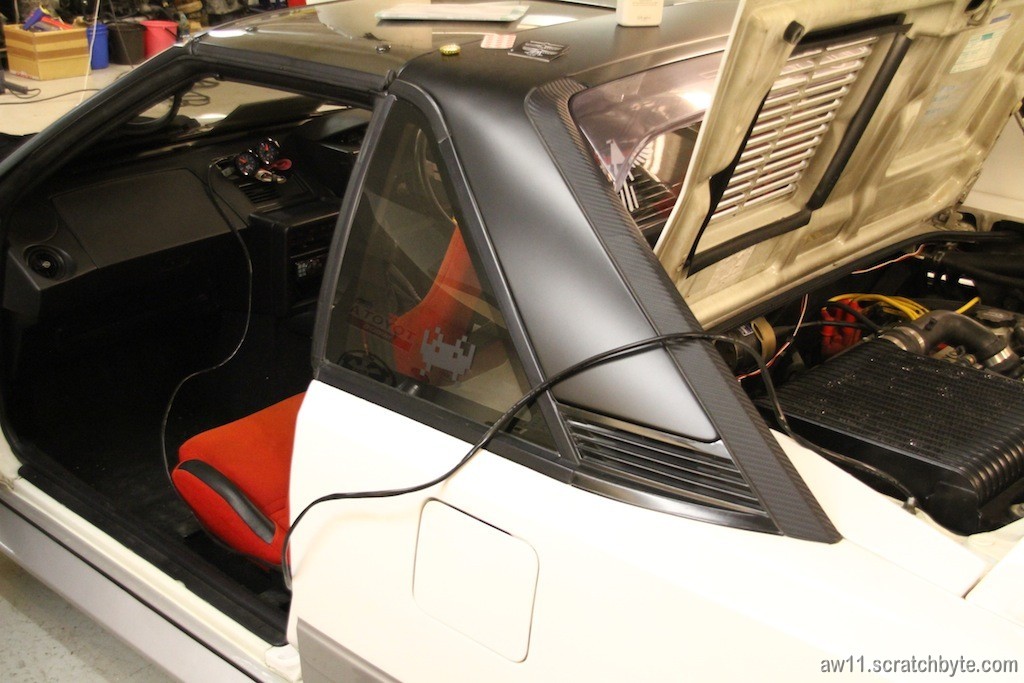
My cousin and his friend brought their bikes in for the winter. Kinda sad that I haven’t had time to work with the AW11, altough I know I have things to do and go through. I’m still in the middle of installing that O2 sensor as well:
The wiring is still in progress.
My Corolla otoh had a funny combination on odo&trip:
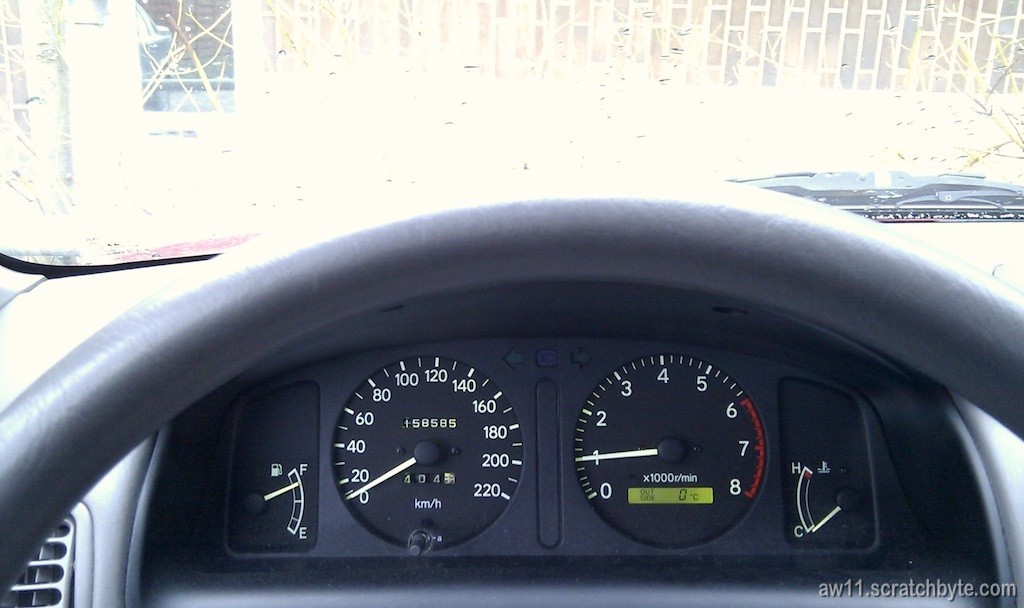
158585 and 404 – I know, it’s kinda lame. 🙂
I took the AW11 off the roads for the winter to save some insurance money. Hopefully winter is short this year and I can get the car back on the roads as soon as possible 🙂
Woohoo! Some time to work with AW11!
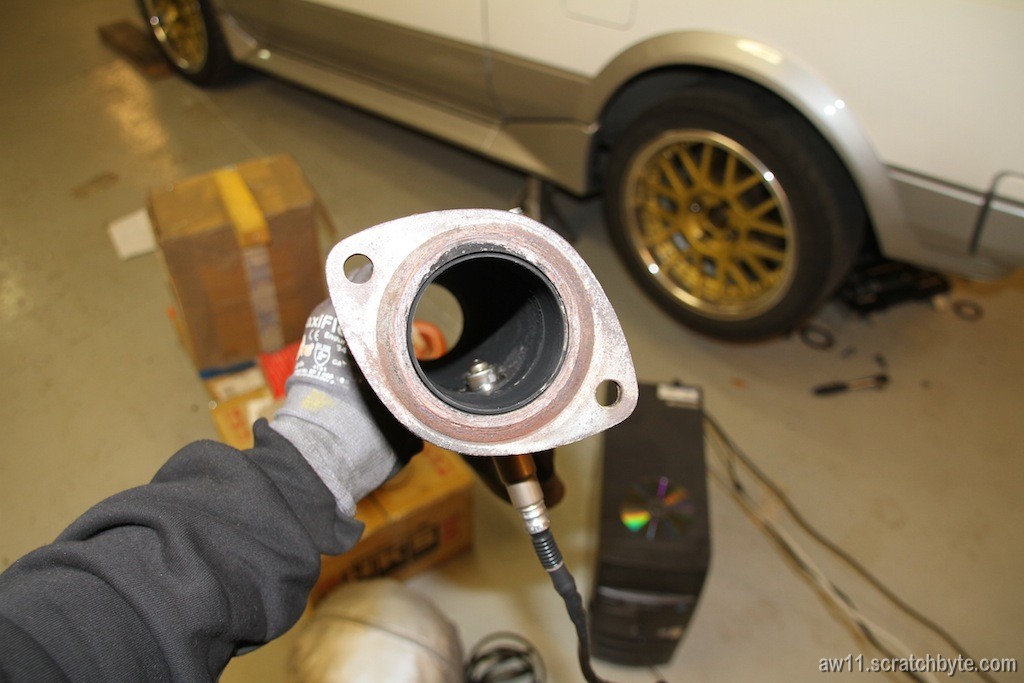
This thing has been bugging me for a while. I’ve had everything for this project for ages, but I haven’t found time and willpower to get this done. But now, here it is: AEM O2 sensor.
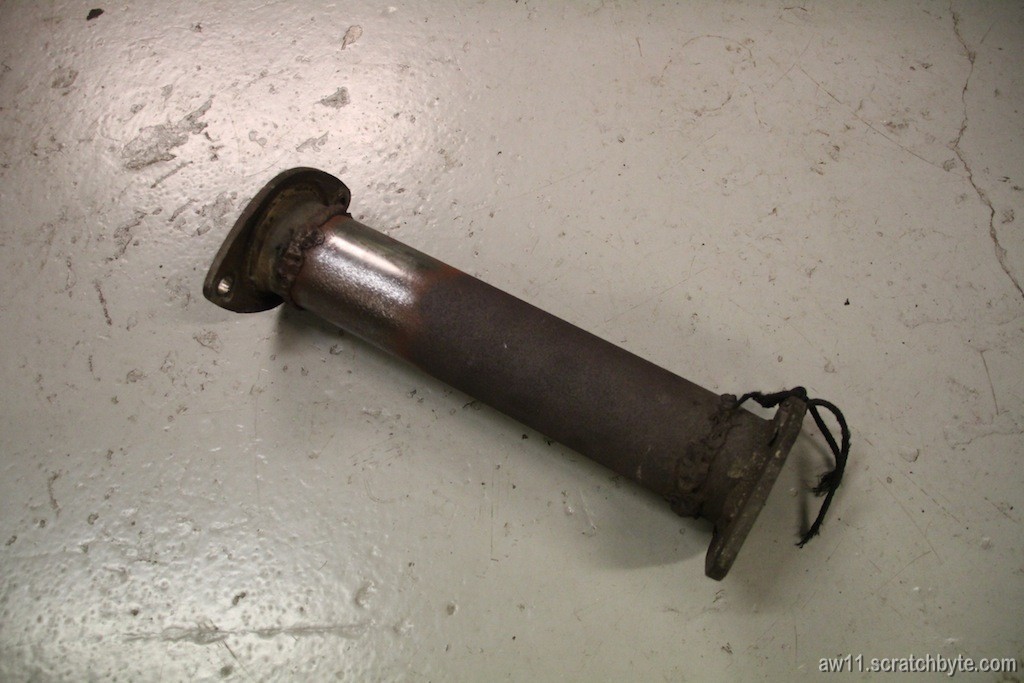
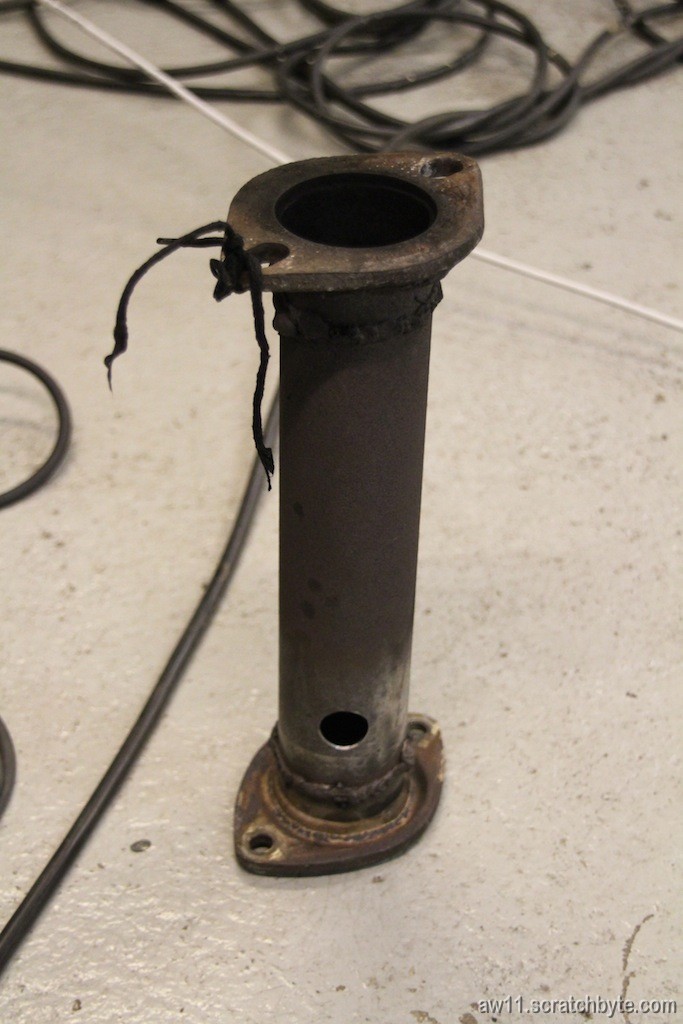
I already had the car supported on the jacks and this is what I had: a rusty test pipe.
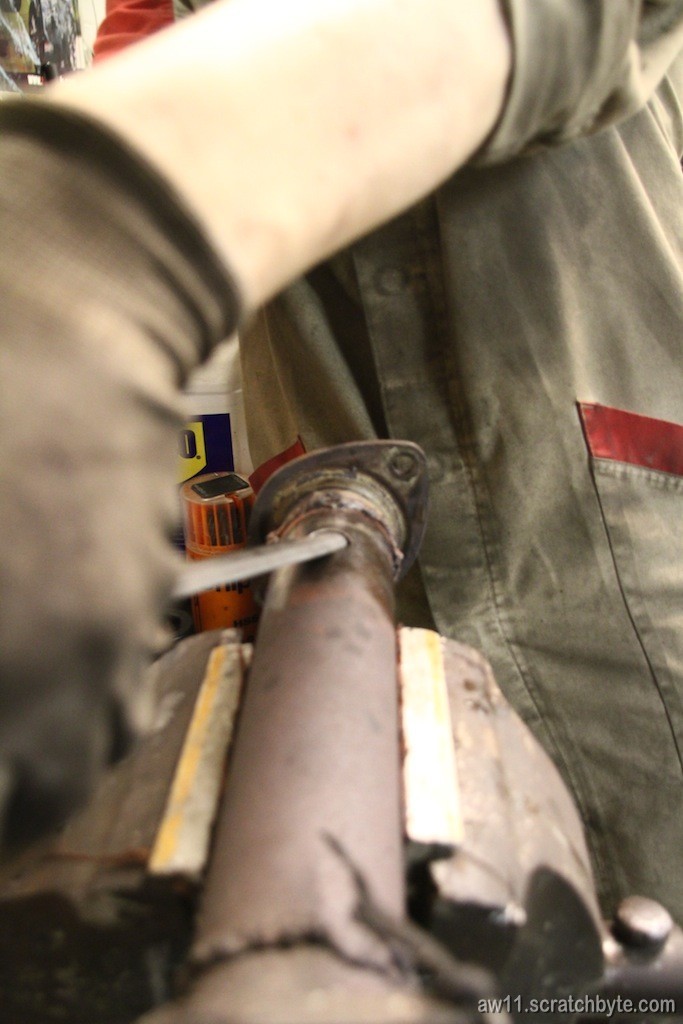
I bought a wire brush wheel to get some of the rust off
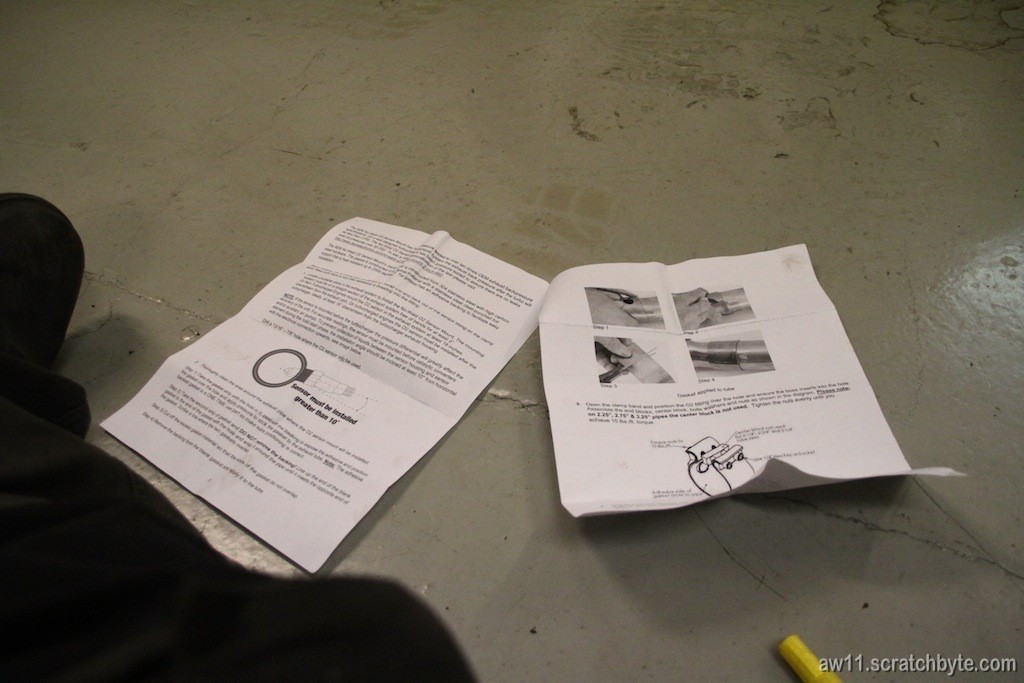
Going through instructions
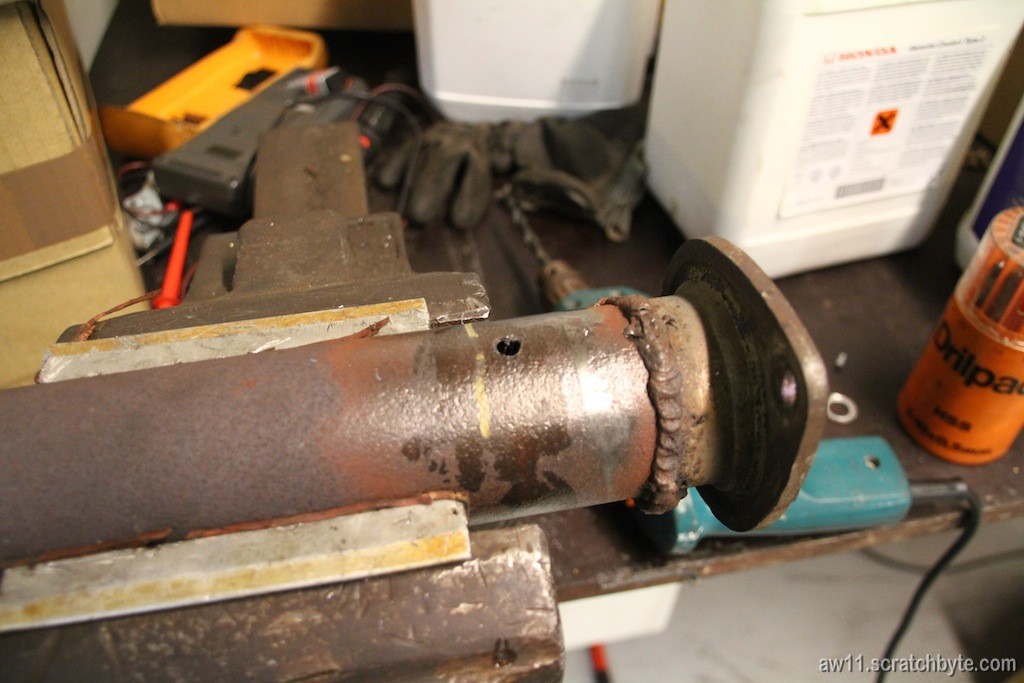
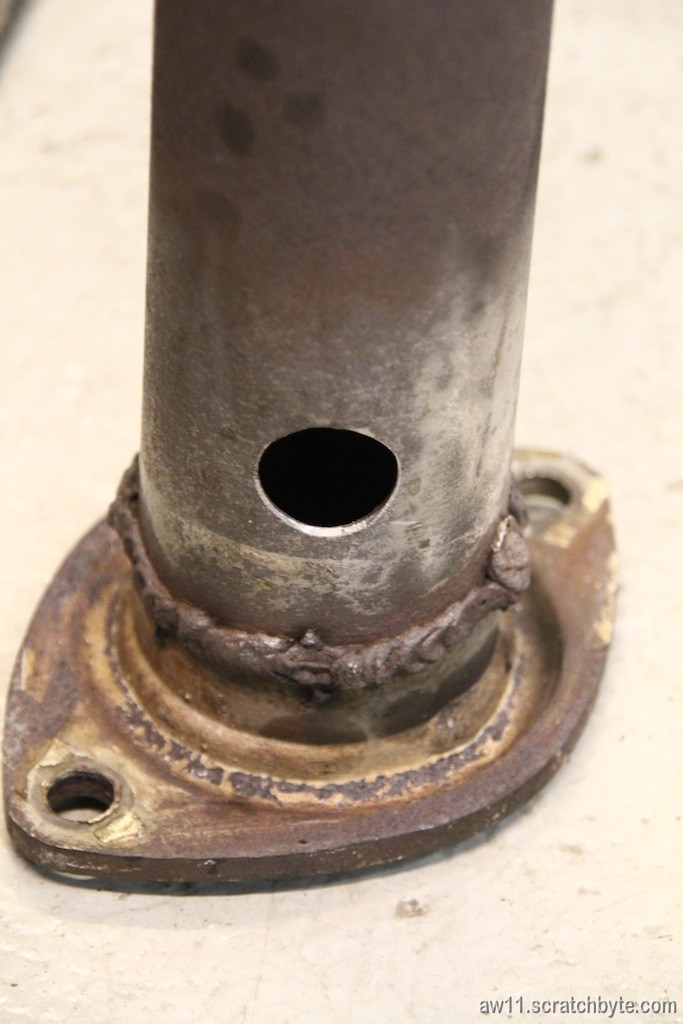
I’ve drilled a pilot hole for the cone drill bit
Maladar gives me a hand so I’m free to take pictures
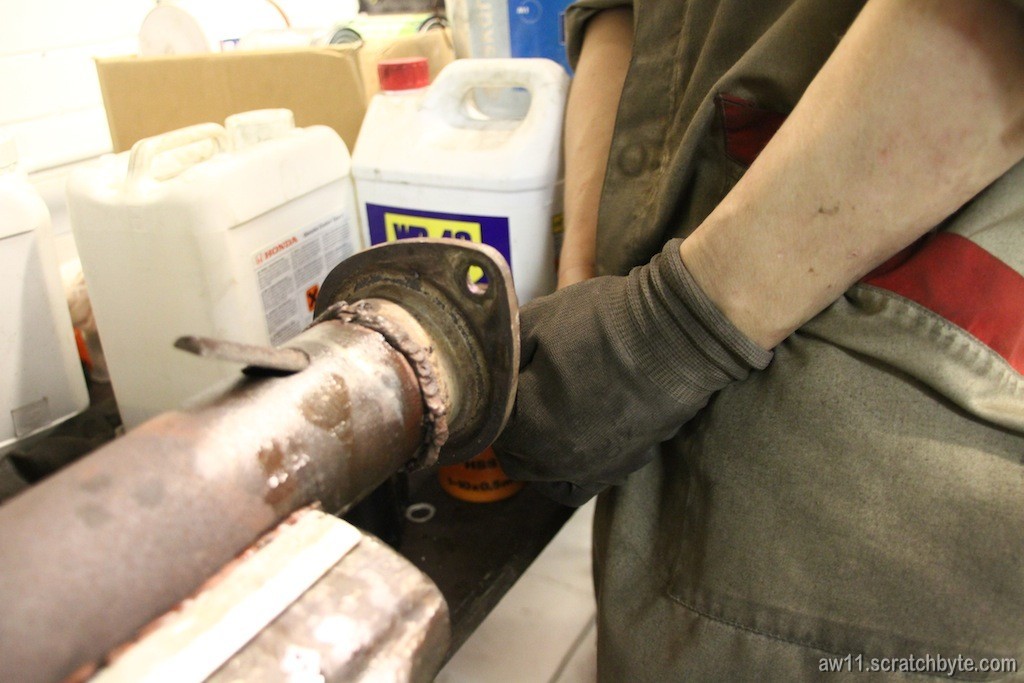
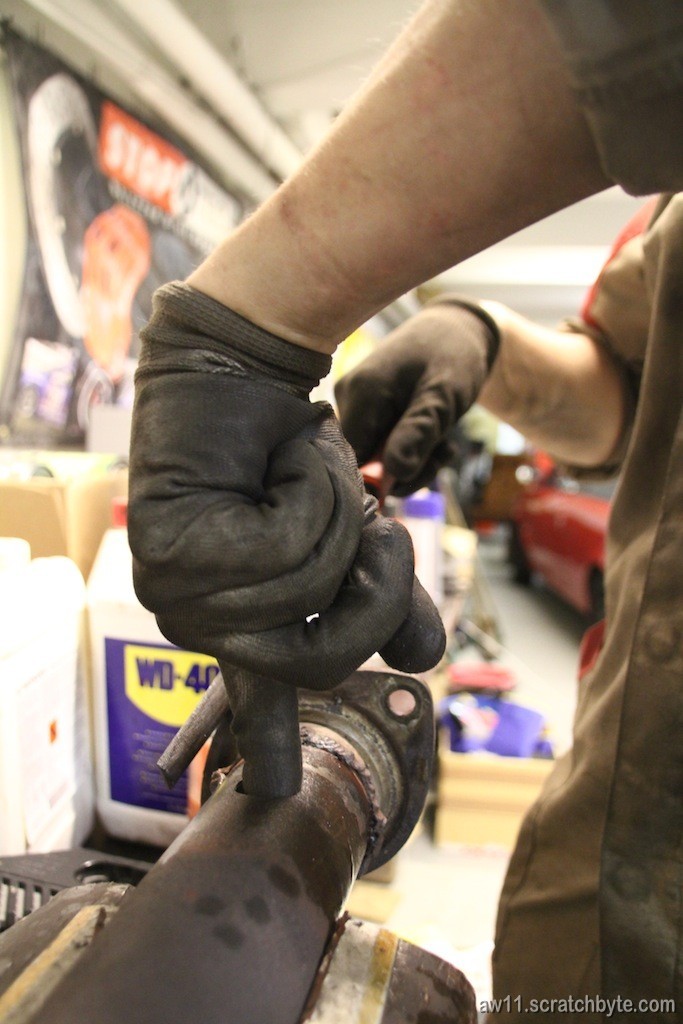
I cleaned all metal shavings as well as I could
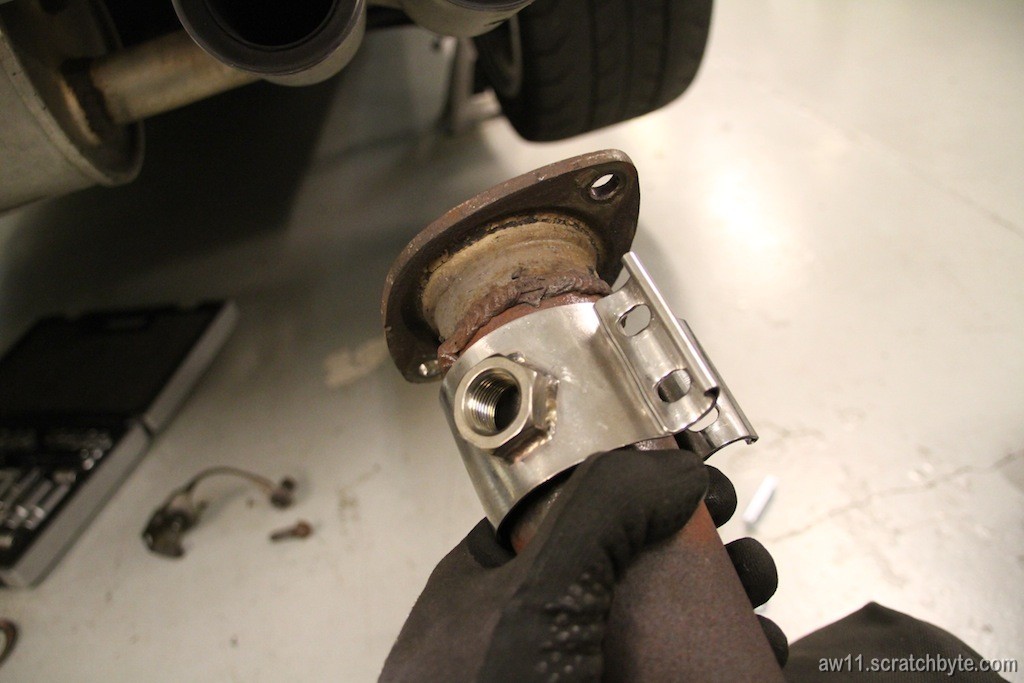
Then I wrapped the insulator around the pipe and started to tighten the bolts. AEM is still using imperial fasteners. BTW, the rest of the world is metric!
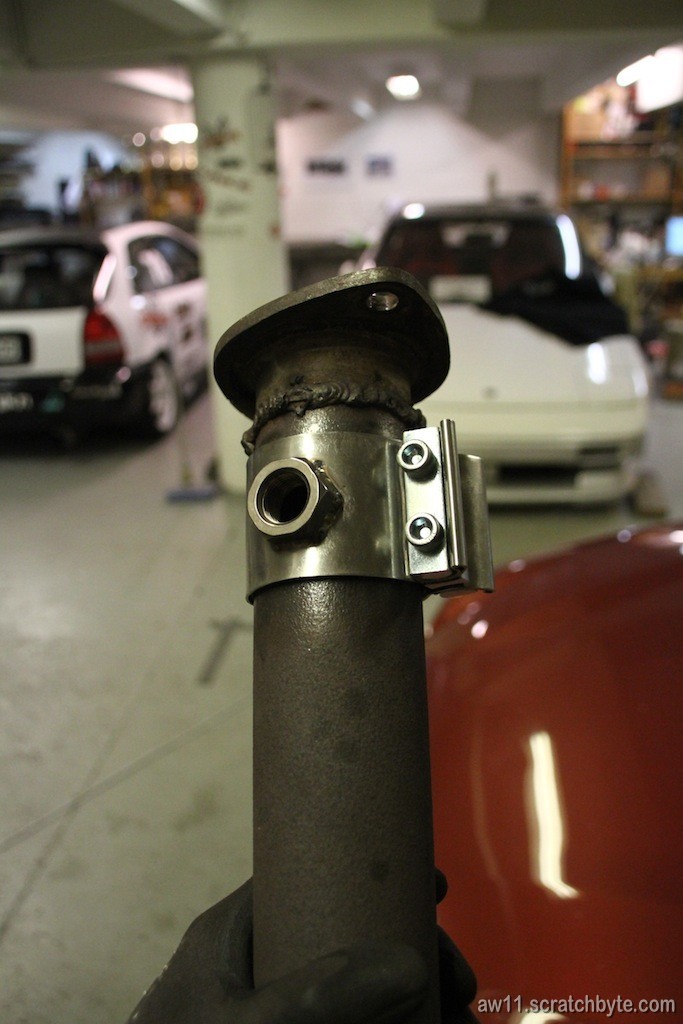
Everything fits as they should…
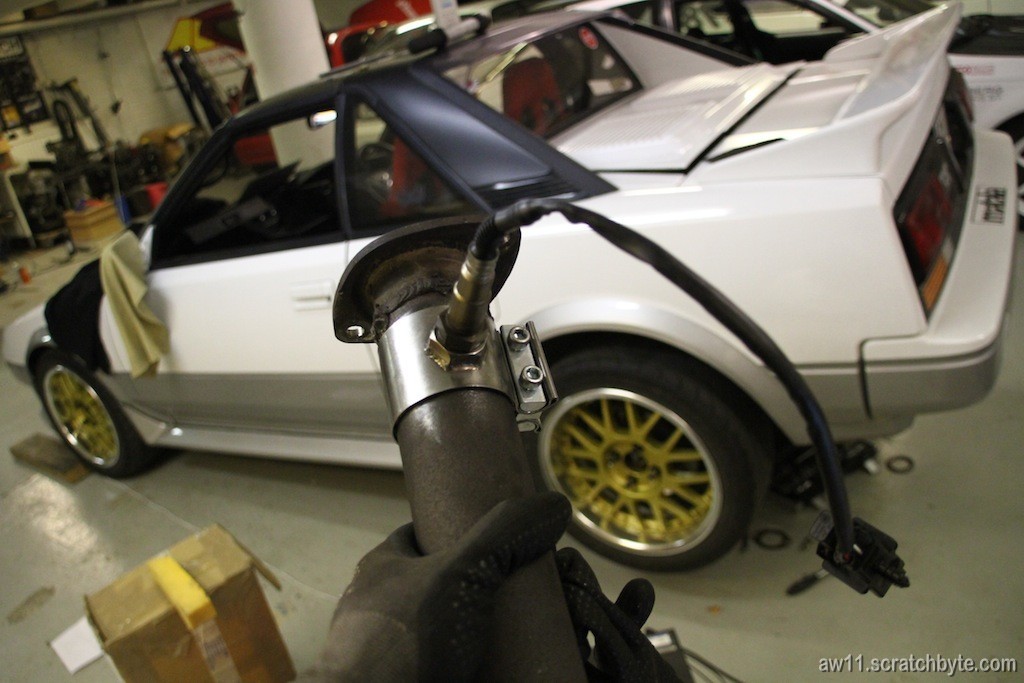
I installed the test pipe back to the car and plugged the wire to the gauge. I was lazy and just took the easiest path with the wire
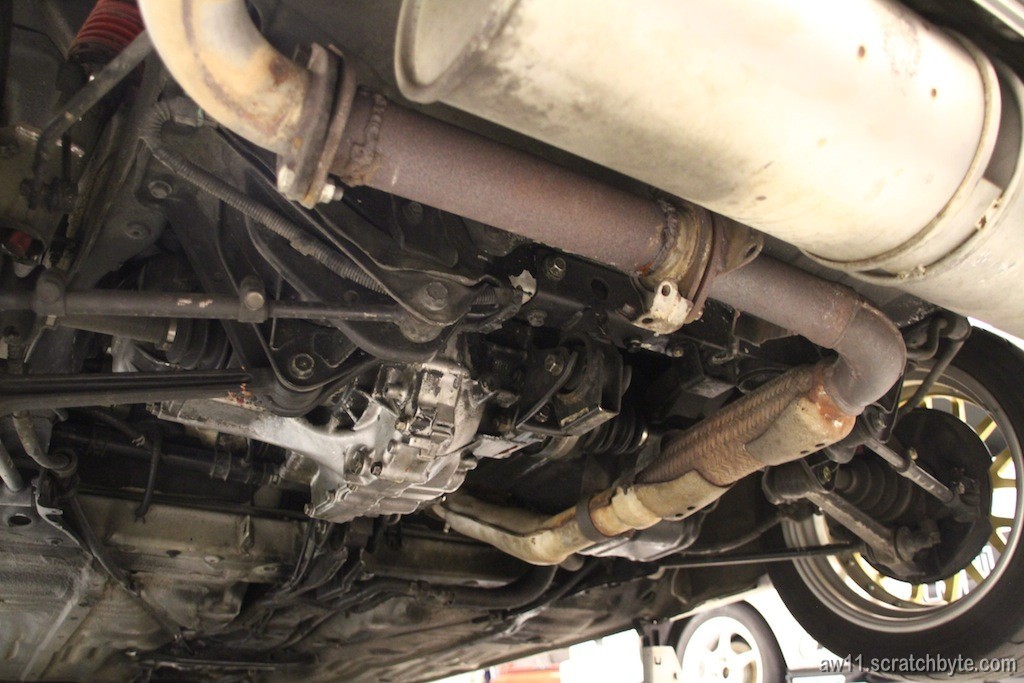
Everything back together
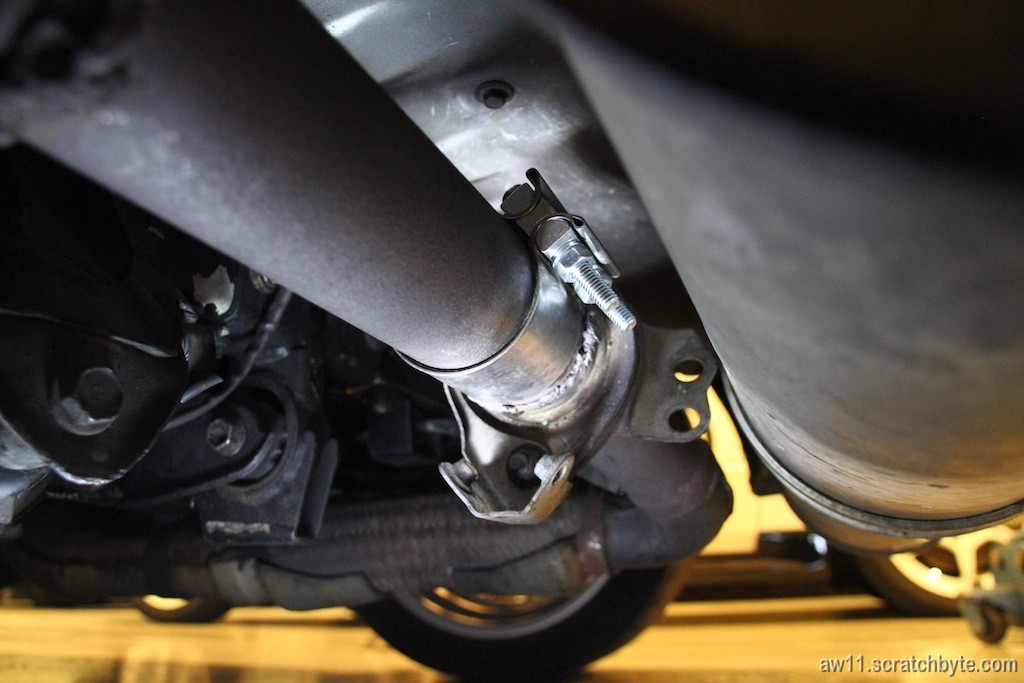
There is enough clearance on both sides, though it looks like the sensor would hit something when things eventually start to move. Swaybar doesnt move much and the distance from the end of the sensor to the trunk bottom is longer than it seems. It’s just shadows playing 🙂

I think we can now start the AEM EMS project 🙂
I had a spare day and my spot looked bit unorganized. I worked for three or four hours straight and now I can play football next to my MR2 🙂
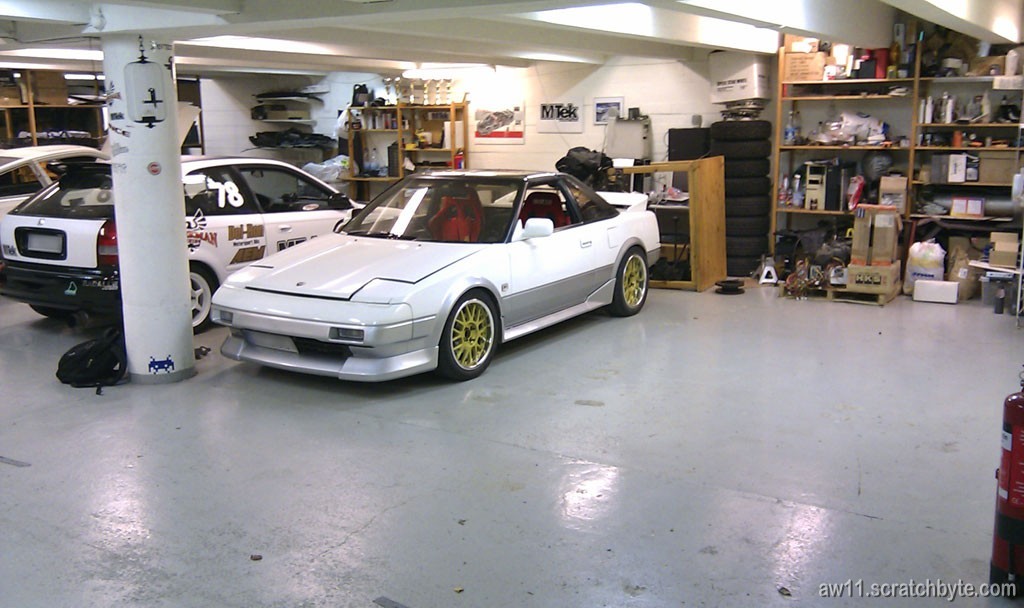
Still needs some work with the floor, I’ve spilled at least
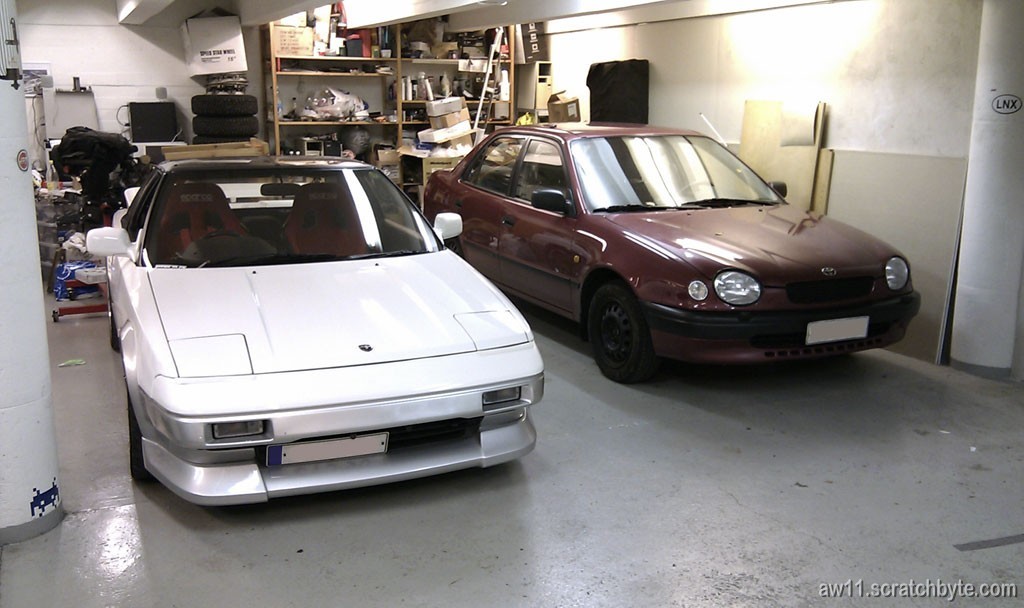
I’ve been bit busy lately and haven’t done much with AW11. Yesterday I had to bring the other toyota to the garage to wait until the renovations at the parking lot have been done.
I took the AW11 for a spin and headed north. Couple of my friends were having a lan party and I went there to get my ass kicked in L4D2.
Being north from the city, there wasn’t much light pollution and the sky was clear. I took couple of pictures and this was one of the best I managed to capture:

Picture taken towards north. The upper left corner shows dimly the milky way. Between the two big birches is the big dipper and the constellation of Toyota is at the bottom left corner with the bright AW11 star 😀
After I left the party, I had to make extra stop because there was a very peculiar sound coming from the car. After I had checked everything, I took the camera out again and took some pictures (I decided that there was nothing wrong with the car)
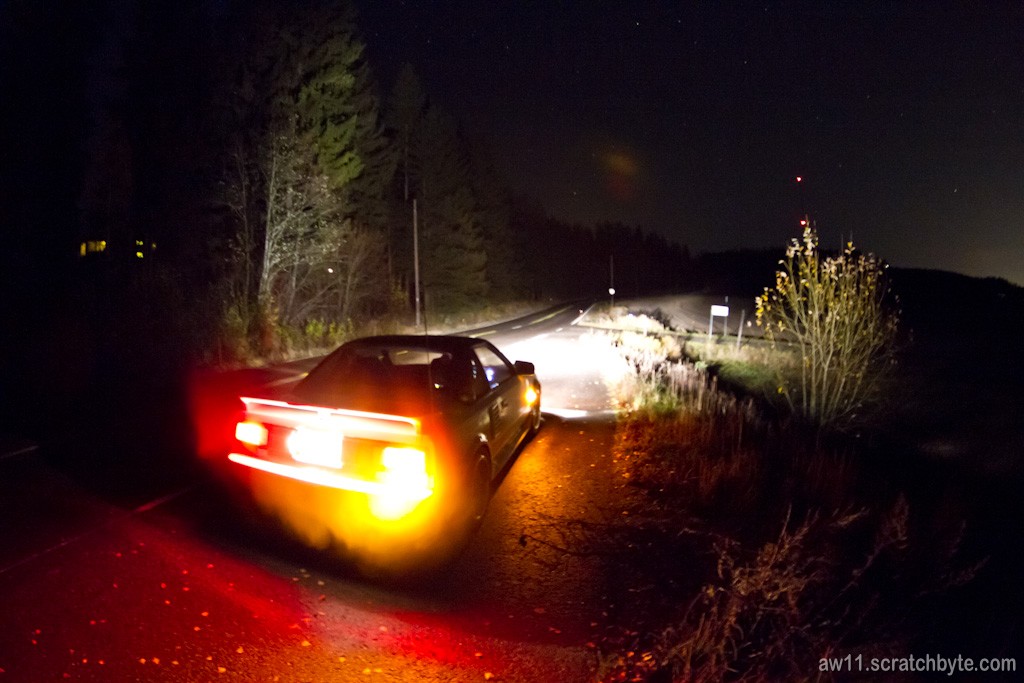
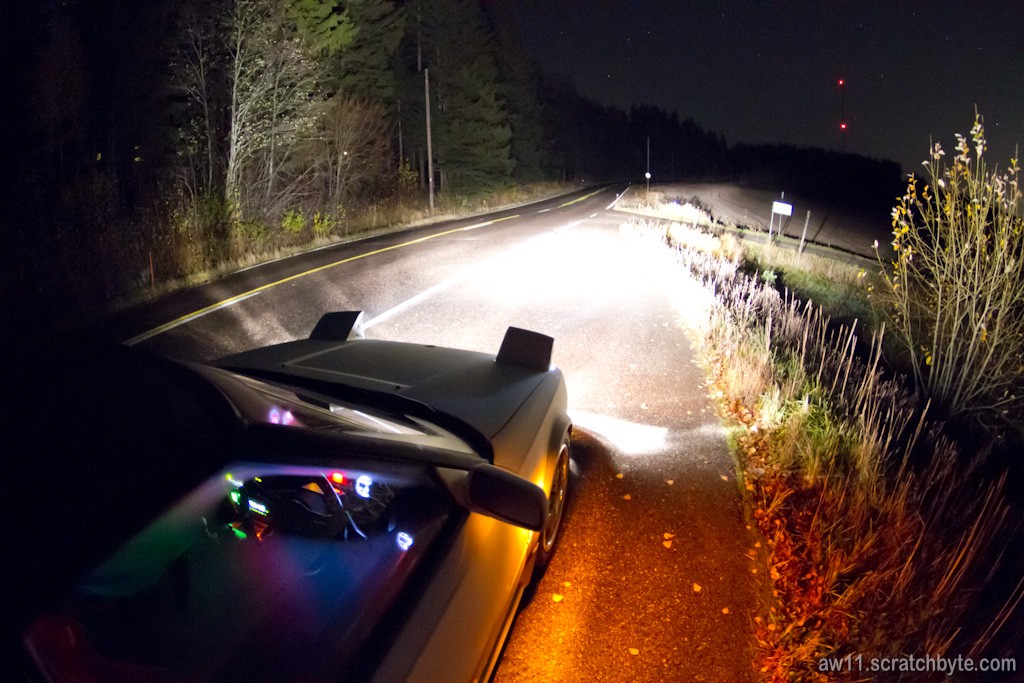
I took a bit longer route back to the garage, but that was worth it 🙂