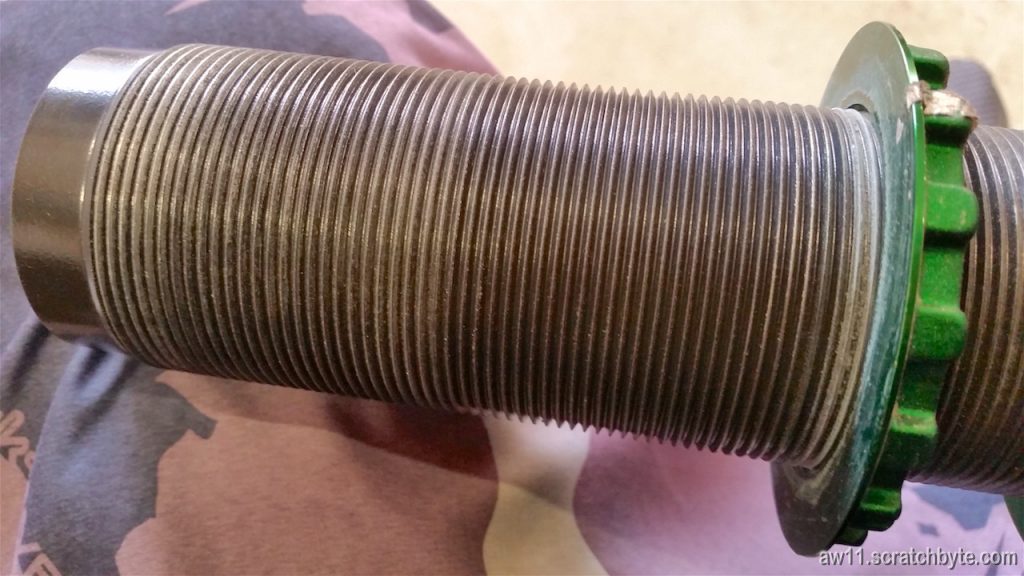
This one was making noise. The lower lock nut was loose. The idiot who left it loose was me.

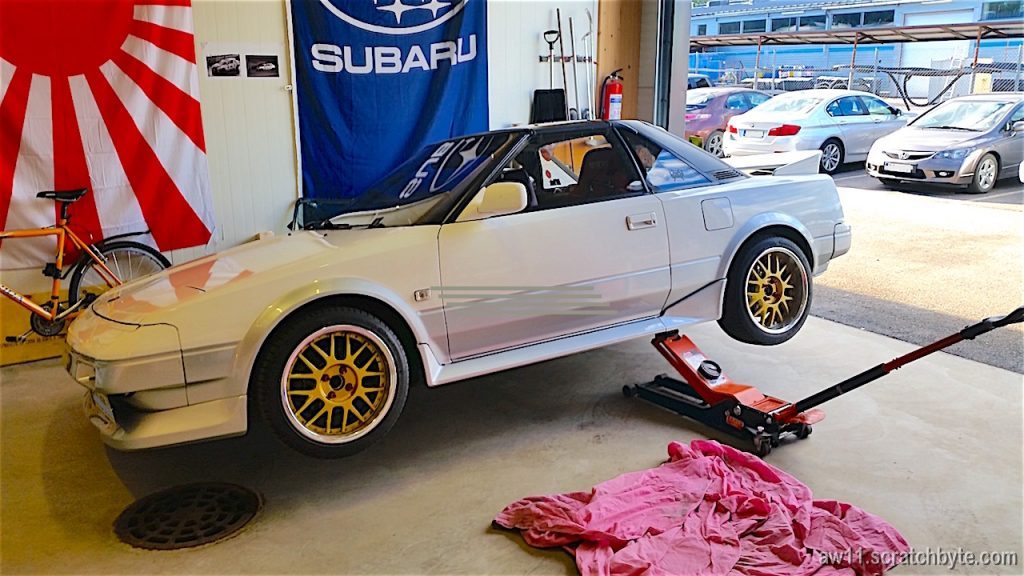
Toyota MR2 AW11
This one was making noise. The lower lock nut was loose. The idiot who left it loose was me.
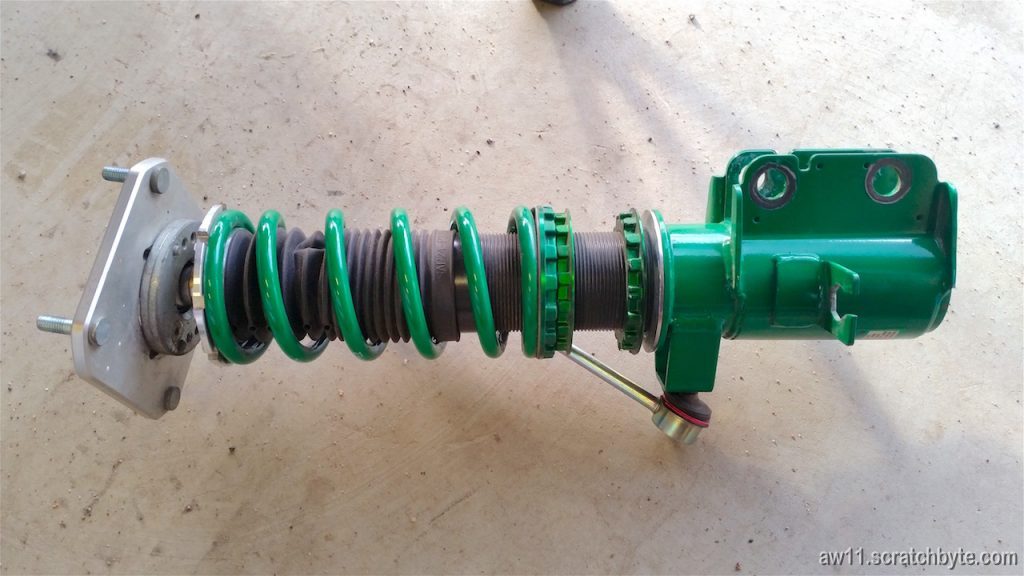
There is still a little bit to do with the Tein. For the rear, I dont have any kind of camber adjustment, but that can be fixed with SW20 camber adjusting bolts. For the front, I’ve been thinking something similar.
Ive got the measures for the front camber adjustment cam somewhere and based on those, it is possible to use SW20 camber adjustment bolts in front hubs too, but only in the upper bolt hole. Some of the parts need to be done in lathe, but that shouldnt be a problem.
Also, that 2mm shim plate is not as elegant as it could be. I might revisit it later.

We built a loft!
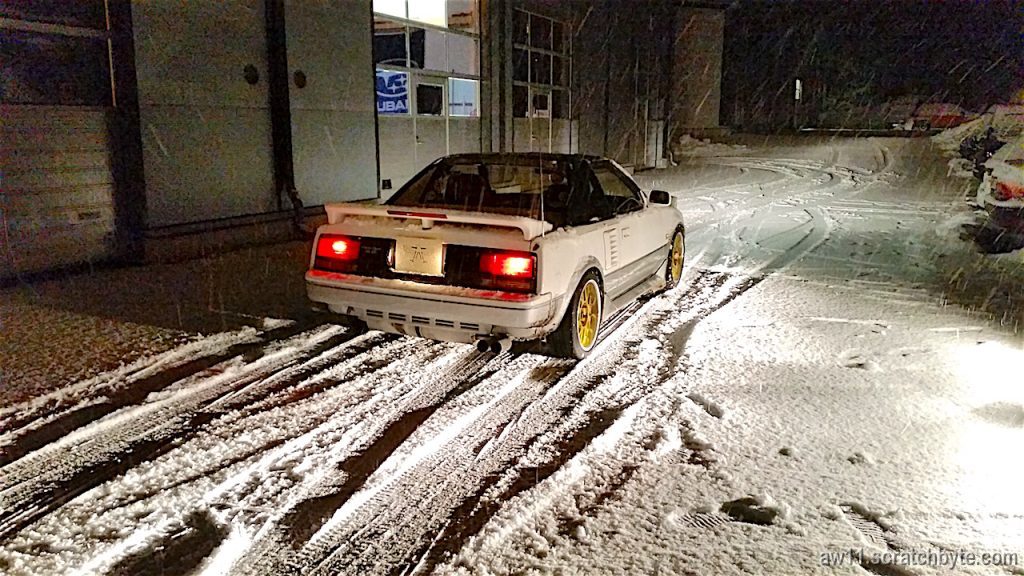
Messing in snow doesnt have anything to do with the garage, it’s just fun 🙂

This happened maybe four years ago: I had a small accident when jacking the car up and the car fell off the jack and apparently hit the AC fan shroud leaving a dent. I didnt notice the whole thing and the AC kept pushing cold air so nothing was wrong. 🙂
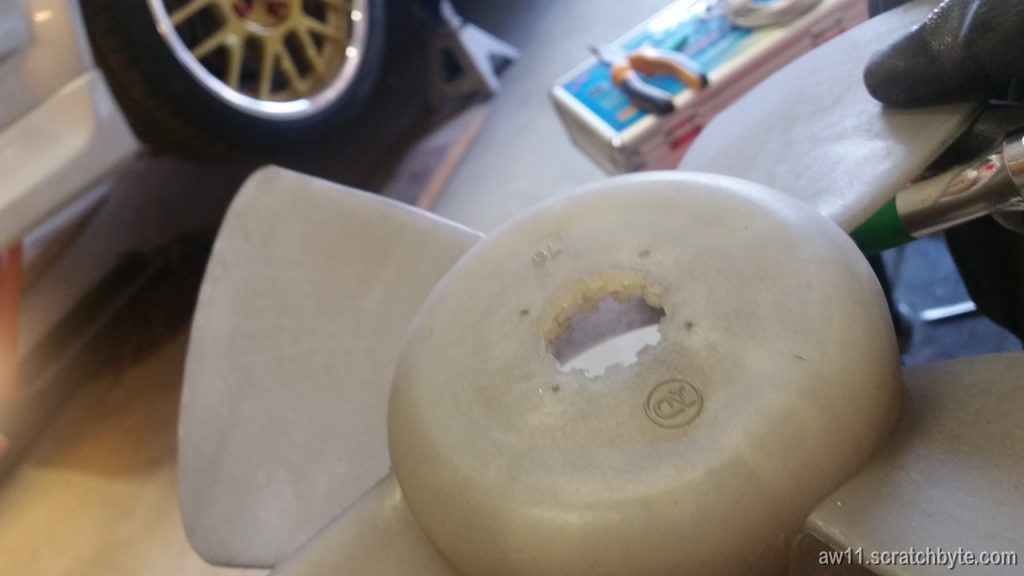
The dent had pushed the fan blades in a weird position and breaking the fan off the motor axle. While being stuck, it also blew the fuse.
I warmed the fan plastic a bit and then epoxied it back to the motor. The fan shroud was surprisingly tough metal and I went full blacksmith when hammering it back to shape.
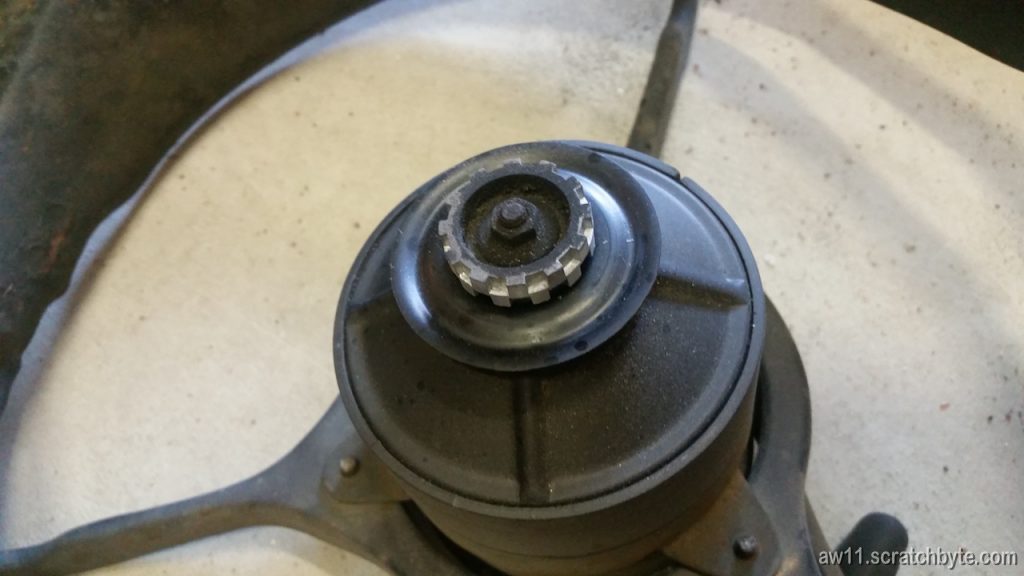
Found out that the car has two fans, one for the radiator and one for the AC. Maybe a bit of luck was involved when the jack slipped, the radiator fan would have caused a lot more problems.
2mm thick stainless steel
The body is kinda stiff
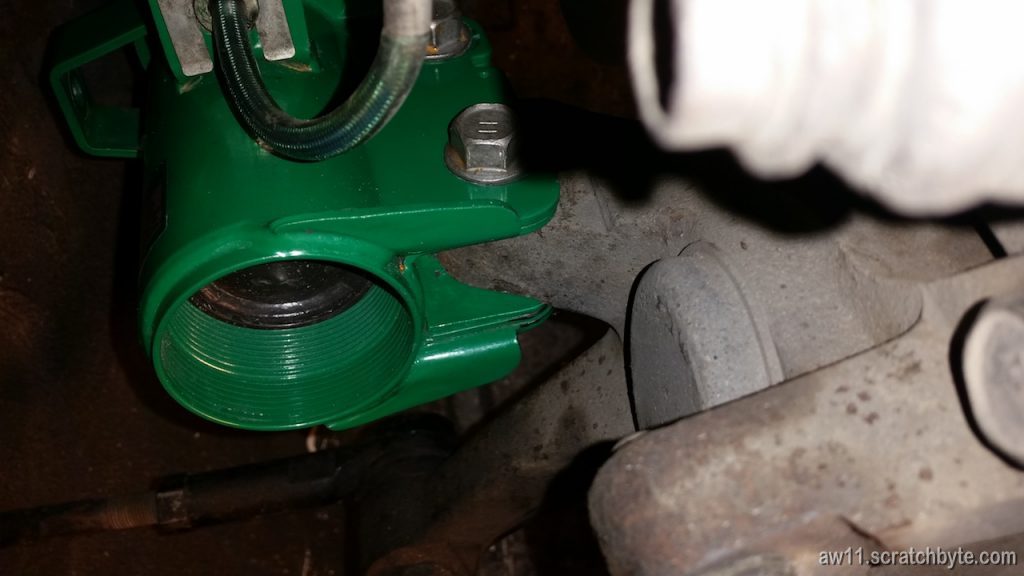
Test fitting the spacer. Even without the green paint it seems to disappear into the clevis.
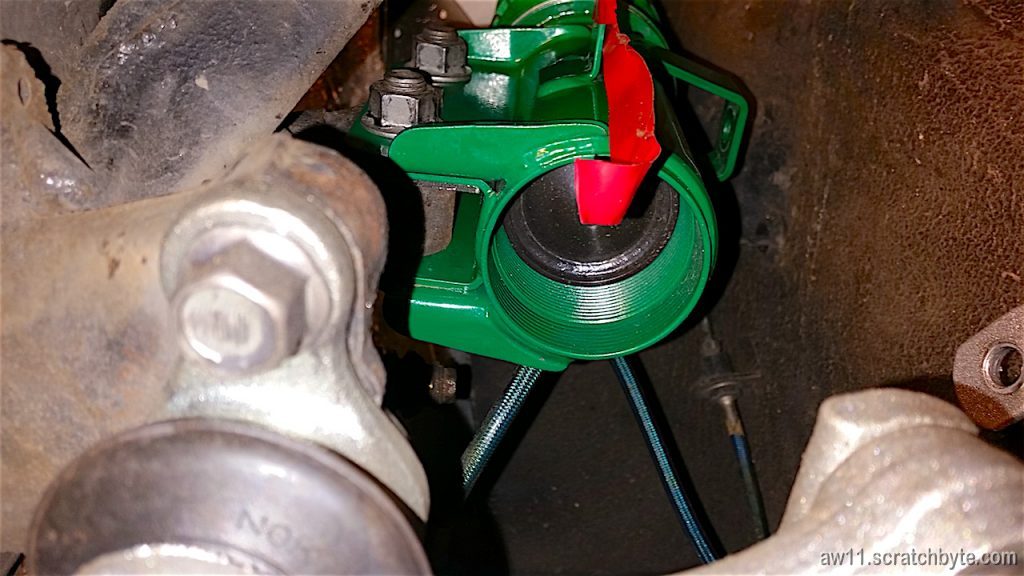
Its there. Bit too shiny, it might show up in the inspection.
Painting the spacers. painted only the visible bits.
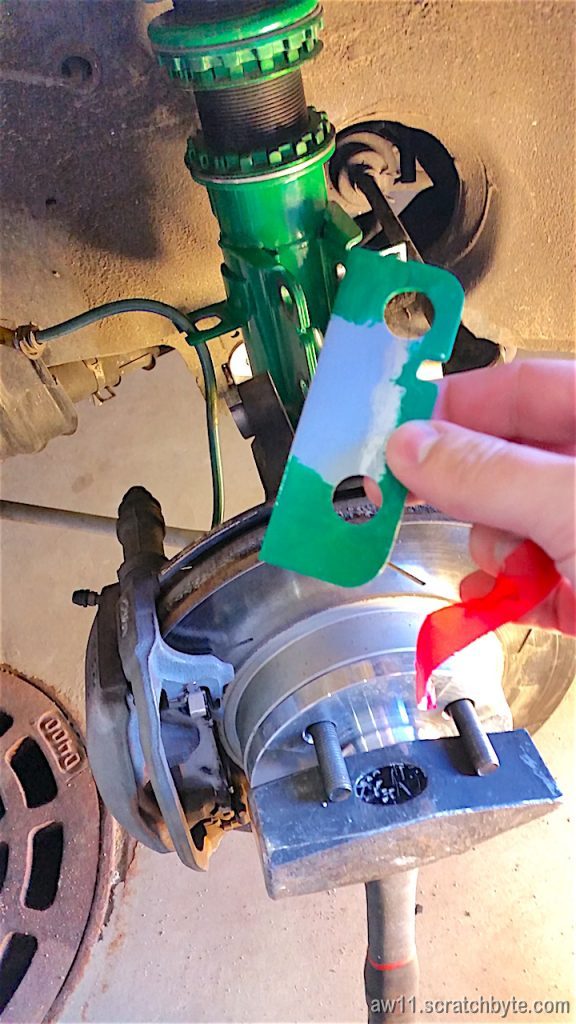
Paint has dried, going in.
After painting, the spacer looks like factory made.
From below.
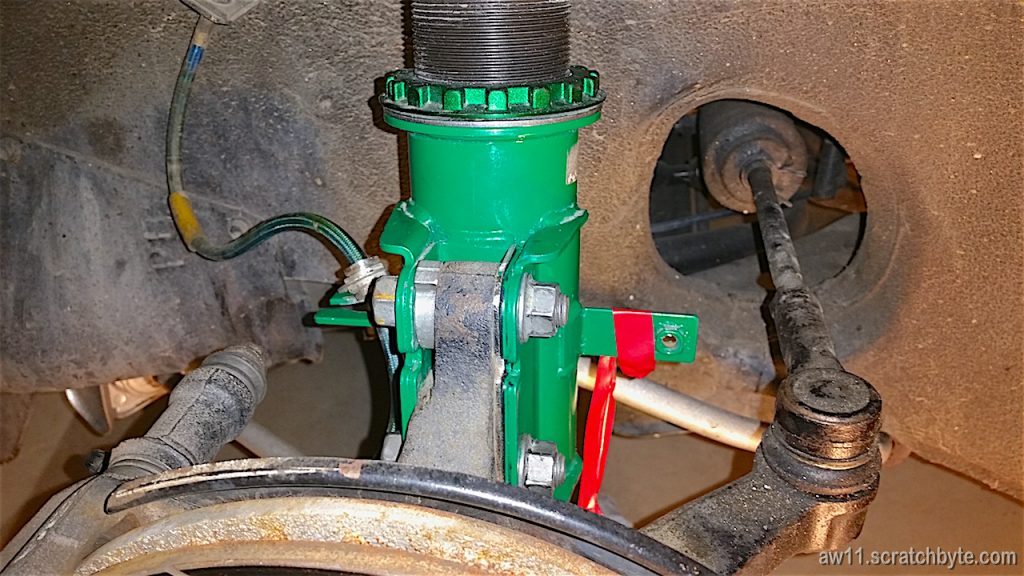
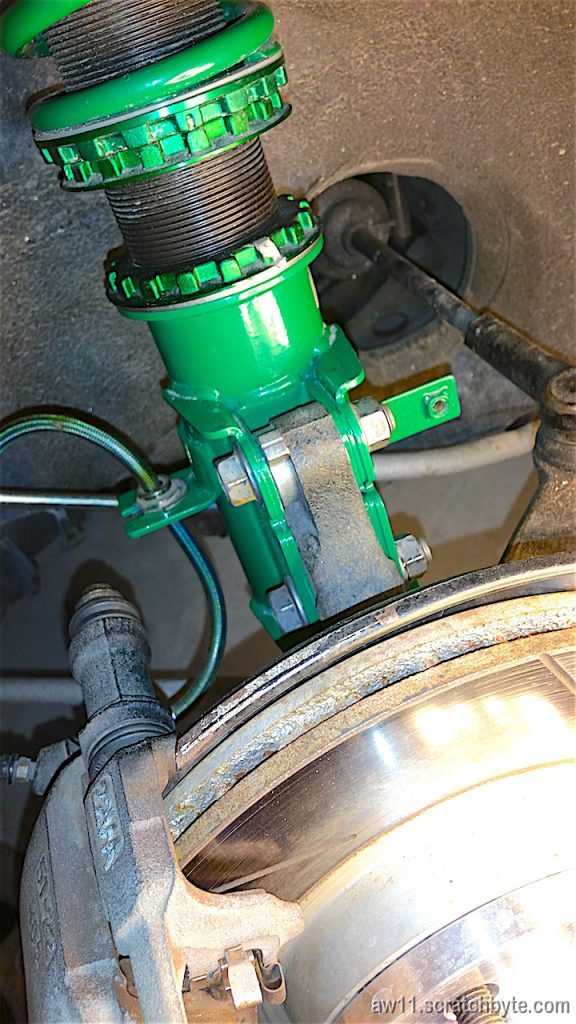
Ok, it seems that I need to address the front strut/knuckle bolts and shim-spacer-whatever again. I had a bit thicker spacer that really was needed and still the upper bolt had moved a bit. This time im pretty sure that the AW11 front knuckle bit that attaches to strut bottom is 26mm thick and SW20 has a 28mm thick bit. I had a 2.2mm thick shim and, well… it needs a redesign 🙂

I was testing some half-inch wide spacers, when i accidentally put one of my rear wheels on with the spacer.
This is how it was. Wheel is 16″ x 7″ +13 and there is a 13mm spacer, so it ends up being zero offset.
Edit: Oh man! I didn’t include the tire size! It is 205/45 R16, which has slightly too large diameter to fit nicely in the front wheelwell.

Seems like zero offset would be doable with some tire stretching and camber adjustment.
I built this oil filter relocation kit some time ago. For my first adventure with such things, it performed really well. There were some leaks, but relocation, pressure sensor and temperature sensor were a success.
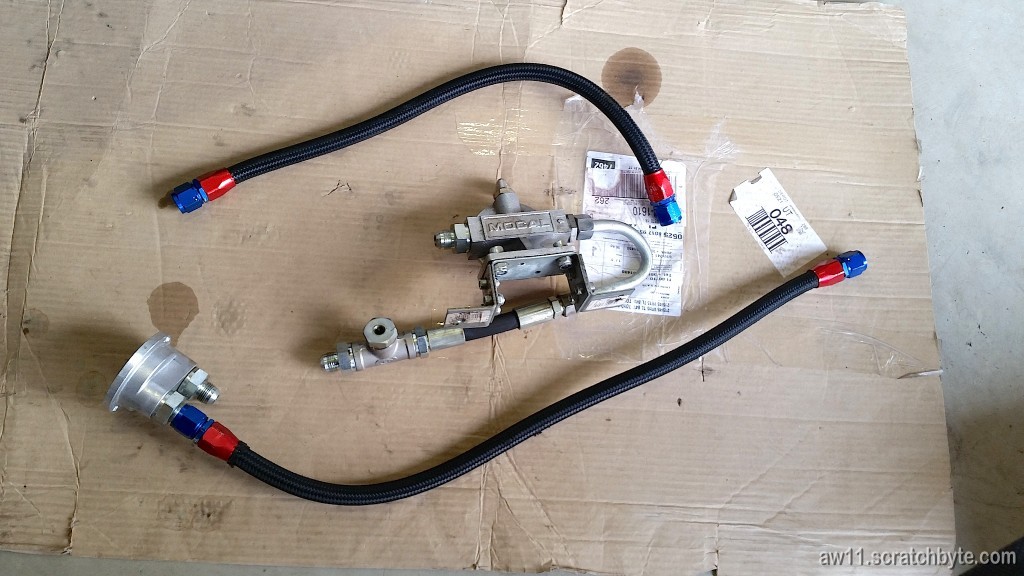
Only thing that annoyed me was the resonance. I attached the oil filter bit next to the fuel filler hose, which got the whole fuel system resonating.
For the replacement, I just got this generic chinese made sandwich plate and decided to get rid of the whole relocation stuff.

The braided hose for the pressure sensor was perfect and i was able to mount it on top of the engine. The sensor is on the heavy side and I felt it could break free (and crack the aluminium) if left attached just to the sandwich plate. I did some heat shielding with 3M aluminium heat shield tape.
Edit: I forgot to mention, the temp sensor wiring and pressure sensor hose went between the exhaust manifold and block, otherwise i wouldn’t made the heat shielding
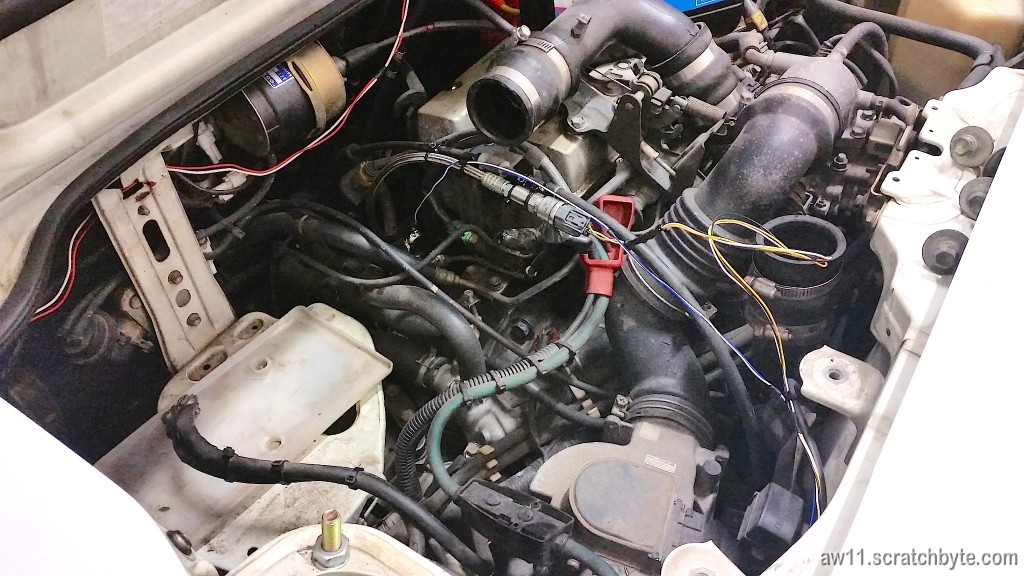
I had to lenghten the wires for the electric parts, which I did properly. I found very nearly the same wire with same colors and did a top notch job. The wires were soldered with supports to eliminate possible cracking in shaky enviroment.
Just change the distributor cap to fix it. Easy?
No.
There was a drop of oil under the car every now and then, which was dripping from the AC compressor (definetly not from the compressor itself). Couldn’t find the source, but then reading an article about the 4A distributor and the distributor seals, I wondered if this was a good time to do a overhaul.
Cap was old and used and so was the rotating bit so nothing spectacular there. Just needed to buy new parts.
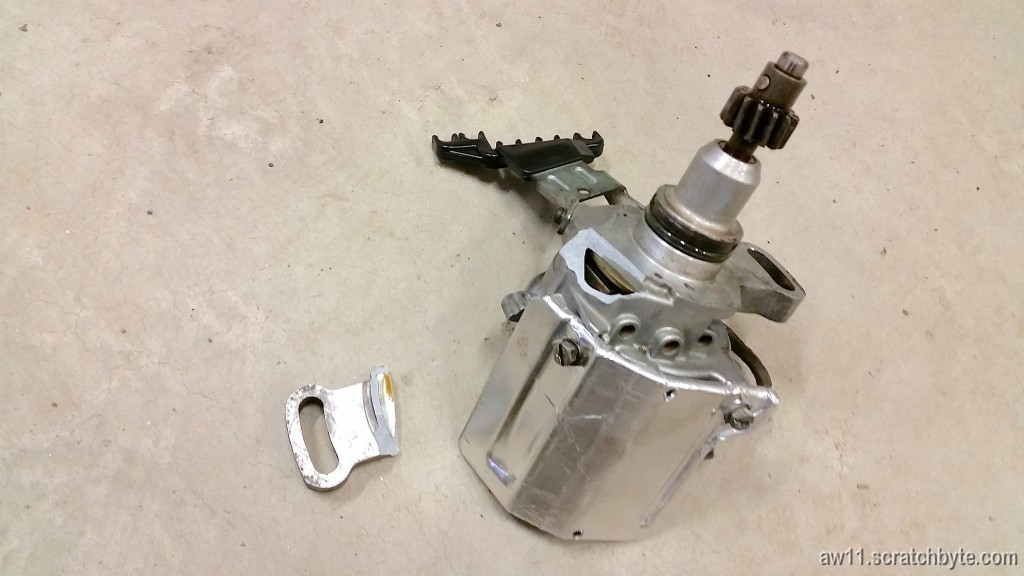
I took the whole distributor off the engine and inspected it on the floor.
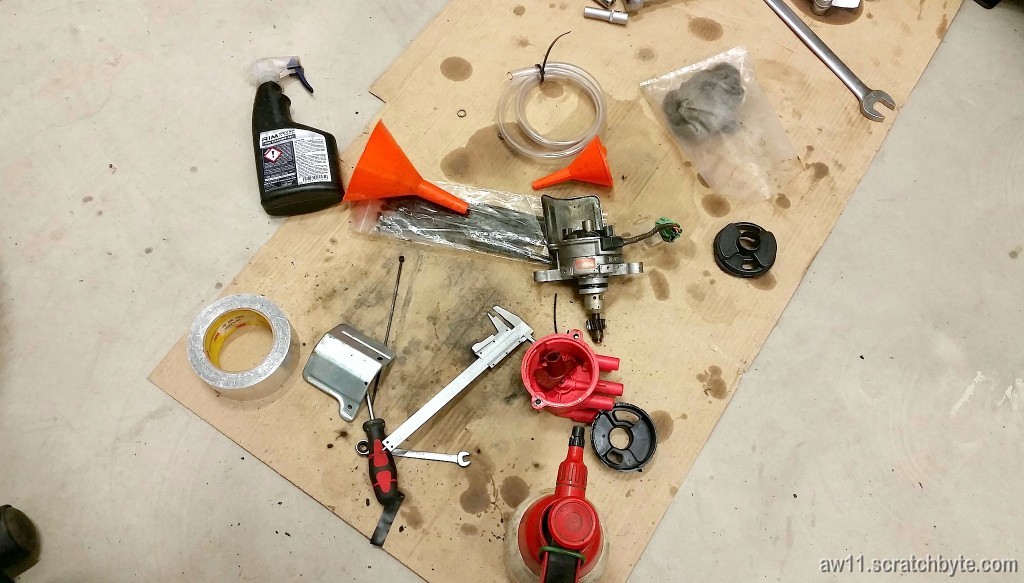
All the seals were either hardened or destroyed, so I needed to get some new stuff. I went to see the guys at the local shop for such things. I got some Viton seals for longevity.
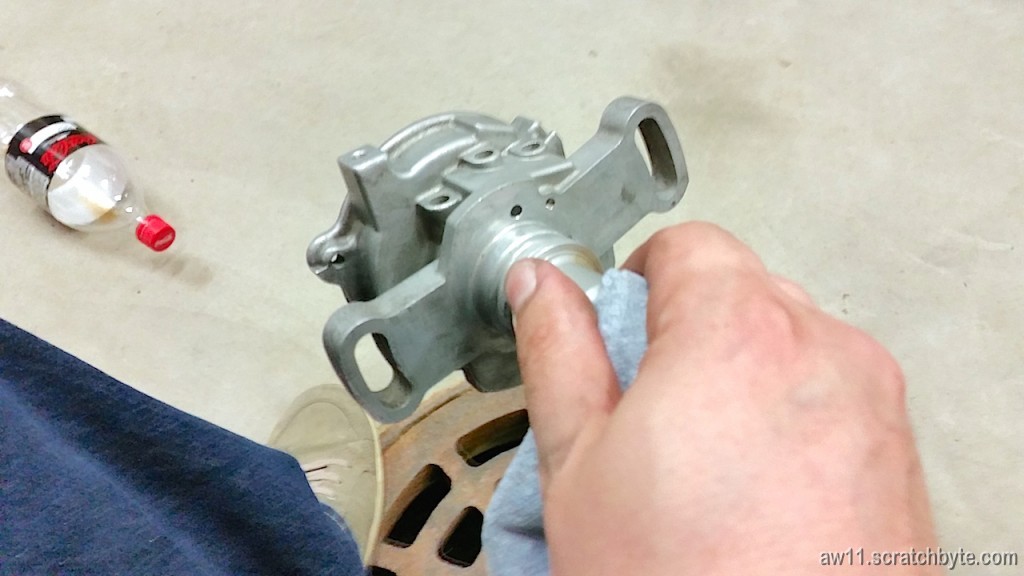
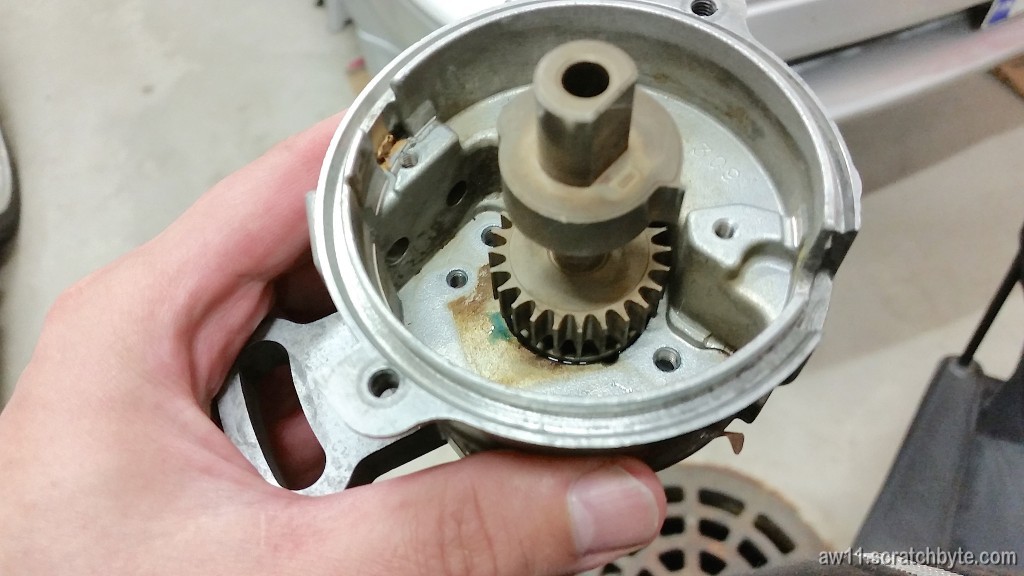
I cleaned the whole thing inside out as well as I could. There was some oil inside, but nothing serious. I read the installation instructions from the manual and started slowly to tighten the bolts. I had the first bolt tightened with fingers and used my 1/4″ ratchet to get the second one slightly more tight. There was almost no resistance when *tink*
And this happened:
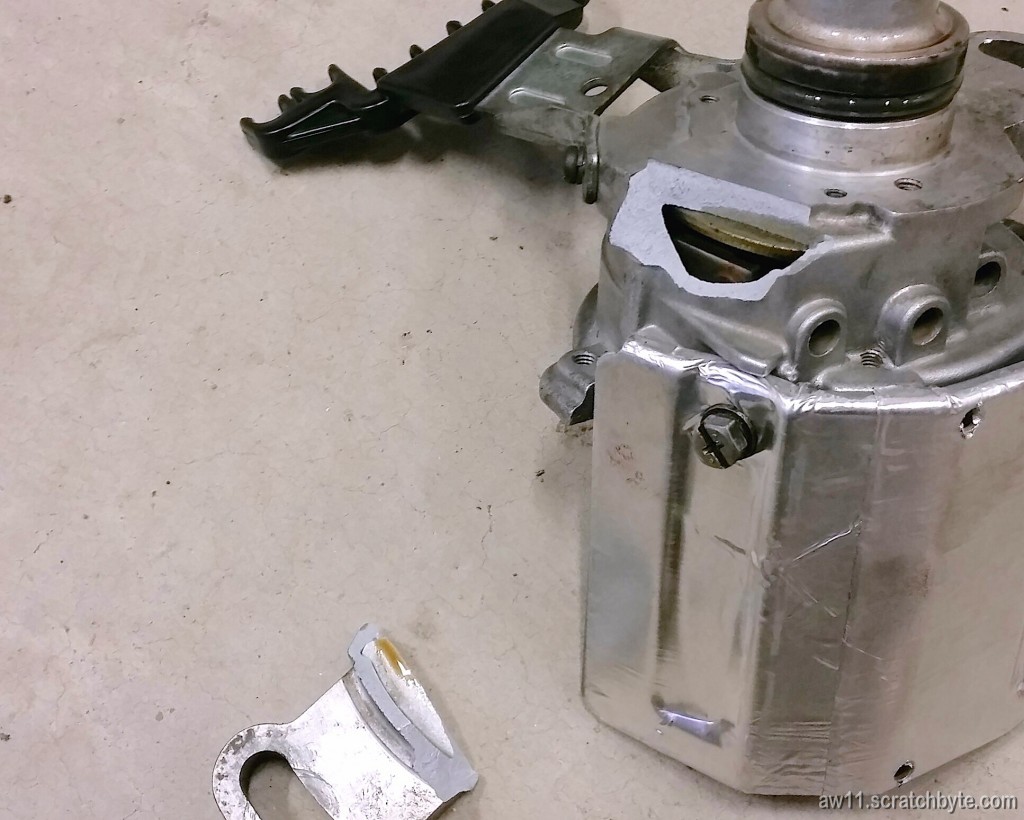
Luckily, I had a second distributor on my spare engine, which got the same treatment. New seals, cleaning inside and swapped the new cap.
The seals did the trick. No more oil dripping off the AC compressor.