Intermediate fix

Ok, easy start. Jack the car up, remove rear tire.

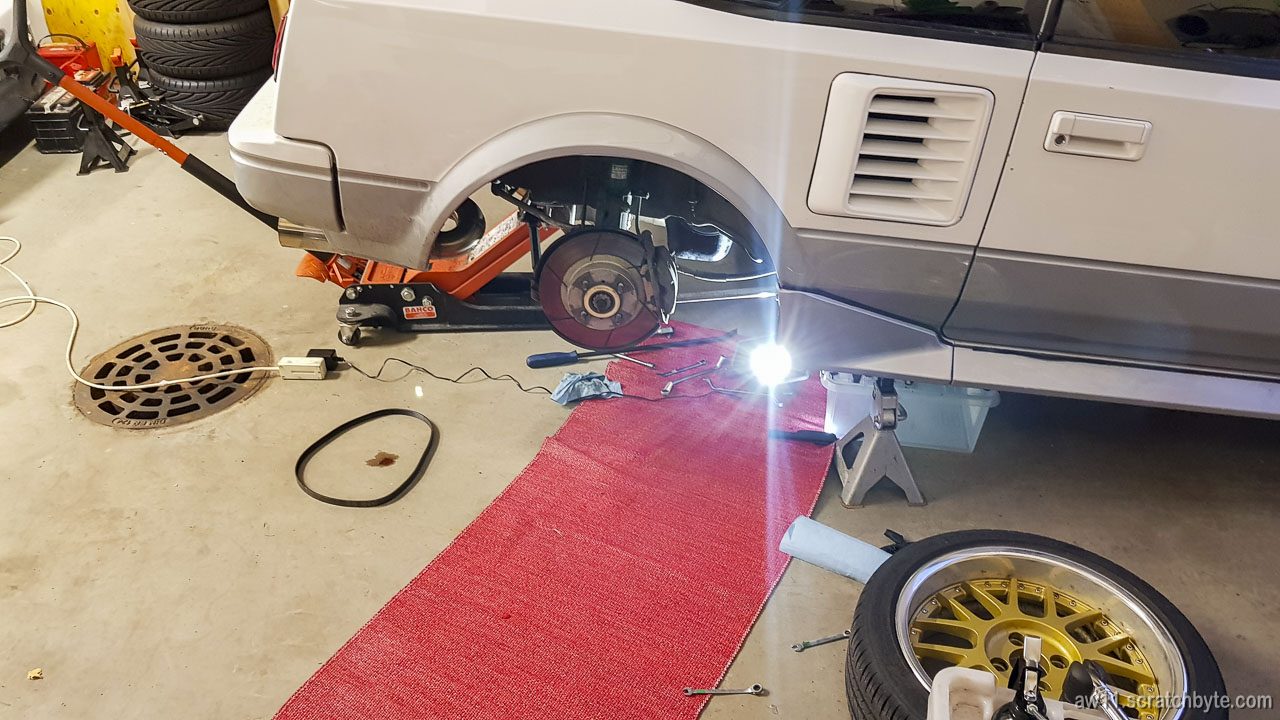
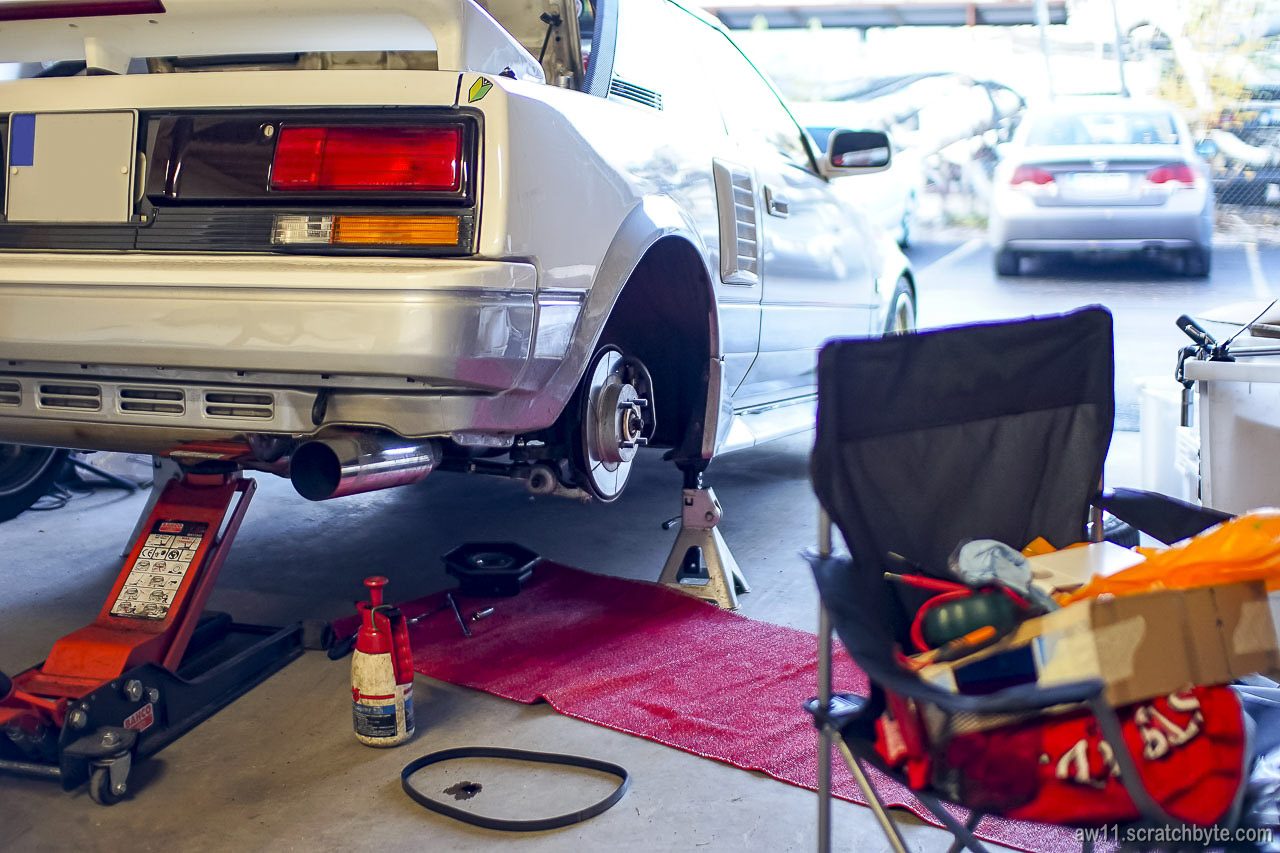
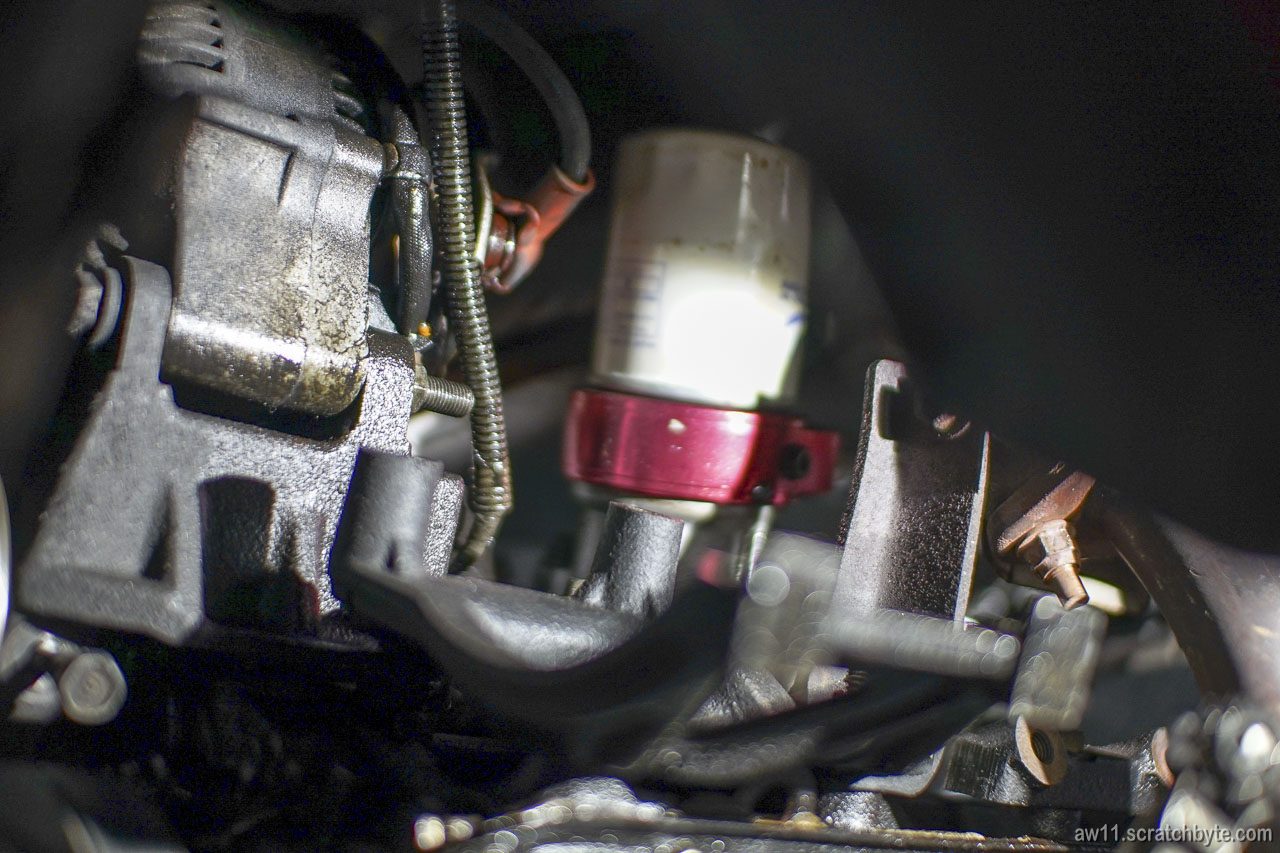
First look from underside after removing AC compressor. Oil mixed with dirt everywhere. I better check my oil level, feels like my engine has more oil outside than inside.

The AC compressor was also covered in oil. I found it on the bolts too.

And the lower alternator bolt. Completely covered in oil. It seems my engine oil would work wonderfully as penetrating oil.

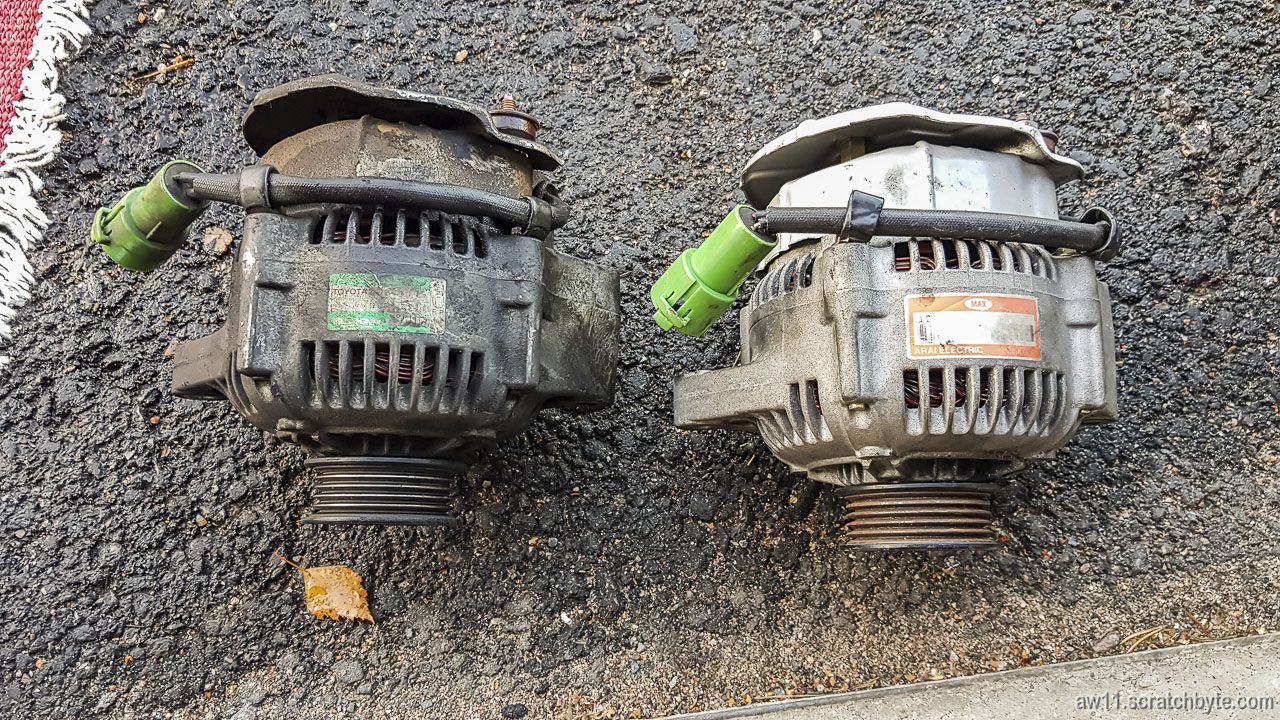
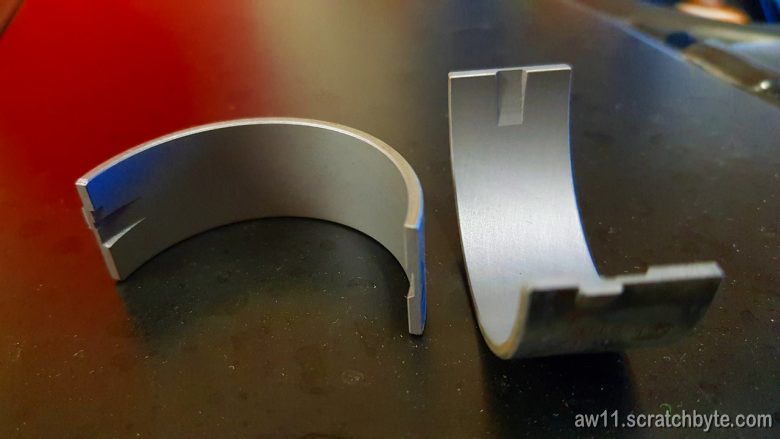
Broken one on the left

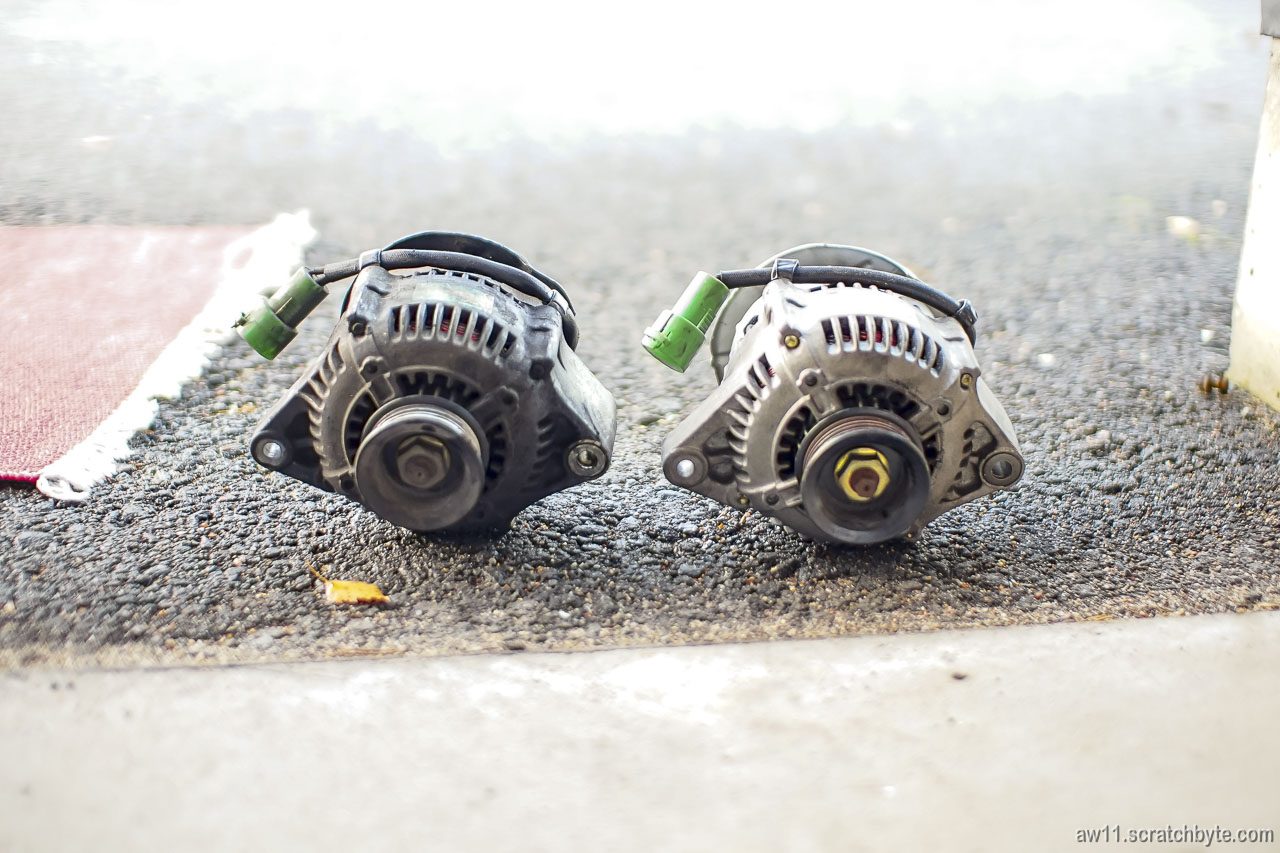
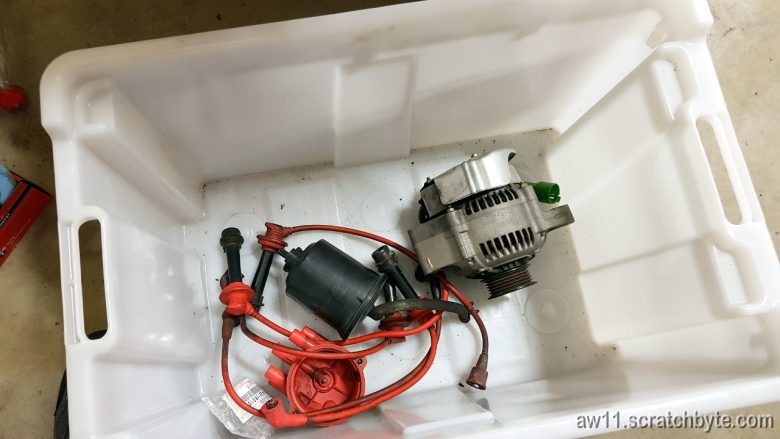
Under all that muck this thing looks surprisingly good. I wonder if this really is a 30-year old alternator. The pulley (and therefore the whole thing inside – the rotor) was rotating very easily. Definetly not a bearing problem.

Toyota part number is 27020-16130 and Denso part number is 121000-2500

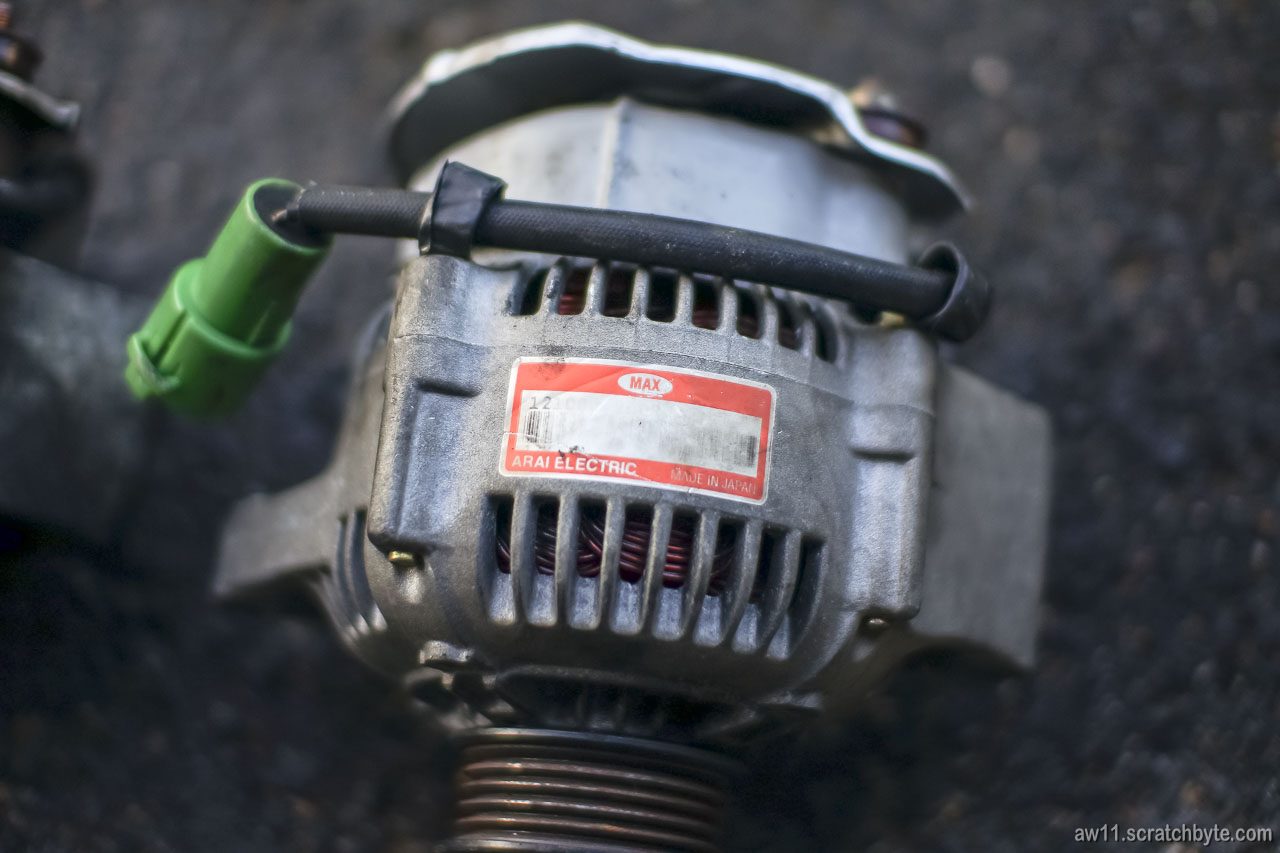
A japanese part for Toyota that isnt Denso! Arai electric, never heard of the company but presumably this is a quality spare.

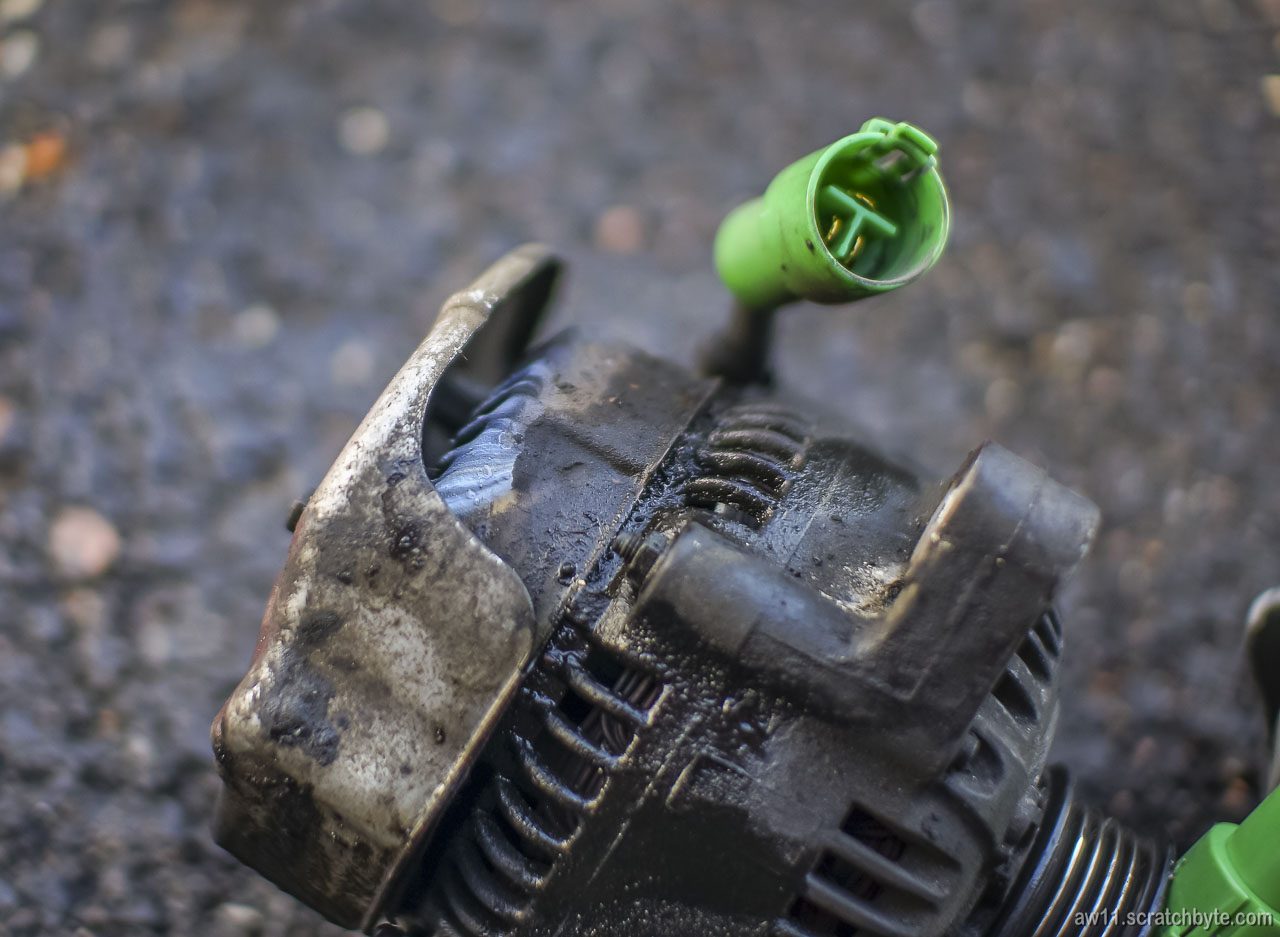
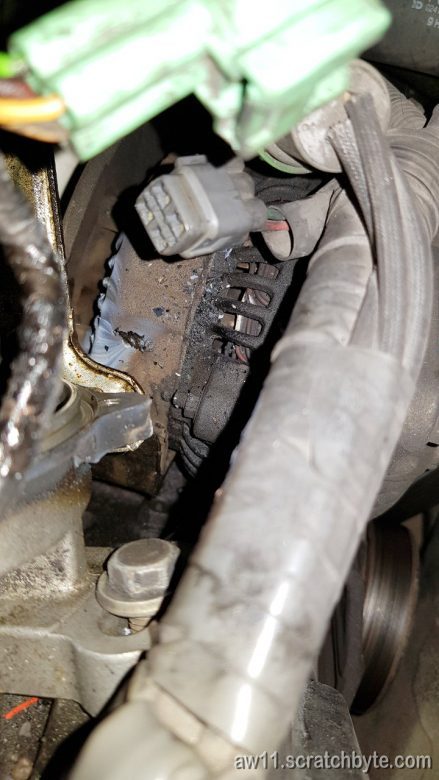
I guess oil, dirt and time got this alternator. Wonder if this is still rebuildable? Burn marks visible on top of the alternator, coming from under the heatshield.

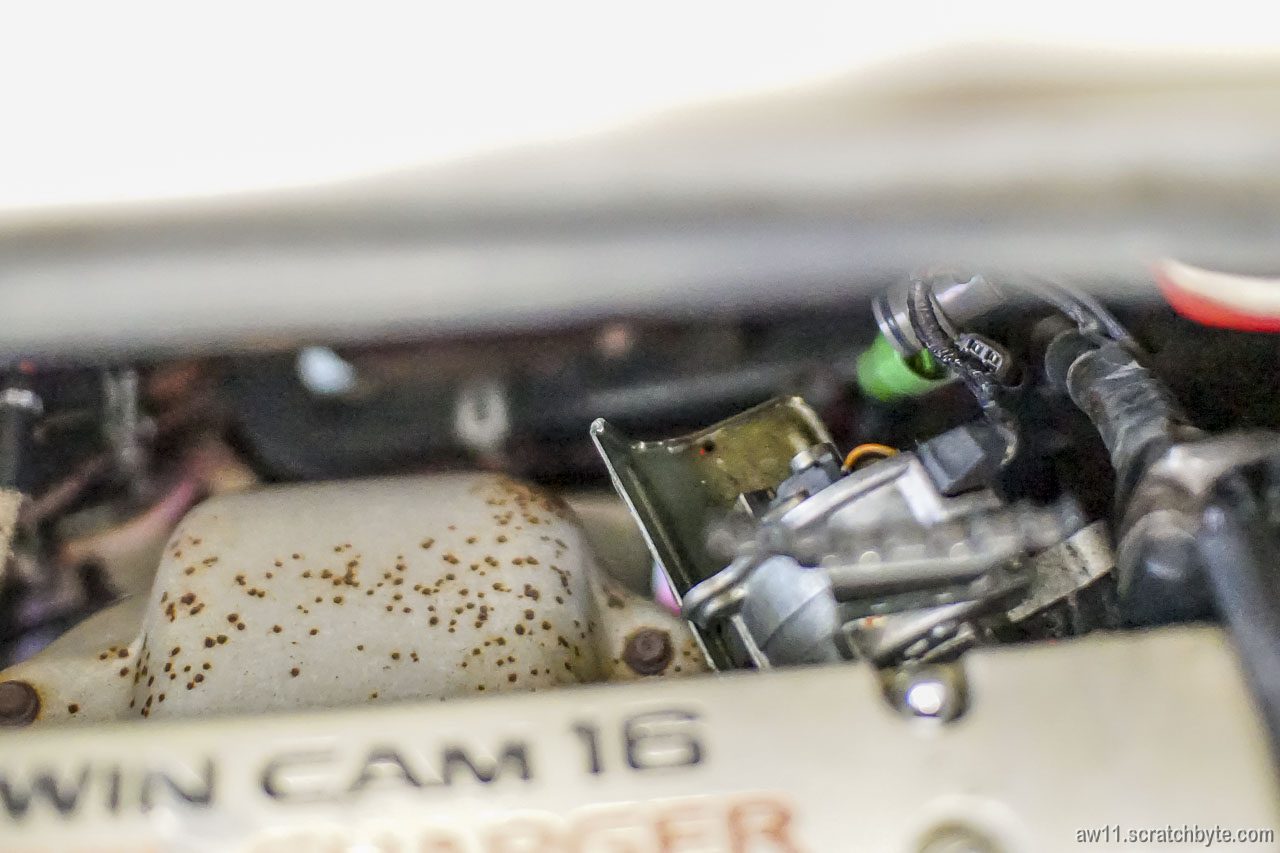
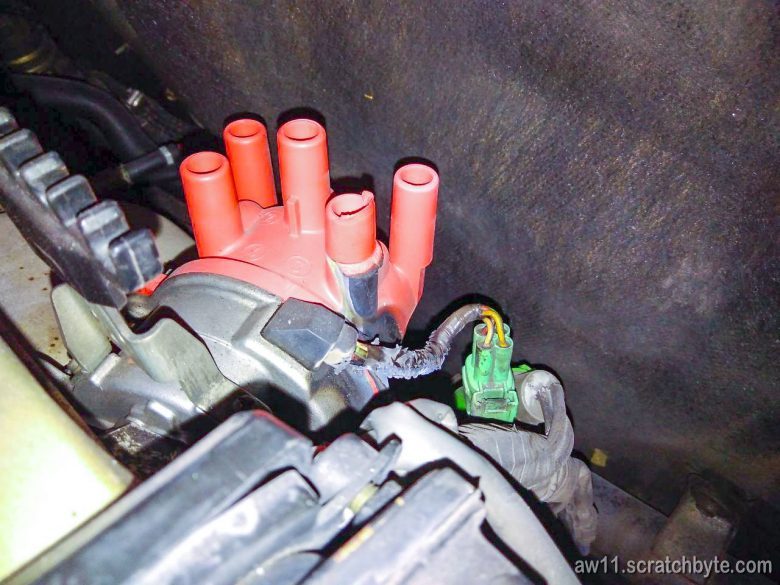
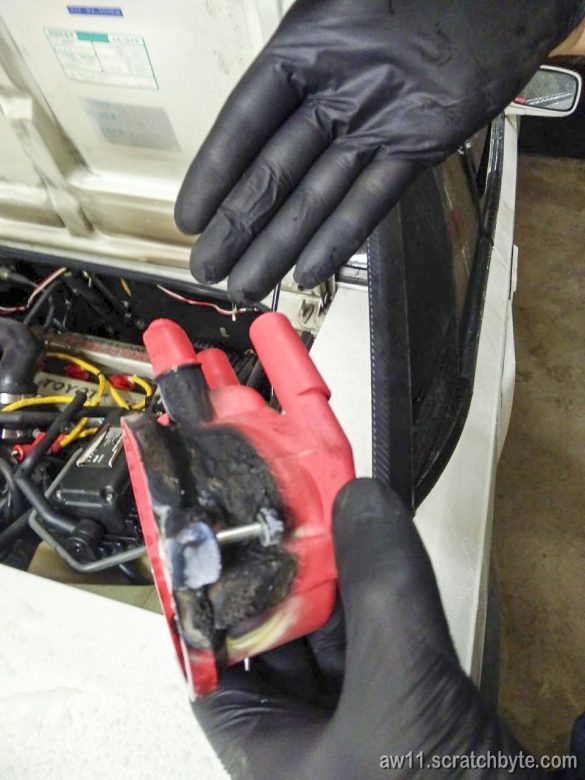
From above. Distributor without cap and rotor. There is still some oil on the heatshield. This is a wild guess, but when the boost builds up, there could be so much pressure inside cylinder head that it is pressurizing the distributor thru the worn shaft seal, then spraying the included oil around engine bay.

I better take the distributor off the engine at some point and examine it.

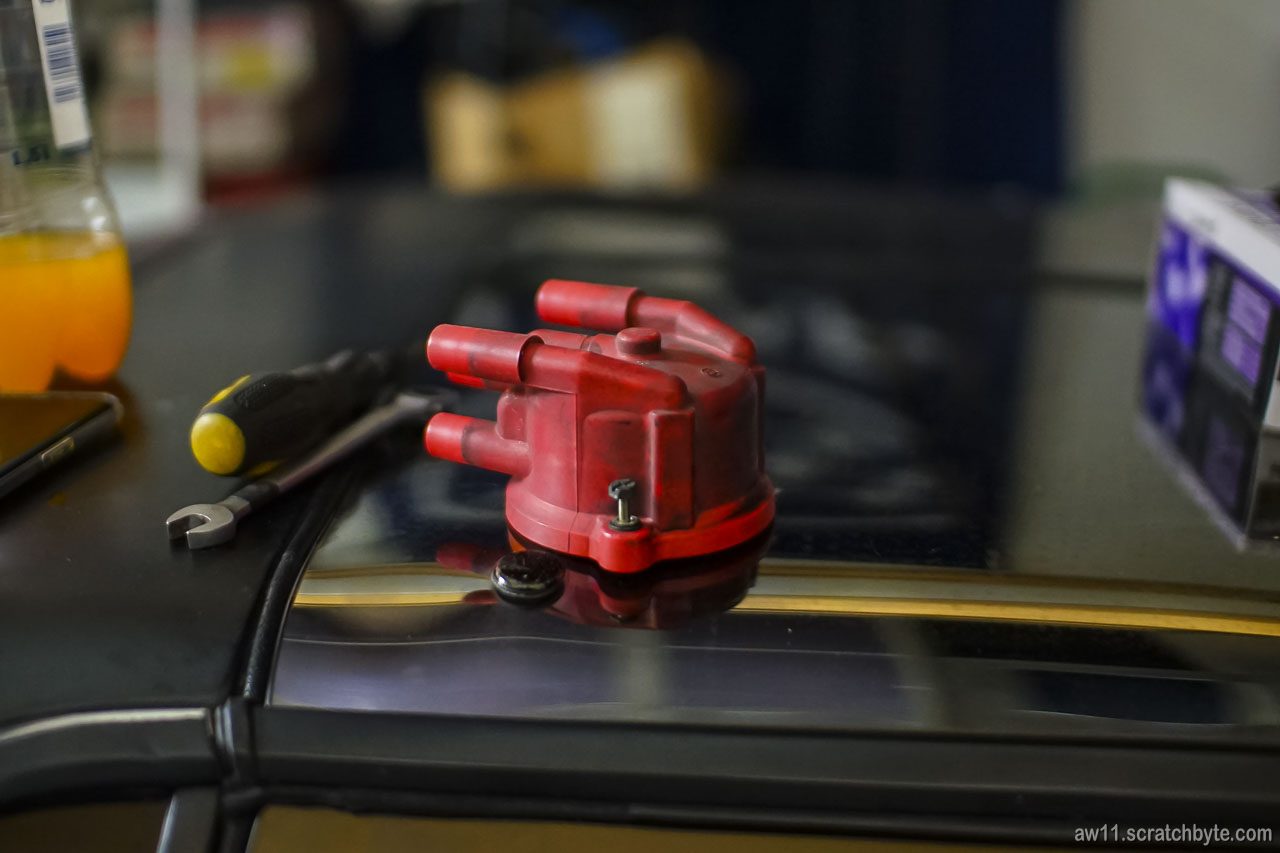
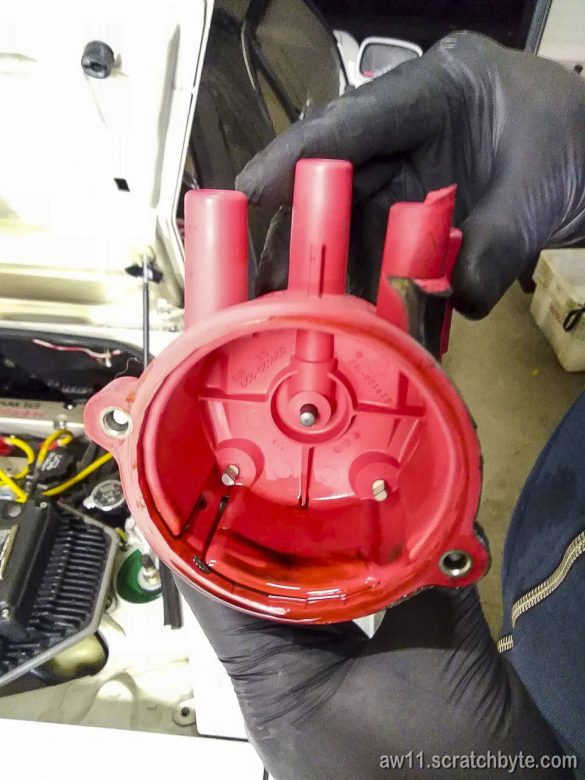
Old and used distributor cap, still in working order.

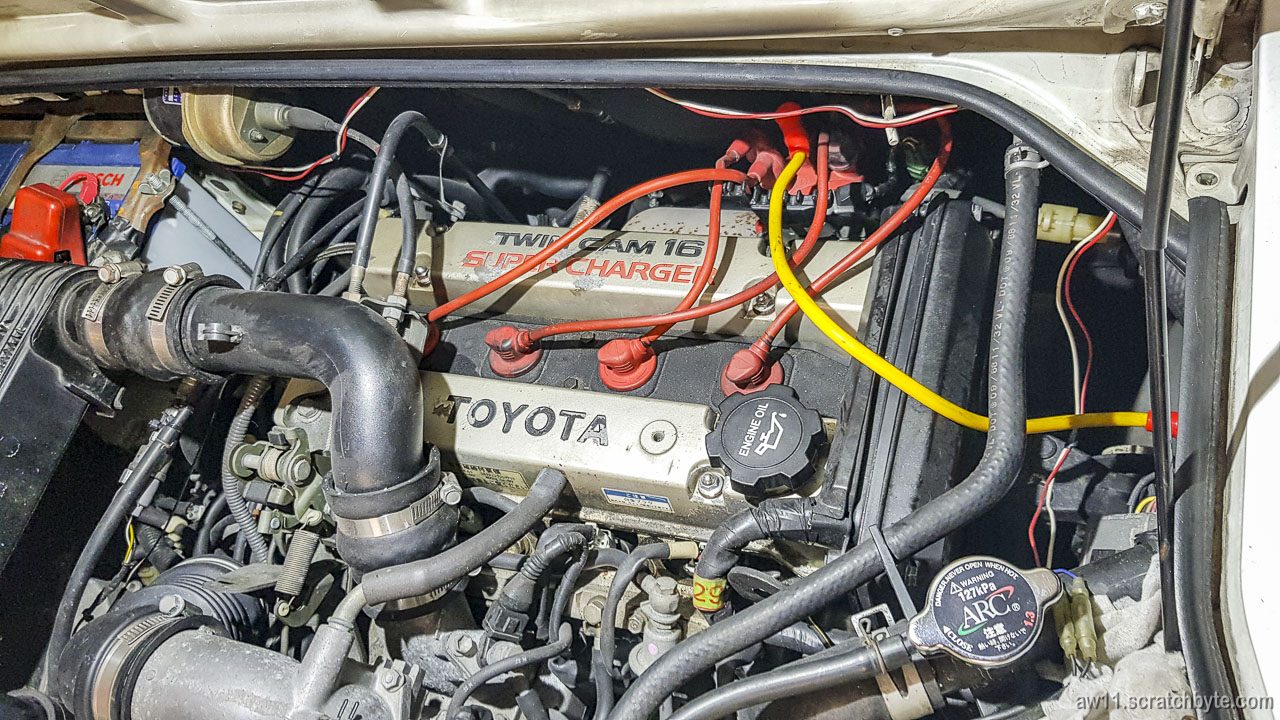
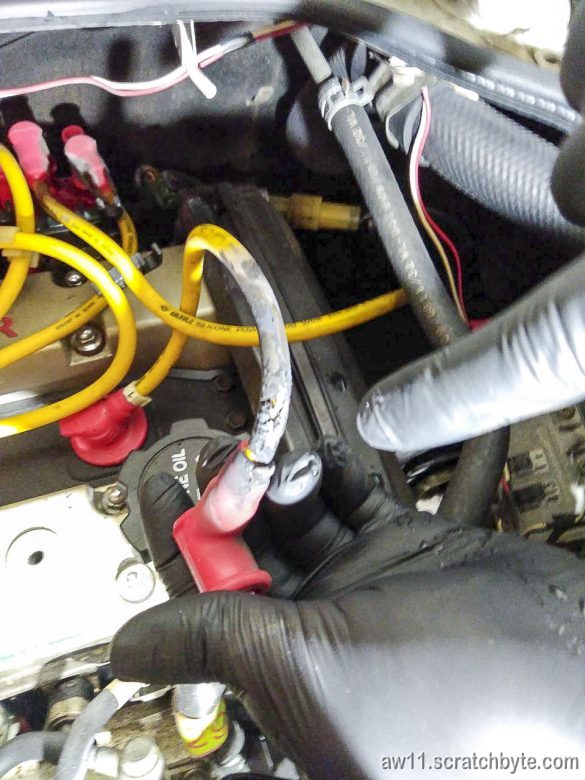
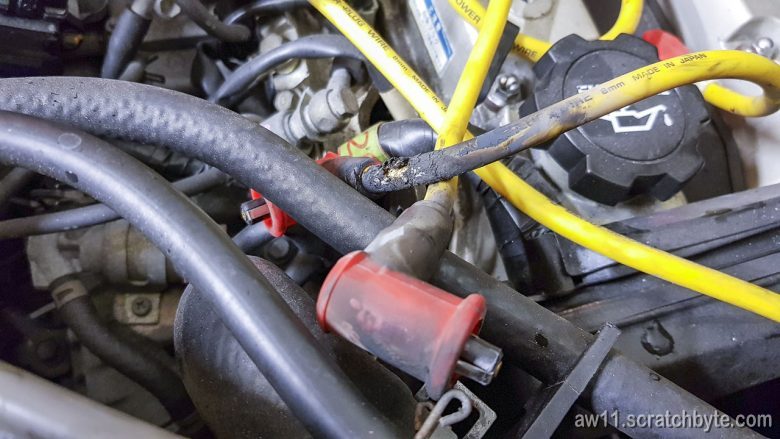
Old plug wires. Salvaged the quality Ultra wire that sits between distributor and coil.

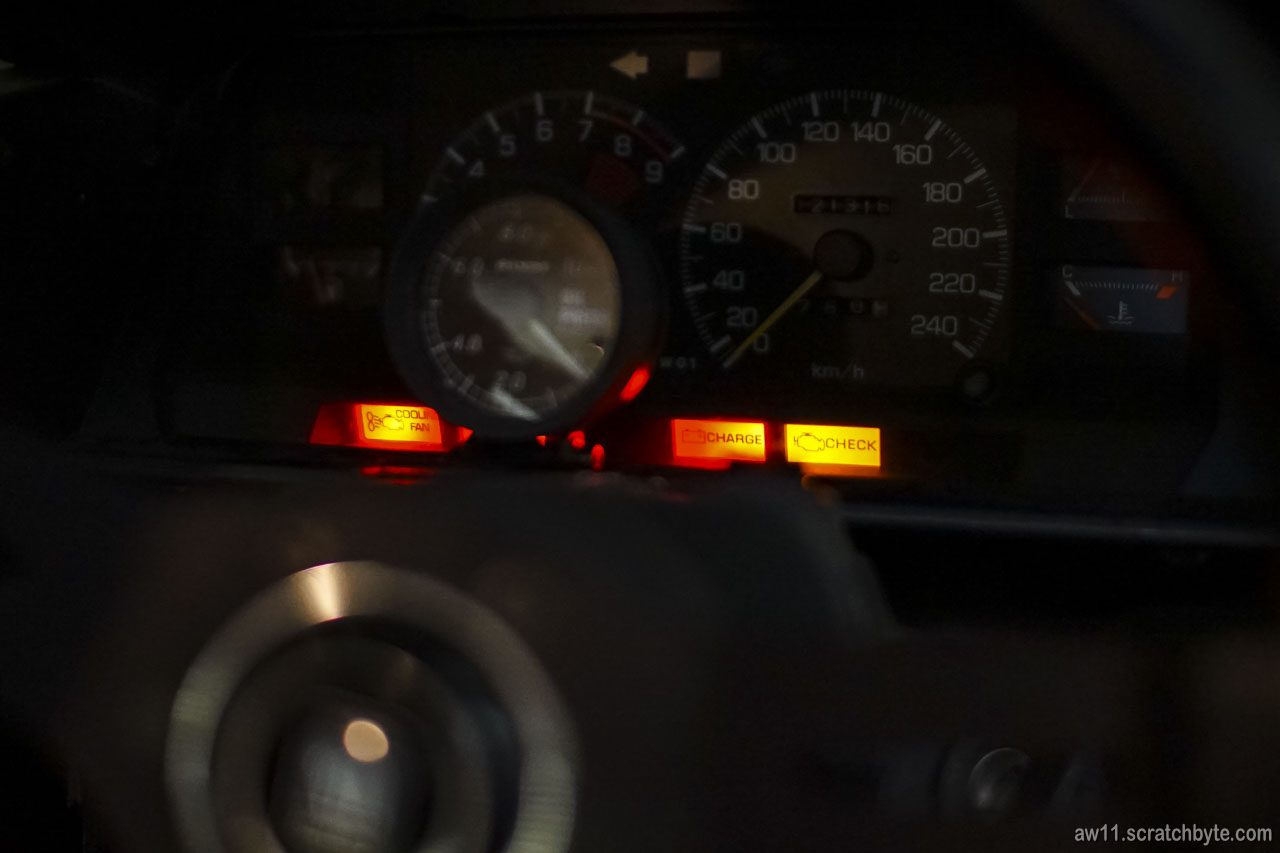
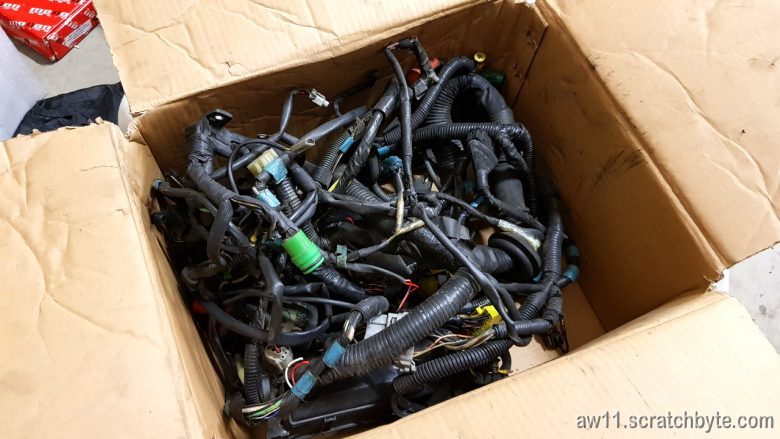
After I noticed that something was wrong with the car (the smell, not charging and burn marks) I turned it off and started it couple of times. While turning on the power, the warning lights just briefly blinked and stayed off. I thought that something else was also affected, maybe a relay or a shorted wire.

To my relief, after the alt swap warning lights stayed on when the power was turned on. Seems like no shorted, melted or otherwise damaged electrics.

I’m not sure if the lights were acting before alternator caught fire, but I guess the lights were not supposed to indicate problems this way 😀

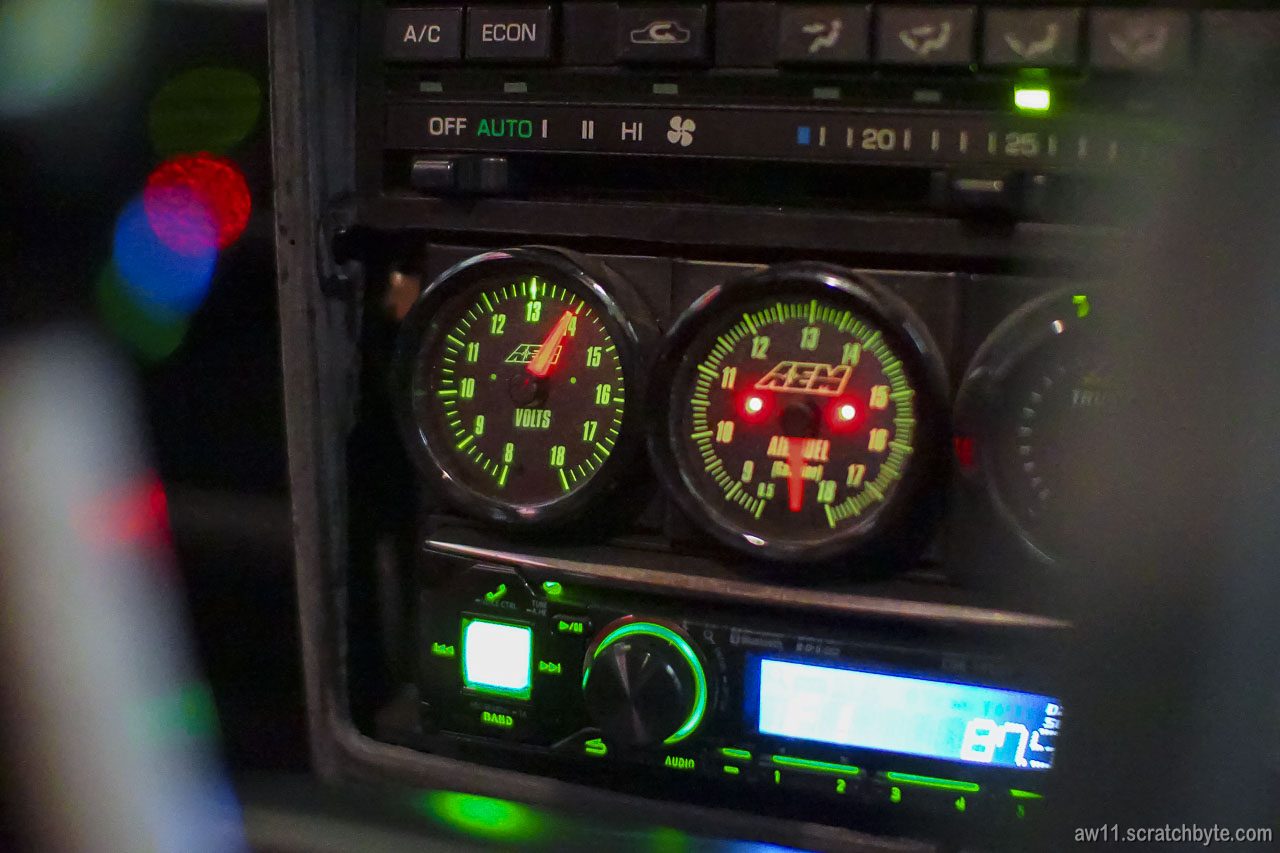
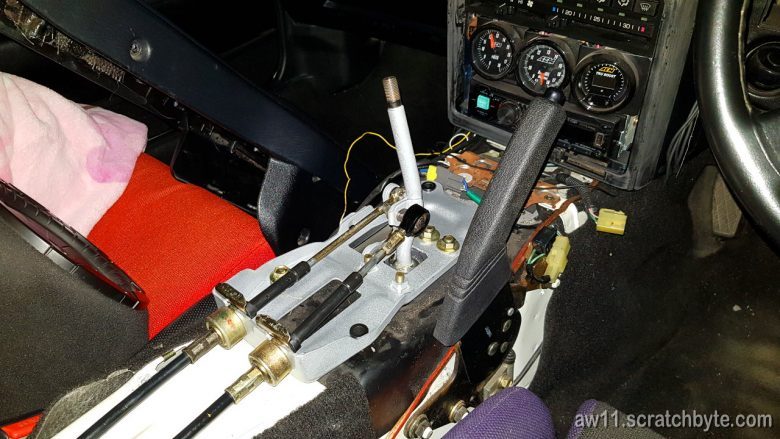
The pessimistic AEM voltage gauge is showing surprisingly high voltage.

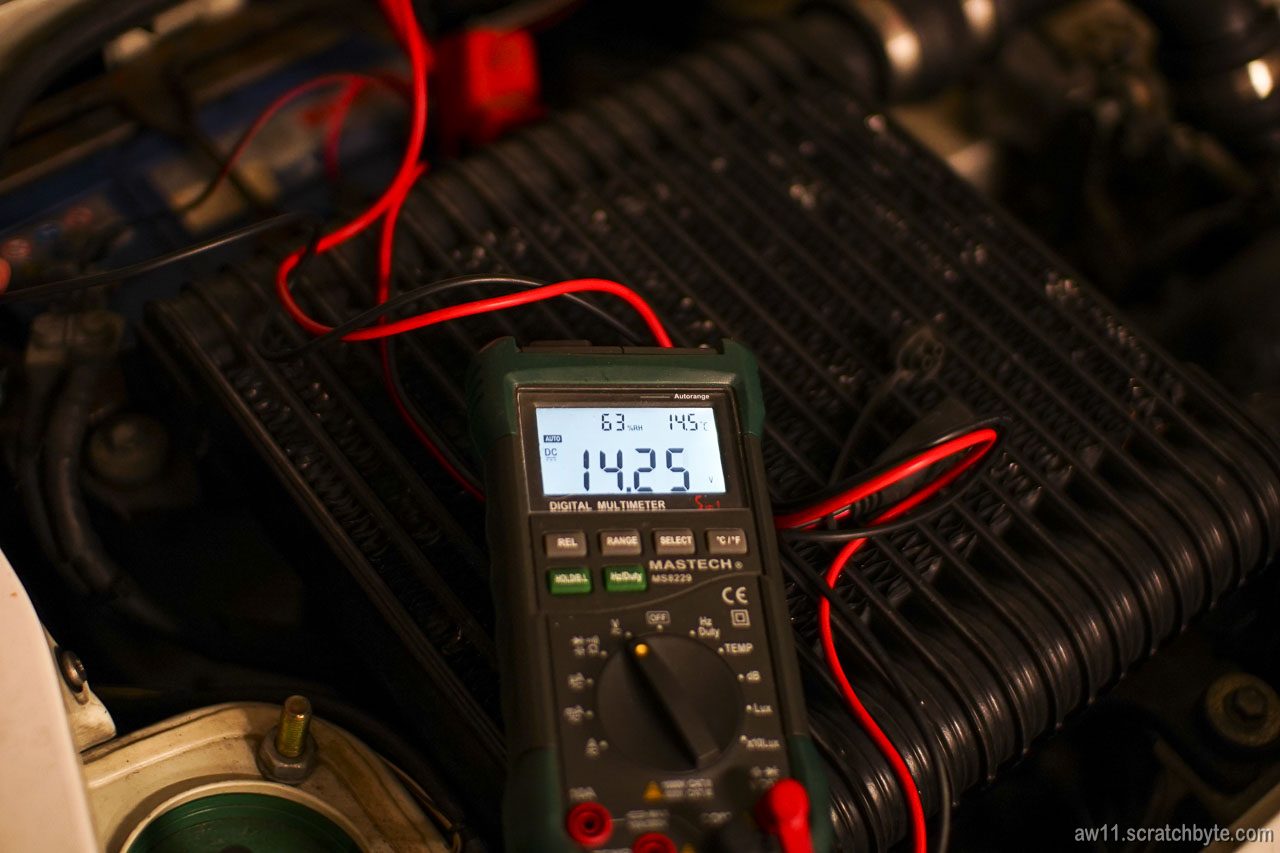
I dont think Ive ever had this high charge voltage. Goody good 🙂 Runs well.

Welcome to Twin Peaks

Going to black lodge to get my spares!

Success! Found some useful stuff:

Shiny alternator, old plug wires, complete wiring loom with relays and a used distributor cap. Carbon canister for some reason came with, no idea why it stuck to my hand.

Tried to peek whats going on with the burned alt. It still smells funny.

Not sure anymore what caused the fire, there doesnt seem to be enough oil to sustain anything else than occassional puff of blue smoke. Probably 30-year old alternator just has had it.

I recently got some comments about the crank binding with the ARP studs and nuts. There might be a different cause for the crank getting stuck what I thought and I want to examine it with care, but right now swapping the alternator and checking the wiring and relays have higher priority. I wanted to have the yearly roadworthiness inspection done, but now the car isnt even remotely safe.

Edit: Well, it is mechanically safe but electric parts seem to catch fire randomly 😀

Fire walk with me – again

Aw fuck.

Oil leaked thru distributor axle seal and started a small fire. Car still runs, but its not charging and there seems to be some kind of relay problem. Most likely my alternator, sprayed with oil from above, is the source of the fire.

I have to go and rummage through my spare parts pile to check if I had a second alternator. I do have a spare distributor, but it needs to be welded.

Below: wiring damage to the distributor wires

Rotor and seal below – very oily. Notice – the damage on the distributor cap is not on the exhaust manifold side. The heat shield has been working perfectly.

Oil inside distributor cap – no fire marks inside.

This will definetly buff out

My Ultra plug wires which I got by accident that really are not for 4A-GZE – also toasted 🙁

Easy fix for this would be a bit wider heat shield that would also work as a oil catcher – directing that leaking oil past the alternator and the hot bits.

Toyota gaskets with sealant

Quite interesting. Some Toyota gaskets seem to have sealant on them. Noticed this when tried to clean the gasket and some of it cleaned right off. I thought it would be better to get new ones.

The sealant, whatever it is, is dull gray and if wiped off, underneath it there is shiny black metallic surface.

Now I understand why some of the gaskets are non-reusable. Anyone know if the sealant is heat activated?

Messing with shifter

Unacceptable – rust, crap and old grease everywhere.

Matrix garage shifter kit to the rescue! Bearings and new parts!

Taken apart:

Bits and pieces painted with epoxy

Putting everything back together with new parts

Add a aluminium shifter knob. Shifter feel is now solid.

Ive got a SW20 short shifter kit somewhere, I just need to take everything apart again 😀

The tide has turned part 2

After the crank got stuck, I disassembled everything:

Bearings looked still good and the molybdenium coating was not affected.

Little bit of measuring – picture below is staged 😀

While having the girdle plate on and everything tightened, the crank bore shrunk to 51,98mm. Didnt expect to see chunks of steel deform so much that the crank line bore would be out of spec (it should be 52mm)

Well, this meant a trip to machinist. Assembled everything back and made sure that the block and girdle were ready for the crank line honing.

Before honing:

…and after honing:

Plenty of cleaning ahead, but the machinist said that the inside diameter  is now 52.03mm.

The crank was also checked for straightness. Weirdly enough, it was 0.03mm out of straight, but now only 0.02mm. For some reason being stored for a year made it little bit more straight 😀


The tide has turned part 1

I reached the turnaround point! Now I’m putting things back together and going towards working engine 🙂

There were problems, though.

New ACL bearings coated in solid molybdenium for extra slippery and first start safety.

Crank test fit. Stock bolts and oil pump.

Rear main seal bracket and the seal itself. Below, the gasket for the bracket.

Seal in place. Left side you can see the 22221 number which indicates the crank line bore sizes.

Glueing the crank girdle to place with Permatex Supra Grey. Main bolts swapped to ARP studs and nuts.

This is where the problems started.

I left the gasket goop to dry for an hour and came back to tighten the main stud nuts. I quickly glanced the ARP installation procedure and thought that it is funny how ARP recommends the tightening torque to be the same as Toyota stock, which is 60Nm. Tightened everything in three steps and then I tried to rotate the crank. It wasnt turning as freely as I hoped.

I checked everything. Removed nuts, removed studs and checked everything possible. Tried tightening again to 60Nm but no dice. There still was a point where the crank felt like it was stuck. Then I read the ARP installation document again and to my horror ARP recommendation wasnt 60Nm, instead it was 60ft/lbs, which is around 80Nm.

The crank seized totally. It only turned a bit when I helped it with the biggest rubber mallet I could find in our garage. Shit shit shit fuuuuuck.