Original and the replacement.

Toyota MR2 AW11
Original and the replacement.
TIL that the hardline coming from fuel tank has a 60 degree cone at the end and the thread is BSP(P) 1/4″ -19.
It should be fairly easy to find/make a adapter to change it to whatever.
Nice 🙂 it gets easier to build the ethanol compatible fuel system.
Piston rings had me stalled for a while. For some reason it took me quite a long time to get started to file the ring end gap just right.
Rings installed:
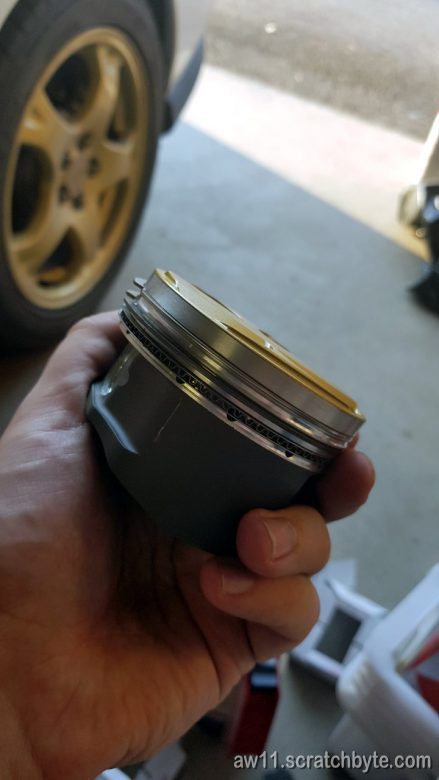
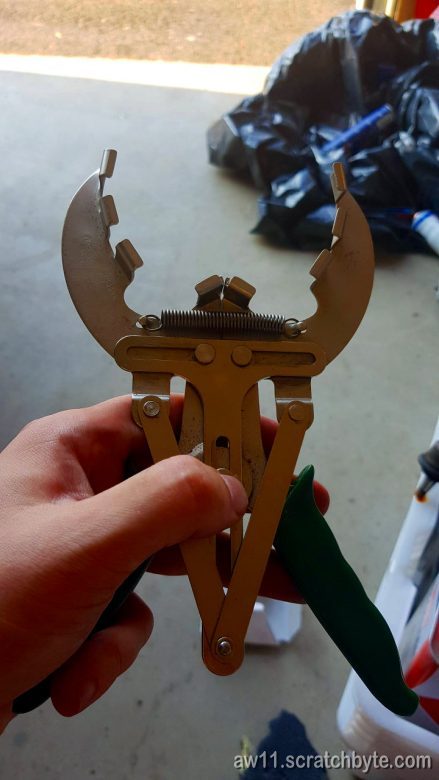
Found this tool in Widrics stash. Worked wonderfully.
Below: top ring, polished (chrome?) outer side, slightly barrel shaped.
Edit 1 – 22.8. Fuel line adapter and hose made
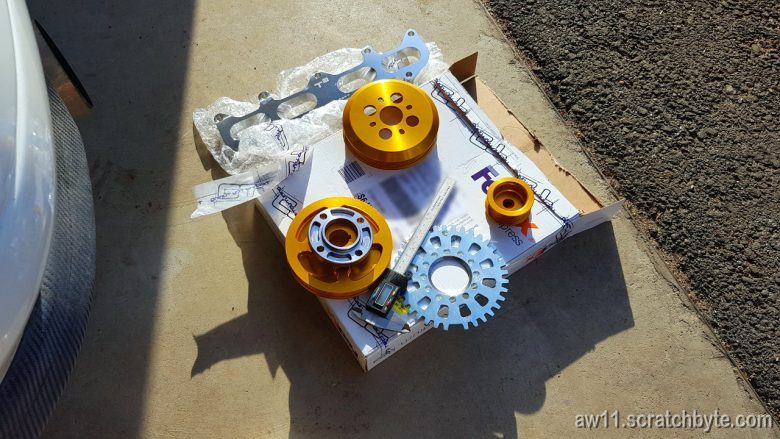


These arrived recently. I have to push forward the rest of the build now 😀
The hardest part was to remove the old stock rear tie rods
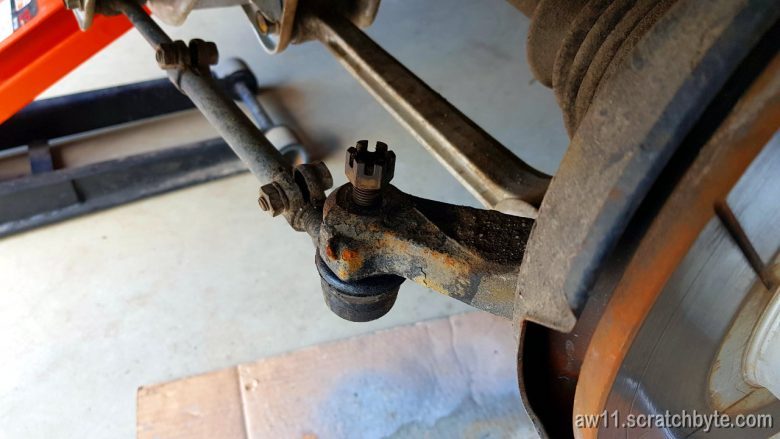
Why didnt Toyota originally do the rear tie rods like this??

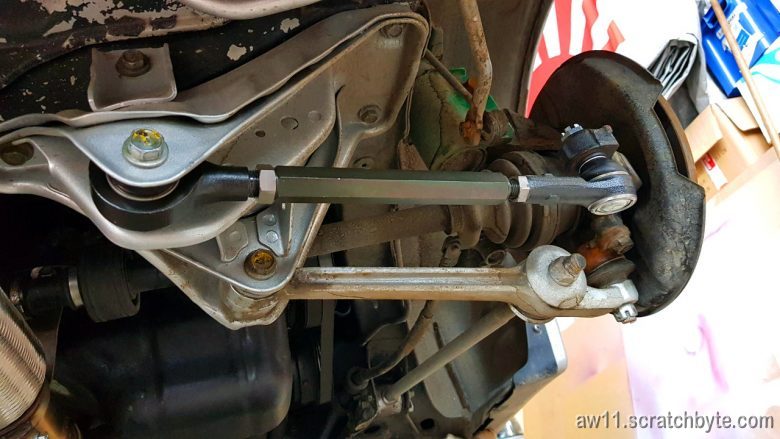
Really easy to adjust 🙂
edit 1 – 3.7.2018 – added hydraulic throwout bearing
edit 2 – 4.7.2018 – added fuel pressure regulator and damper
edit 3 – 7.7.2018 – moved fuel pressure regulator and damper to critical things – realized that if I’m ever going to make ethanol compability to happen, I need to rebuild whole fuel system. Stock damper is totally out of question, it is made for a stable 2.5bar pressure and the AEM pressure regulator that I have, is not confirmed for E85. (Neither is the stock damper)
Also, made the critical things list bit more detailed if there is need to order stuff from multiple manufacturers
edit 3.1 – 7.7.2018 ordered following parts:
Critical things missing – copied from earlier post
Non-critical things missing
Stuff that needs to be done
Done list
Uncertain
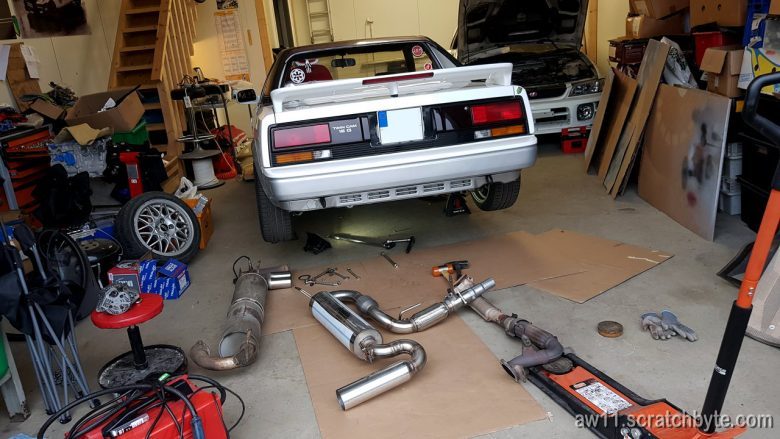
Having a bit of free time in our hands, we built a adapter for the new turbo exhaust so it could be fitted to the stock 4AGZE downpipe. I was mostly in the way while Mr. Reynolds welded and cut pieces of pipe. Also, I pointed some things that shouldnt be welded.
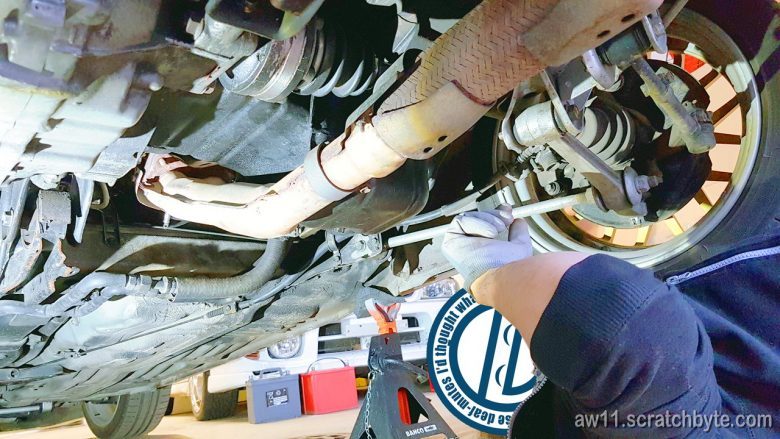
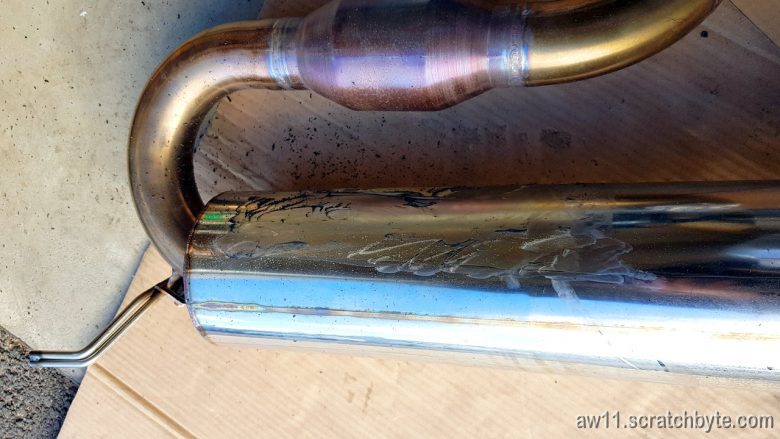
We removed the old exhaust from the car. It was very heavy, felt like it was made from cast black iron.
Old one on the left, new one with a small downpipe adapter. Please notice the white protective wrapping around the silencer. We forgot it and it burned.
Mr. Reynolds had to take a break and while he was away, I prepared the old downpipe for cutting and welding.
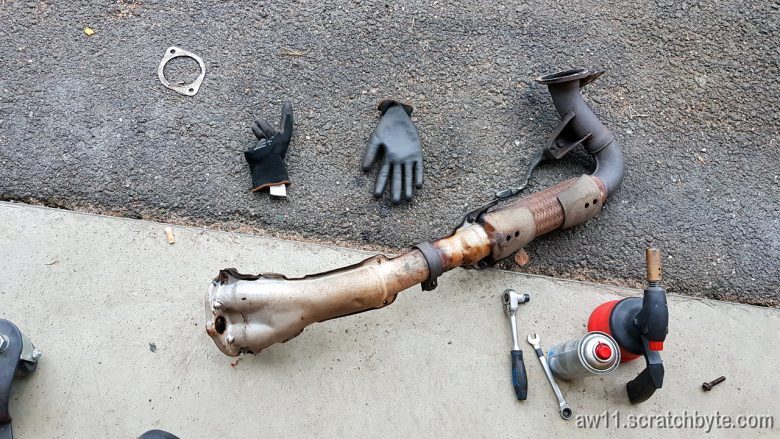
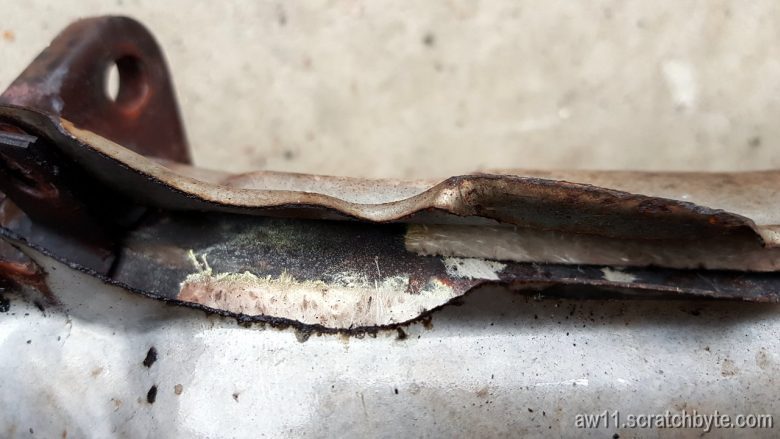
While removing the downpipe heat shield, I found some white insulation mat between the halves.
Went and grabbed some breathing protection for separating the halves and cleaning. At the end, no idea what this was, but I had to treat it as asbestos and be extremely cautious.
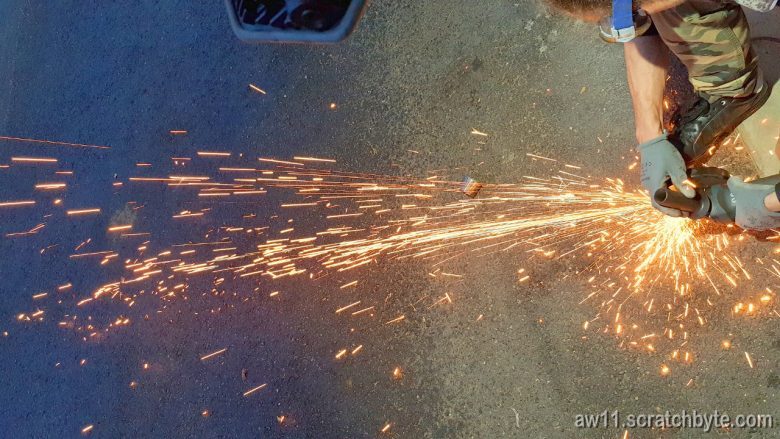
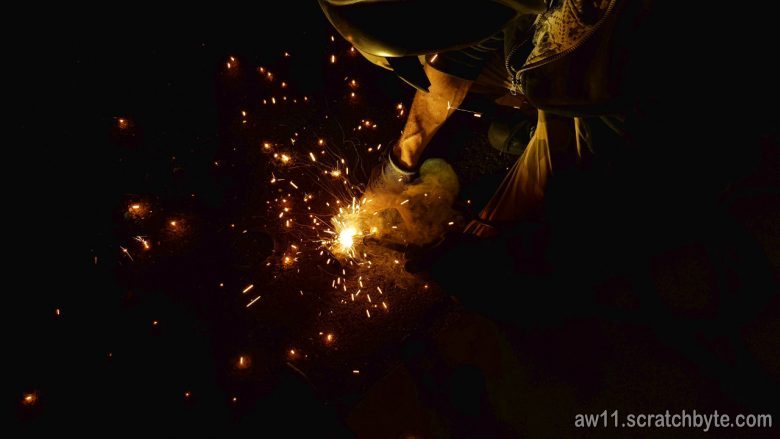
Mr. Reynolds separating small bright flying dots from the adapter
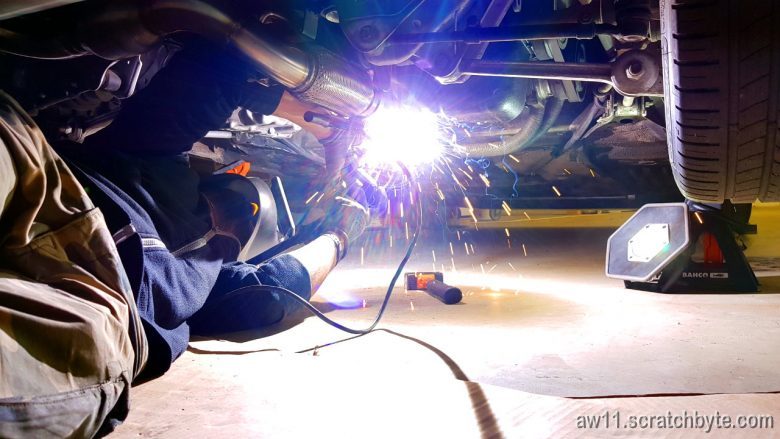
Welding
Welding
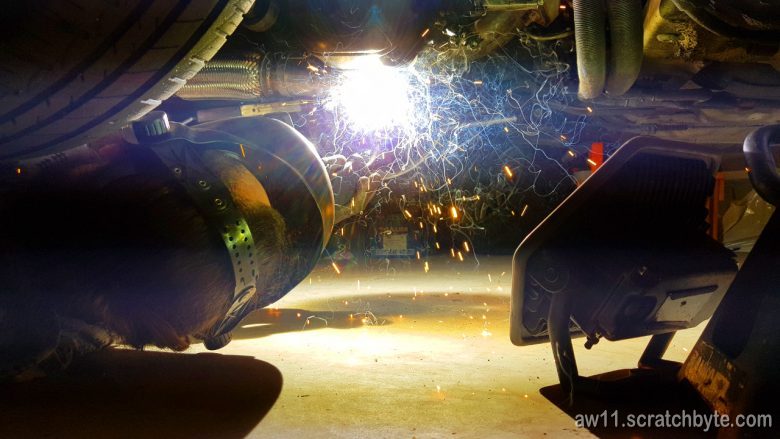
and welding
Finally:
Well done!
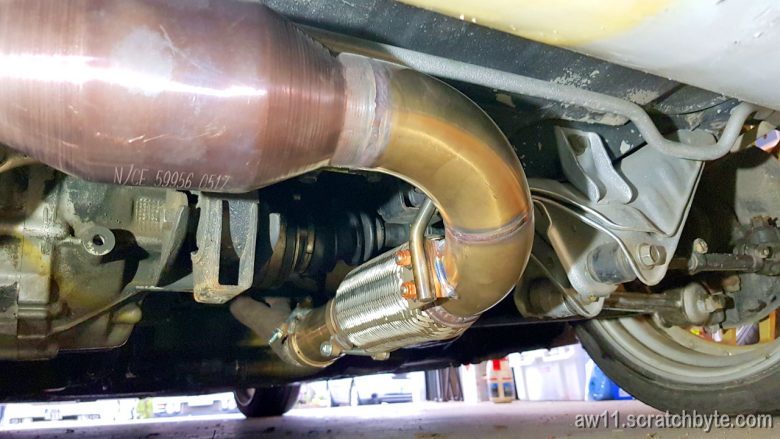
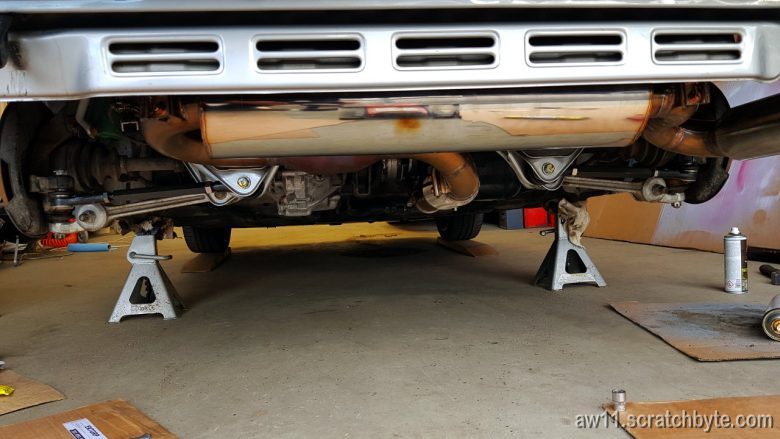
Couple of days later I took the whole exhaust down again to get rid of that burnt protective plastic.
And this is how it looks. Very shiny. Also, this picture already show the brand new Matrix Garage rear tie rods installed:
The noise is… well… not biblical. No horns of jericho this time, more like a single trumpete(e)r in the night with big lungs and lots of passion. 😀
Video comes soon.
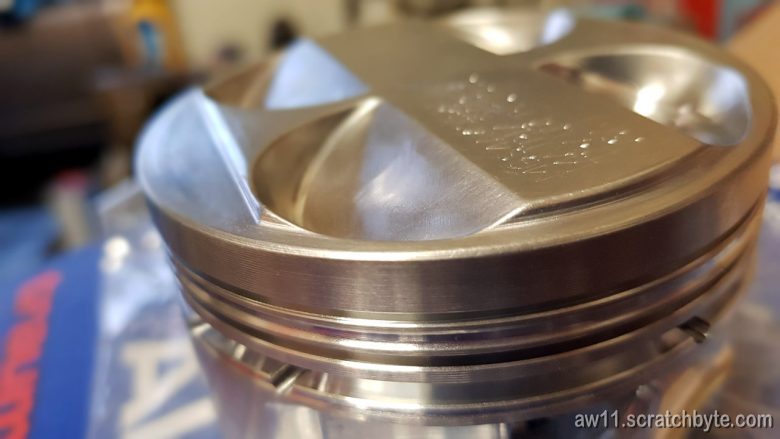
The new pistons came from coatings. Piston has now heat resistant top coating (there is something very pornographic to have golden pistons), friction reducing coating on the sides and the underside has been coated with heat transmissive coating.
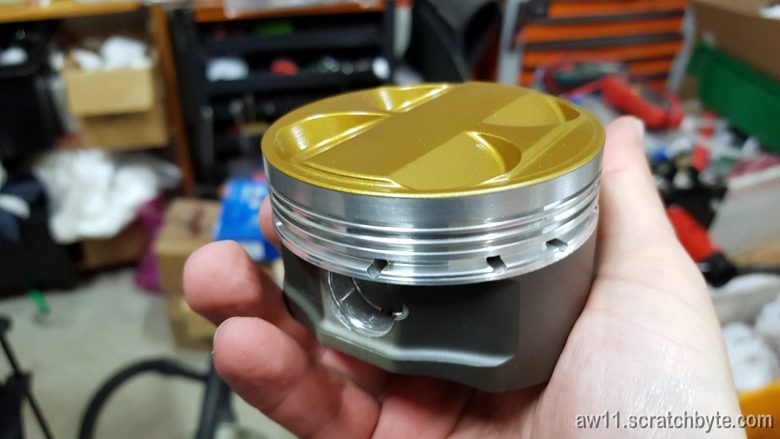
The exhaust manifold and the turbine housing have been coated with stuff that keeps the heat inside. I chose blue color for some reason, thought it was cool and only afterwards heard that it changes color when heated. I cant wait to see that in person 😀
Other color choices were black, different shades of grey and red. In the photo below, the color seems bit intense.

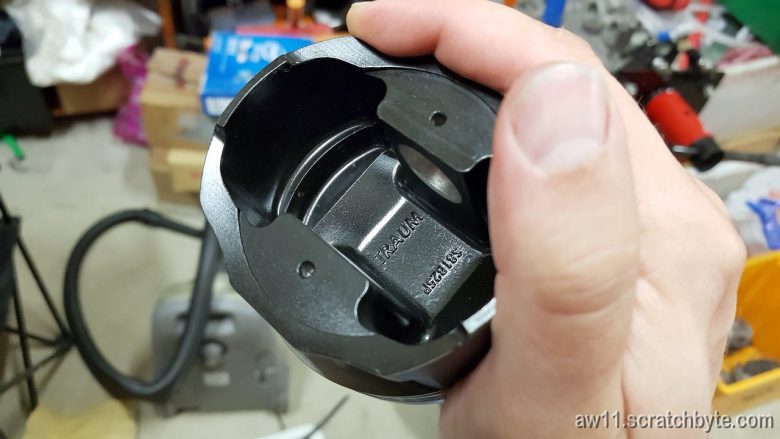
Edit: this is how the piston was prior coating – all the sharp edges rounded